
Origami Organ Base
Some origami bases look intimidating, but the organ base is the opposite: nine quick steps and you are holding a shape that looks like a tiny house with a pitched roof. It deserves a spot in your repertoire because, despite its name, it is really less of a base and more of a move — a squash-fold exercise that pops up in models of all kinds, from flowers and boxes to far more elaborate creations.
The whole sequence teaches you something valuable in under five minutes: how to pinch a precise center mark, how to let folds find their own position, and how to flatten an open pocket into a crisp triangle without tearing the paper. Beginners love it because it is genuinely easy, and experienced folders keep coming back because it is genuinely useful. Grab a square of paper, any size, and in nine steps you will have your first organ base.
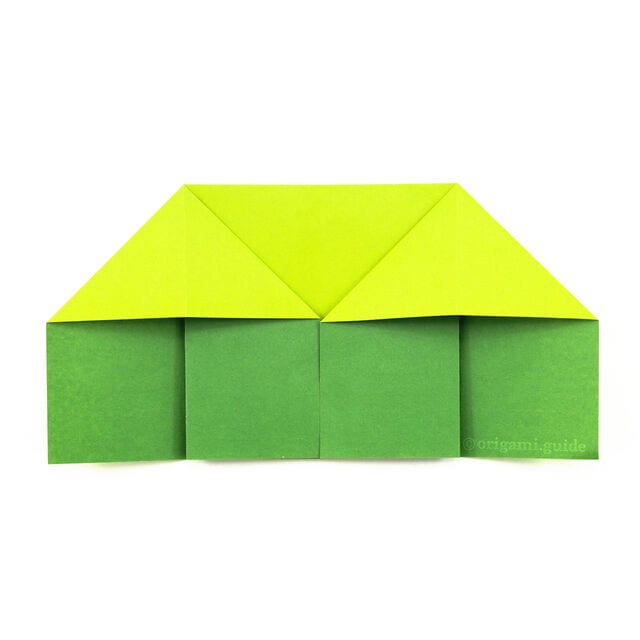
Learn how to make an origami organ base. This simple origami base fold looks like a little house! The organ base is used in many different origami models.
This base is really more of an origami folding technique than a traditional base, because the squash folds it teaches appear again and again in countless origami models.

Step 1
This is the front of the paper, usually coloured or patterned. It will be the colour of the top section.
Step 2
This is the back of the paper, usually white.

Step 3
Fold the top edge down to meet the bottom edge and crease well.

Step 4
Bring the right edge over to the left and make a little pinch at the top. This will mark the center.
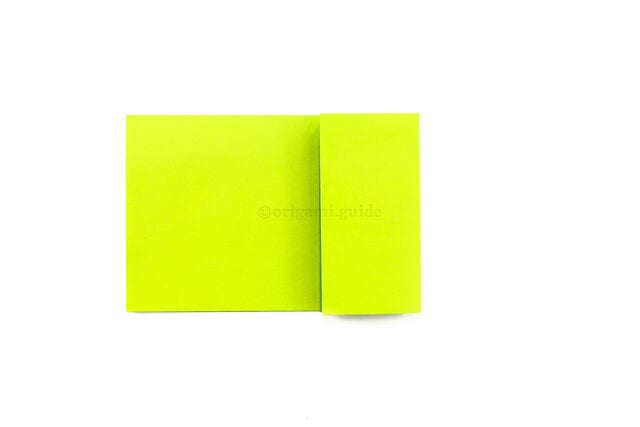
Step 5
Fold the right edge over to the left, aligning it with the little pinch mark you made in the previous step.
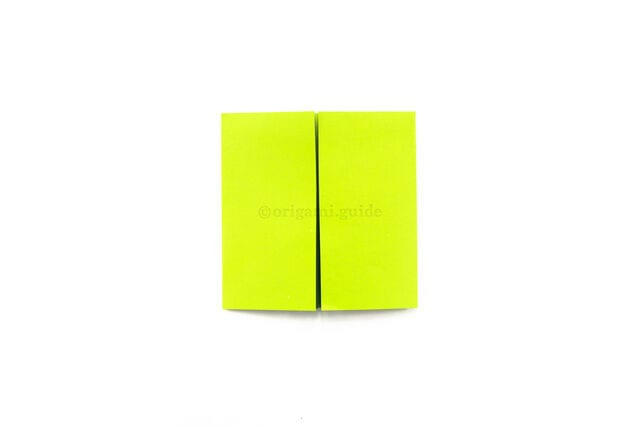
Step 6
Fold the left edge over to the right, again aligning it with the little pinch mark you made.
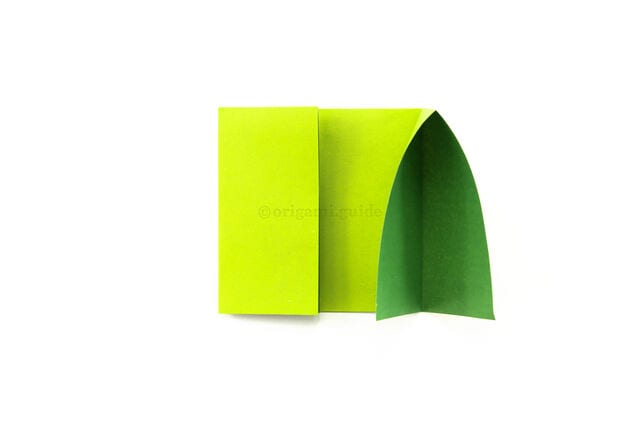
Step 7
Open the right section. You can see a pocket.
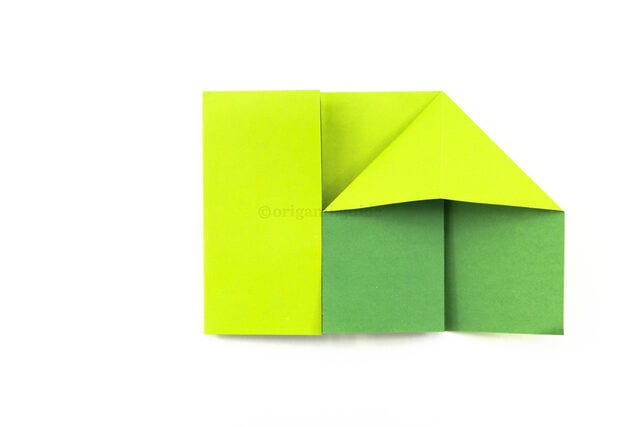
Step 8
Push down on the top point of the section, flattening it to become a triangle.
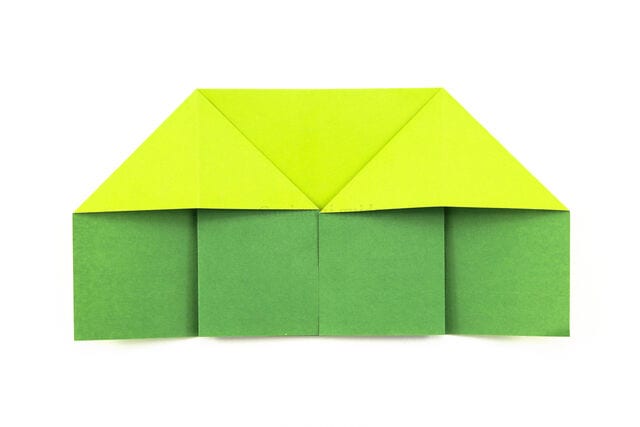
Step 9
Repeat the same process on the left side. Now you have a completed origami organ base.




