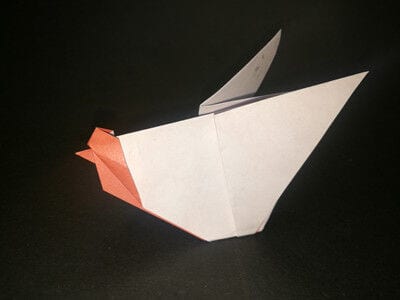
Tsubakuro airplane
There's a special kind of nostalgia wrapped up in a paper airplane, and the Tsubakuro is one of the best-loved shapes out there. Its name comes from the sleek 'swallow' lines of Japan's famous bullet trains, and once those wings spread you get a glider that looks fast even sitting still. It's a fun build when you've moved past the simplest darts and want something with a bit more engineering.
We'll go through fourteen photo-guided steps from a single sheet — creases, tucks, and a couple of careful scissor cuts — then spread the wings and send it on its first flight. Grab some paper and scissors and let's make something that actually soars.
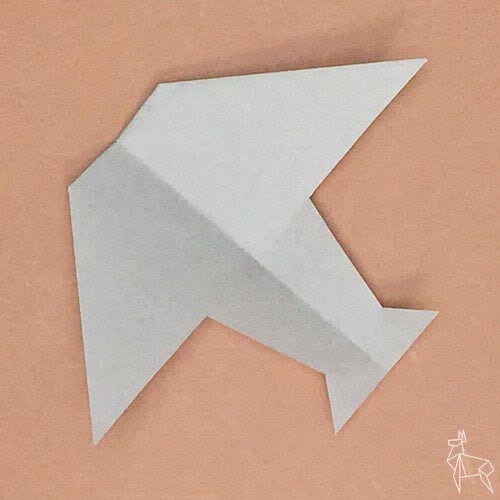
STEP 1
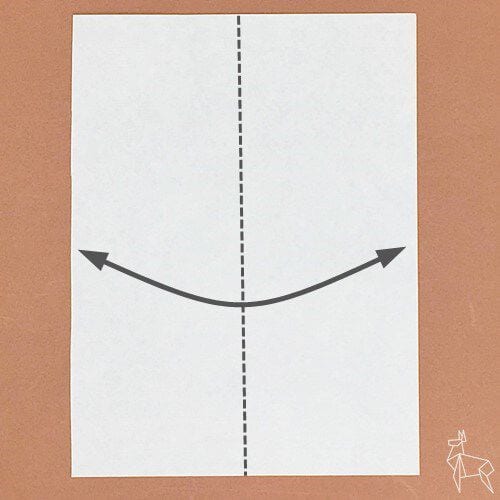
Cut the origami paper into rectangles, or prepare a rectangular leaflet, halve it along the dotted line, and make creases.
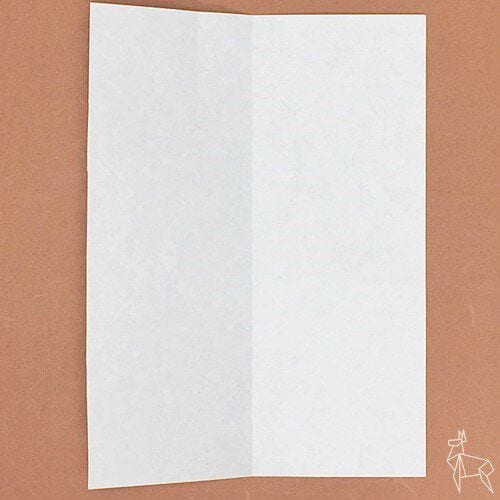
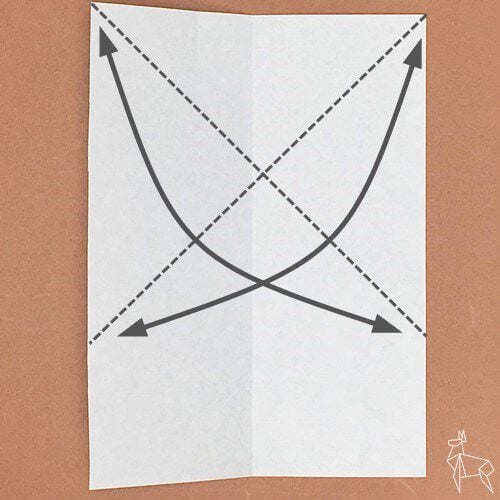
STEP 2
Make a crease along the dotted line so that the top edge matches the left and right edges.
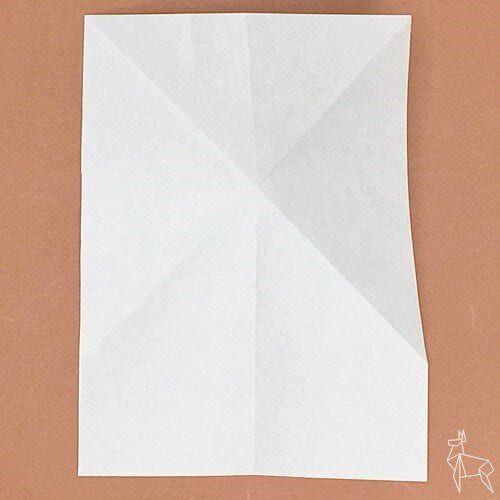
STEP 3
Turn it over.
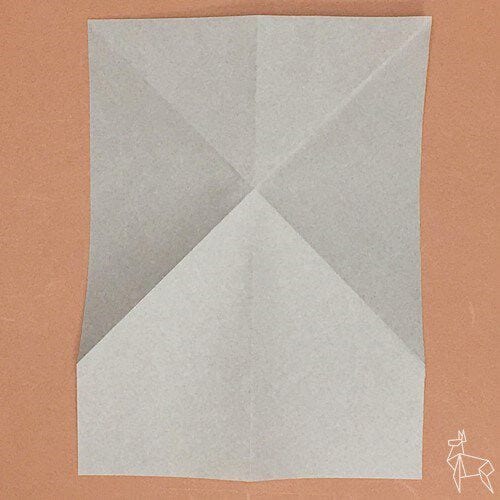
STEP 4
Make a crease along the dotted line.
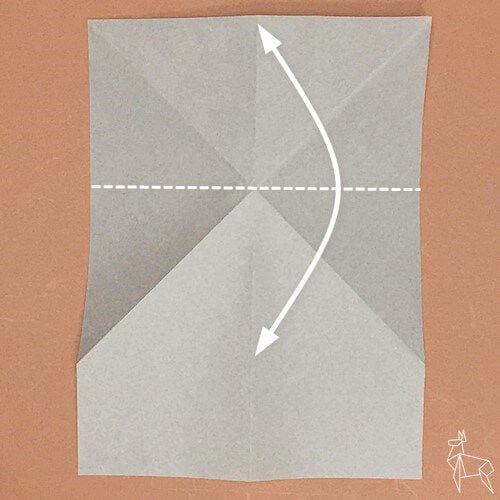
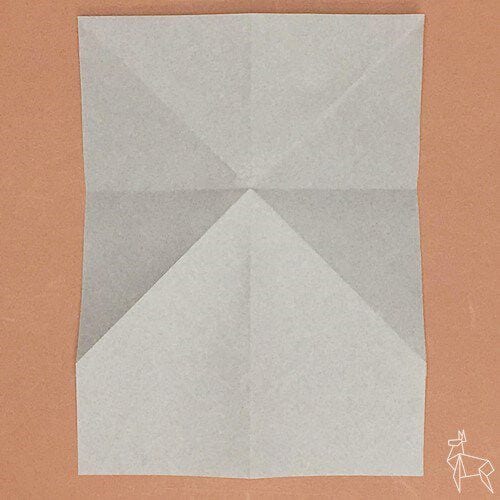
STEP 5
Turn it over again.
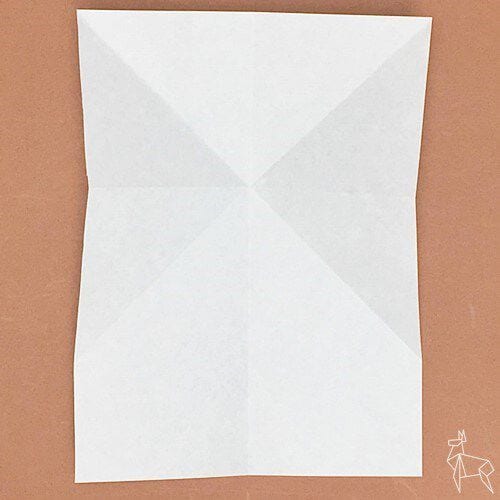
STEP 6
Fold along the creases.
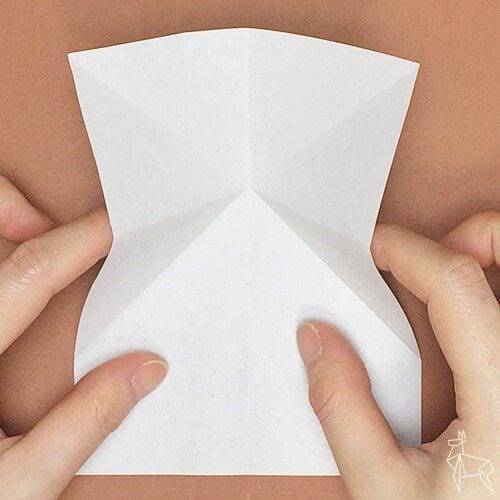
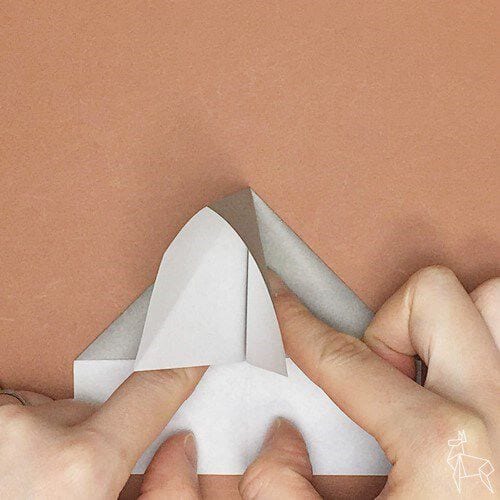
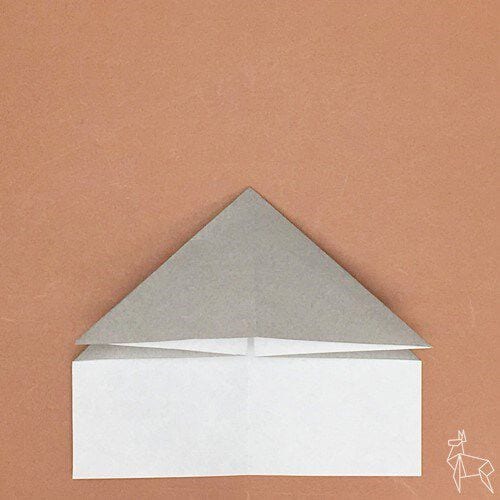
STEP 7
Fold it along the dotted line so that the corners match.
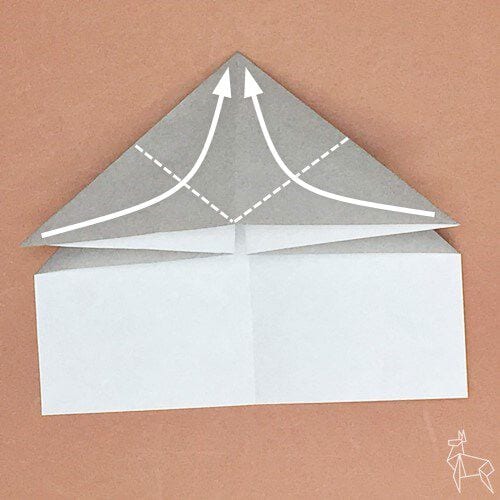
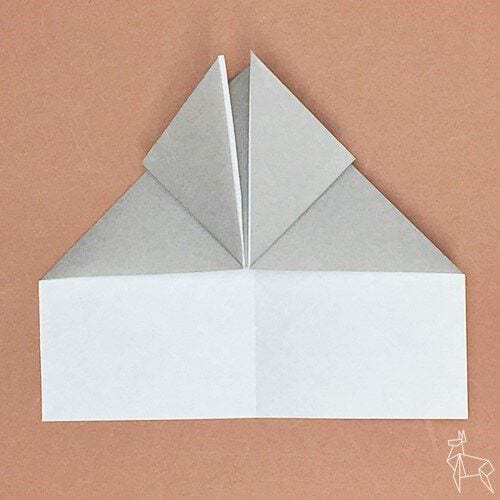
STEP 8
Fold it along the dotted line.
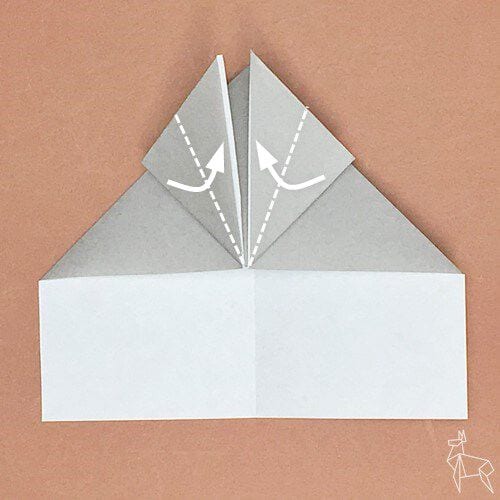
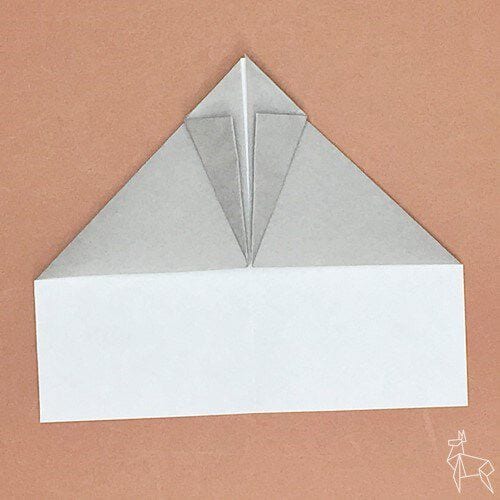
STEP 9
Cut along the red line with scissors.
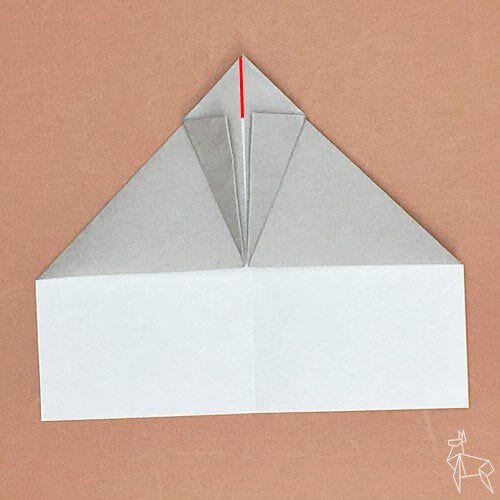
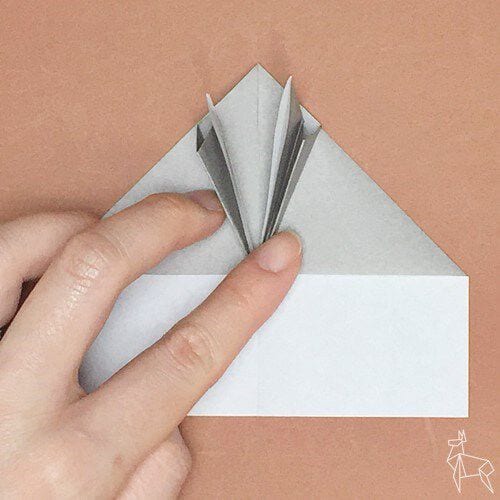
STEP 10
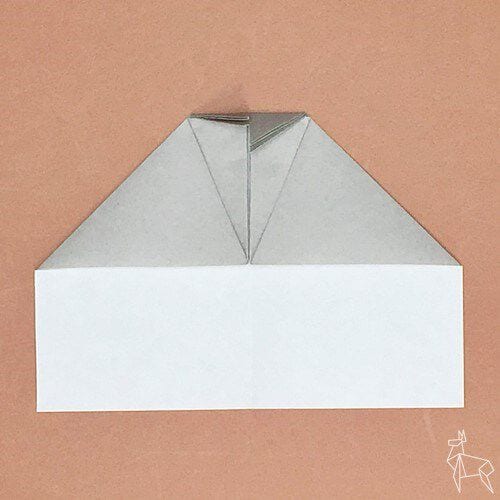
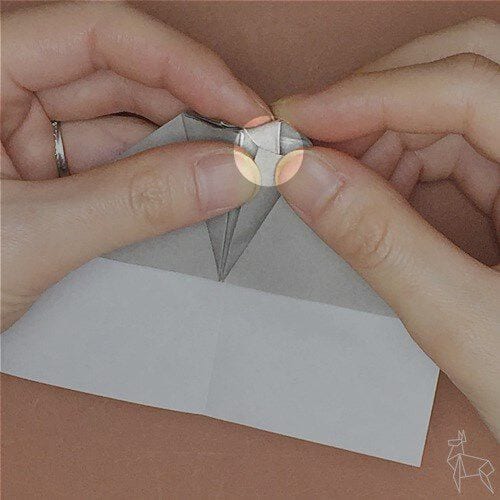
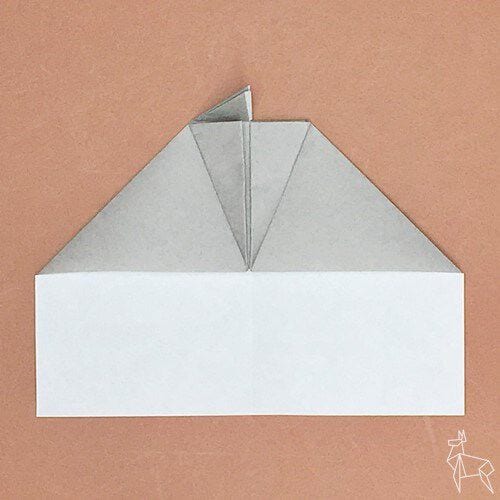
Fold the corner along the dotted line and put the folded part in the pocket part of the gap.
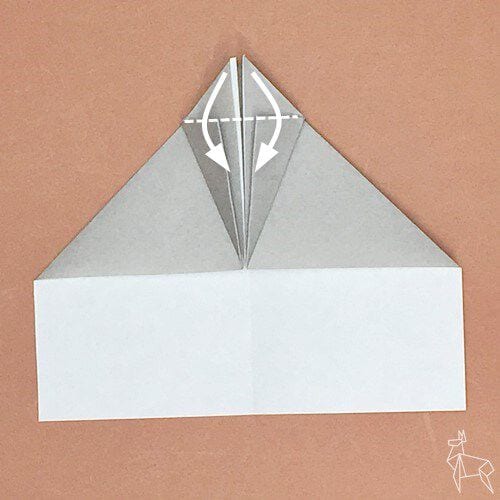
STEP 11
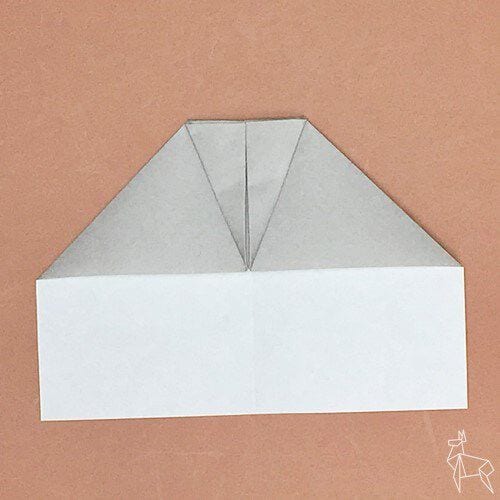
The same goes for the other side.
STEP 12
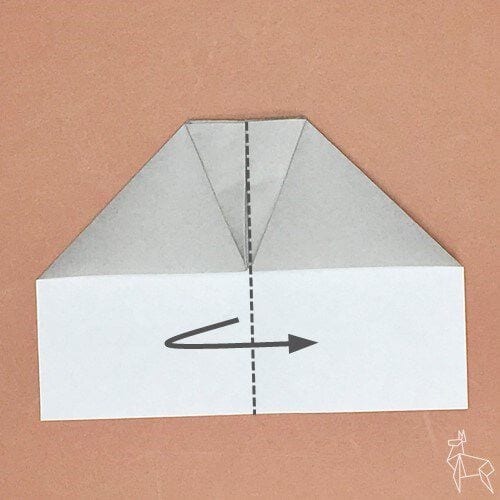
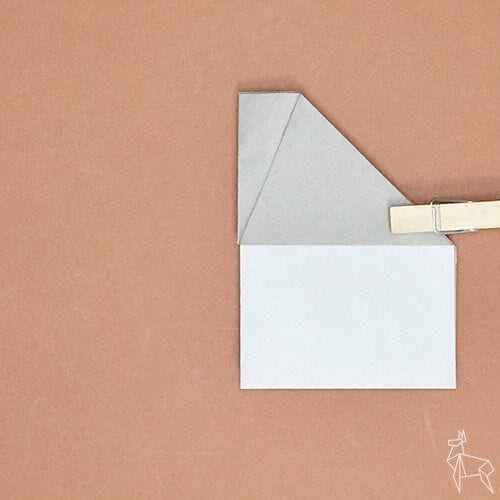
Fold it back in half along the dotted line.
STEP 13
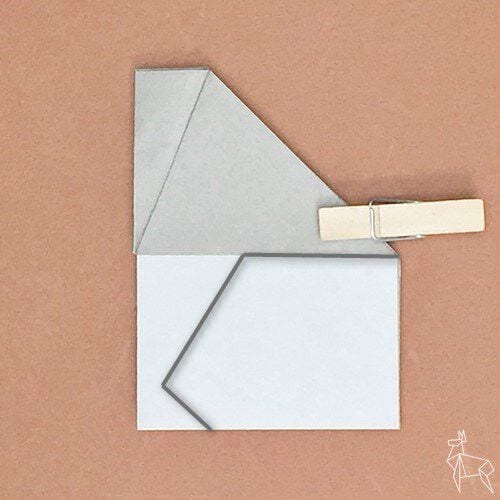
Cut along the line with scissors.
STEP 14
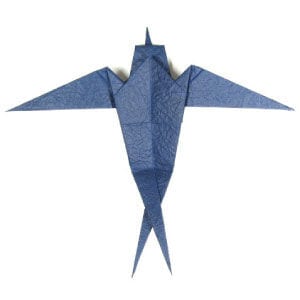
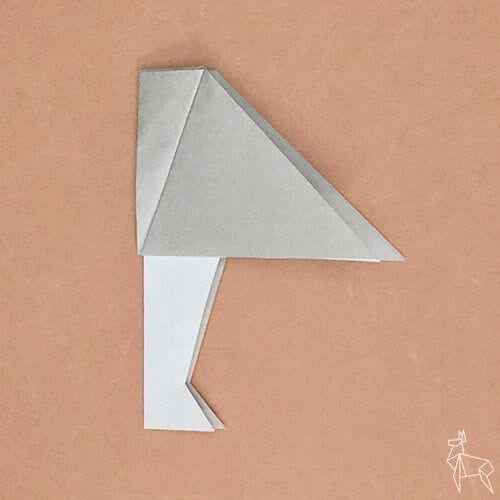
Spread your wings and you have a Tsubakuro airplane.