Peaches
Is there anything more cheerful than a little paper peach sitting on your desk? This model looks fancier than it really is — that plump, rounded body and the tiny dimple at the top make it read as 'real fruit' the moment you set it down. It's a lovely pick once you've practiced the basics and want something with a bit of fruit-bowl charm.
We'll build it in ten photo-guided steps from a single square sheet, using nothing but open-folds and a few symmetric repeats. Keep your creases sharp and you'll end up with a peach you'll actually want to show off.
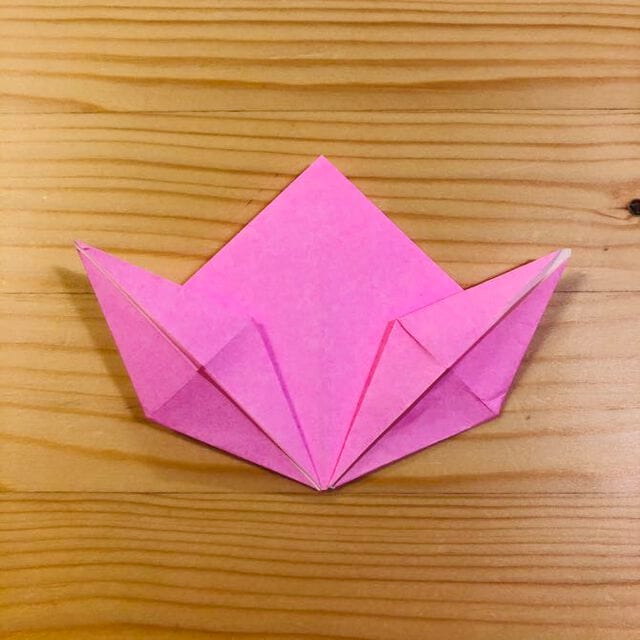
STEP 1
Fold it in half.
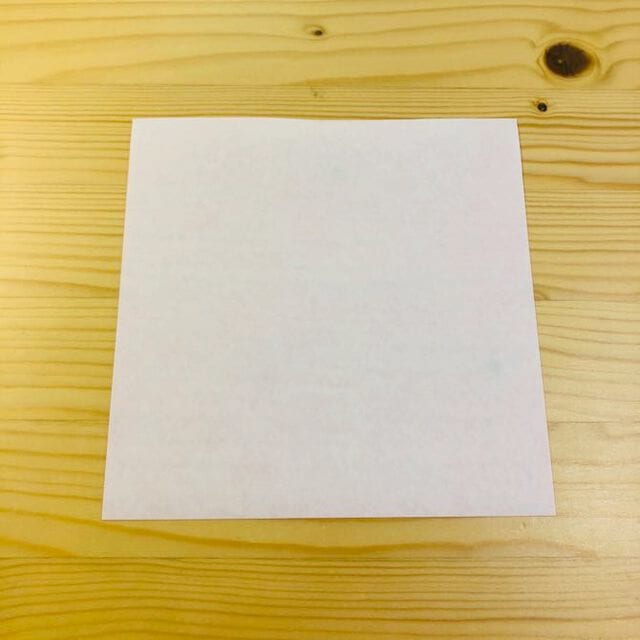
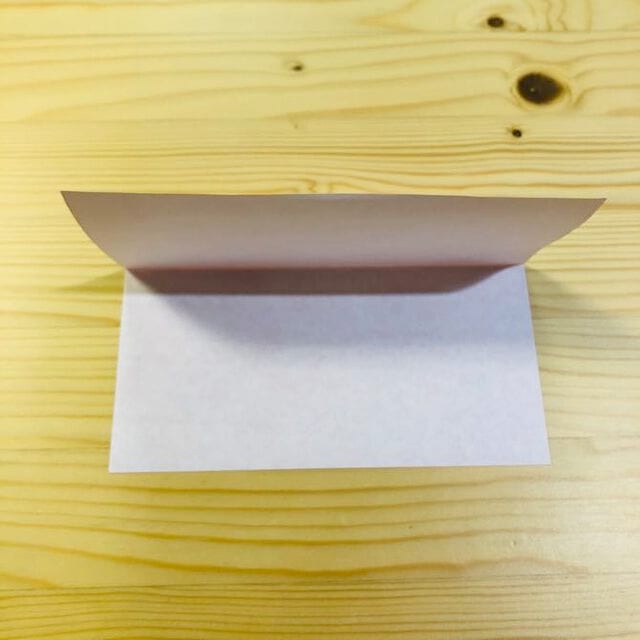
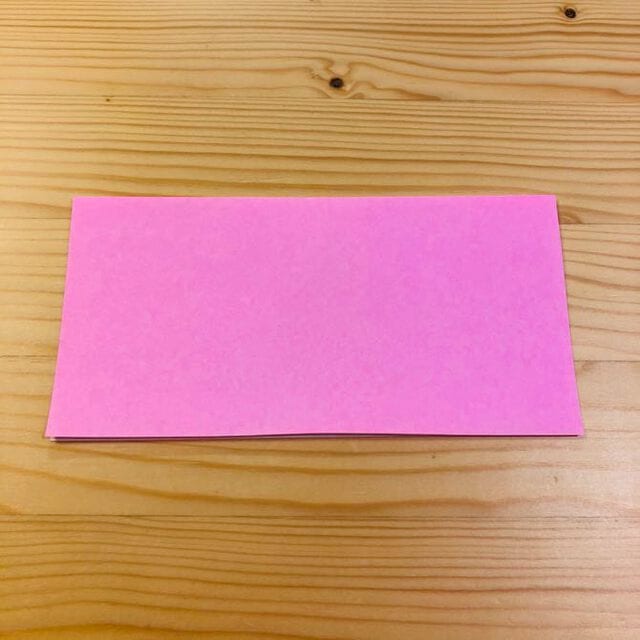
STEP 2
Fold it in half.
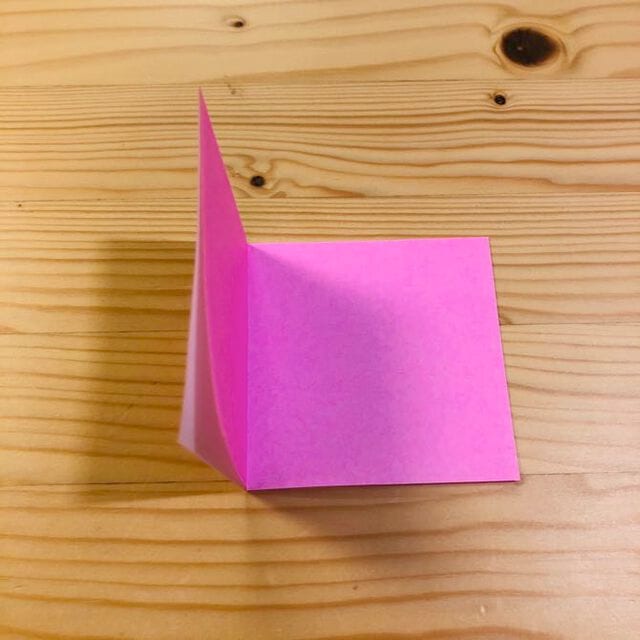
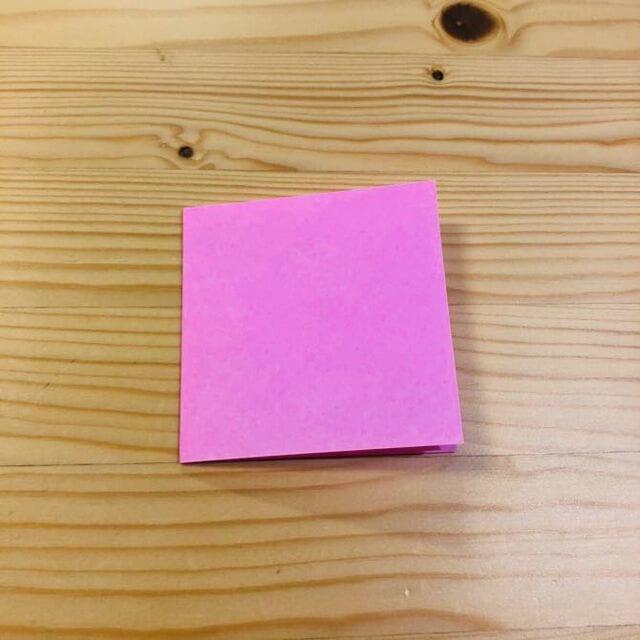
STEP 3
Open and fold as shown in the picture.
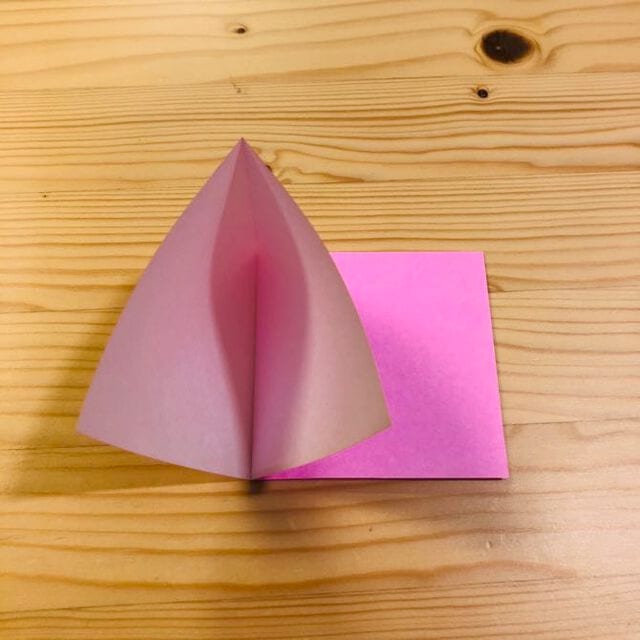
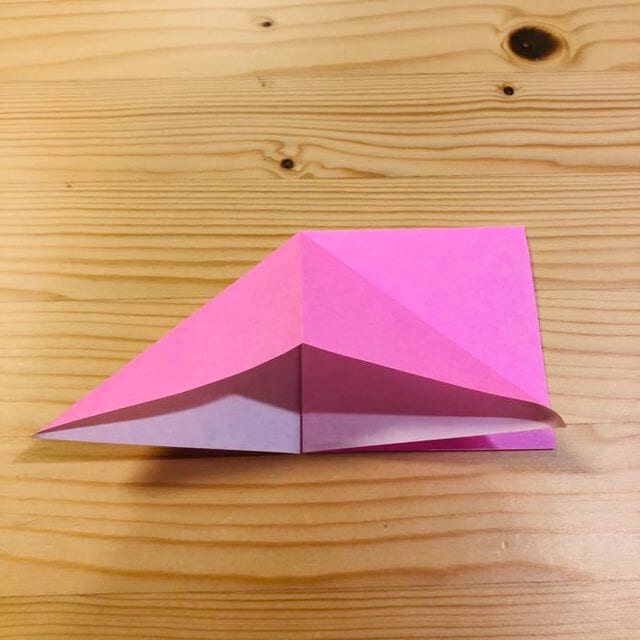
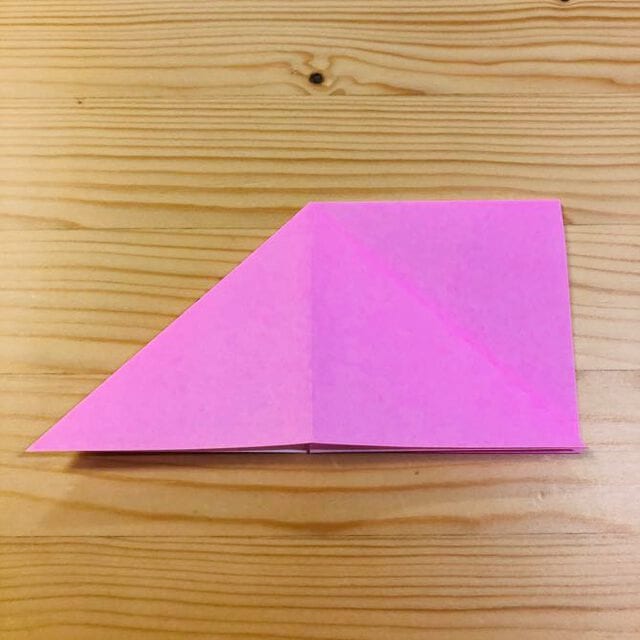
STEP 4
Fold the back side in the same way.
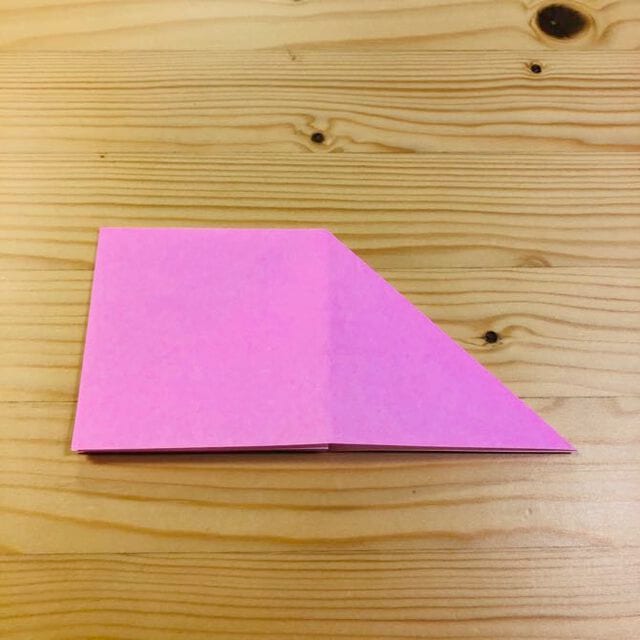
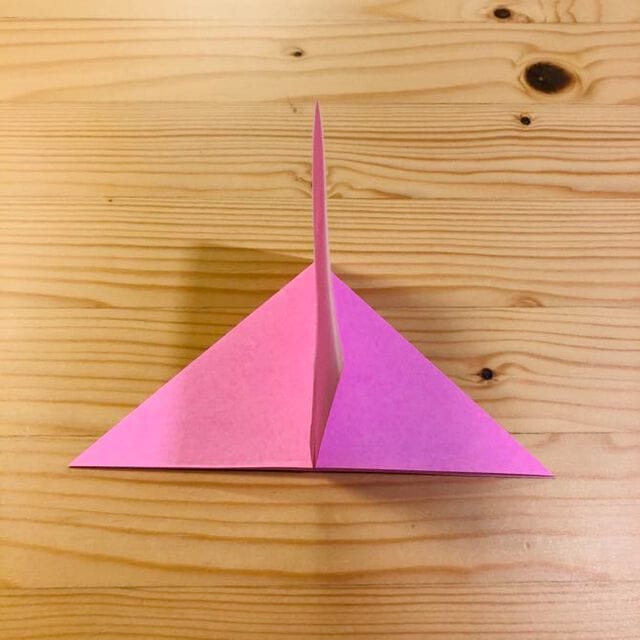
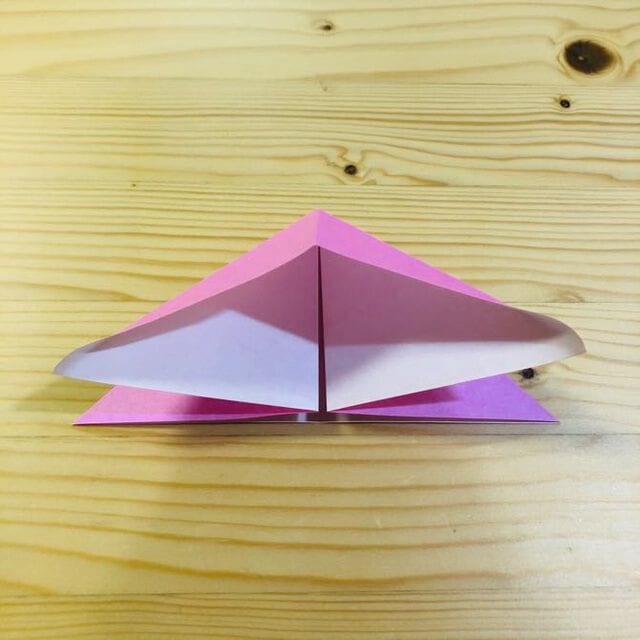
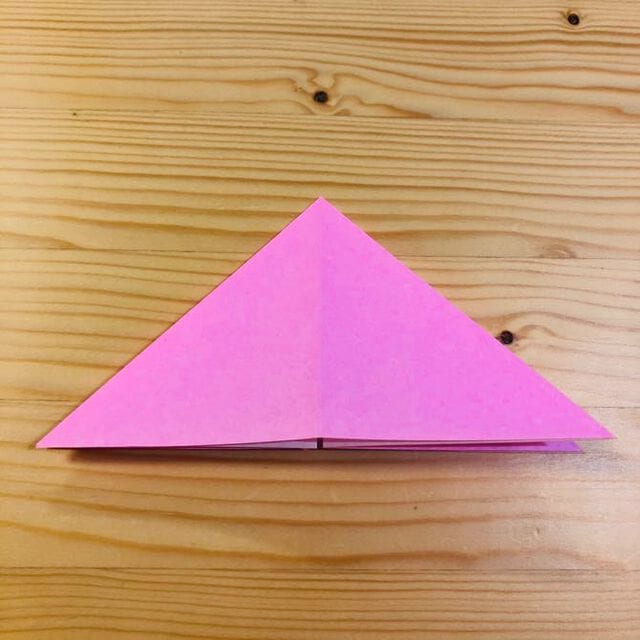
STEP 5
Fold it up at the position shown in the photo.
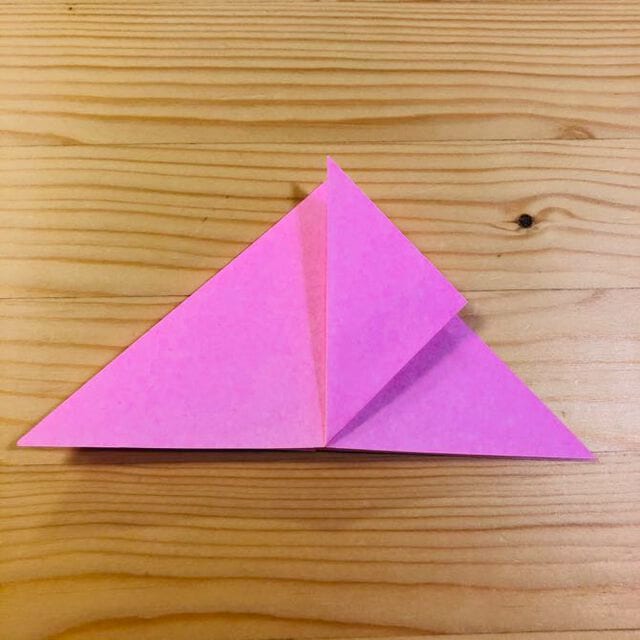
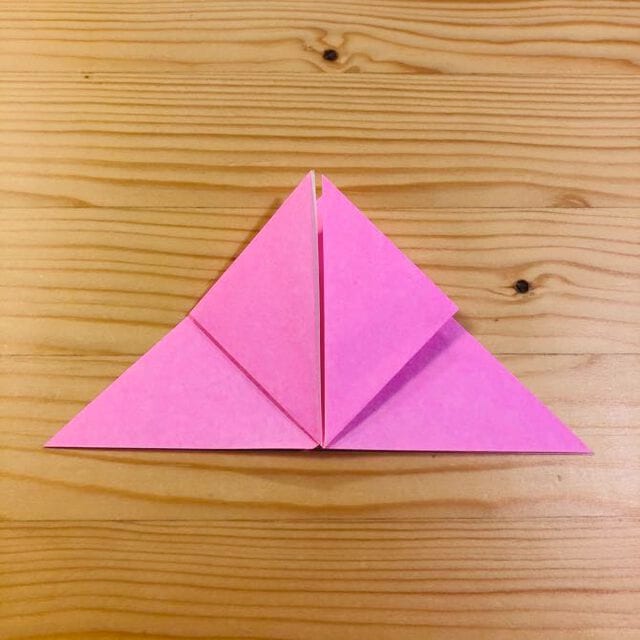
STEP 6
Fold the back side in the same way.
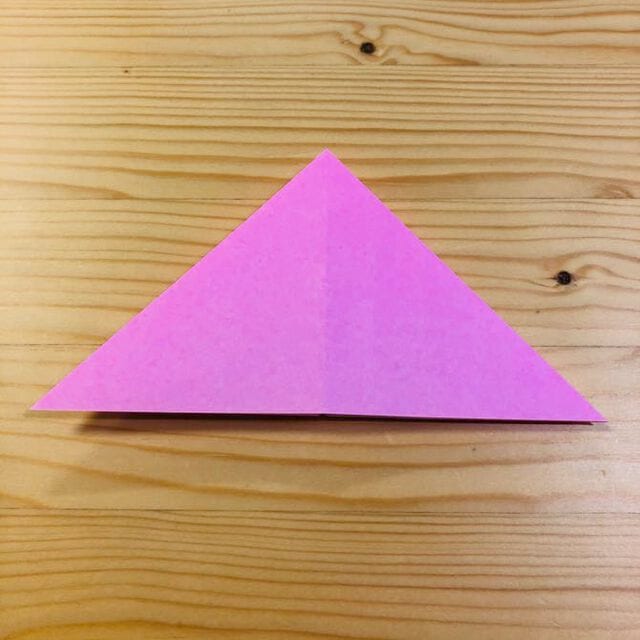
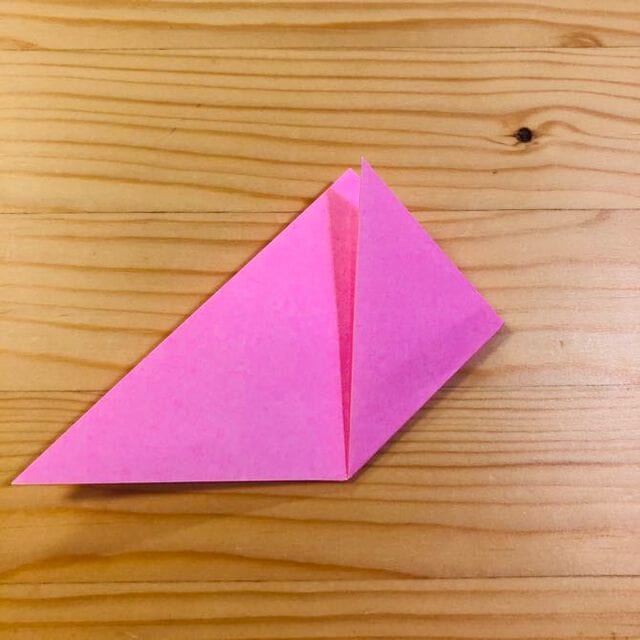
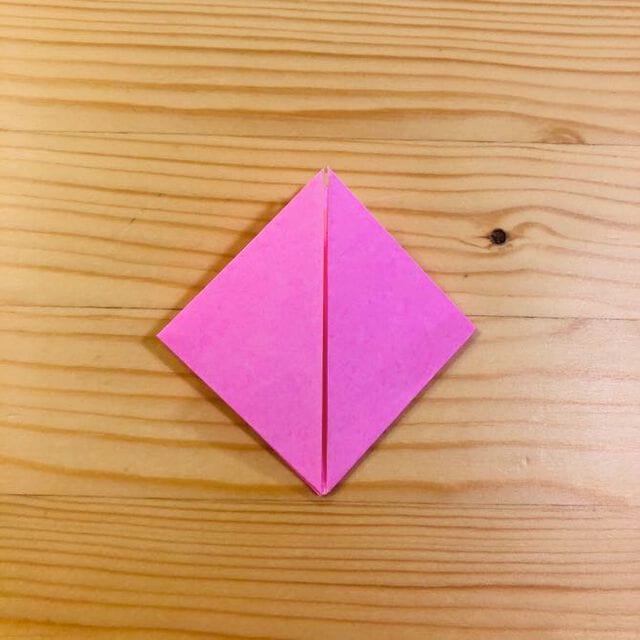
STEP 7
Open and fold as shown in the picture.
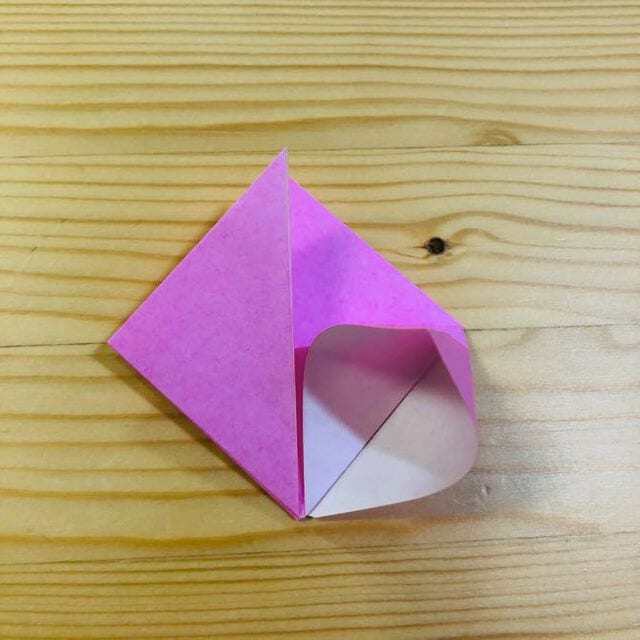
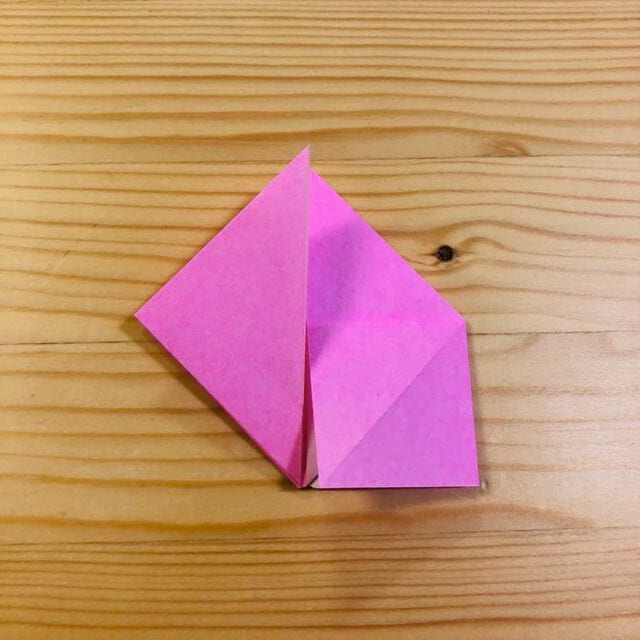
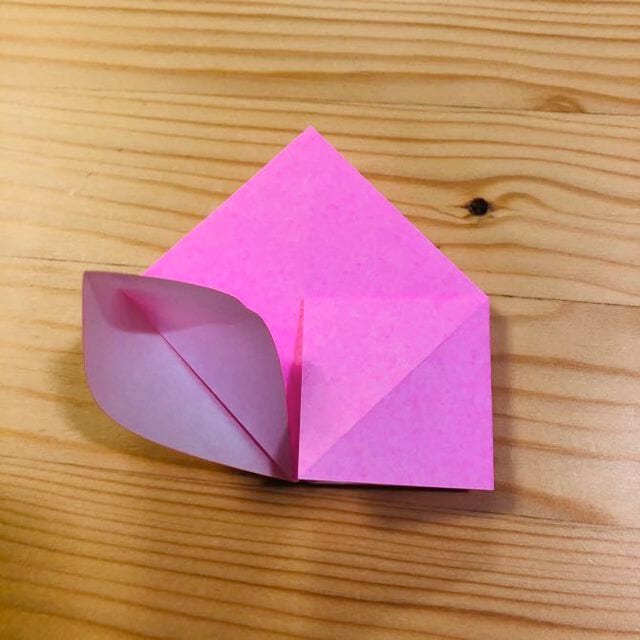
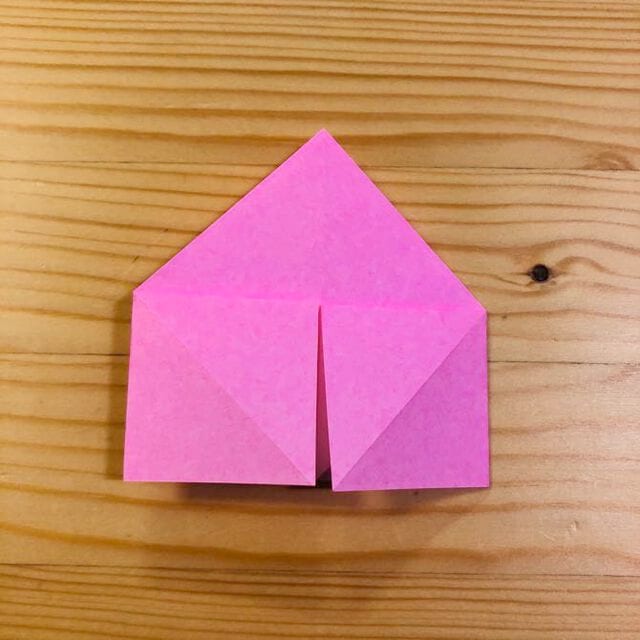
STEP 8
Make a crease at the position shown in the photo.
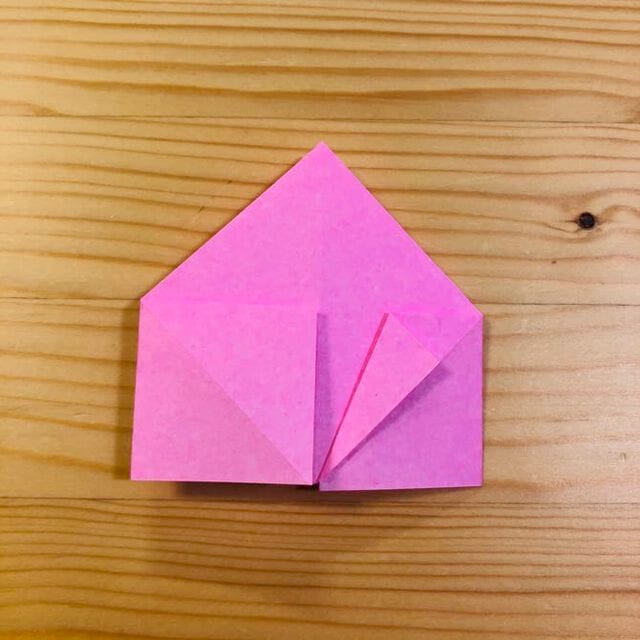
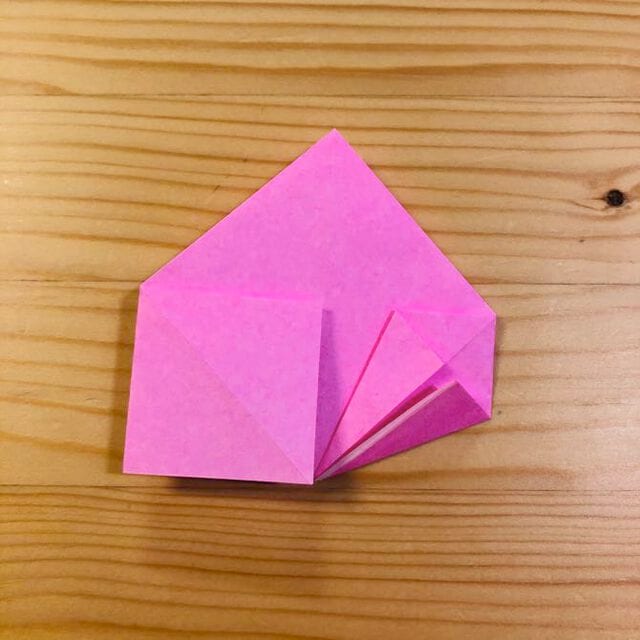
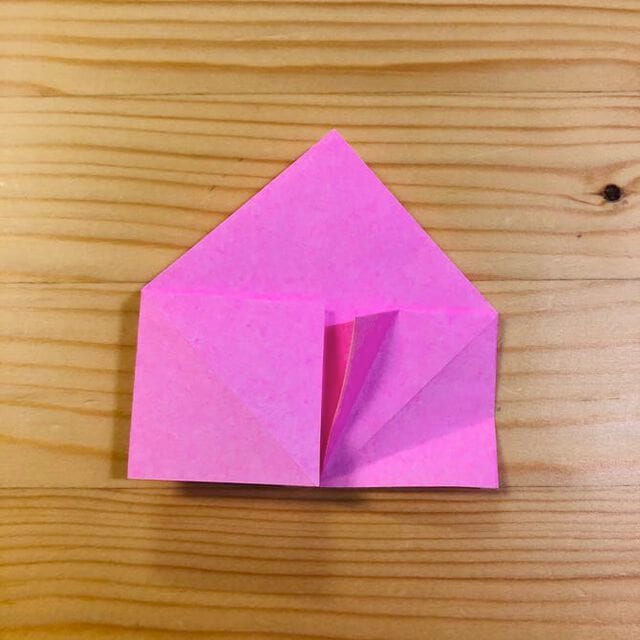
STEP 9
Open and fold as shown in the picture.
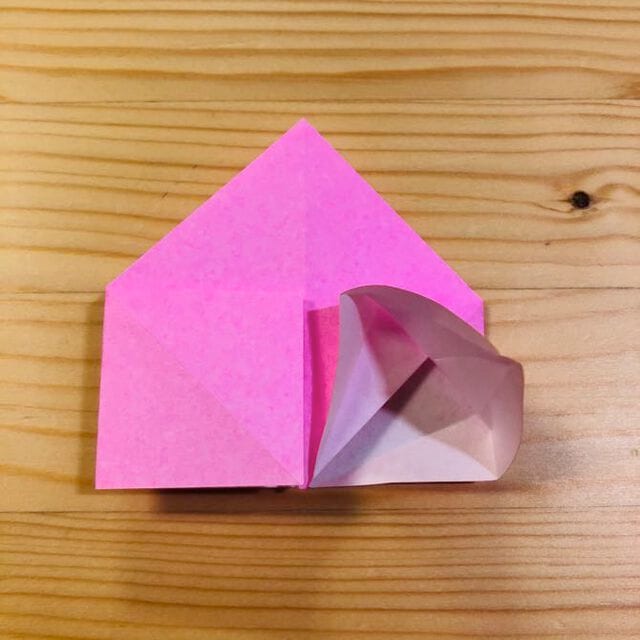
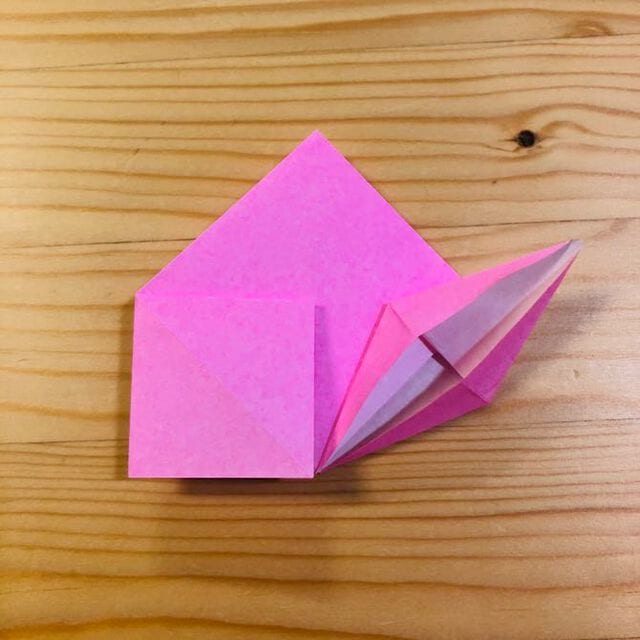
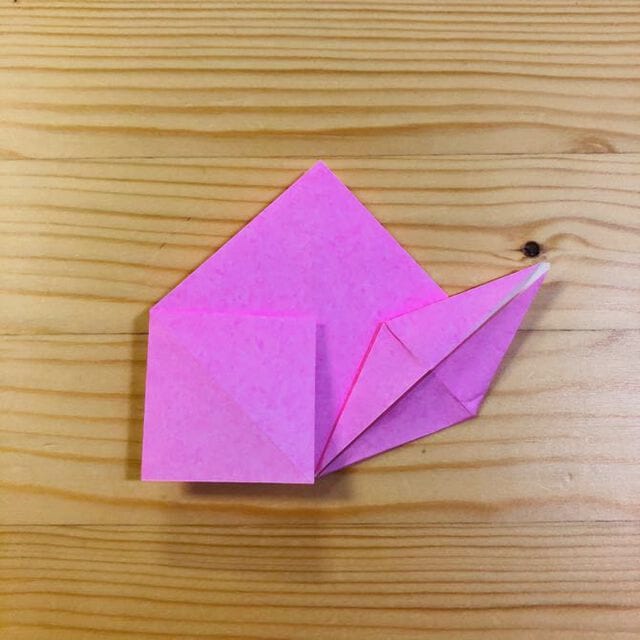
STEP 10
Fold the other side in the same way.
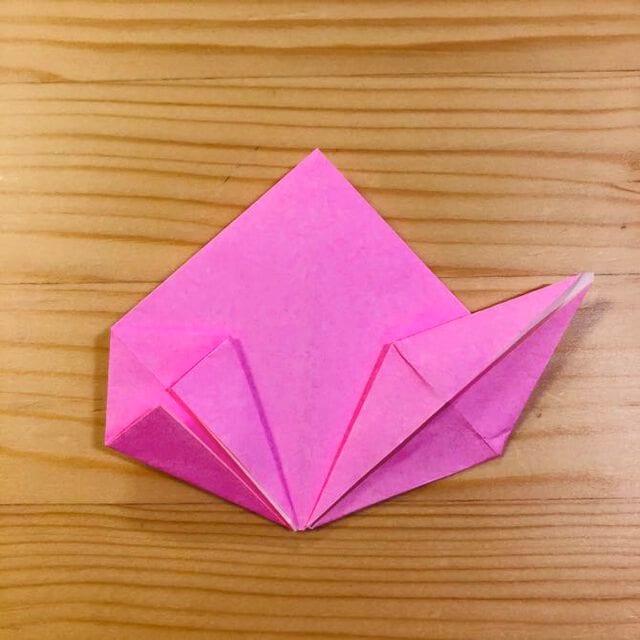
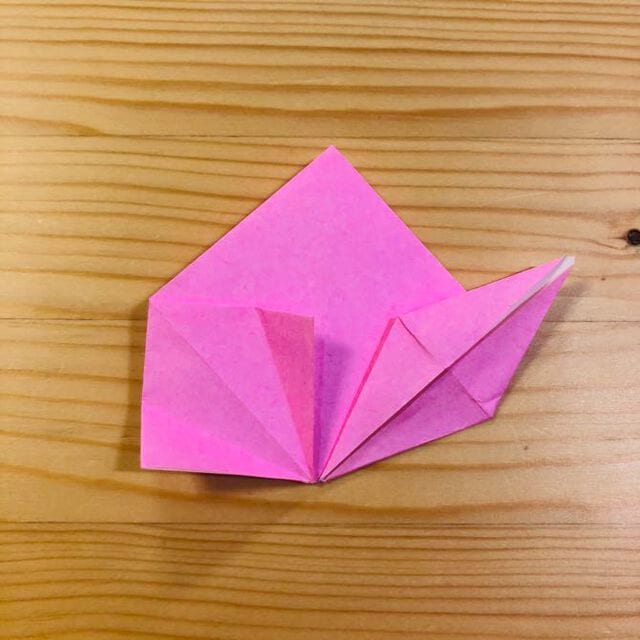
Done!
Your peach is complete.