Origami Carnation
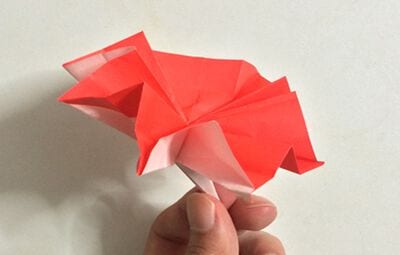
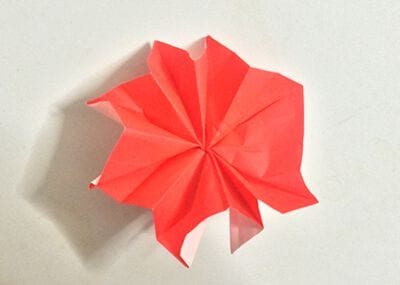
Real carnations are lovely, but they wilt — and somehow the ones you fold out of paper end up meaning even more. With Mother's Day in mind, this tutorial gives you two ways to make them: a plump 3D bloom from a single square, and a flatter layered one you can glue straight onto a card.
Neither is difficult, and both invite you to play with color and size. Pick a pretty paper, and by the end you'll have a little bouquet that never needs watering.
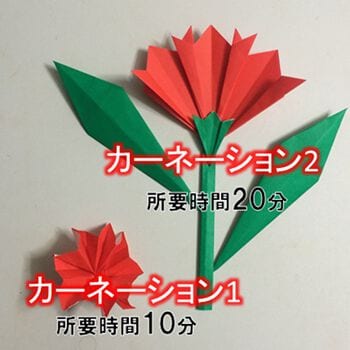
Mother's Day is celebrated on the second Sunday of every year, but Mother's Day is “carnation”.
If you couldn't buy the actual flowers, or if you find it difficult to maintain, we recommend giving you an origami carnation as a gift.
So here I’ll walk you through folding a simple carnation in detail.
You can use it as a small decoration or attach it to a card, so do give it a try.
↓ Keep scrolling to see the steps.

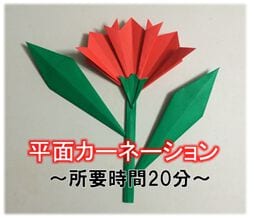
Three-dimensional carnation

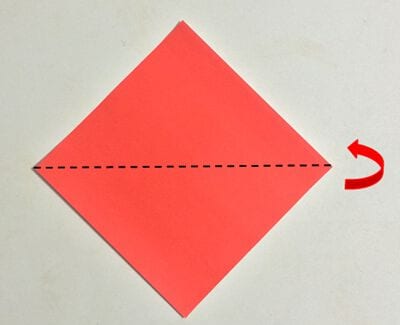
STEP 1. Fold it in half to make a triangle.
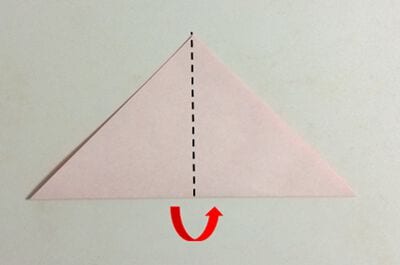
STEP 2. Fold it in half again.
STEP 3. Open and crush.
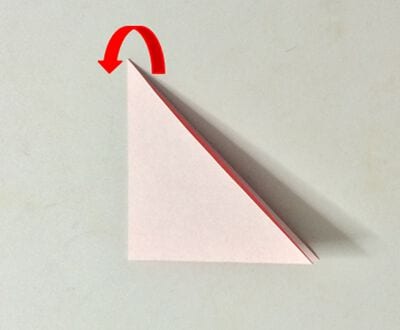
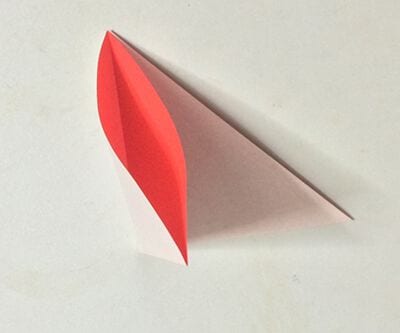
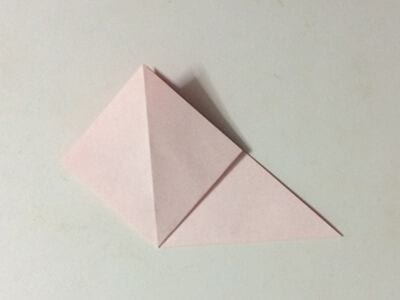
STEP 4. Turn it over.
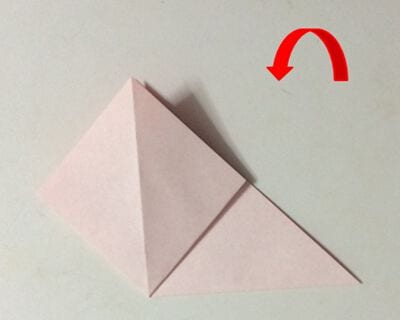
STEP 6. Fold the corner to the right.
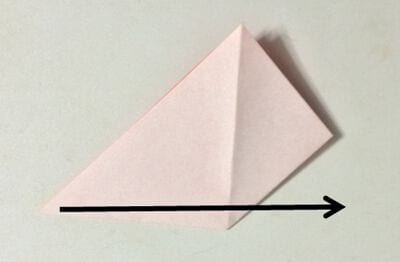
STEP 7. Spread this as well.
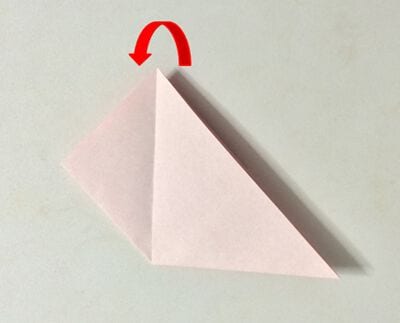
STEP 8. Make a crease so that the edges are centered.
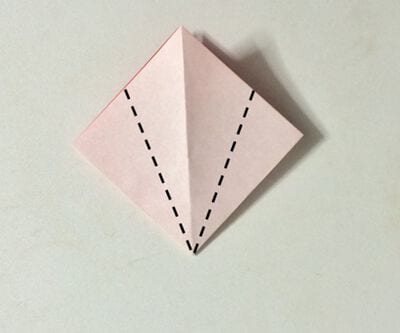
STEP 9. Fold it in.
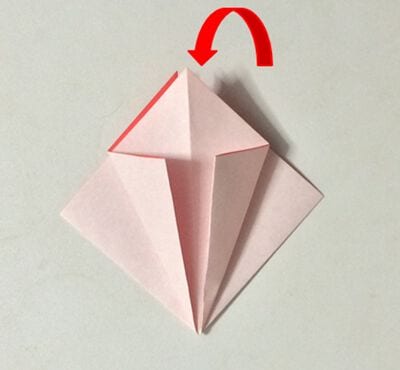
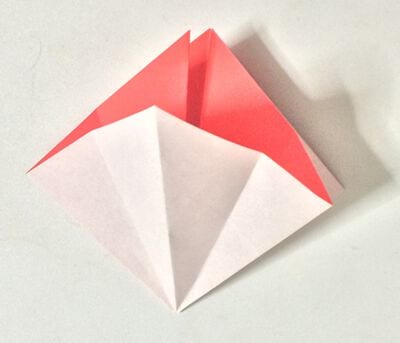
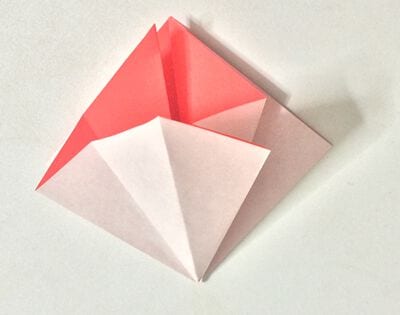
STEP 10. Fold the other side in the same way.
STEP 11. Turn it over and repeat steps 8–10.
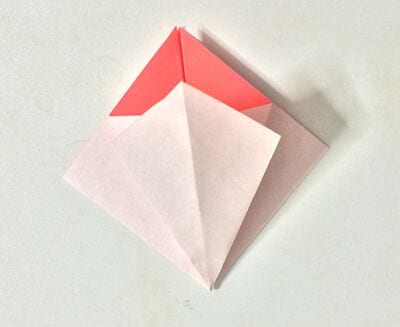
STEP 12. Fold the dotted line.
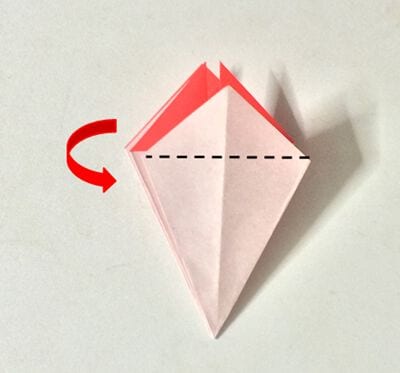
STEP 13. Repeat this and wrap everything back.
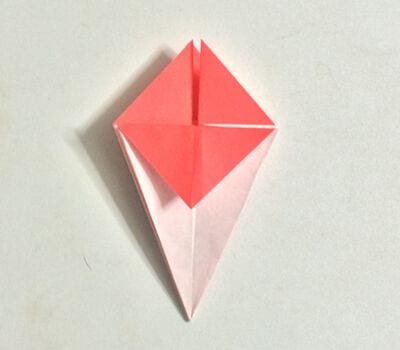
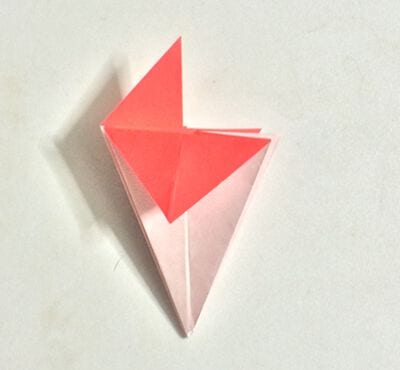
STEP 14. Turn over one sheet.
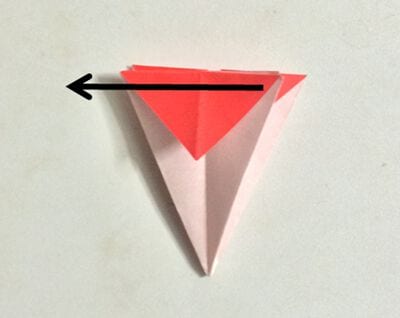
STEP 15. Fold it back so that the corners are centered.
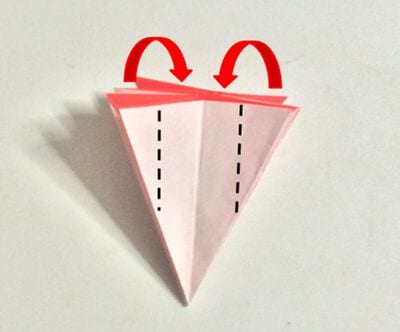
STEP 16. Fold it back in the same way at all corners.
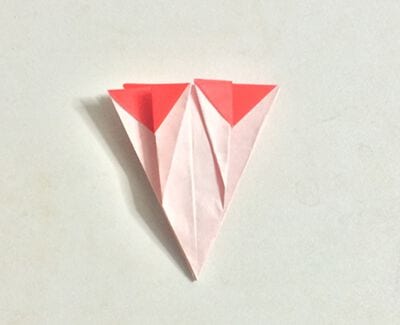
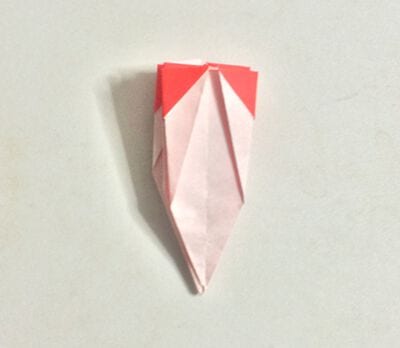
STEP 17. Turn over one sheet and make it in the following state, then halve it.
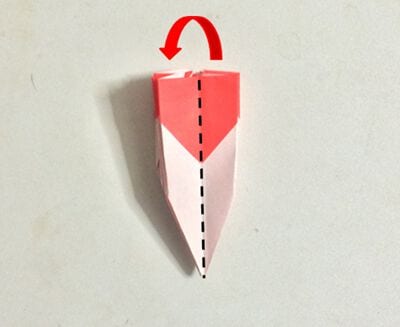
STEP 18. Fold it in at the dotted line.
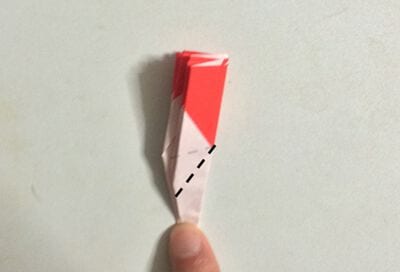
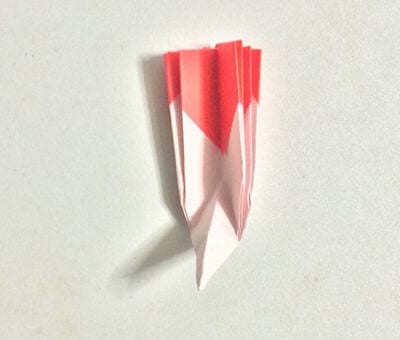
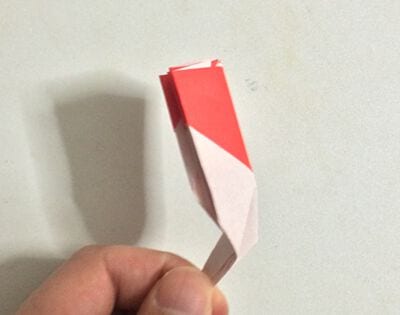
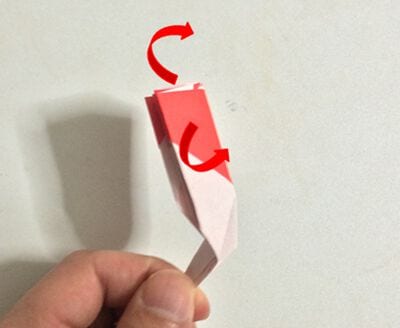
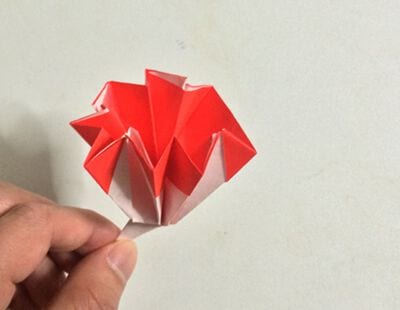
STEP 19. Fold it outward, then shape it to finish.
Flat carnation
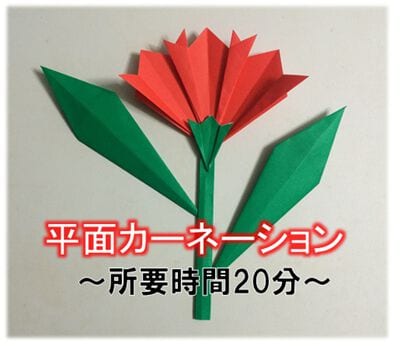
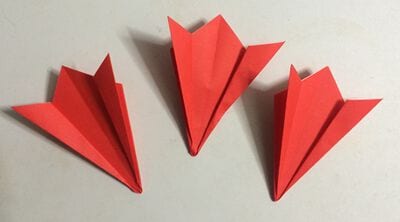
The origami papers used are 3 red (flowers) and 3 green (stems, leaves).
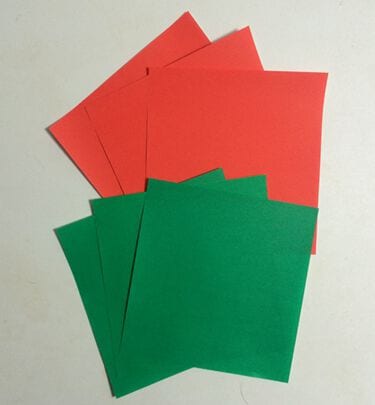
One sheet is used at one-quarter size for the calyx and stem, respectively.
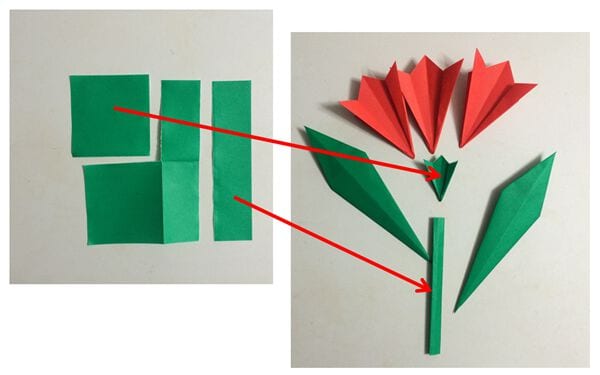
I’ll make each of the seven parts and combine them; the steps are below.
STEP 1. Fold it in half to make a triangle.
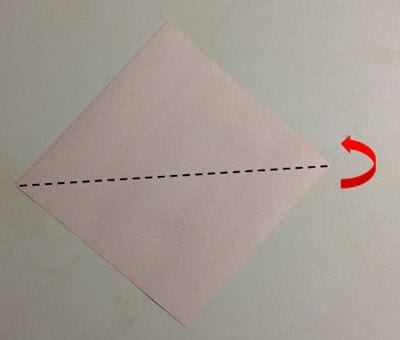
STEP 2. Make a crease as shown below.
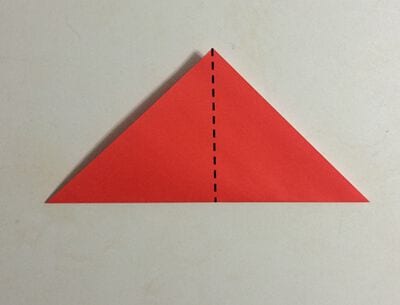
STEP 3. Fold it back into a diamond shape.
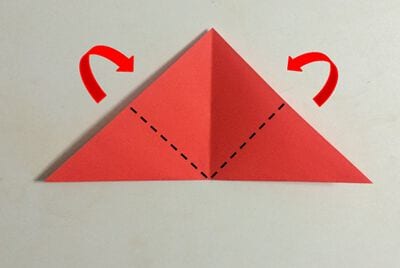
STEP 4. Turn it over.
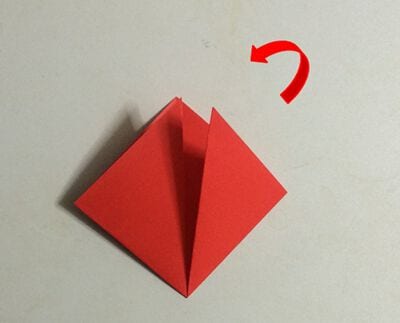
STEP 5. Fold it along the dotted line.
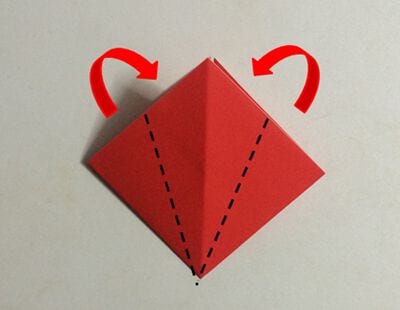
STEP 6. Turn it over.
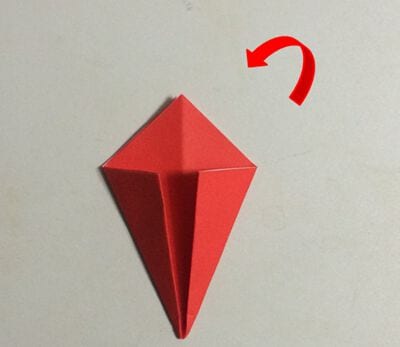
STEP 7. Fold it back to spread it out and you're done.
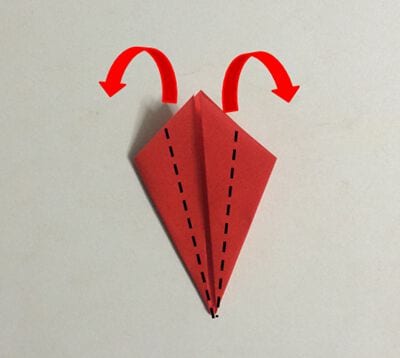
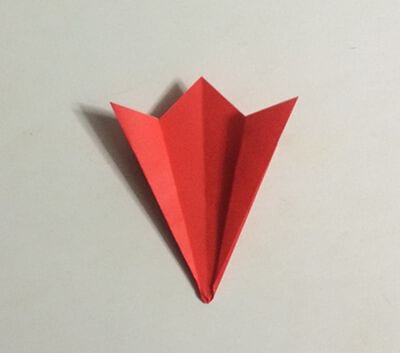
STEP 8. Make three of these.
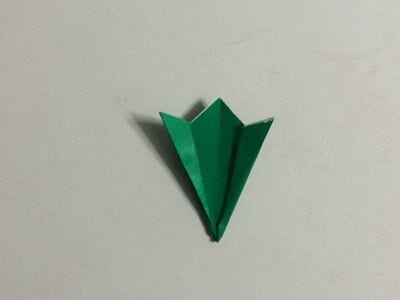
Make the same parts as the flower using paper one-quarter its size.
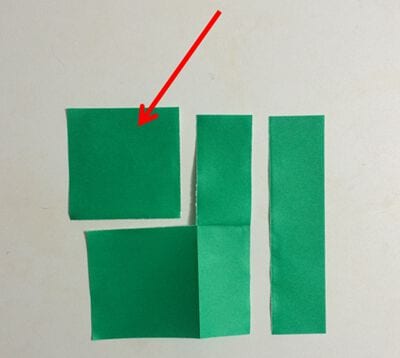
Use a rectangle that is one-quarter the size on one side, as shown.
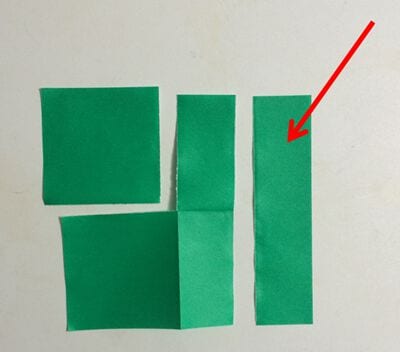
Fold it in three and glue it as shown.
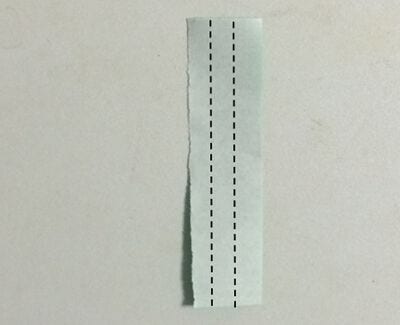
STEP 1. Make a crease.
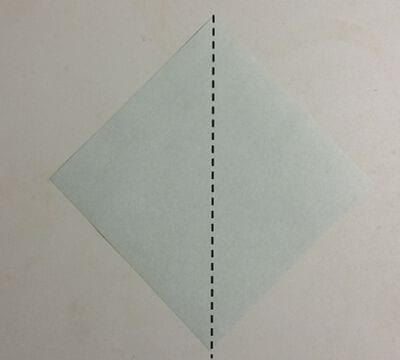
STEP 2. Fold it along the crease.
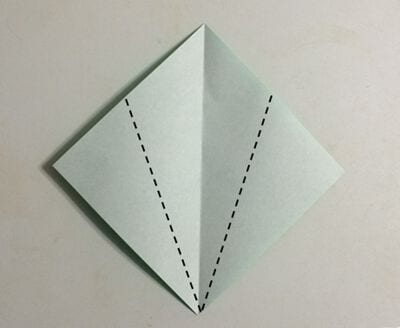
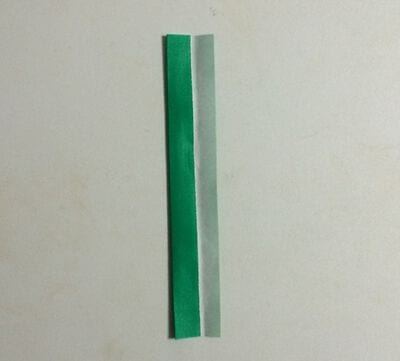
STEP 3. Fold it again along the crease.
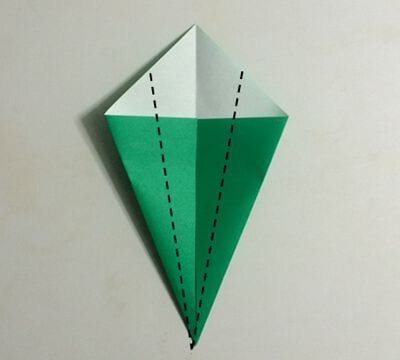
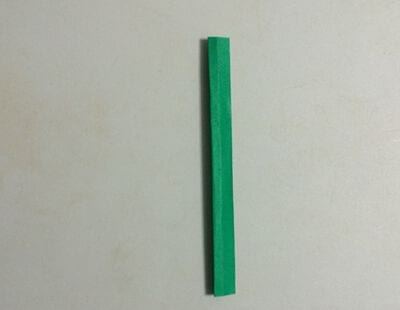
STEP 4. Fold the top along the crease to complete. Turn this over and use it.
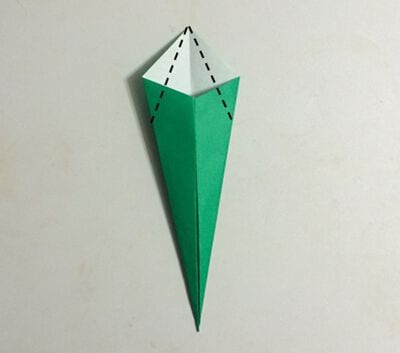
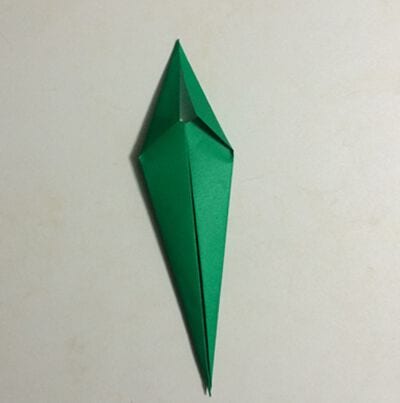
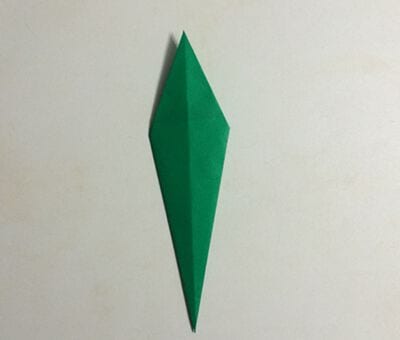
STEP 5. Make another one.
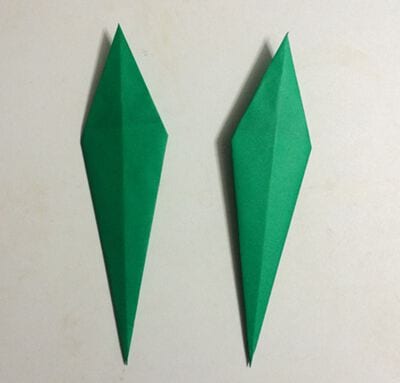
Combine the parts as shown and glue them together to finish.