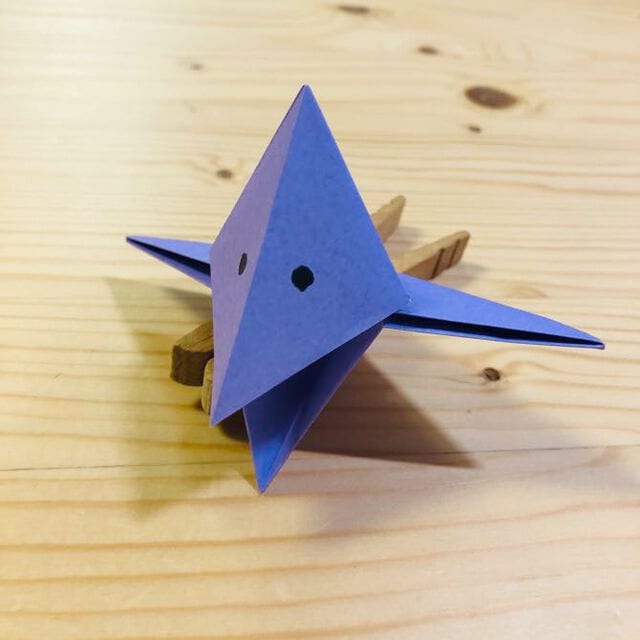
Whirligig beetle
If you have ever watched a whirligig beetle spin dizzying circles on the surface of a pond, you will know why this little origami version is so much fun to fold. Called mizusumashi in Japanese, it is a compact, rounded insect built almost entirely from patient valley folds and careful creasing. The steps repeat a soothing fold-crease-unfold rhythm, so it is as relaxing to make as it is satisfying to finish. Grab a 15 cm square and let us build one.

Things to prepare
1 sheet of normal size origami ( 15cm x 15cm )
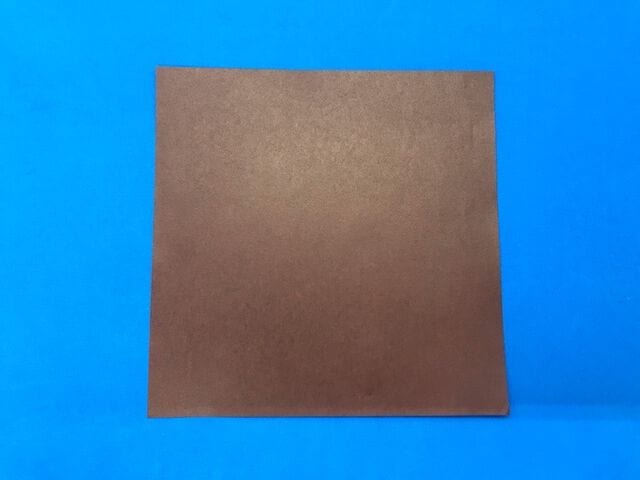
How to fold a whirligig beetle
STEP 1.
Turn the white side of the origami face up and make a valley fold along the dotted line to create a crease.
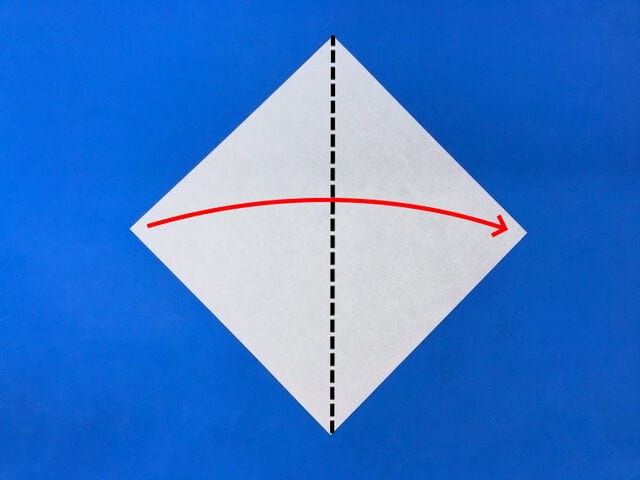
STEP 2.
After folding to make a crease like this, unfold the paper again.

STEP 3.
Make a valley fold along the dotted line.
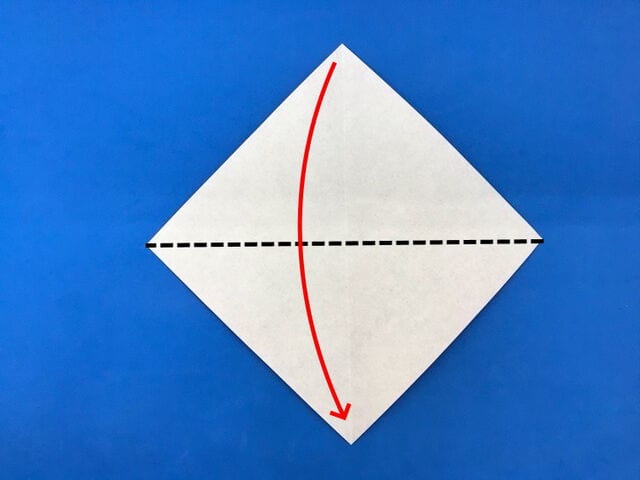
STEP 4.
Bring the lower corner up to the dotted line and make a valley fold so it lines up with the ◯ mark.
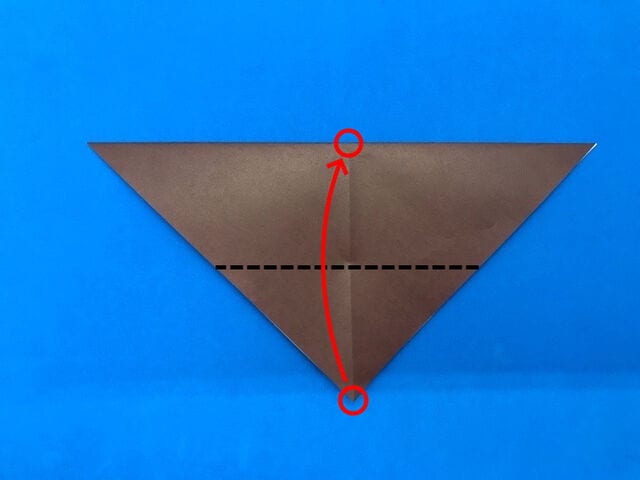
STEP 5.
After folding to make a crease like this, unfold the paper again.
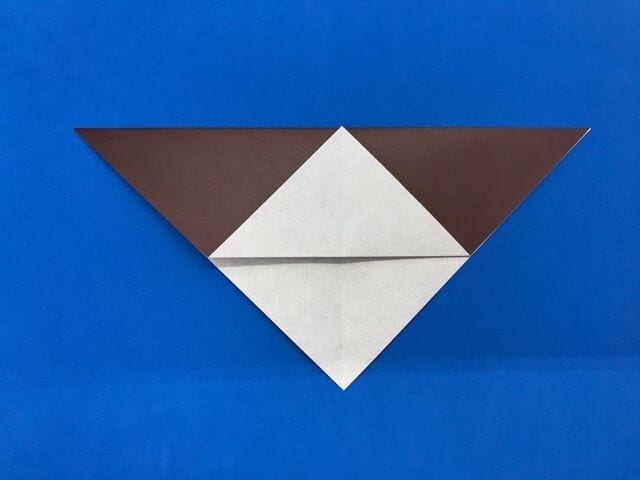
STEP 6.
Make a valley fold along the dotted line so the top edge lines up with the crease you just made.
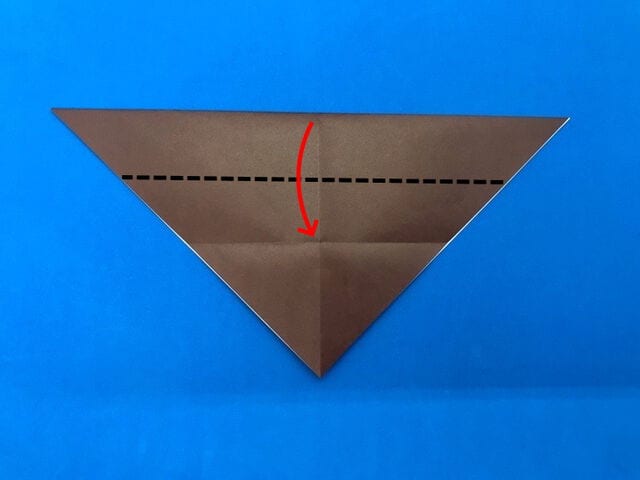
STEP 7.
Once folded like this, turn the paper over.
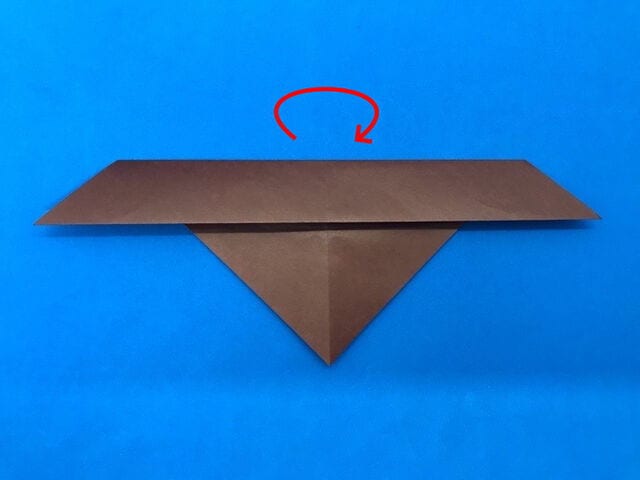
STEP 8.
Make a valley fold along the dotted line so one corner on the front matches the top edge.
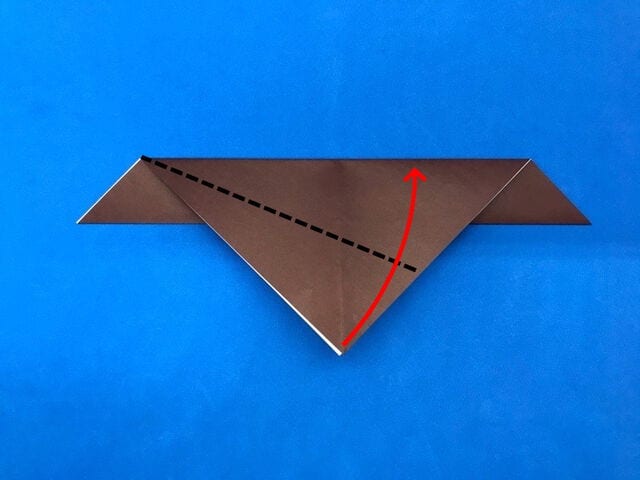
STEP 9.
After folding to make a crease like this, unfold the paper again.
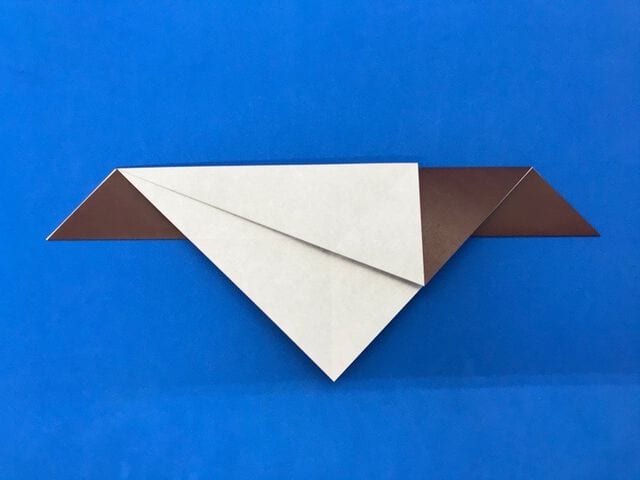
STEP 10.
On the other side, make a valley fold along the dotted line so one corner on the front matches the top edge.
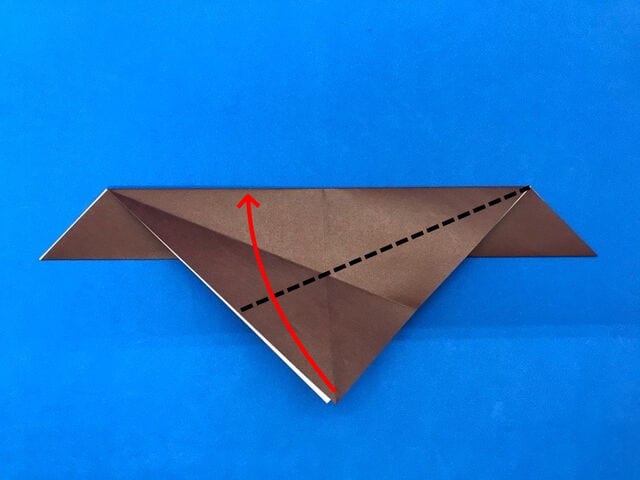
STEP 11.
After folding to make a crease like this, unfold the paper again.
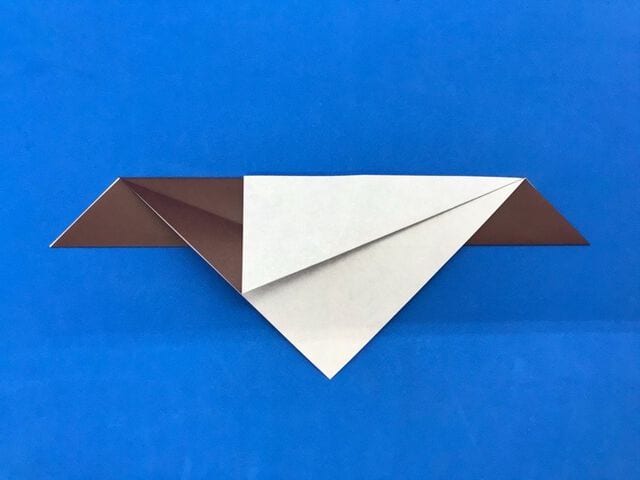
STEP 12.
Make a valley fold along the dotted line so the corner marked ◯ at the upper left meets the ◯ mark at the crease position on the lower right.
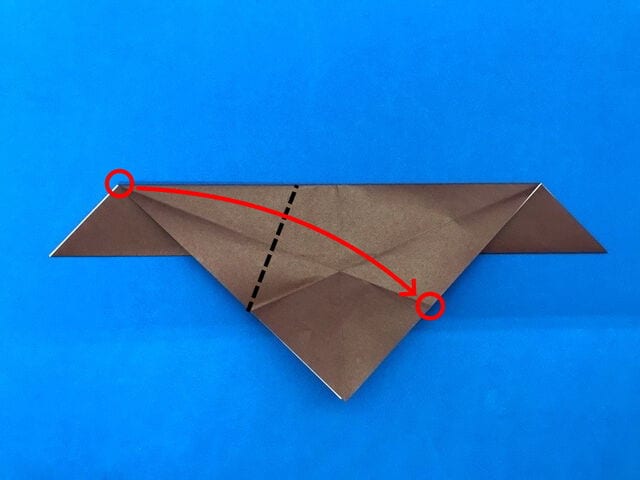
STEP 13.
Make a valley fold along the dotted line so the corner marked ◯ at the upper right meets the ◯ mark at the lower left corner.
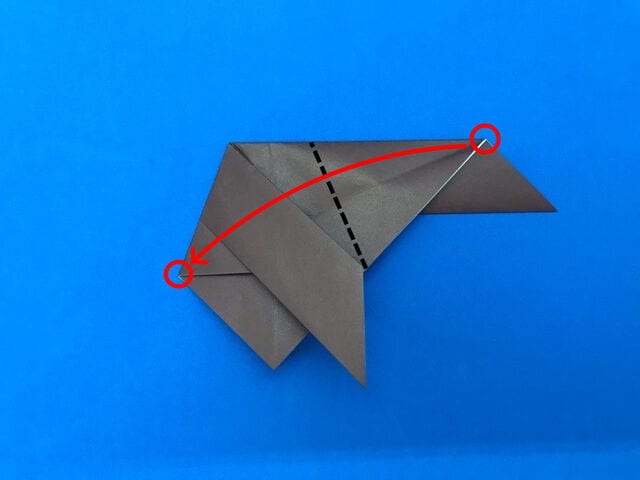
STEP 14.
Once folded like this, turn the paper over.
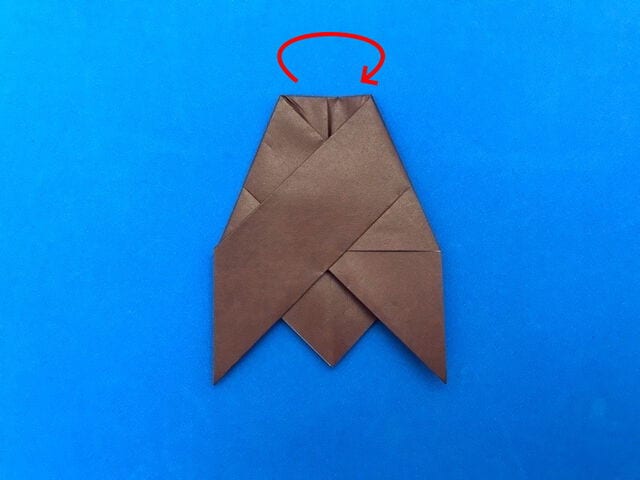
STEP 15.
This completes the whirligig beetle (mizusumashi)!