
Basket
Ever finished a folding session and wished you had something small to put the results in? A few paper cranes, some sweets, the bits and bobs that always end up on the desk? This origami basket is exactly that kind of model: one square of paper, no scissors, and a handle that grows right out of the sheet itself.
The fun part comes somewhere in the middle, when the flat paper suddenly turns into something with real depth. You open a pocket, squash a corner, and a box appears where a moment ago there was nothing. Take your time with the creases here, especially the ones you make on both sides, because they decide how square and how sturdy the finished basket looks. A tiny dab of glue at the end holds the handle together, and then you have a little basket that actually stands up and can carry a bit of weight.
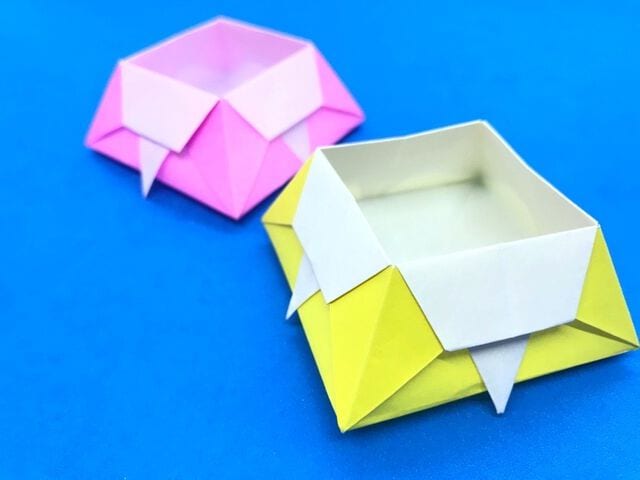
Things to prepare
1 sheet of standard origami paper (15 cm x 15 cm).
How to fold a basket
STEP 1.
Place the paper with the uncolored (white) side facing up, then fold it in half sideways and make a crease.
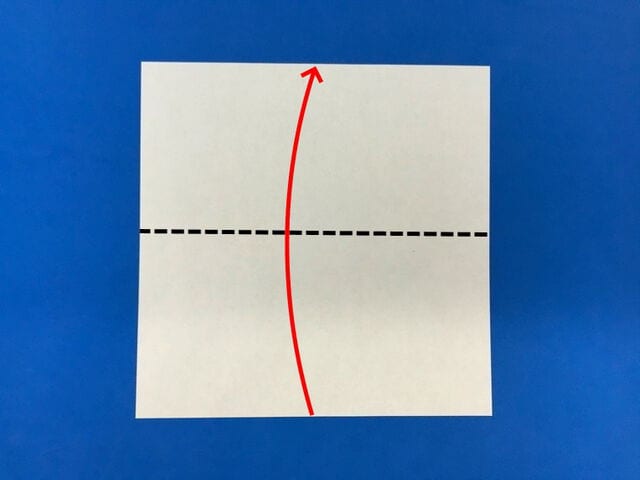
STEP 2.
Valley fold it like this, then unfold.
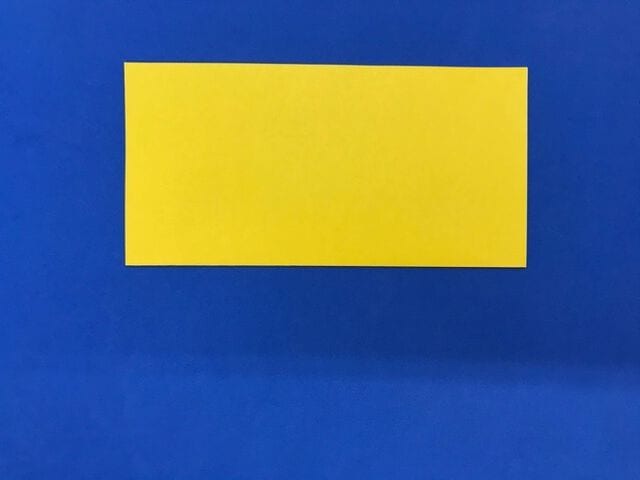
STEP 3.
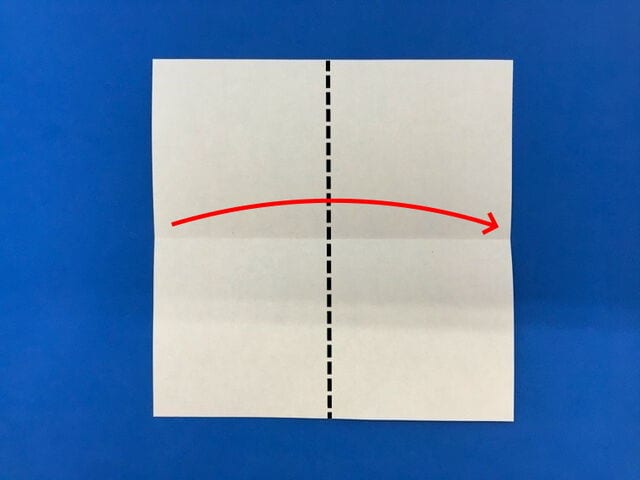
After unfolding, fold it in half vertically to make another crease.
STEP 4.
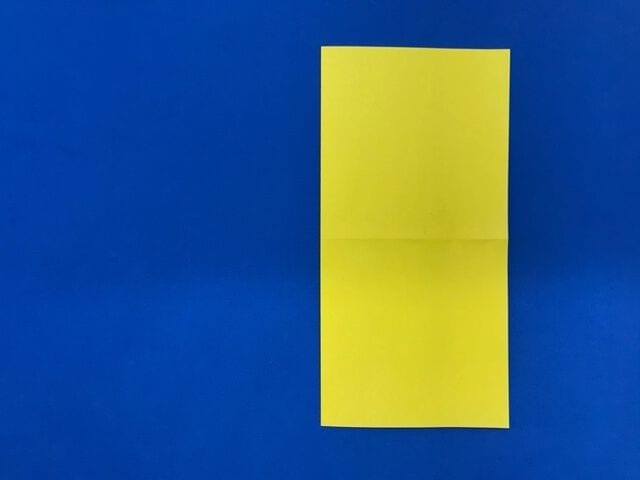
Valley fold it like this, then unfold.
STEP 5.
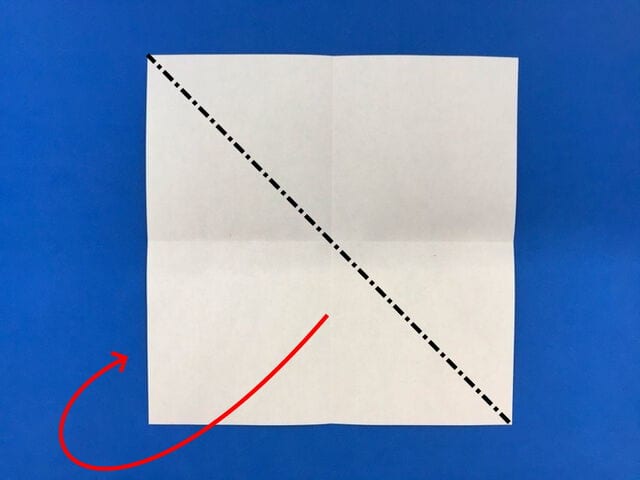
After unfolding, fold it diagonally to make a crease.
STEP 6.
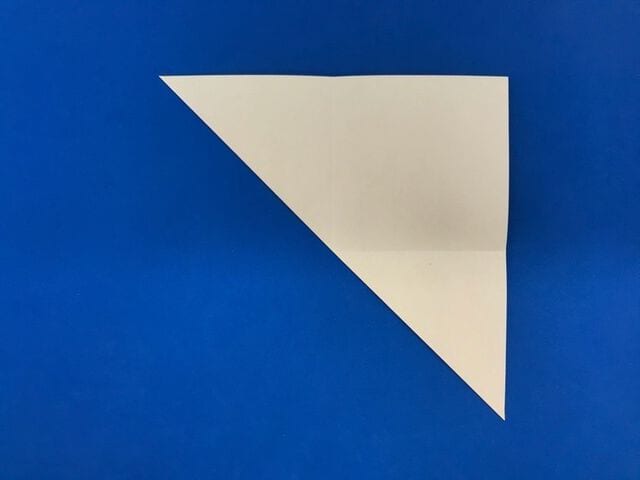
Fold it like this, then unfold.
STEP 7.
After unfolding, mountain fold along the line to make a crease.
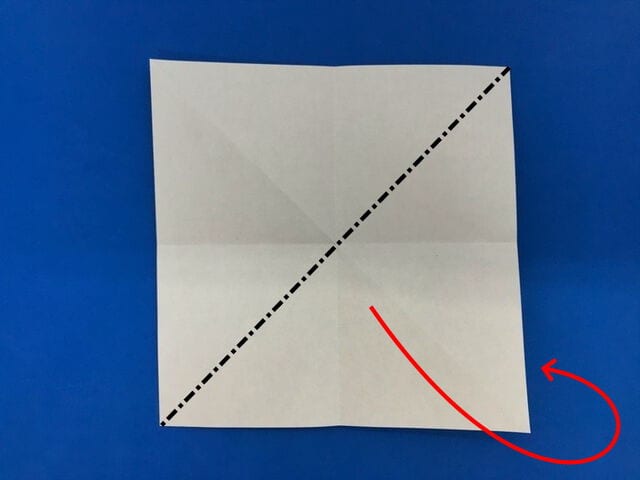
STEP 8.
Fold it like this, then unfold.
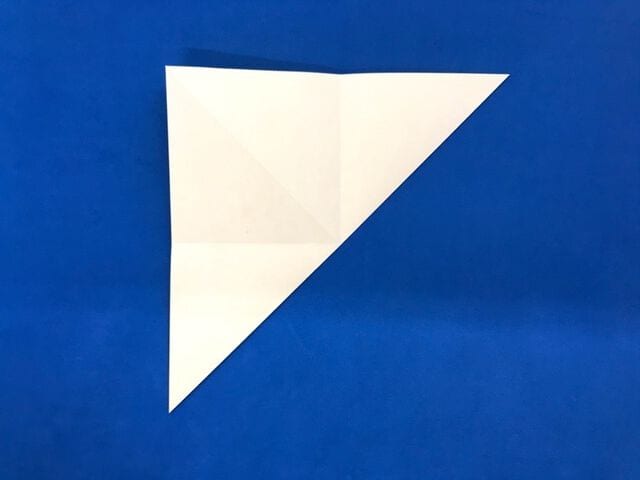
STEP 9.
Bring the marked points together along the creases.
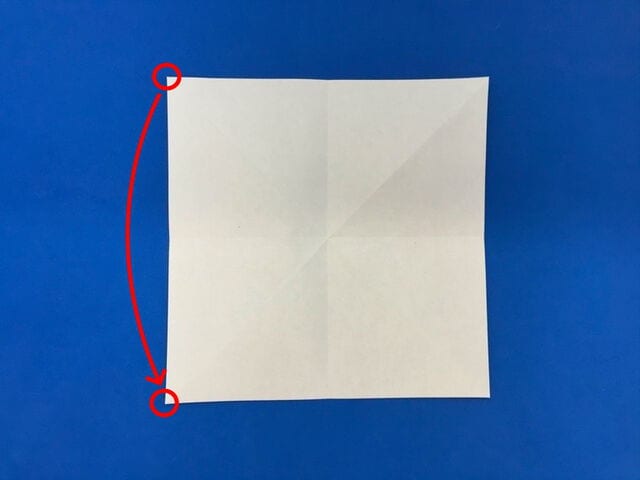
STEP 10.
Overlap the marked points along the creases.
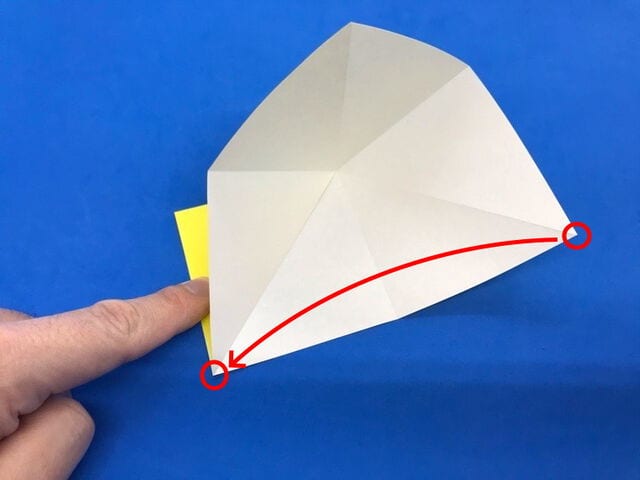
STEP 11.
Overlap the marks in the direction of the arrow, following the creases.
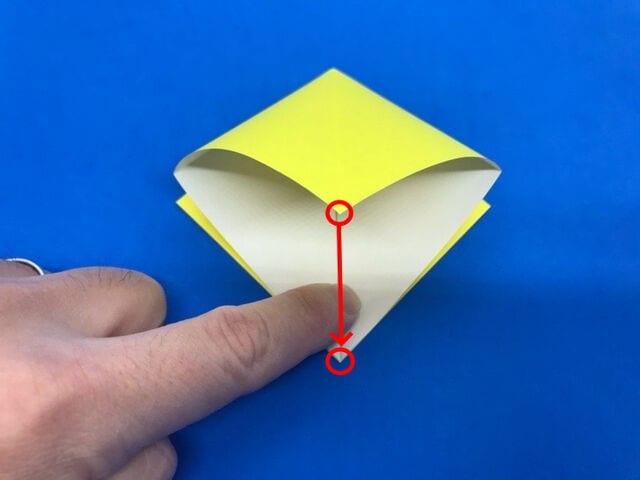
STEP 12.
Turn the model over so that the bottom now faces up.
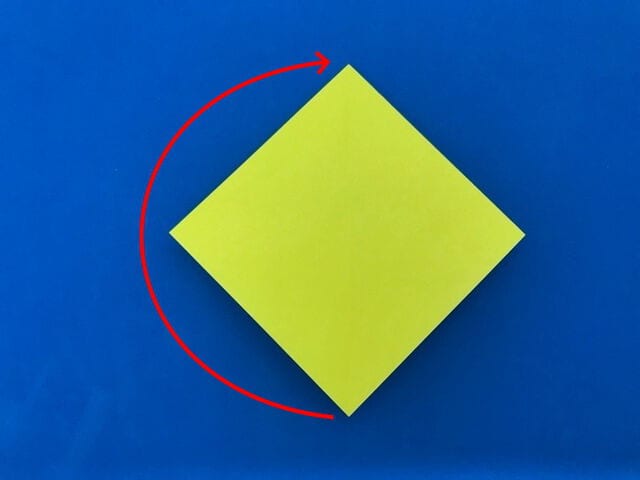
The side with the corners turned up should be on top.
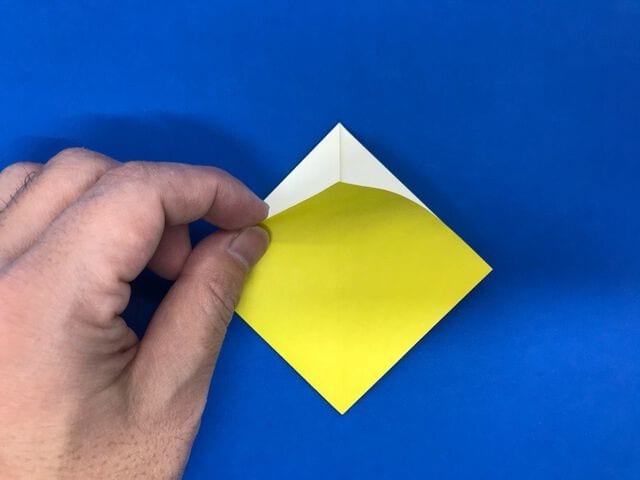
STEP 13.
Align the top layer with the middle crease and valley fold along the dotted line.
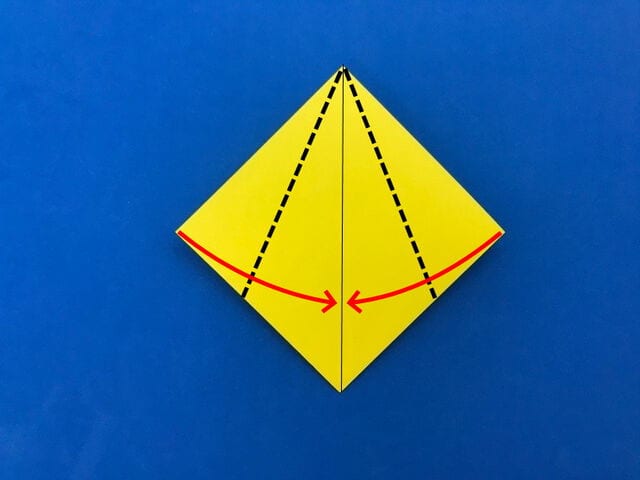
STEP 14.
Valley fold along the dotted line so that the marked corners meet.
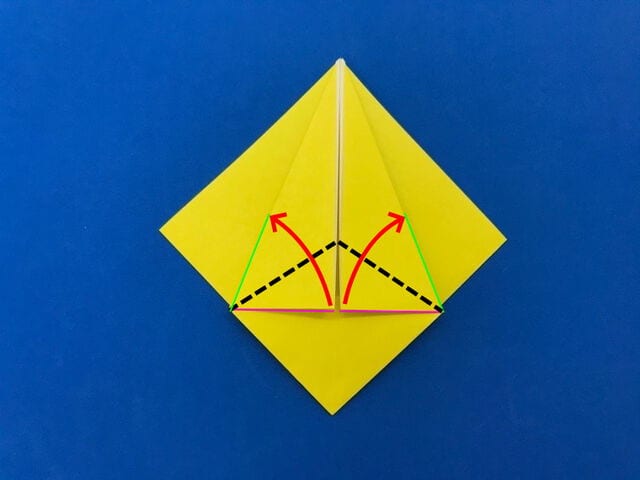
STEP 15.
After making the valley fold and creasing it like this, open the model out again as before.
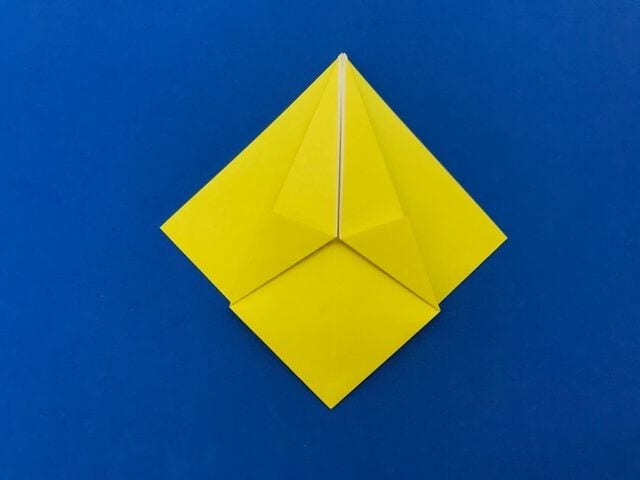
STEP 16.
First, on the right side, open the pocket and fold it along the crease you just made.
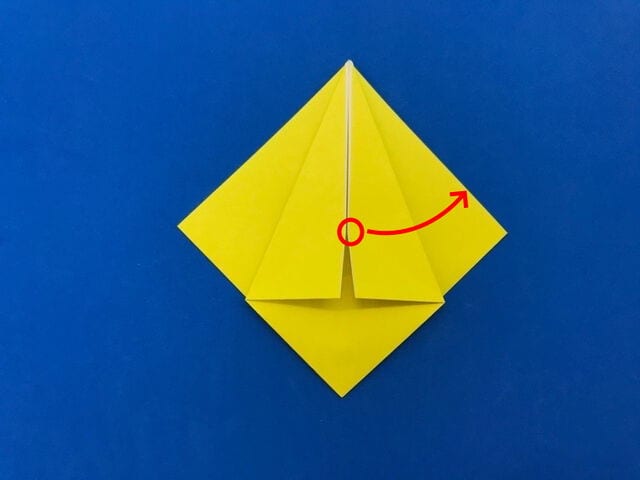
Open the pocket this way and fold it along the creases to flatten it.
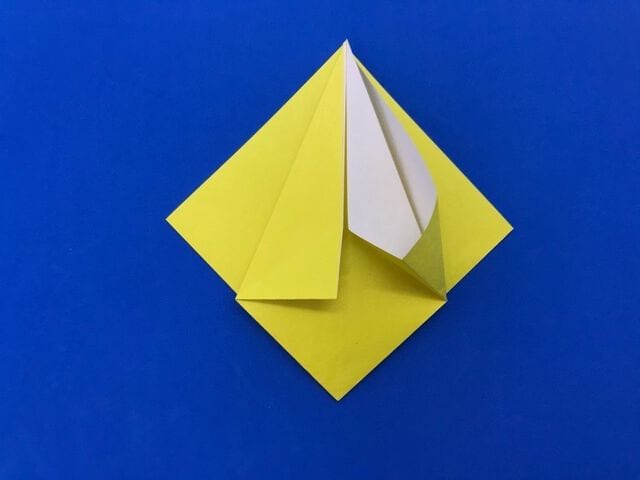
STEP 17.
Do the same on the left side: open the pocket along the crease and flatten it.
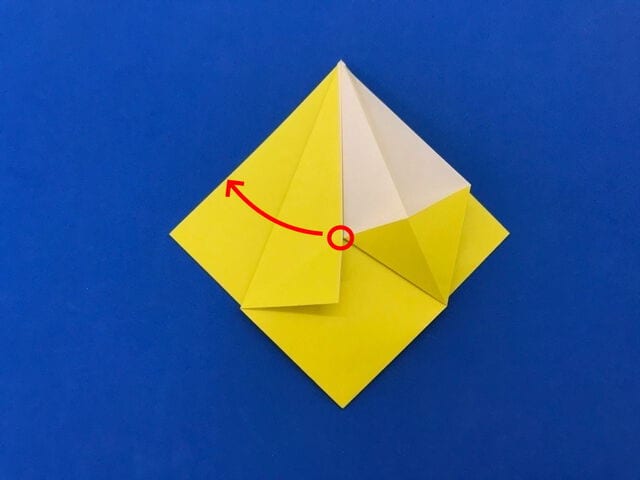
STEP 18.
Once it looks like this, turn the model over.
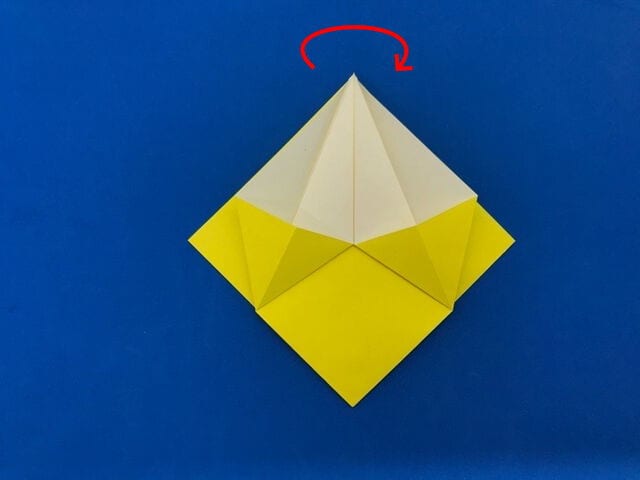
STEP 19.
Fold this side the same way as the other. Align the top layer with the middle crease and valley fold along the dotted line.
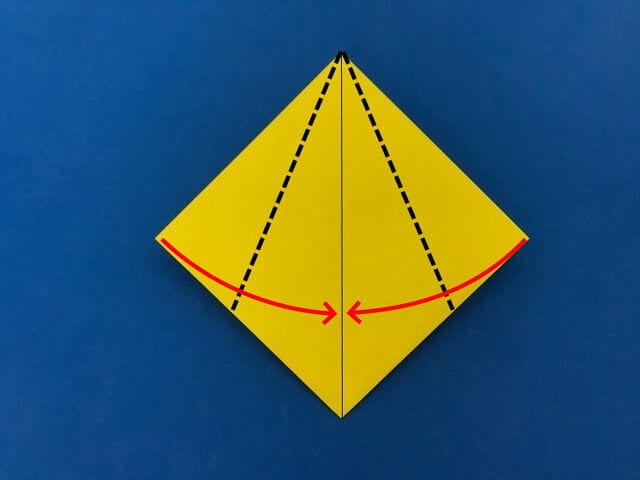
STEP 20.
Valley fold along the dotted line so that the marked corners meet.
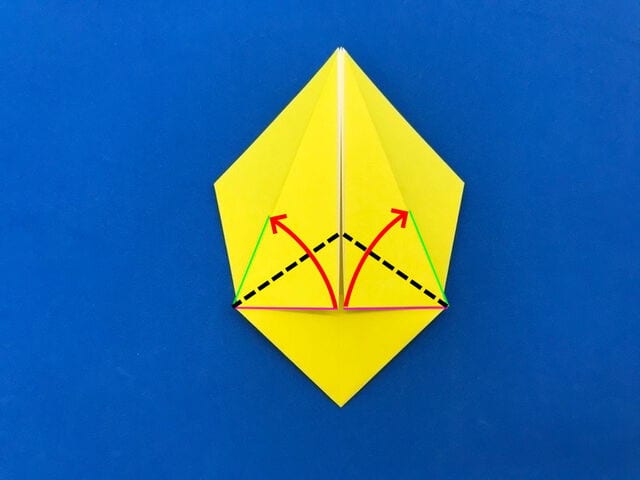
STEP 21.
After making the valley fold and creasing it like this, open the model out again as before.
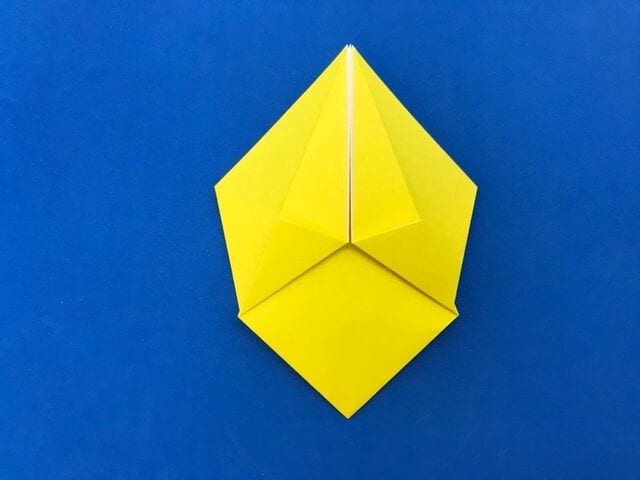
STEP 22.
Open the pocket along the crease and fold it to flatten it.
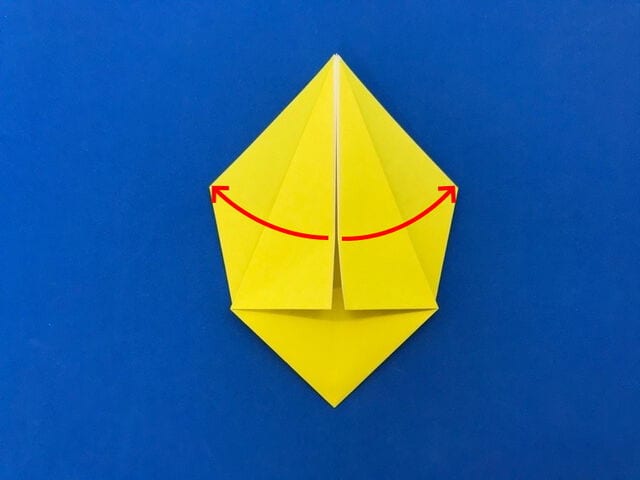
STEP 23.
Fold the top layer from right to left at the middle dotted line with a valley fold. Do the same on the back side, folding the layer from left to right.
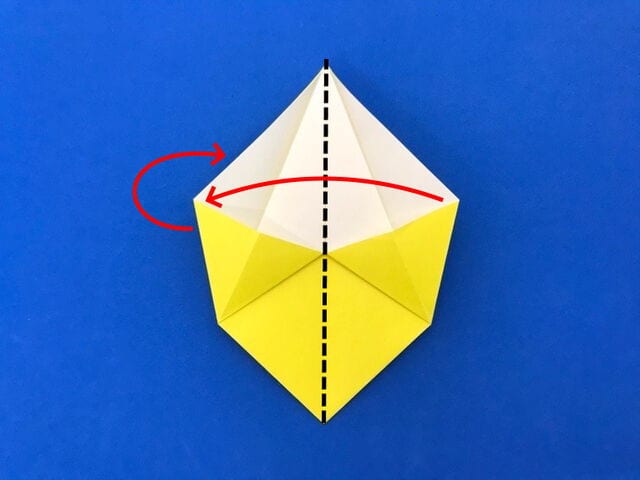
STEP 24.
Align the top layer with the middle crease and valley fold along the dotted line.
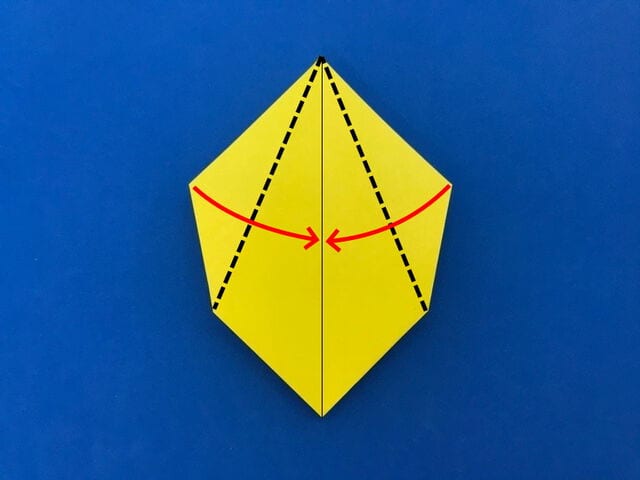
STEP 25.
Once it looks like this, turn the model over.
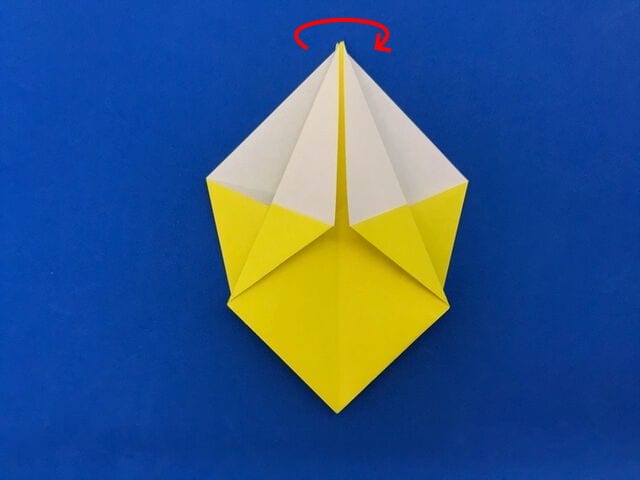
STEP 26.
As on the other side, valley fold along the dotted line, aligning it with the middle crease.
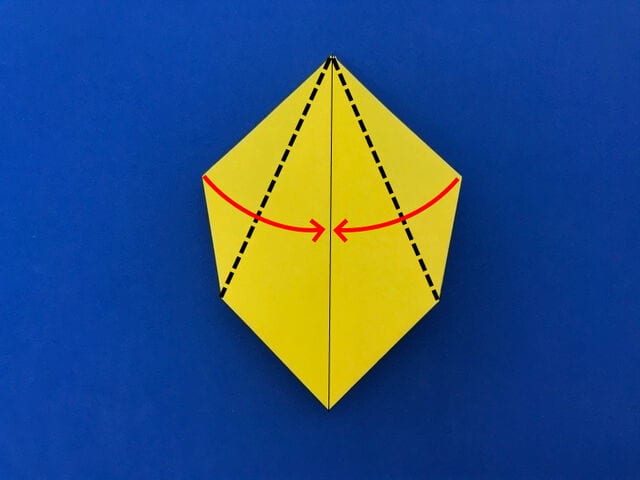
STEP 27.
Valley fold along the dotted line to make a crease.
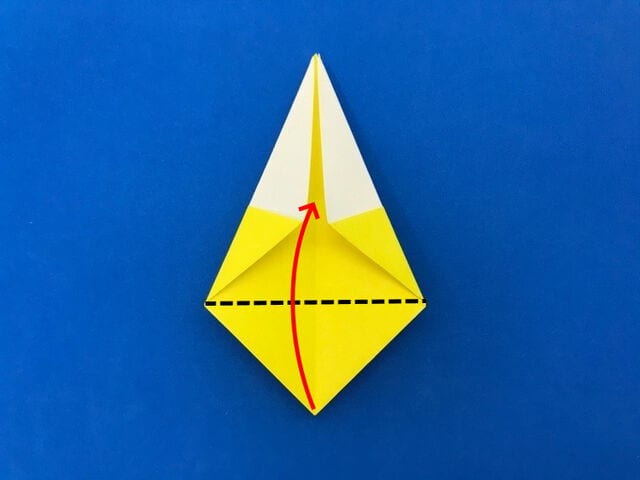
STEP 28.
After making the valley fold and creasing it like this, open the model out again as before.
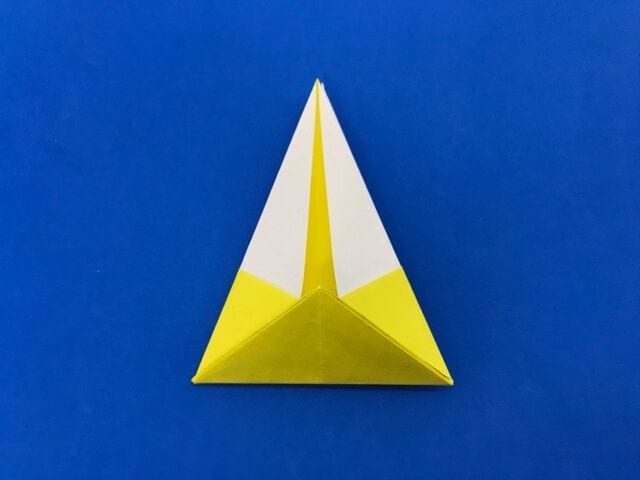
STEP 29.
Making a mountain fold at the same position on the opposite side will make it easier to finish the model in a neat box shape at the end.
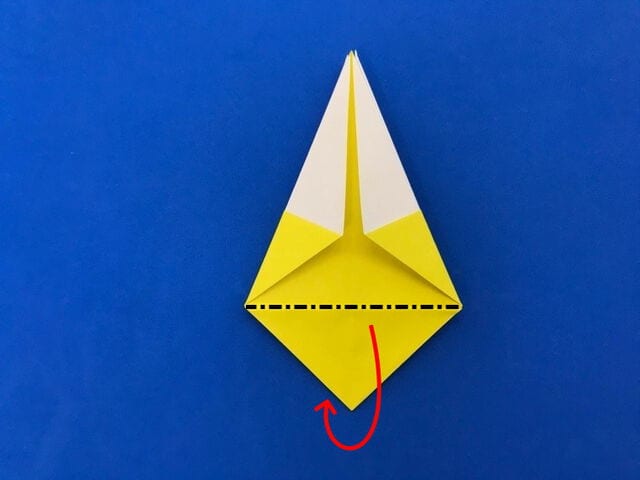
STEP 30.
After making this mountain fold and creasing it, open the model out again as before.
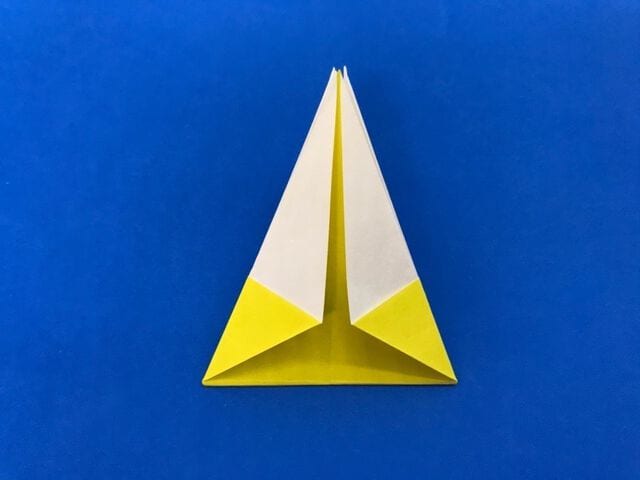
STEP 31.
Valley fold the top layer along the dotted line.
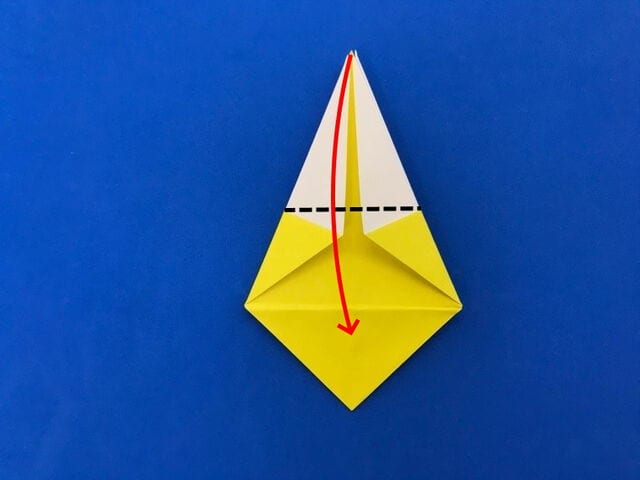
STEP 32.
Once it looks like this, turn the model over.
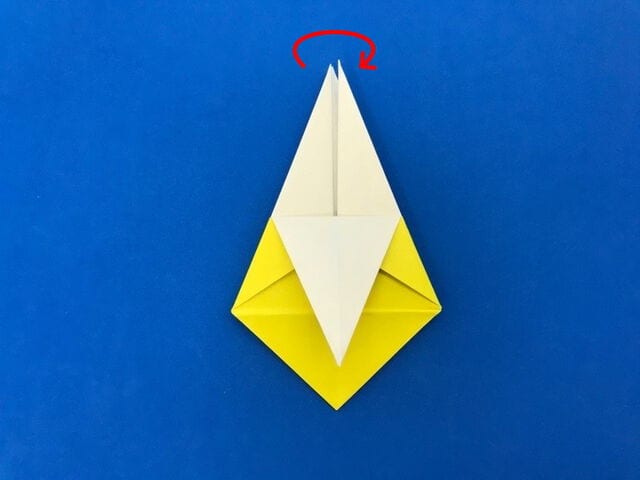
STEP 33.
Valley fold the top layer along the dotted line.
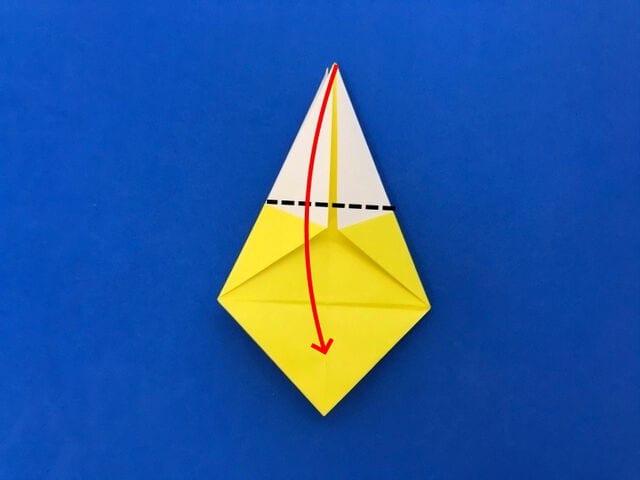
STEP 34.
Fold the top layer from right to left at the middle dotted line with a valley fold. Do the same on the back side, folding the layer from left to right.
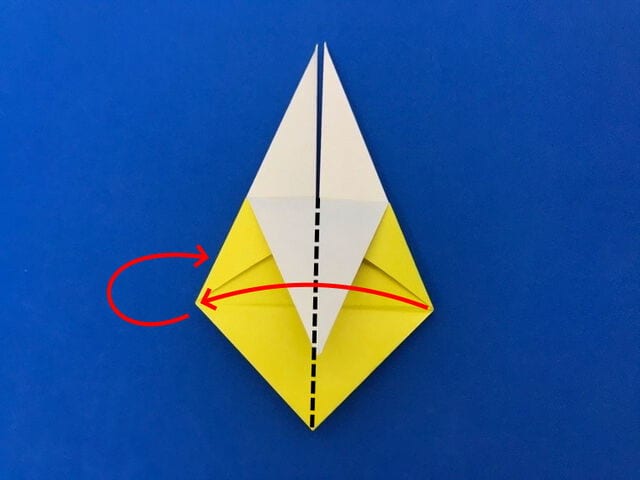
STEP 35.
Valley fold the top layer along the dotted line.
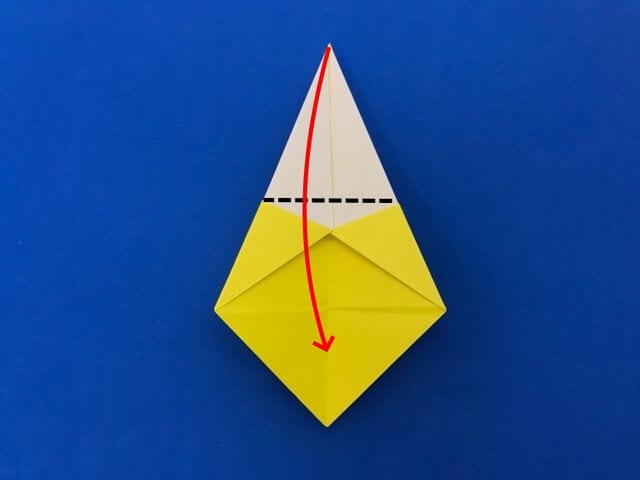
STEP 36.
Once it looks like this, turn the model over.
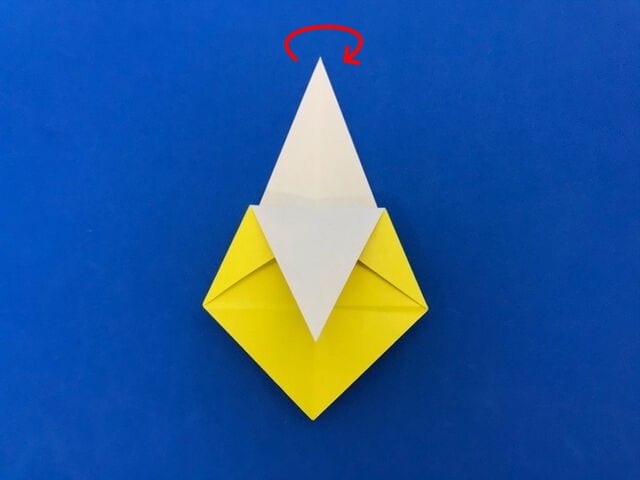
STEP 37.
Valley fold it along the dotted line.
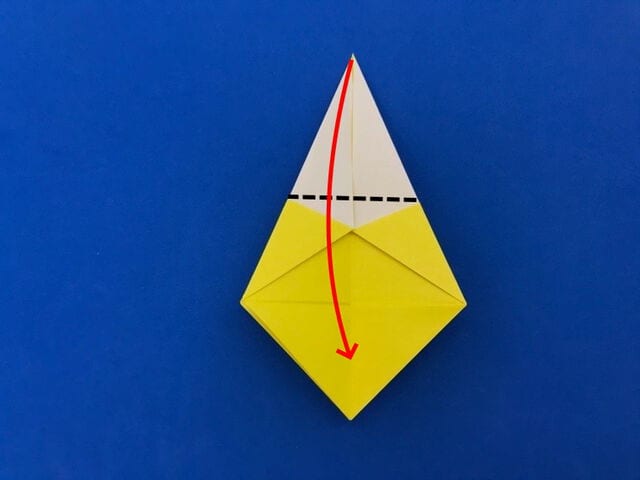
STEP 38.
Valley fold along the dotted line so that the two circles meet.
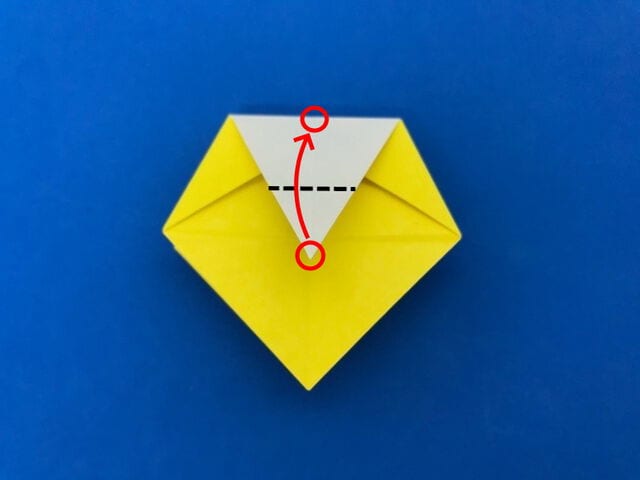
STEP 39.
After making the valley fold and creasing it like this, open the model out again as before.
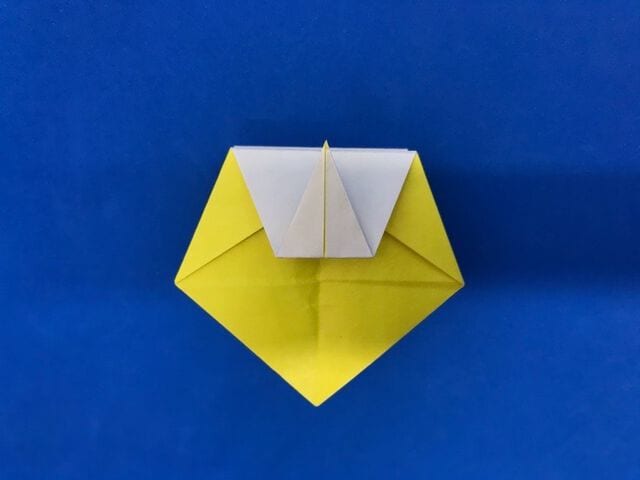
STEP 40.
Valley fold along the dotted line just below the circled point where the white and yellow papers cross. This lower crease lets you tuck the white paper under the yellow paper later on.
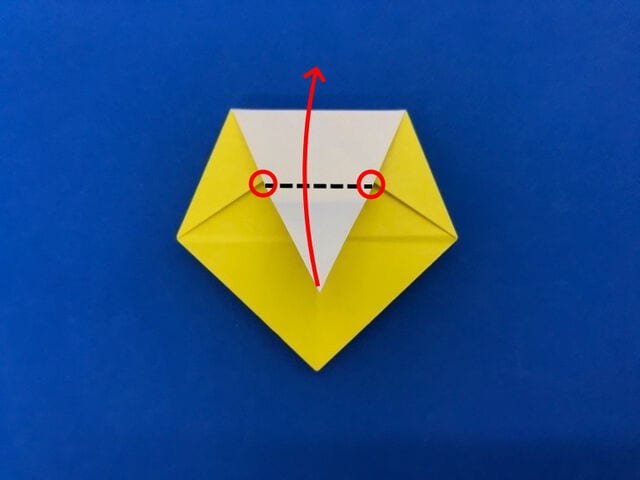
STEP 41.
After making the valley fold and creasing it like this, open the model out again as before.
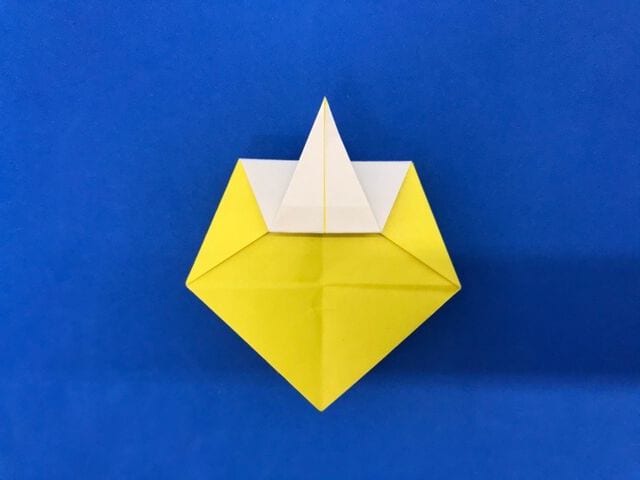
STEP 42.
Open the model out.
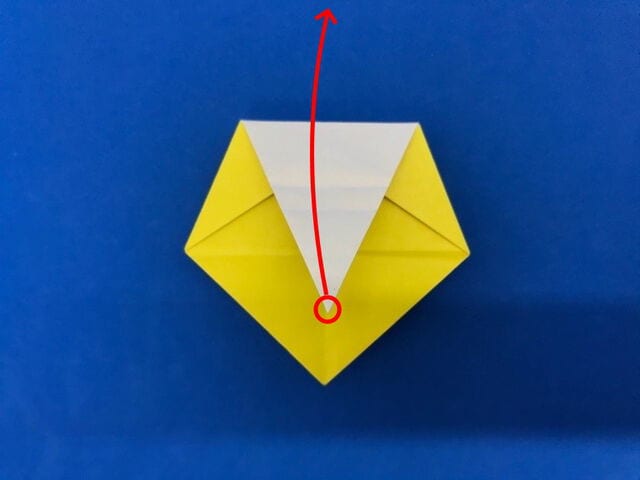
STEP 43.
Valley fold along the lower of the two creases you just made.
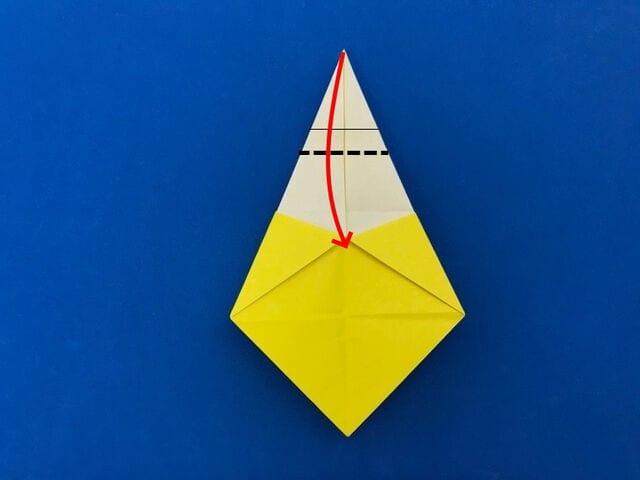
STEP 44.
Valley fold it along the dotted crease.
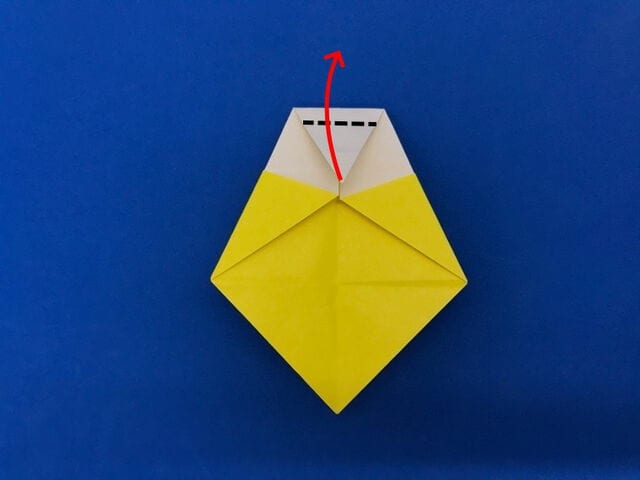
STEP 45.
While valley folding along the dotted crease, tuck the stepped part under the yellow paper.
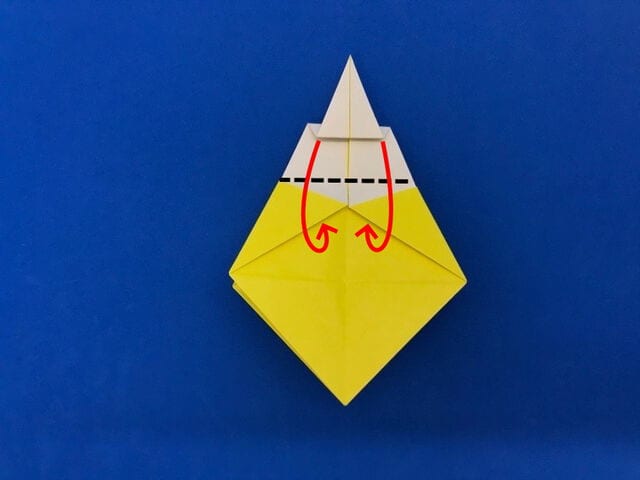
Insert it while valley folding like this.
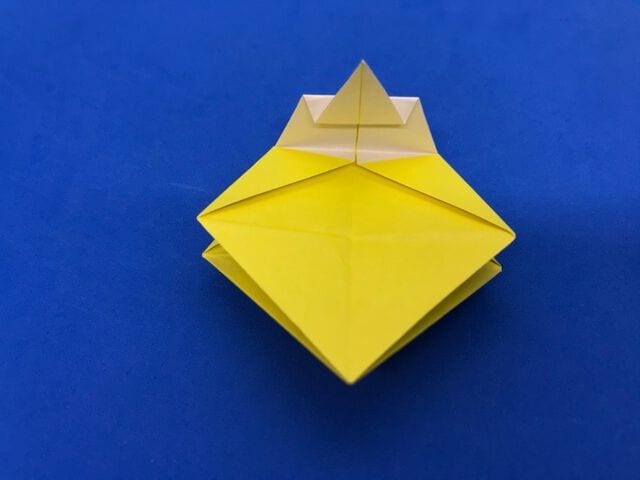
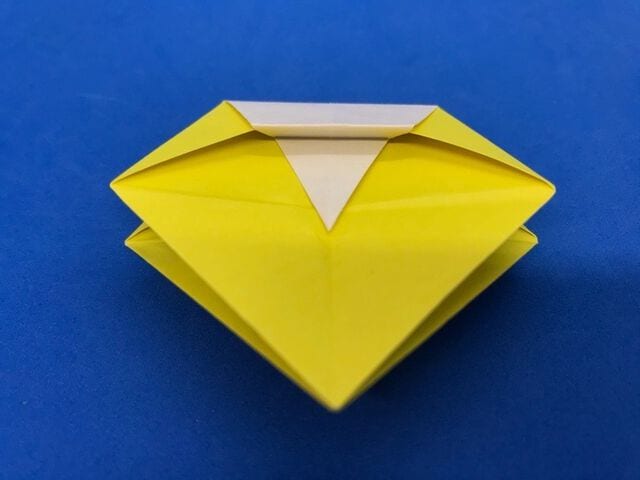
STEP 46.
Once it looks like this, turn the model over.
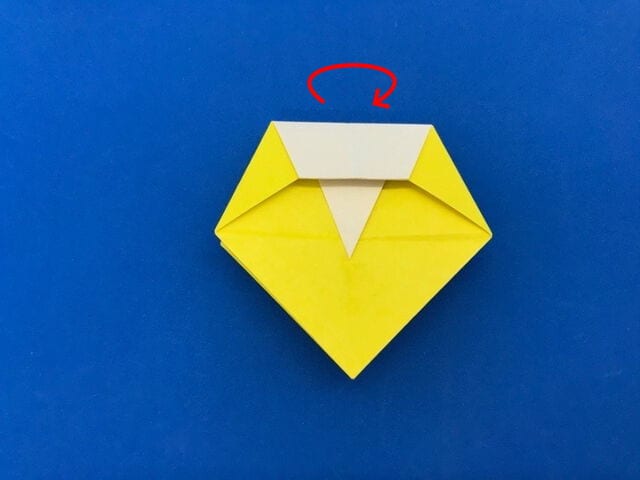
STEP 47.
Turn it over and fold this side in the same way as the other. First, valley fold along the dotted line to make a crease so that the two circles meet.
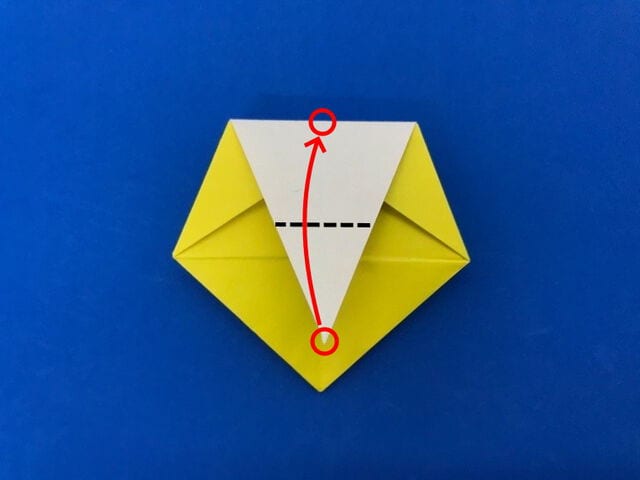
STEP 48.
After making the valley fold and creasing it like this, open the model out again as before.
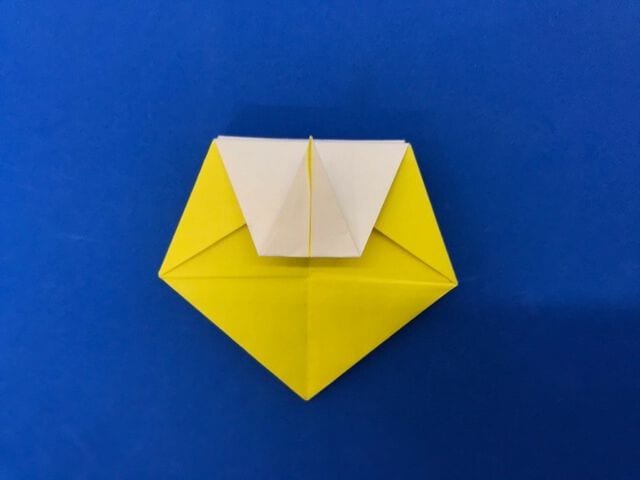
STEP 49.
Valley fold along the dotted line just below the circled point where the white and yellow papers cross. This lower crease lets you tuck the white paper under the yellow paper later on.
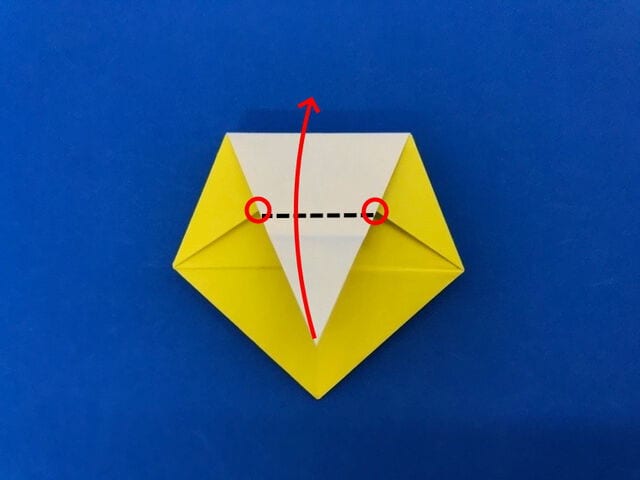
STEP 50.
After making the valley fold and creasing it like this, open the model out again as before.
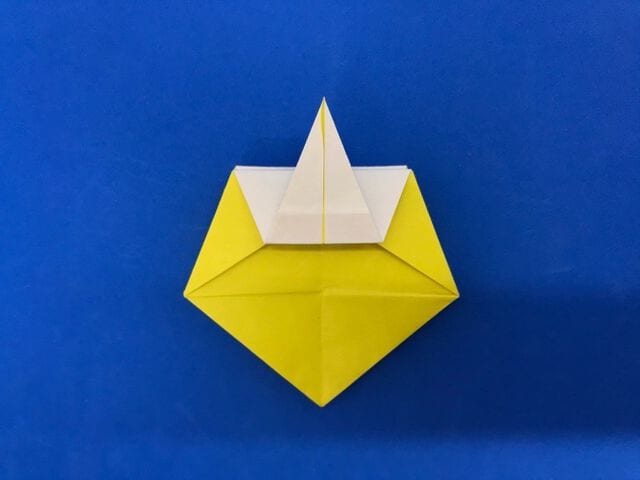
STEP 51.
Open the model out.
STEP 52.
Valley fold along the lower of the two creases you just made.
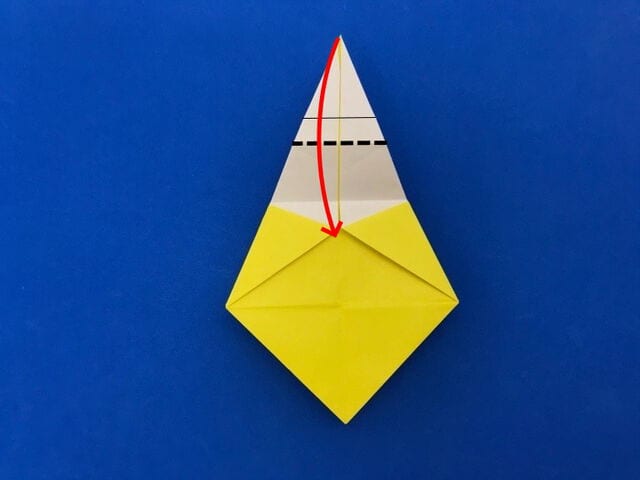
STEP 53.
Valley fold it along the dotted crease.
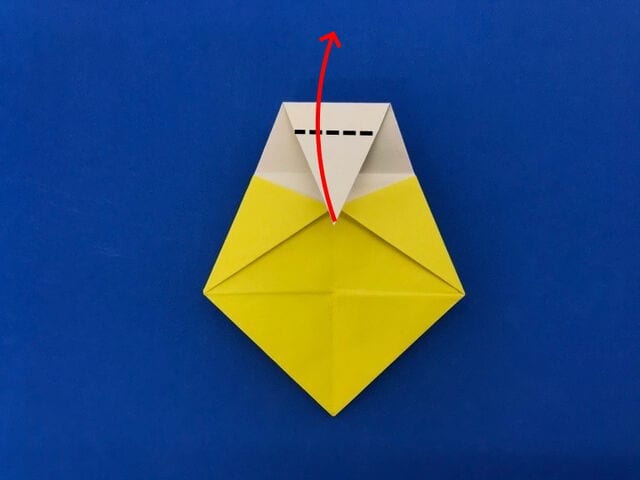
STEP 54.
While valley folding along the dotted crease, tuck the stepped part under the yellow paper.
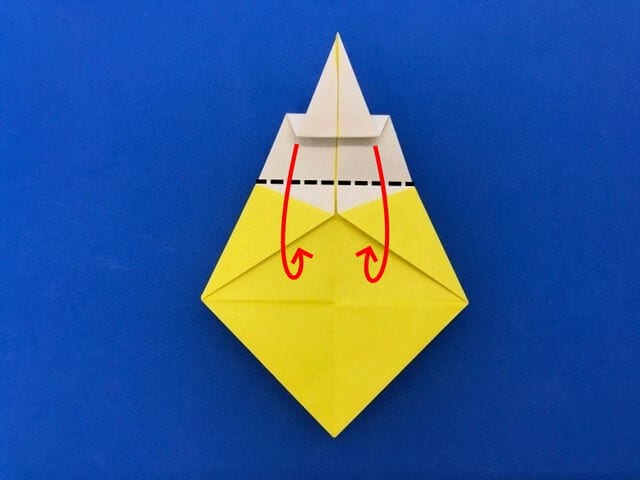
Insert it while valley folding like this.
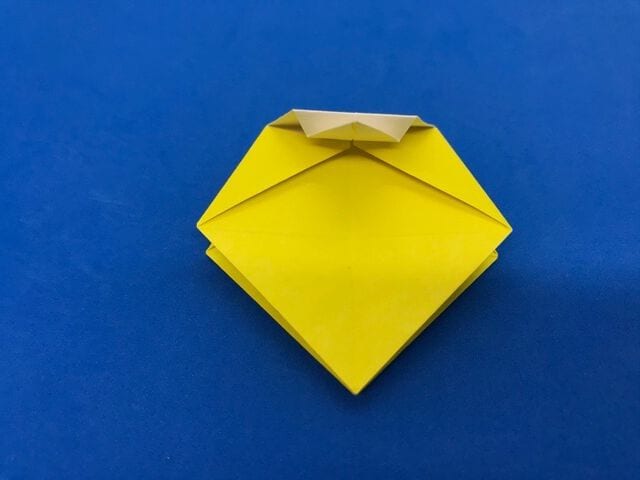
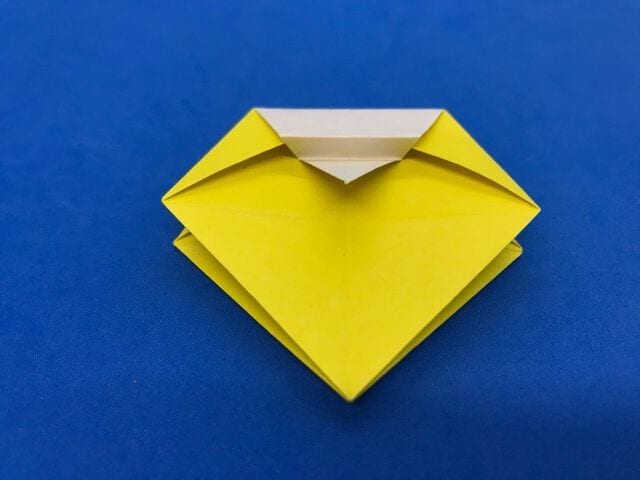
STEP 55.
Open the box out in the direction of the arrows and shape it.
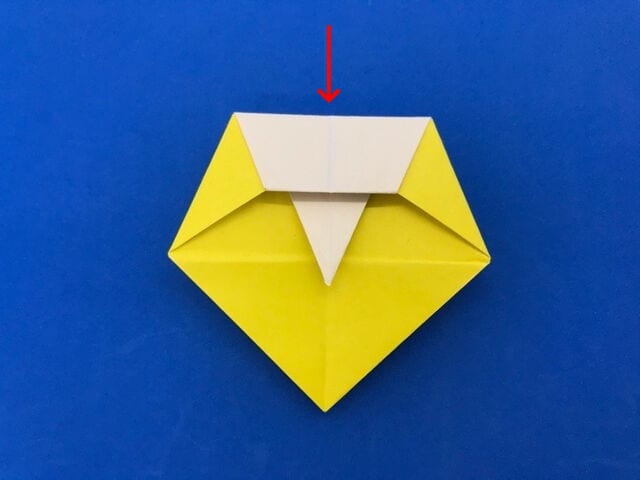
Seen from above, open the box out like this.
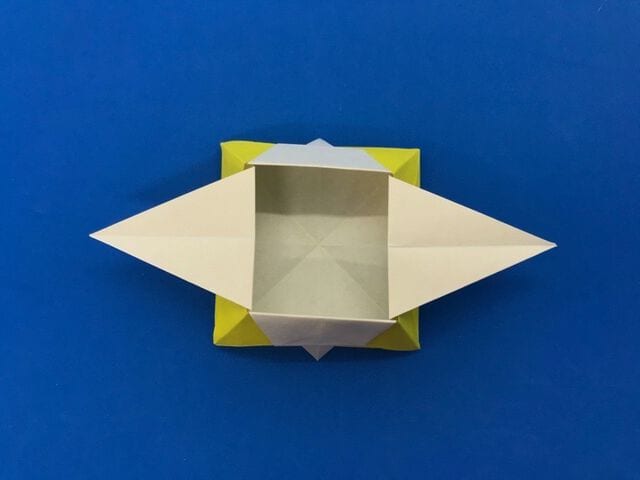
STEP 56.
Raise the handle of the basket upwards and apply glue to the circled part. (Tape glue is handy here because it holds as soon as you press it down.)
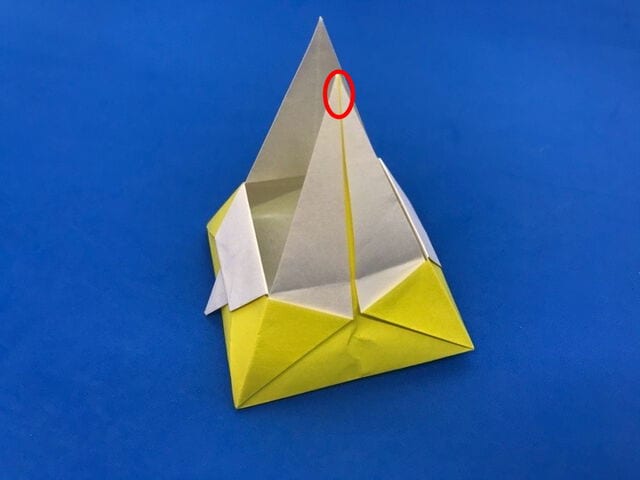
Press the two ends of the handle together like this.
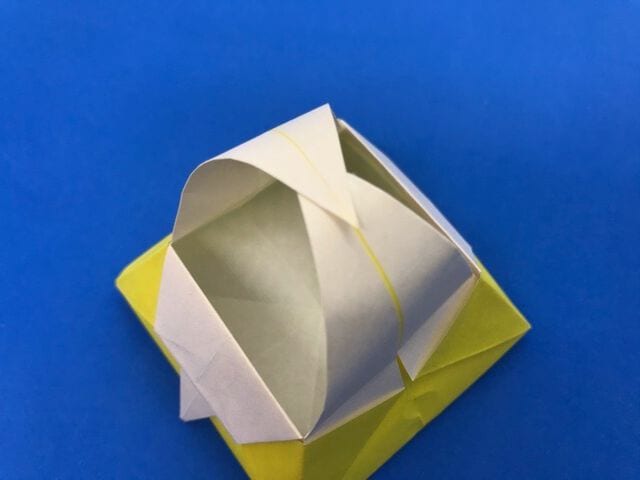
STEP 57.
Your origami basket is finished!





