
Easy Paper Pumpkin
Some origami is all about precision and patience; this little pumpkin is the opposite — and that's exactly why it's charming. In a handful of folds you get a plump, smile-ready pumpkin with zero fuss.
No scissors, no glue, no special paper required: just a square sheet and a couple of minutes. It's the perfect first project for kids, a last-minute Halloween decoration, or a warm-up when you just want to fold something fun. Let's make a patch.

This Easy Paper Pumpkin is so basic that I wonder if it can be called origami. Well, it does involve folding (ori) of paper (kami); and it doesn’t require scissors or glue: so I guess it qualifies as origami.
Easy Paper Pumpkin Instructions
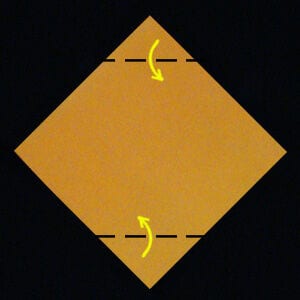
STEP 1.
Take a square sheet of paper and balance it on one of its corners (in “diamond” position).
Fold down the top corner and fold up the bottom corner. This will be the head and base of the pumpkin.
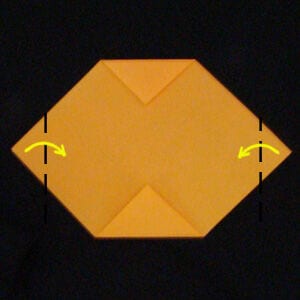
STEP 2.
Fold in the left and right corners of the model.
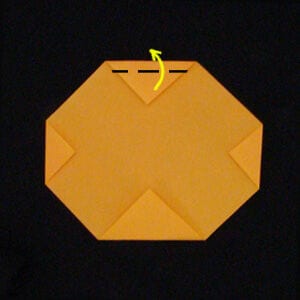
STEP 3.
Fold the top flap of paper back up to make the stump of the pumpkin.
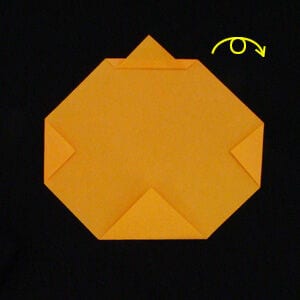
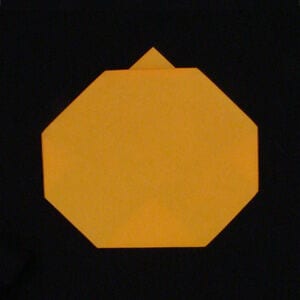
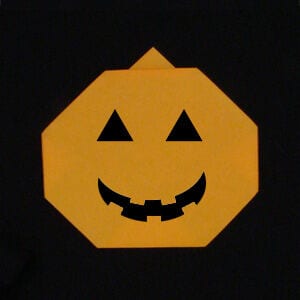
STEP 4.
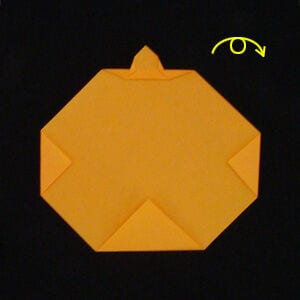
Turn the model over and you’re pretty much done. You can use markers and color pencils to draw eyes and mouth.
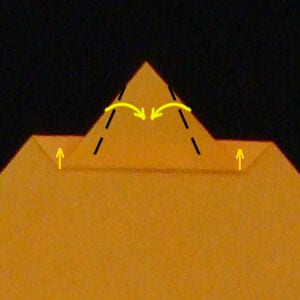
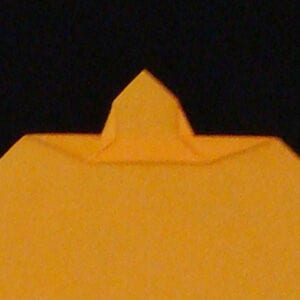
STEP 5.
If you want to be fancy, you can make the stump look more like a stick rather than a triangle. To do this, fold the sides of the stump inwards. The paper will buckle up a little, press these sections down flat.

STEP 6.
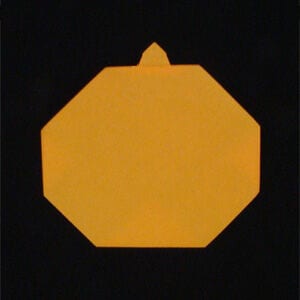
Turn the model over and you’re done. Easy! You can use markers and color pencils to draw eyes and mouth.





