
Origami Crayfish
Some origami models are worth folding for what they look like on a shelf. This one is worth folding for what you can do with it afterwards: clip a paper clip to its nose, tie a string to a magnet, and you have an indoor fishing pond that works on a rainy afternoon. The author of this tutorial says it plainly - fish are fine, but if you want to hook a child's attention, a crayfish wins every time.
The pleasant surprise is how little it takes. There is no complex base and no special technique here; the first four steps just pre-crease a square, and those creases then guide everything else. The claws come from two simple folds, the body narrows with a couple of tucks, and the tail is pleated back and forth like a bellows so the finished crayfish curves the way a real one does. Eighteen steps, one sheet of paper, and a model that actually stands up in 3D.
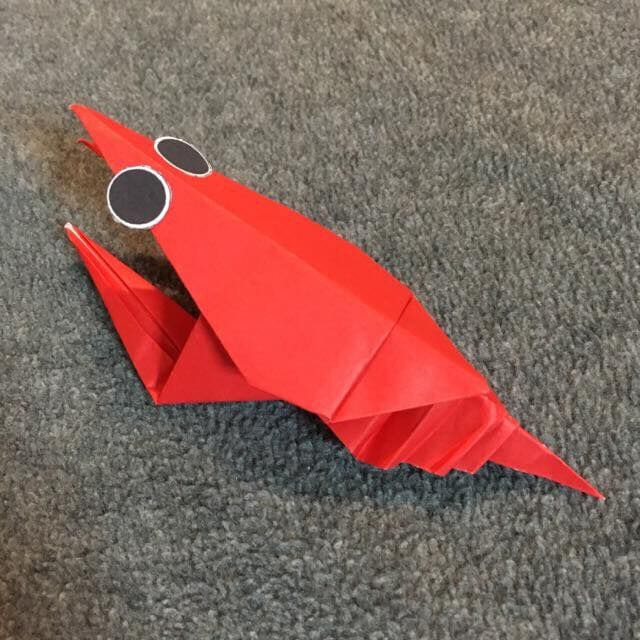
This is the origami I always wanted to make someday!
Unfortunately, I did not know how to fold it back when my son was little, so we never got to hold an indoor fishing tournament.
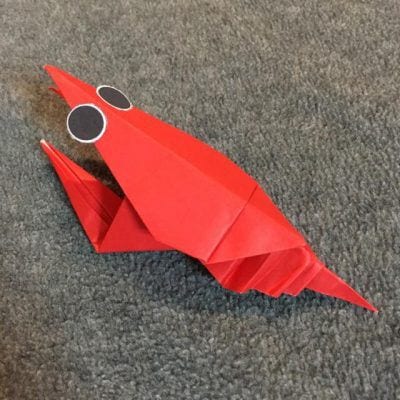
It's a crayfish!
It is simple to fold even though the finished model is three-dimensional. I recommend it every time: fold a handful of water creatures and you can hold an indoor fishing tournament.
Clip a paper clip onto each crayfish and tie a string to a magnet.
Fish work well too, but when it comes to catching something with children, a crayfish is hard to beat. So this time I will show you how to fold a simple three-dimensional origami crayfish.
How to Fold an Easy 3D Crayfish
American crayfish are usually red, although blue and white ones turn up in some places. You can find blue and white crayfish at pet shops, but they are not cheap.
So let’s fold crayfish in all kinds of colors.
STEP 1. Fold it in a triangle so that the color is on the inside and spread it out.
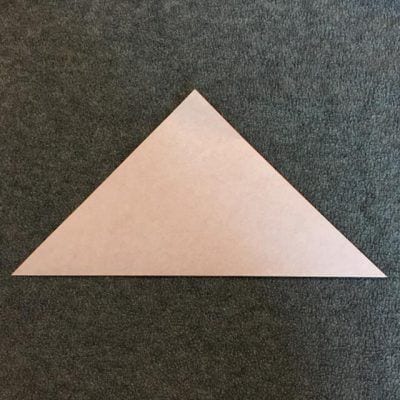
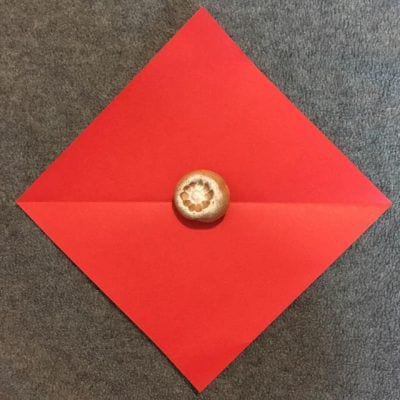
STEP 2. Align the other corner and fold it into a triangle to make a diagonal line.
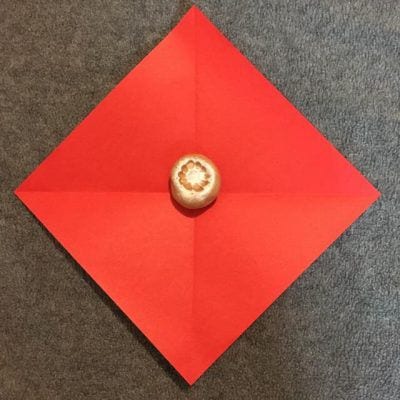
STEP 3. Turn the paper over, fold it into a rectangle so the color ends up on the outside, and unfold it.
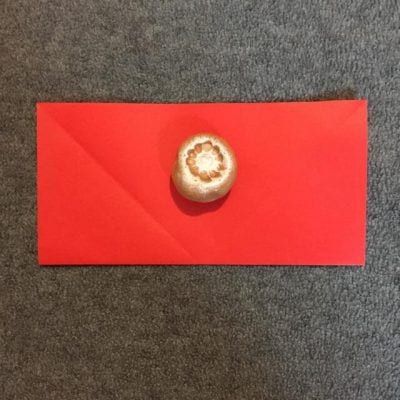
STEP 4. Turn the paper 90 degrees, fold it into a rectangle in the same way, and unfold it.
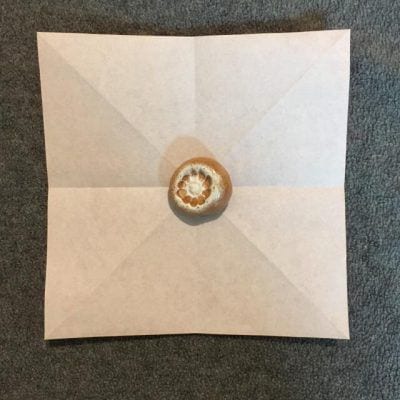
STEP 5. Use the creases to fold the paper as shown in the photo.
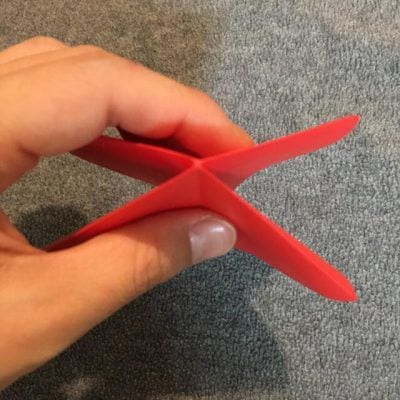
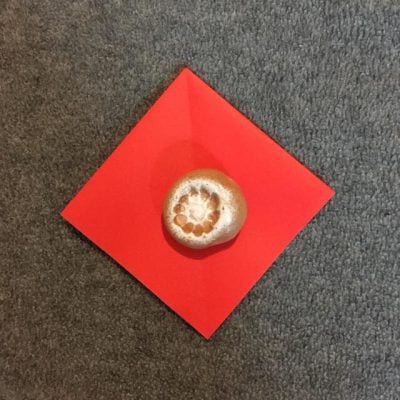
STEP 6. Fold it as shown in the photo, working from the loose flap at the center.
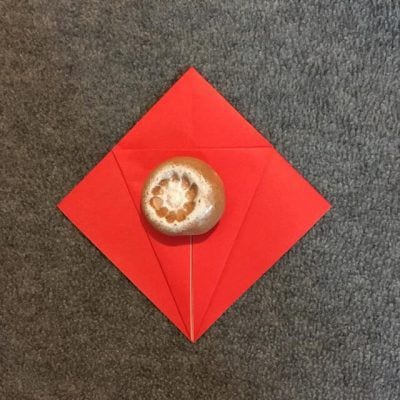
STEP 7. Fold the top corner and unfold it once.
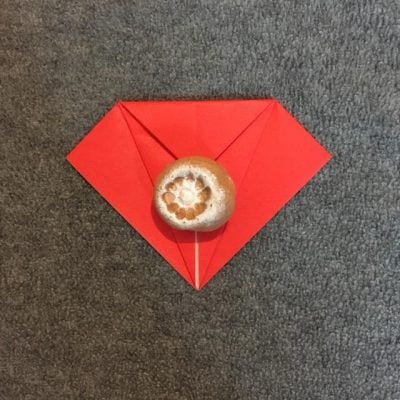
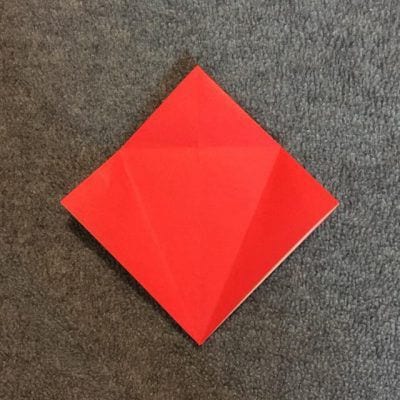
STEP 8. Use the creases to open the paper back out as shown in the photo.
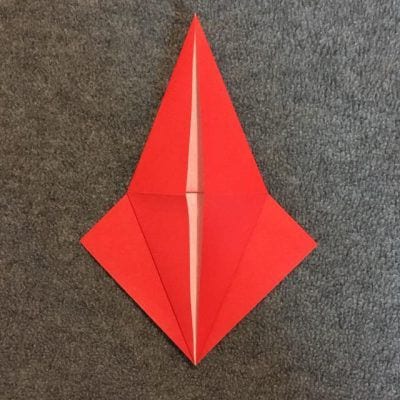
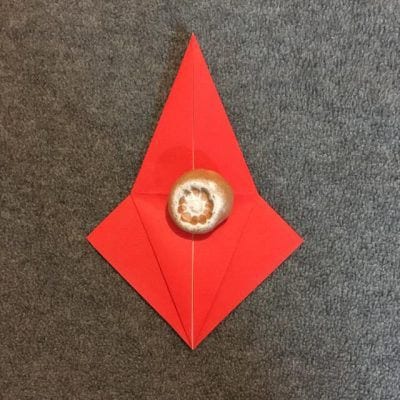
STEP 9. Fold the back side in the same way.
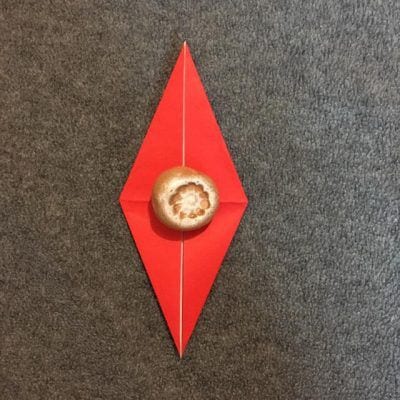
STEP 10. Fold it as shown in the photo, using the corner that has no mountain fold at the center.
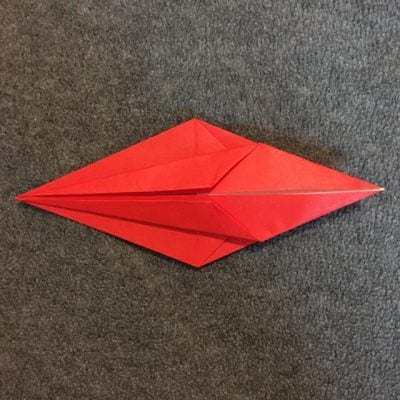
STEP 11. Fold the back side in the same way.
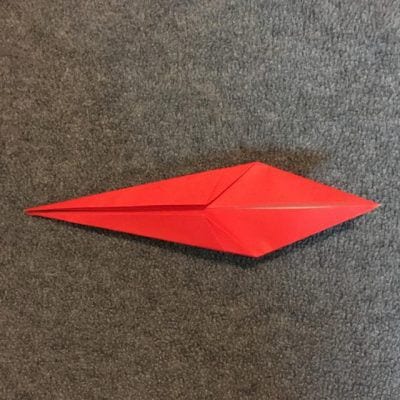
STEP 12. Hold the model vertically and fold down only the top layer.
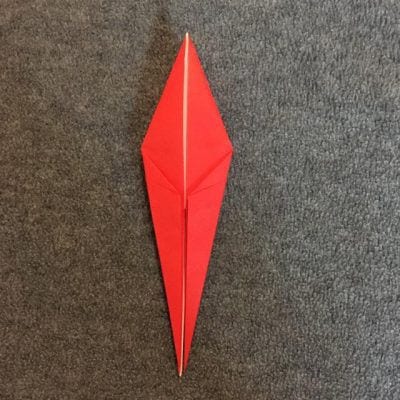
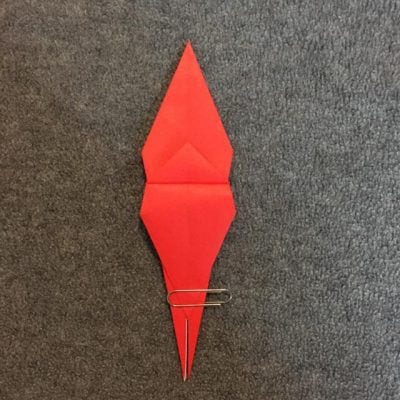
STEP 13. Turn it over and fold it as shown in the photo.
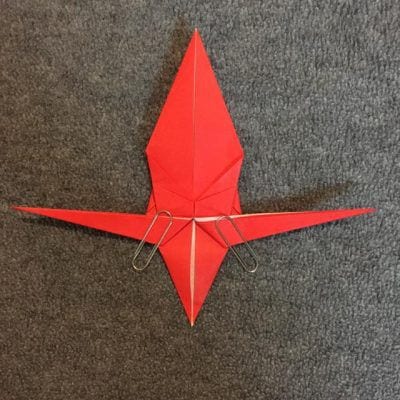
STEP 14. Use the creases to open it out as shown in the photo.
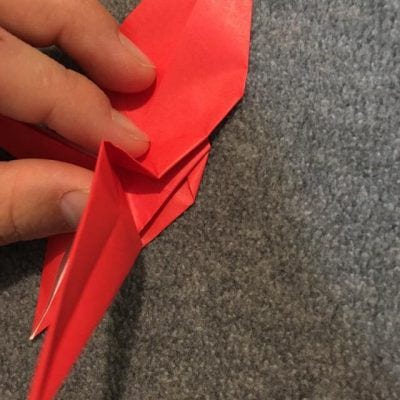
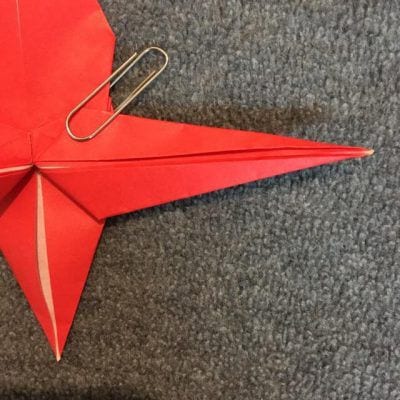
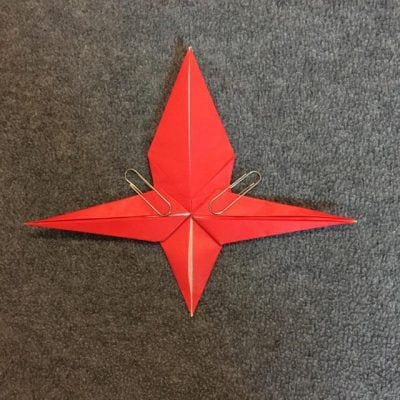
STEP 15. Fold the corner you just made as shown in the photo.
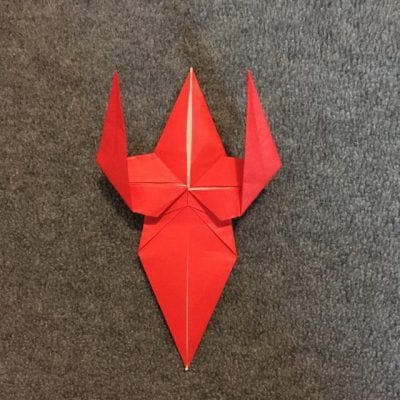
STEP 16. Fold up the bottom corner, then pleat it like a bellows, shifting it four times as shown in the photo.
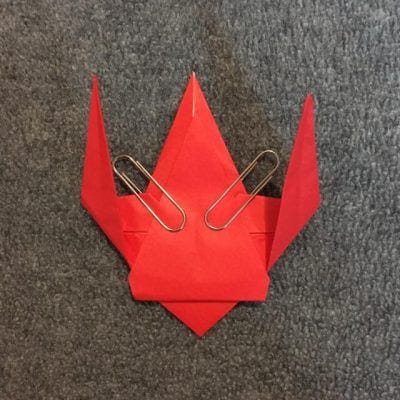
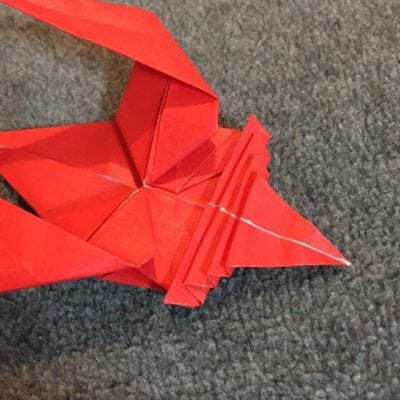
STEP 17. Mountain-fold the whole model in half and pull out the tail.
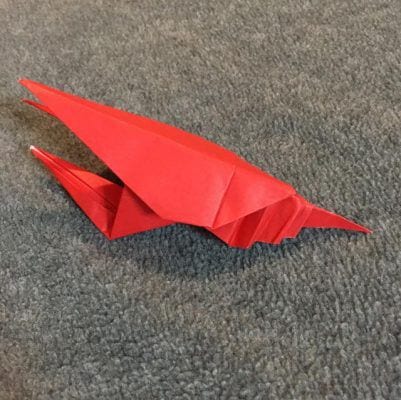
STEP 18. Add the eyes and your crayfish is done.
Thanks for sticking with it to the end!
One caution: the model does come apart fairly easily, so fold a whole batch and hold your own indoor fishing tournament on a rainy day.




