
How to Fold a Simple Origami Bird (Two Versions)
Every beginner book has a bird in it, and most of those birds ask you to fight your way through a couple of reverse folds before anything recognisable appears. This one is gentler: the body is built entirely from corners folded to the center, which is the very first fold most people ever learn, and the tail takes shape with a single crease. Best of all, one tiny change in where you place that crease gives you either a round-tailed bird or a slim one, so you can fold a whole flock that looks like different species. Put eyes on them with a gel pen, or cheat with stickers if folding with children.
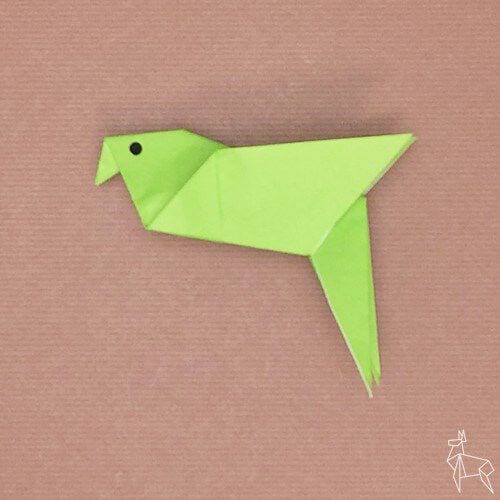
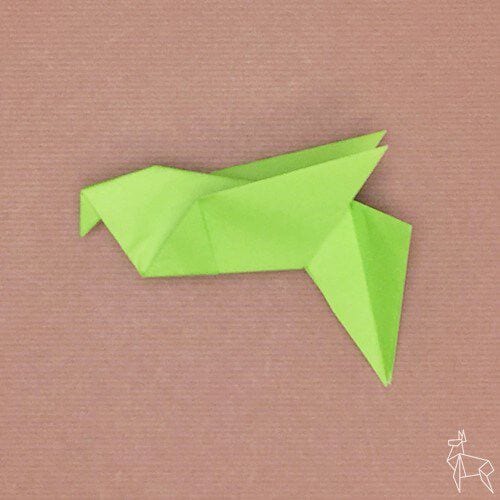
This little paper bird comes in two versions — one with a broad tail and one with a slim tail — and both start from exactly the same folds.
How to Fold a Simple Origami Bird
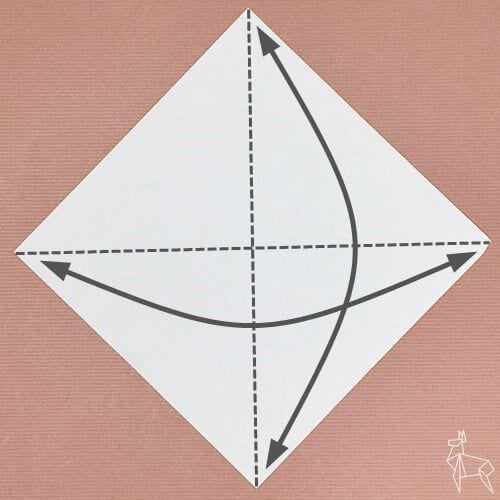
STEP 1. Place the paper with the white side facing up, fold it in half along the dotted line and crease it.
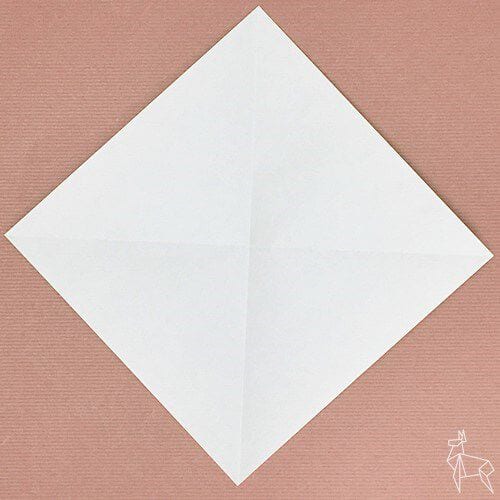
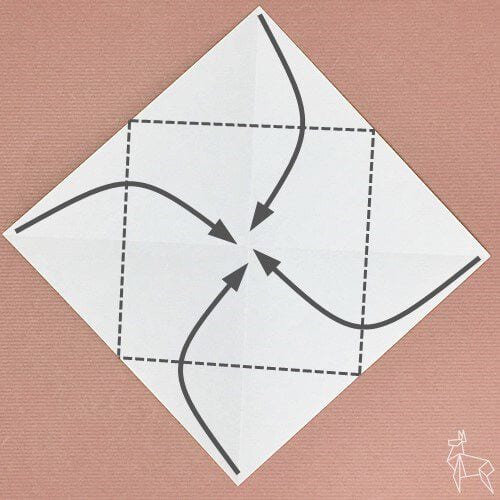
STEP 2. Fold the four corners in along the dotted lines so their tips meet at the center.
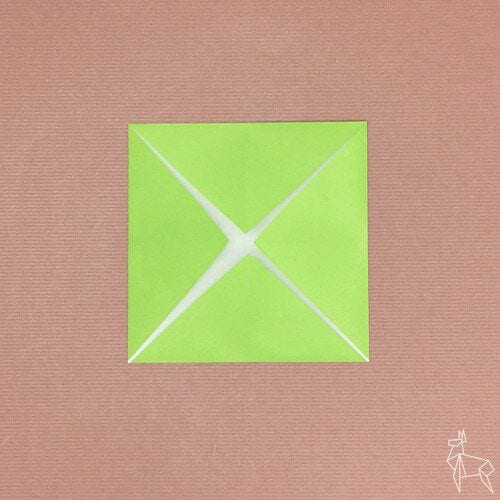
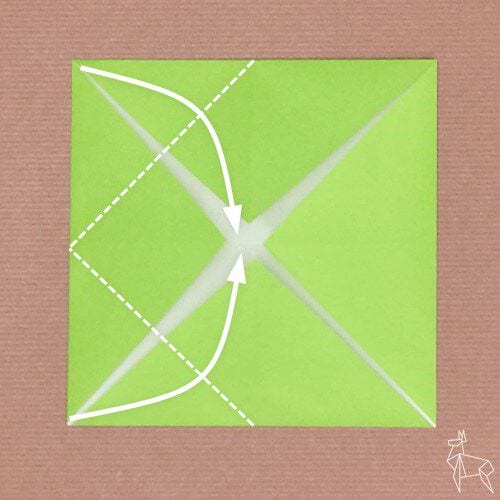
STEP 3. Fold two more corners in along the dotted lines so they also meet at the center.
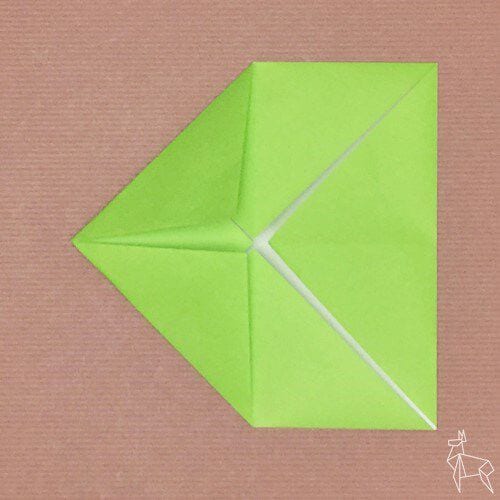
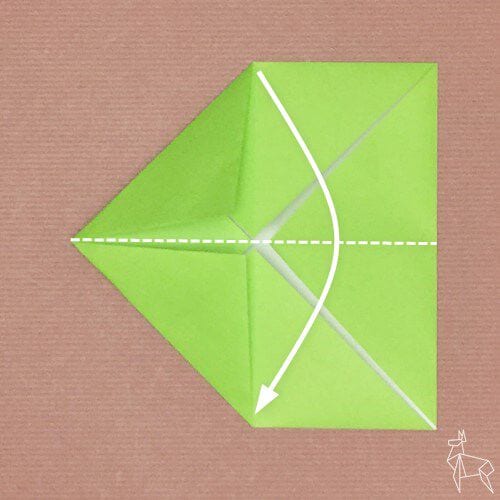
STEP 4. Fold the piece in half along the dotted line.
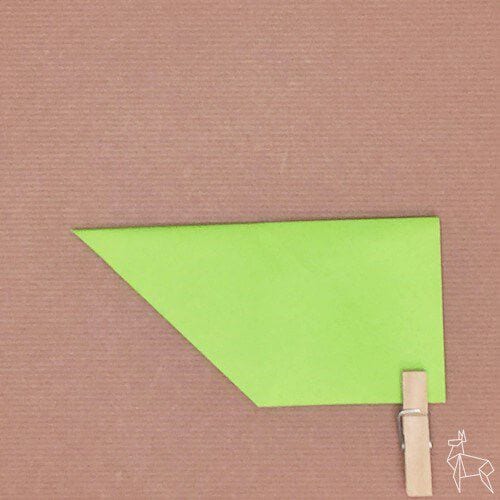
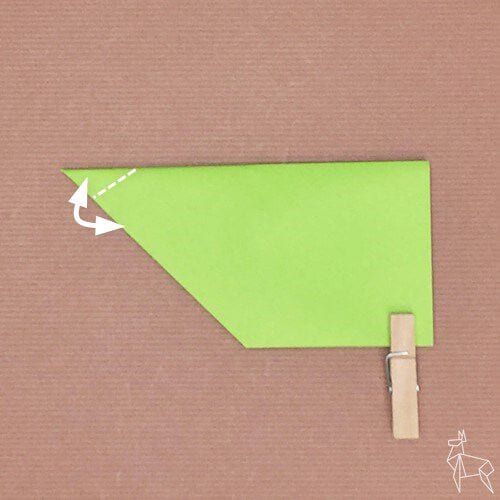
STEP 5. Make a crease along the dotted line.
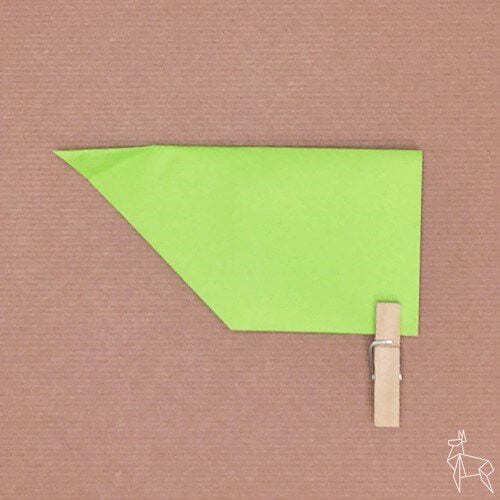
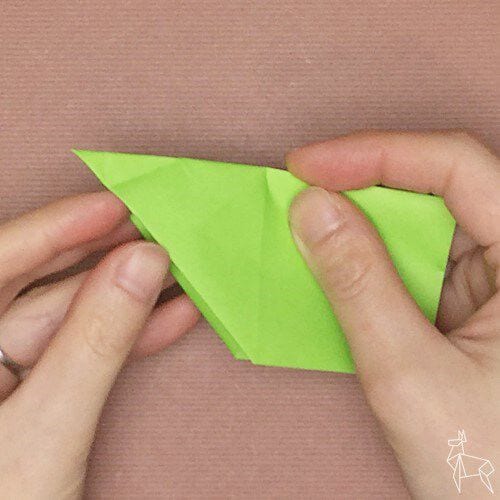
STEP 6. Fold the corners inward along the creases you made (an inside reverse fold).
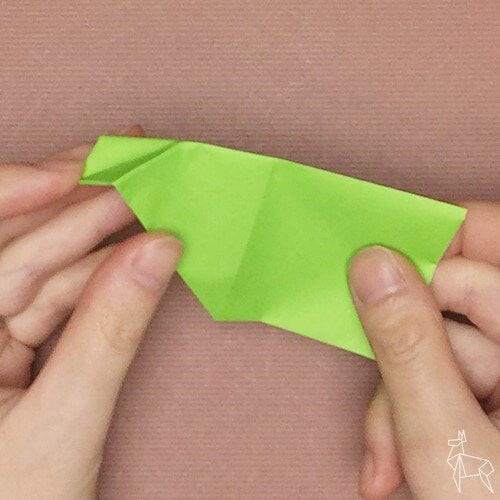
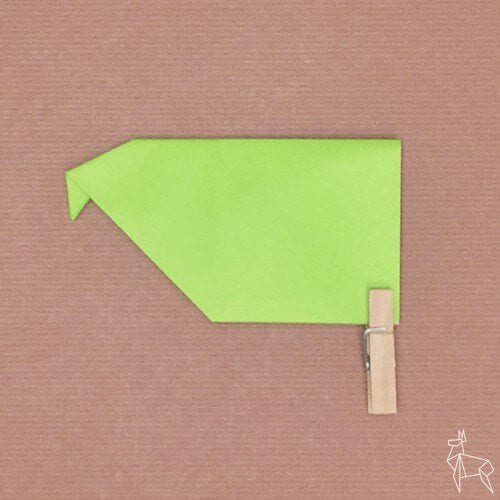
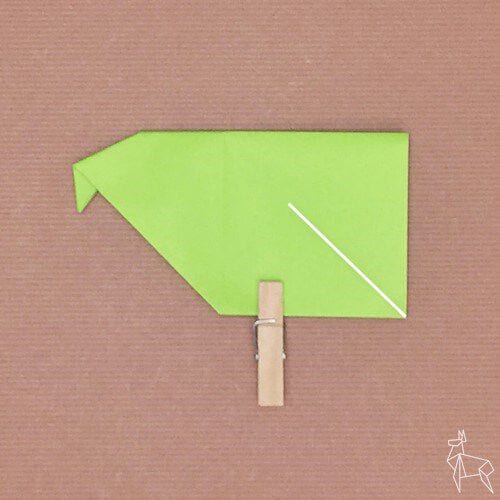
STEP 7. Snip into the marked line with scissors.
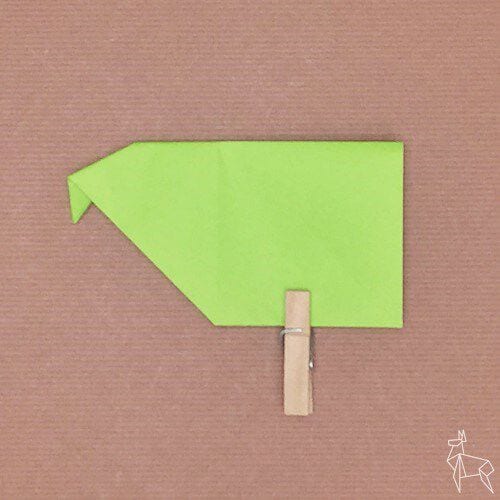
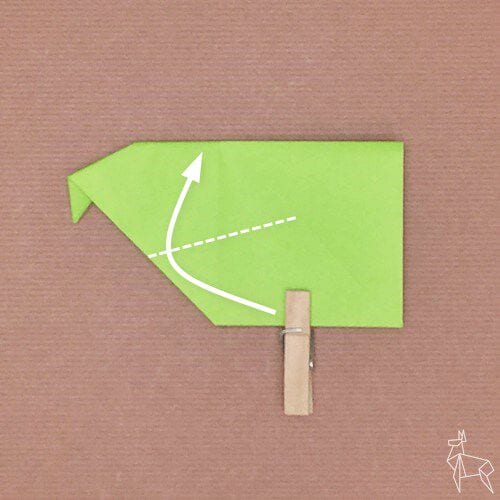
STEP 8. Separate one layer and fold it along the dotted line.
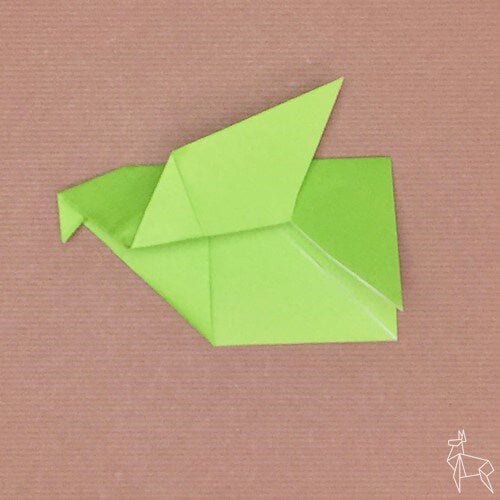
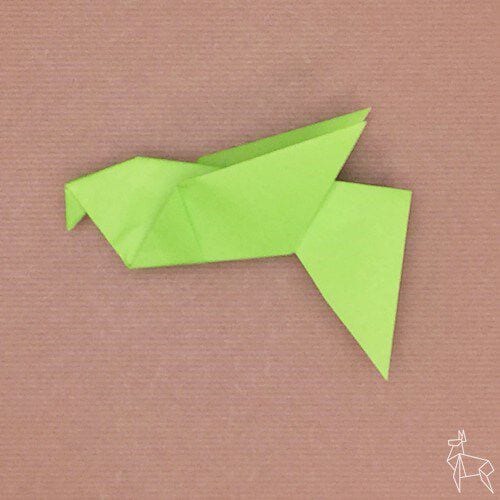
STEP 9. Do the same on the other side, and the broad-tailed bird is finished.
Version 2: The Slim-Tailed Bird
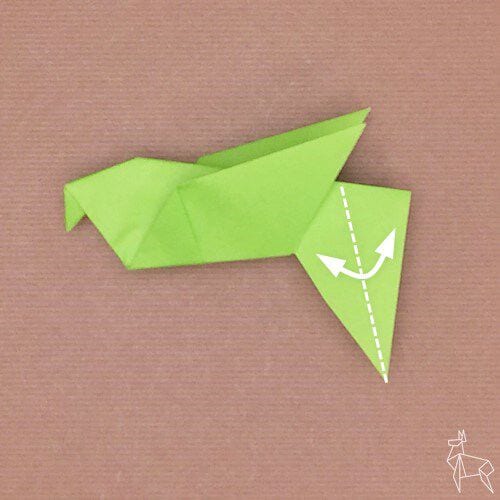
STEP 10. For the slim-tailed version, start again at step 5 and crease along the dotted line at a narrower angle.
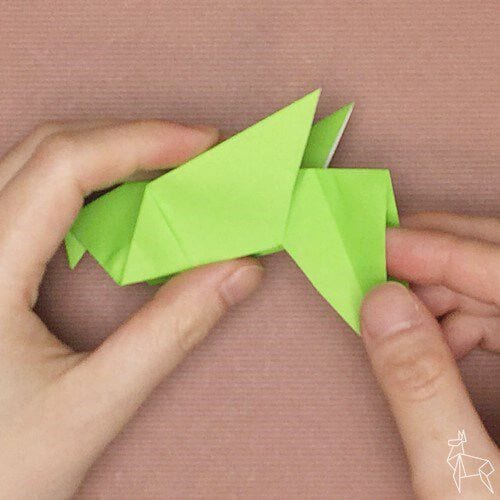
STEP 11. Fold the corners inward along the creases, using an inside reverse fold, to shape the thin tail.
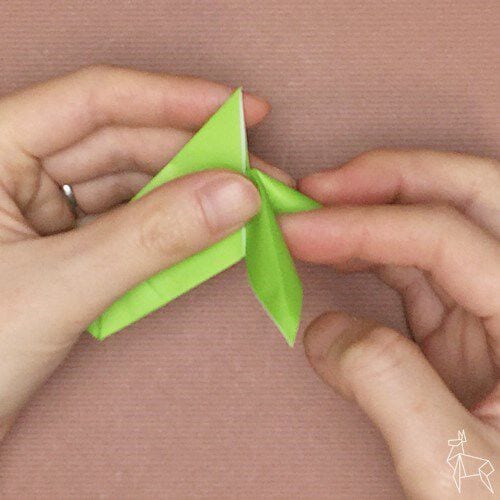
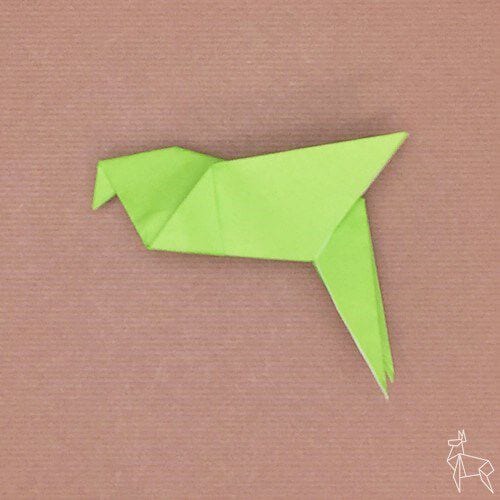
STEP 12. Finally, add eyes with a pen or a small round sticker, and your little bird is complete.




