
How to Fold an Easy Origami Demon (Oni) for Setsubun
If you have ever been in Japan at the start of February, you will have met the oni: the horned, goggle-eyed demons that children chase away by throwing roasted beans at them during Setsubun. They were never meant to be genuinely frightening, and that is exactly what makes them such good subjects for paper. This version folds in about twenty quick steps from one square, comes in a one-horn and a two-horn flavour, and honestly takes longer to draw the face than to fold. Make a red one and a blue one, set them on a shelf, and hand the marker to a child — the faces they invent are worth far more than any diagram.
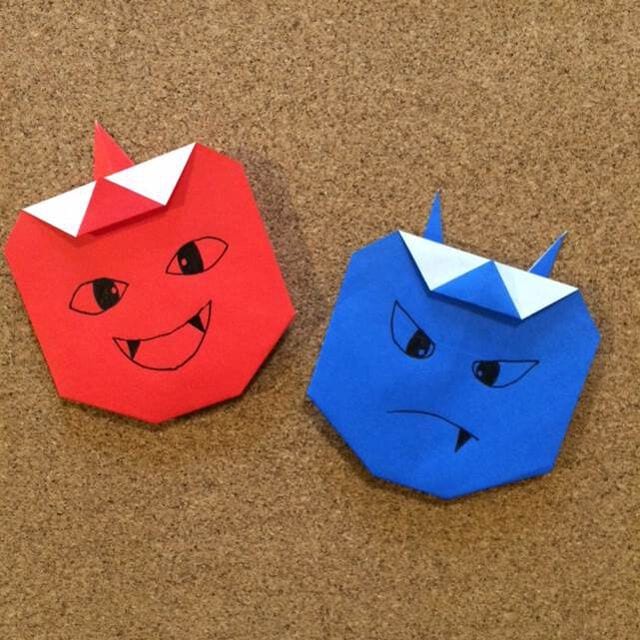
This time we are folding an origami demon — an oni — the classic paper craft for Setsubun, the Japanese bean-throwing festival in early February. It is super easy to fold.
There are two versions: a demon with one horn and a demon with two horns. Once you have folded the one-horn demon, the two-horn version only takes a small extra adjustment.
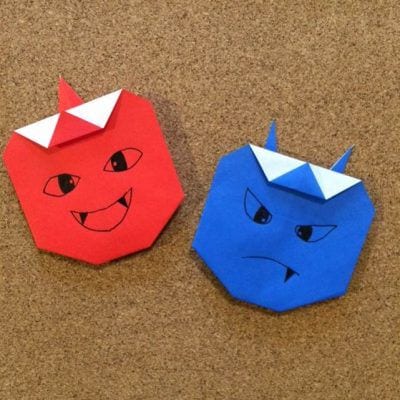
They turn out rather cute — though how cute, of course, depends entirely on how you draw the face.
Easy Origami Demon for Setsubun
Both versions are genuinely simple, so fold them together with a child and have fun.
I made a red demon and a blue demon here, but a green one or a purple one works just as well. Just prepare origami in your favourite colour.
Now let’s fold. Steps 1 to 12 make the one-horn demon.
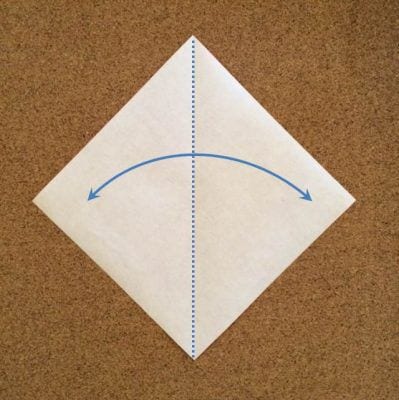
STEP 1. Fold the sheet into a triangle and crease it.
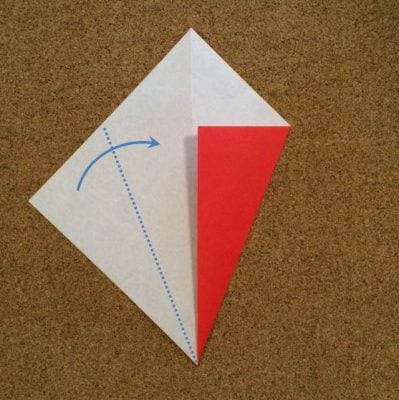
STEP 2. Fold it in half along the center crease.
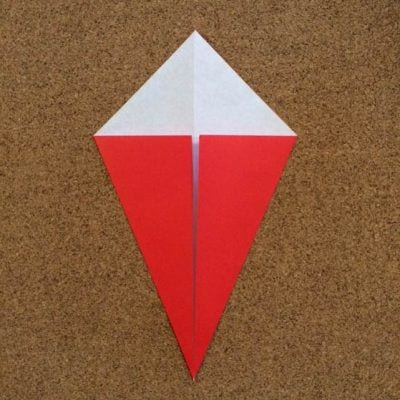
STEP 3. Turn the piece over.
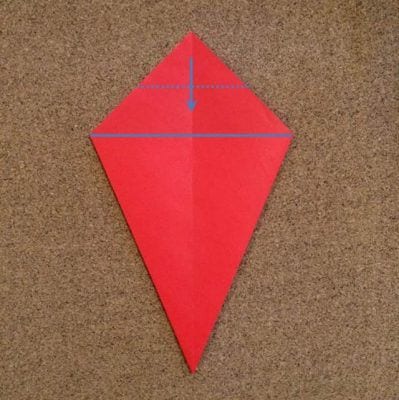
STEP 4. Fold along the dotted line.
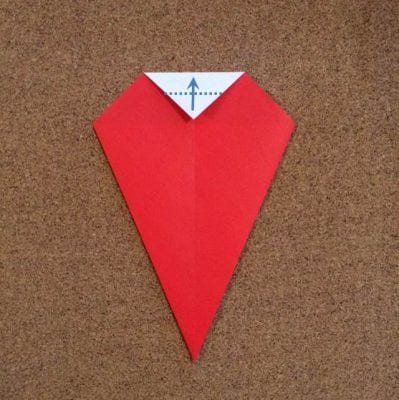
STEP 5. Fold it up along the dotted line.
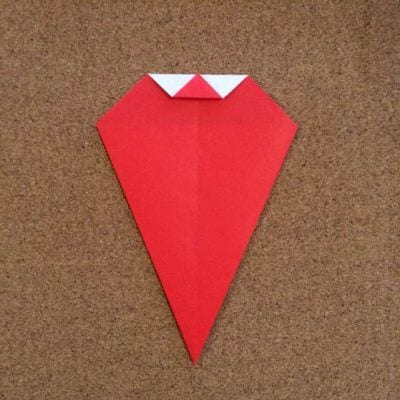
STEP 6. Turn it over.
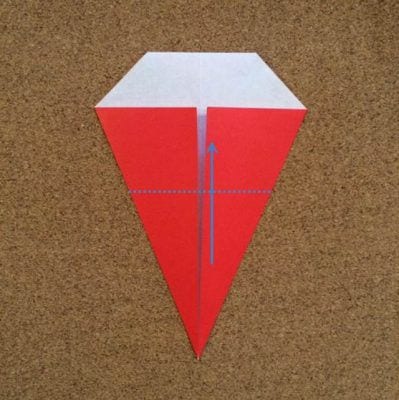
STEP 7. Fold the tip up so it peeks out above the top edge, checking from the back until the horn is the length you want.
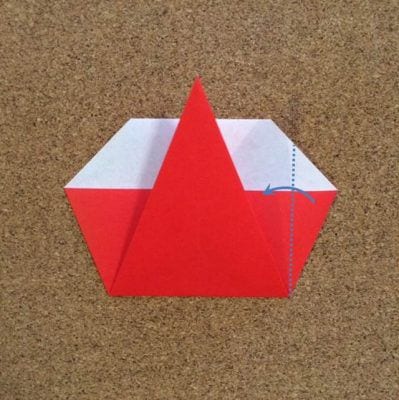
STEP 8. Fold both ends in along the edges of the triangle you just folded up.
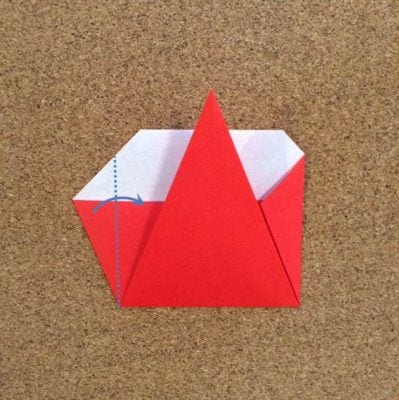
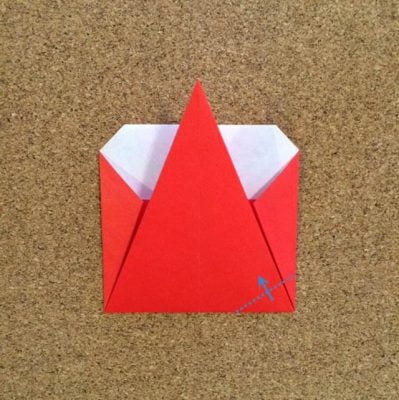
STEP 9. Fold the bottom left and right corners as shown.
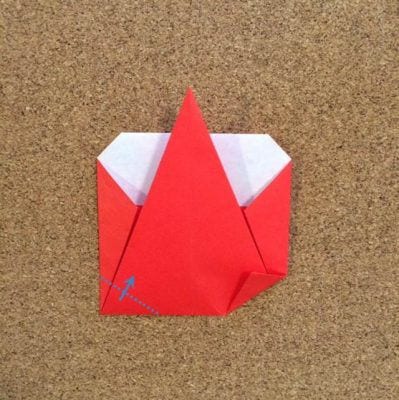
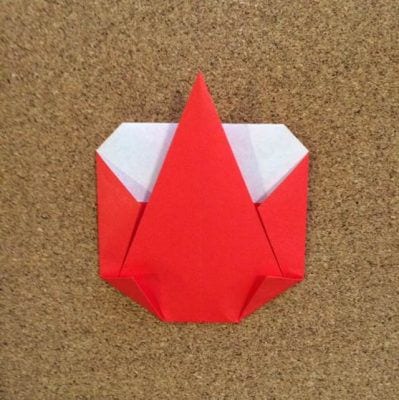
STEP 10. Turn it over.
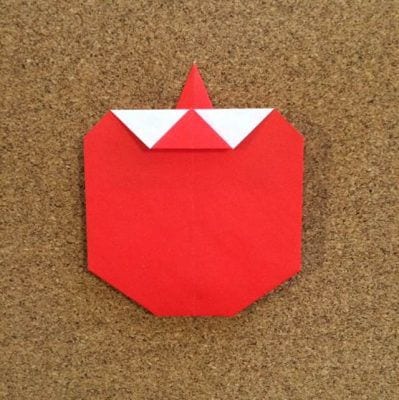
STEP 11. Turn it to the front again and the demon’s face is formed.
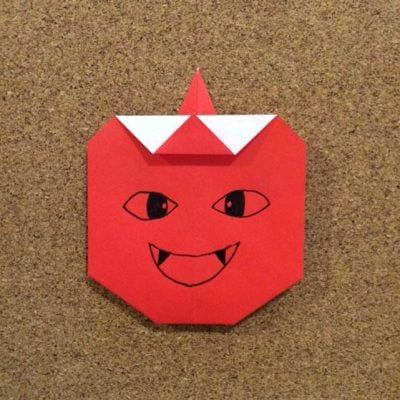
STEP 12. Draw the eyes and mouth with a marker, and the one-horn demon is complete.
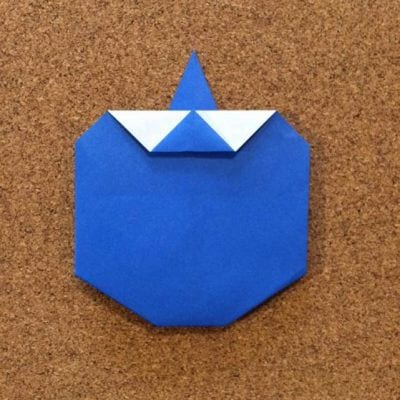
STEP 13. For the two-horn version, start with a sheet in another colour.
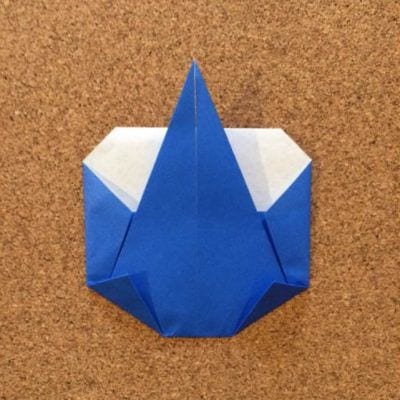
STEP 14. Turn it over.
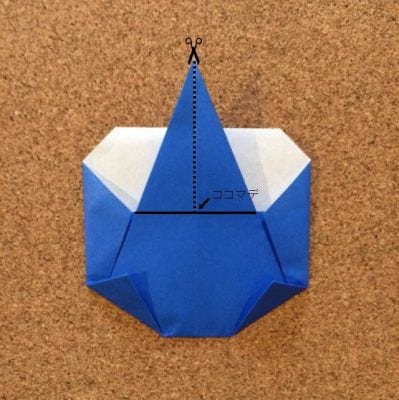
STEP 15. Cut along the dotted line in the middle with scissors, as shown.
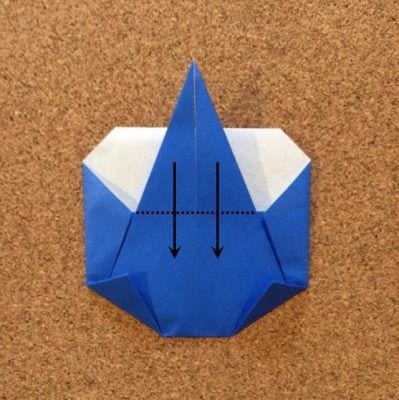
STEP 16. Fold along the dotted line.
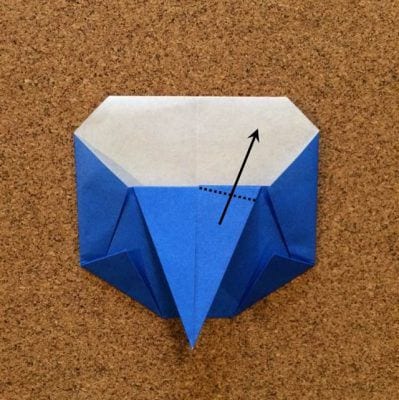
STEP 17. Fold the two flaps at a slight angle so each tip pokes out above the top edge.
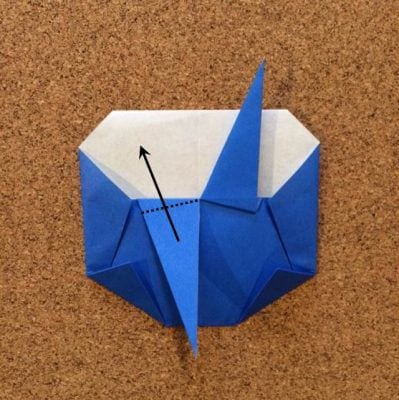
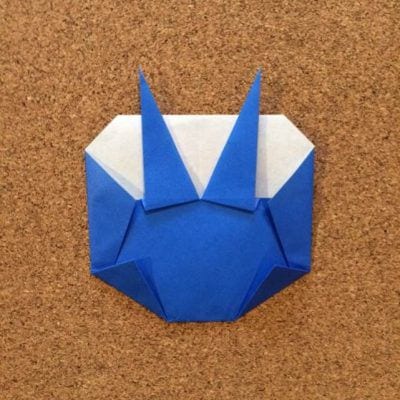
STEP 18. Turn it over.
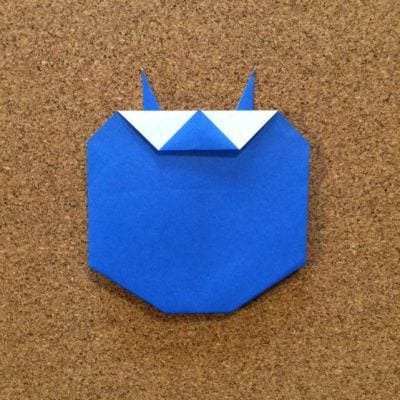
STEP 19. Turn it to the front and the demon’s face is formed again.
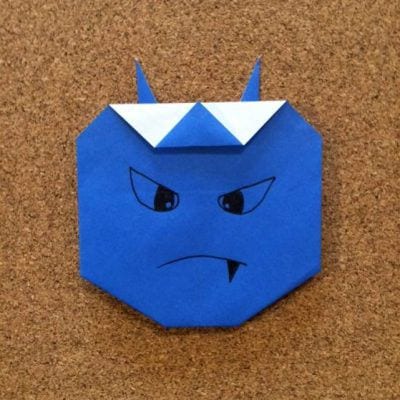
STEP 20. Draw the eyes and mouth, and the two-horn demon is finished.
STEP 21. Now you have both demons: one horn and two horns.
Once you can fold the one-horn version, simply snip into the top corner and spread it — one horn becomes two. The face you draw decides everything, so ask a child to draw it; the results are always funnier than you expect.




