
Calyx Origami Base With Five Sepals
Most origami starts from a square, but some of the prettiest flower models begin with something less familiar: a regular pentagon. The calyx base with five sepals is exactly that kind of fold. It builds the little cup-shaped base that sits beneath a flower's petals - the part a rose or a tulip seems to grow out of - and nearly any flower design you can imagine can be finished on top of it. The folding itself is wonderfully simple: a few valley folds turn the pentagon into a five-pointed star, and then five neat reverse folds shape the star into a five-sided cup. If you have never folded a pentagon before, no problem - the tutorial points you to a quick guide for making one from an ordinary square sheet. Grab your paper and let us fold this elegant little base together.
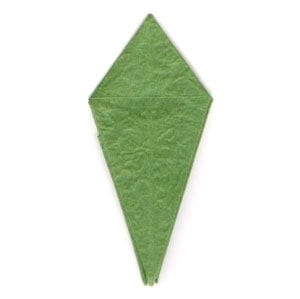
This page is for those who want instructions on how to fold a calyx origami base with five sepals. As the name suggests, this base is used when folding the flower calyx of a five-sepal bloom, and various kinds of calyxes can be made from it.
If you are ready, let’s get started.
You may use any kind of paper to fold this base. It is a little easier if the front and back of the paper look slightly different, whether in texture or in colour.
Make sure the paper you use is square (all sides equal and all angles 90 degrees). The paper I am using here is a 15cm x 15cm square.
This is the front side of the paper. It is somewhat shinier compared to the back.
This is the back side of the paper. Keep in mind that the front side is the shinier one.
There is a tutorial that shows how to make a regular pentagon from a square sheet of paper. You can easily get a regular pentagon by following it. This is the front side of the regular pentagon.
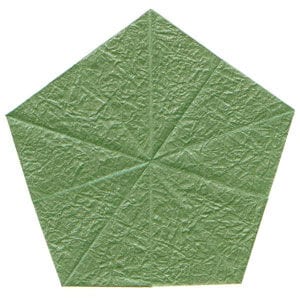
This is the back side of the regular pentagon.
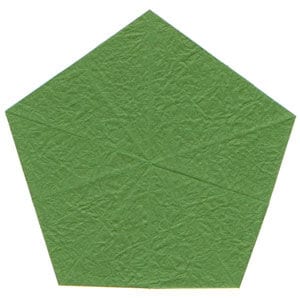
STEP 1.
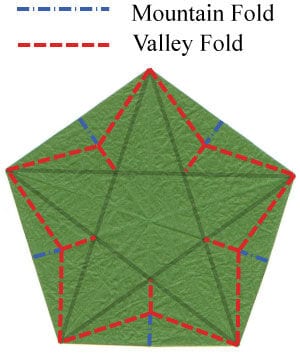
Start with the front side of the pentagon facing up. Prepare to apply the five valley folds shown on the crease pattern (CP) on the left.
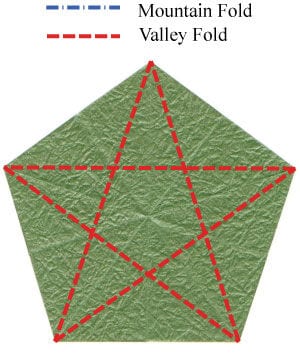
STEP 2.
Apply the five valley folds from step 1. Prepare to turn the model over.
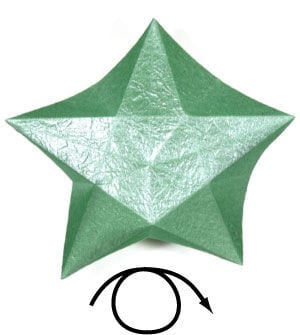
STEP 3.
Turn the model over. You now have a five-pointed star.
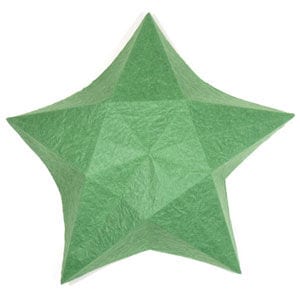
STEP 4.
Now prepare to apply five reverse folds.
STEP 5.
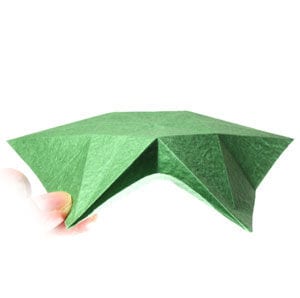
Let’s apply one of the reverse folds from step 4.
STEP 6.
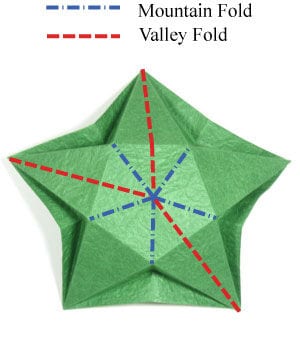
Apply all five reverse folds from step 4. Prepare to apply the crease pattern (CP) shown on the left.
STEP 7.
You have completed a calyx origami base with five sepals.




