
Traditional Origami Table
Ask someone to name a piece of origami furniture and this table is usually the one they mean. It is the model that turns a flat square into something with an actual top and four actual legs - and the pleasing part is that it does it without a single cut or a drop of glue.
The reason it feels clever is the petal fold. You build the sheet up with a couple of gate folds and a cushion fold, then each of the four quadrants quietly becomes a little square base, and that is where the petal fold does its work - four times over. If the petal fold has always seemed like an abstract exercise, this is the model that shows you what it is for. Start with a 20cm square, use paper with slightly different colours front and back so the creases are easy to follow, and fold a chair to go with it. Two of them together look surprisingly like a doll's dining set.
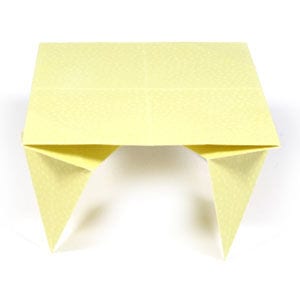
This page is for those who want instructions to fold a traditional origami table.
The origami table requires you to learn how to apply a petal fold. The interesting thing about this model is that you end up with four square bases, and you need to apply four petal folds - one on each of them.
If you are ready, then let's get started.
You may use any kind of paper to fold the origami table. It is a little easier if the front and the back side of the paper are slightly different, whether it be in texture or colour.
Make sure the paper you use is a square (all sides are equal and all the angles equal 90 degrees). The paper I am using here is a 20cm x 20cm square. It is a good size for those who are not experienced in paper folding. Once you become familiar with this model, you can try a smaller sheet.
This is the front side of the paper. You may use any kind of paper to fold this origami table. Here I am using a sheet with the same colour and texture on both sides, but you can use a different colour and/or texture if you like.
This is the back side of the paper.
STEP 1. Prepare to apply a vertical “gate-fold”.
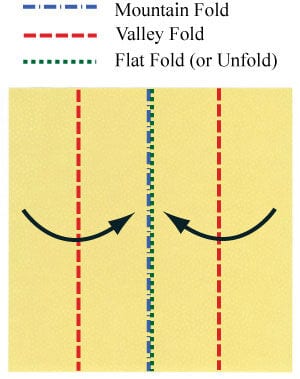
STEP 2. Apply the vertical “gate-fold” of step 1. Prepare to unfold.
STEP 3. Unfold the fold you made in step 2. Prepare to apply a horizontal “gate-fold”.
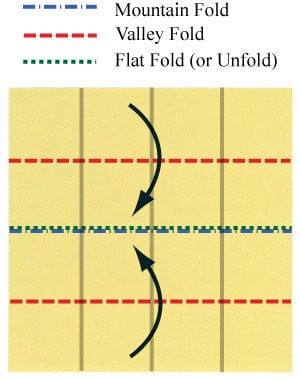
STEP 4. Apply the horizontal “gate-fold”. Prepare to unfold.
STEP 5. Unfold the previous gate-fold. Prepare to turn the paper over.
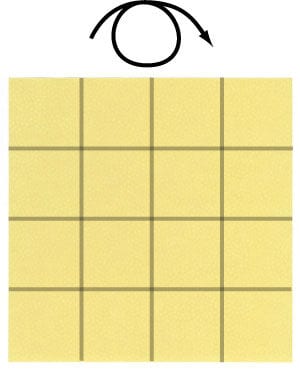
STEP 6. Turn the paper over. Prepare to apply a “cushion-fold”.
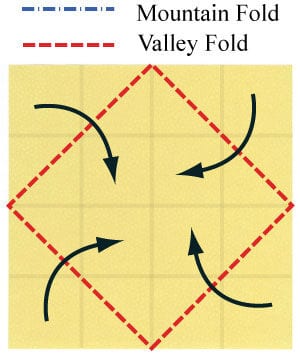
STEP 7. Apply the “cushion-fold” of step 6. Prepare to unfold.
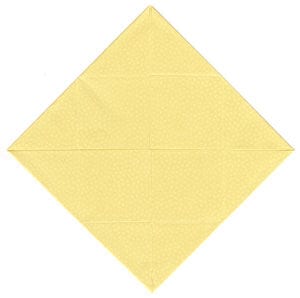
STEP 8. Unfold the paper. Prepare to turn the paper over.
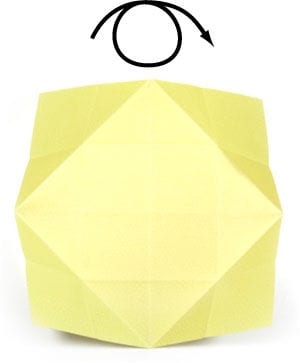
STEP 9. Turn the paper over. Prepare to apply four valley folds.
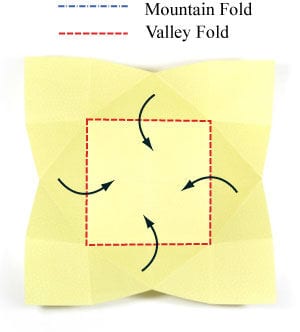
STEP 10. Apply four valley folds. Prepare to make the model flat.
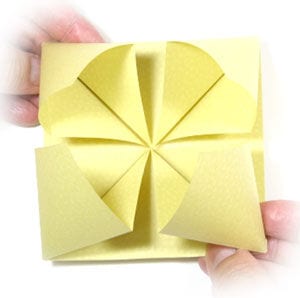
STEP 11. Make the model flat.
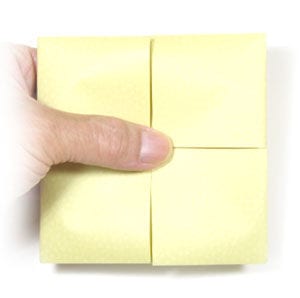
STEP 12. Let's work on one quadrant. Here we choose the first quadrant, but you can choose another one. Prepare to apply a valley fold and then unfold it.
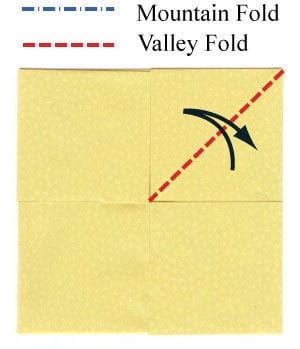
STEP 13. Apply a valley fold and then unfold it, as shown in step 12. The shape of the first quadrant is now exactly like a “square base”, so we can apply a “petal-fold” to this quadrant. Prepare to apply three valley folds in the numbered order.
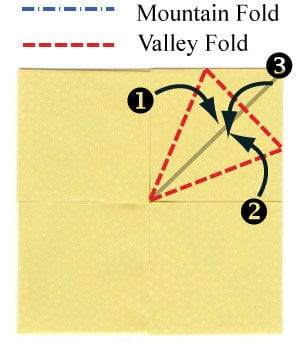
STEP 14. Apply three valley folds. You can verify that this looks exactly like step 2 of the “petal-fold”. Prepare to complete the “petal-fold”.

STEP 15. Complete the petal fold on the first quadrant.
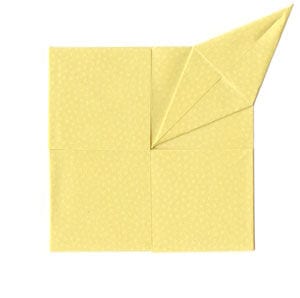
STEP 16. Apply the petal fold to all four quadrants. Prepare to apply four 90 degree valley folds.
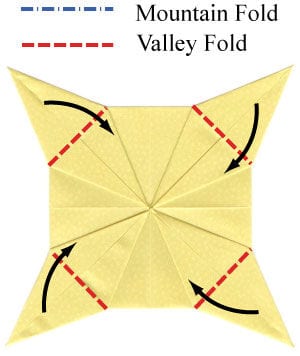
STEP 17. Apply four 90 degree valley folds, as shown in step 16. Prepare to turn the model over.
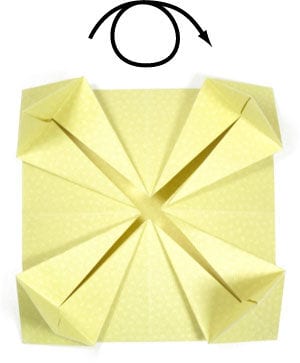
STEP 18. Turn the model over.
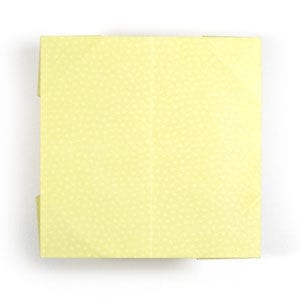
STEP 19. Congratulations! You have now completed making a traditional origami table.
STEP 20. Here is the traditional origami table together with a traditional chair.





