
Origami Box (Complete Tutorial)
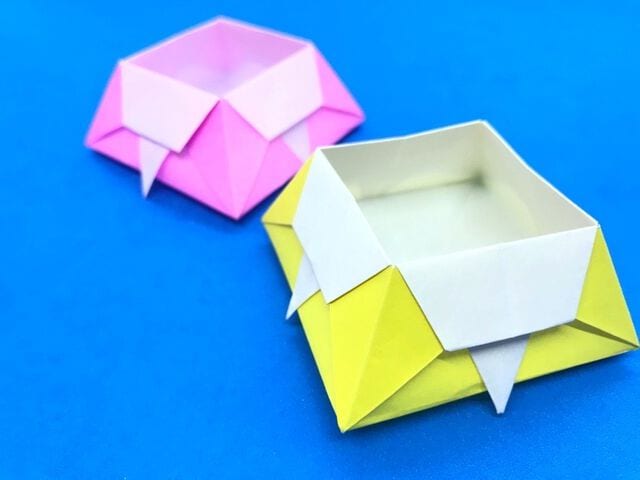
An origami box is one of those models that feels almost like magic the first time you fold it. You start with a flat, unremarkable square of paper, and a few minutes later you are holding a little container with crisp walls and a solid bottom, sturdy enough for paper clips, coins, buttons, or a handful of candy. It is the perfect gateway project, easy enough for absolute beginners, yet satisfying enough that experienced folders keep coming back to it as a warm-up.
You will often spot this box hiding inside other creations, as the base of a masu-style gift box, the body of a mask, or part of a larger modular build. And the best part? You only need one sheet of 15 cm origami paper and a flat surface. The first steps are just simple creases; the real fun begins when the walls start to stand up. Fold along and watch a flat square turn into something useful!
Things to prepare
1 sheet of regular origami paper (15 cm x 15 cm).
How to fold the box
STEP 1.
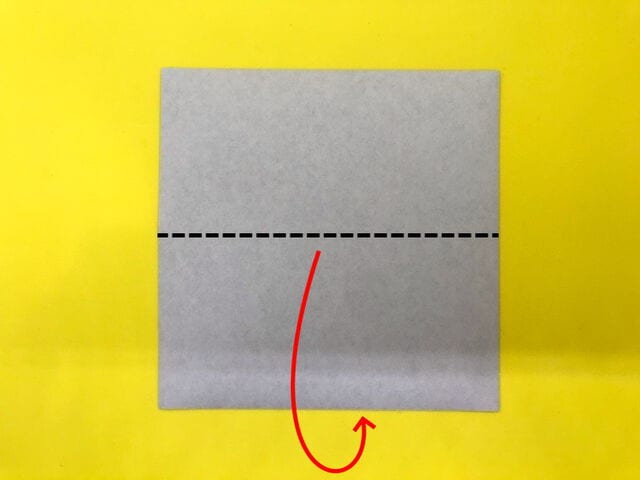
Start with the uncolored side of the paper facing up, then fold it in half horizontally to make a crease.
STEP 2.
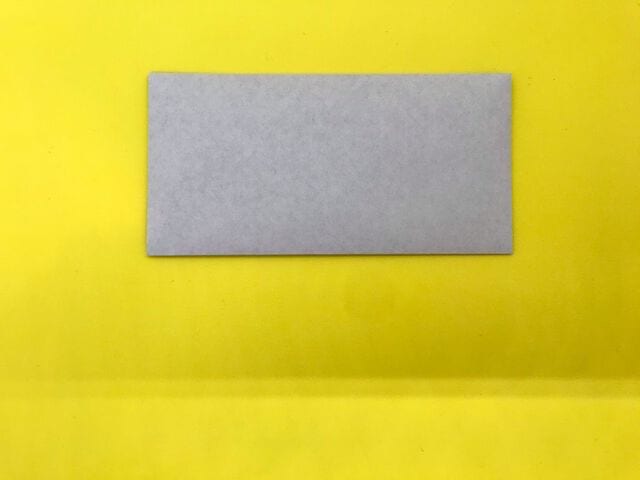
Fold it as shown, then unfold.
STEP 3.
Unfold the paper, then fold it in half vertically and make a crease.
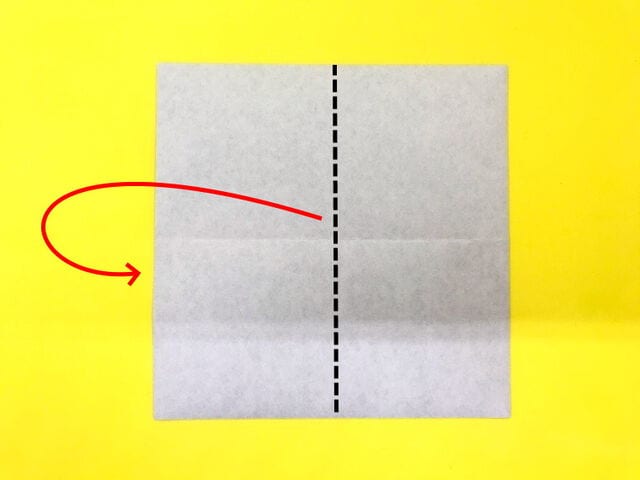
STEP 4.
Fold it as shown, then unfold.
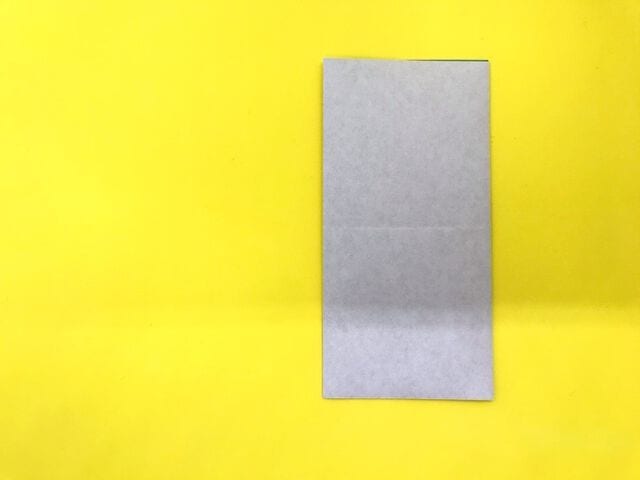
STEP 5.
Unfold the paper, then fold it diagonally to make a crease.
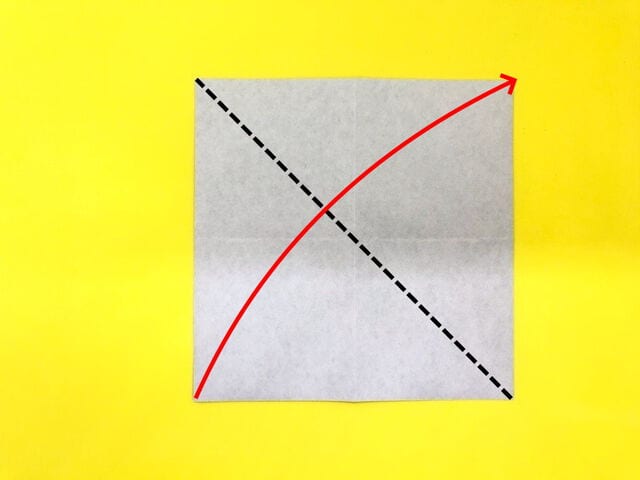
STEP 6.
Fold it along the valley line as shown, then unfold.
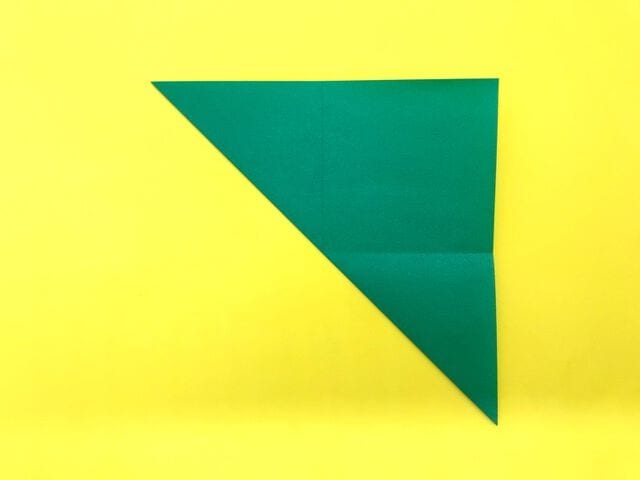
STEP 7.
Unfold the paper, then make a valley fold along the line to form a crease.
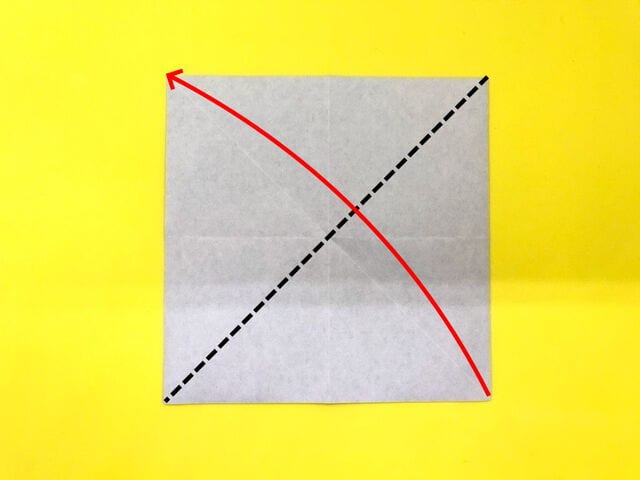
STEP 8.
Fold it along the valley line as shown, then unfold.
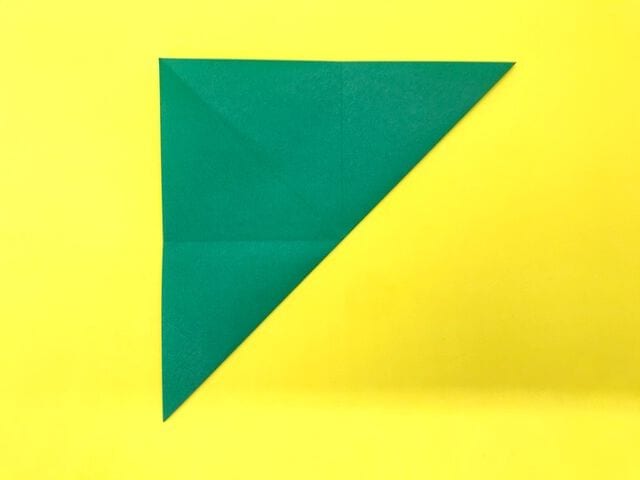
STEP 9.
Rotate the paper to change its direction.
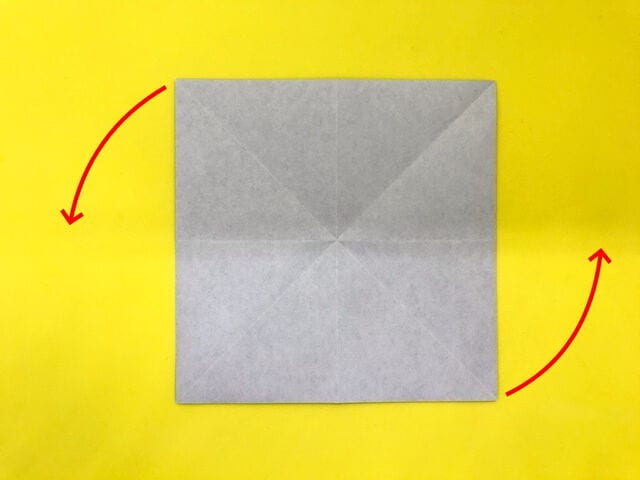
STEP 10.
Make valley folds along the dotted lines so that the four corners meet at the center.
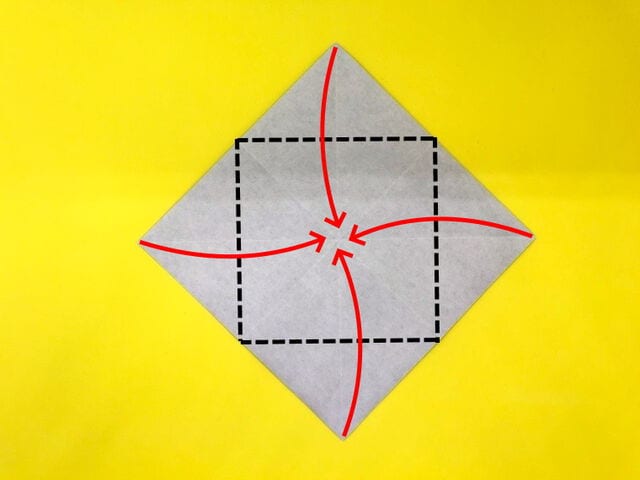
STEP 11.
Make a valley fold along the dotted line so that it aligns with the middle crease, and crease it well.
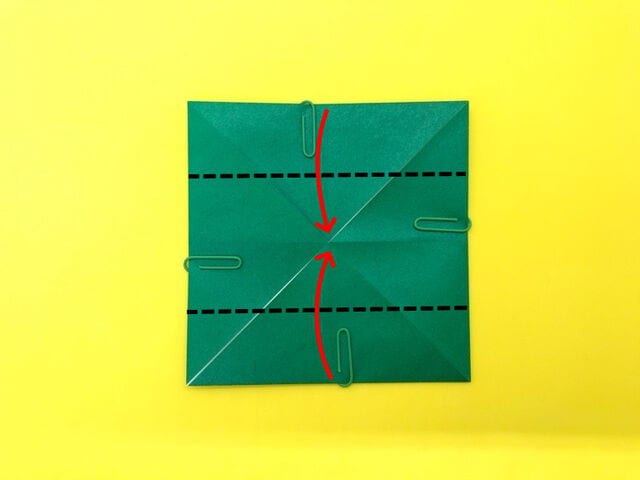
STEP 12.
After making the crease, unfold it back.
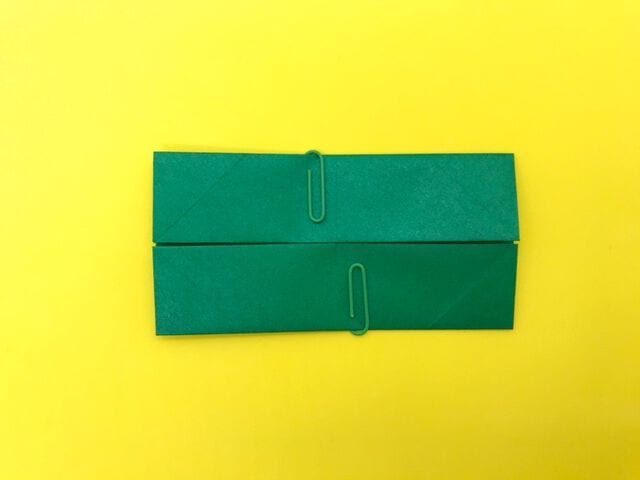
STEP 13.
Make a valley fold along the dotted line so that it aligns with the middle crease, and crease it well.
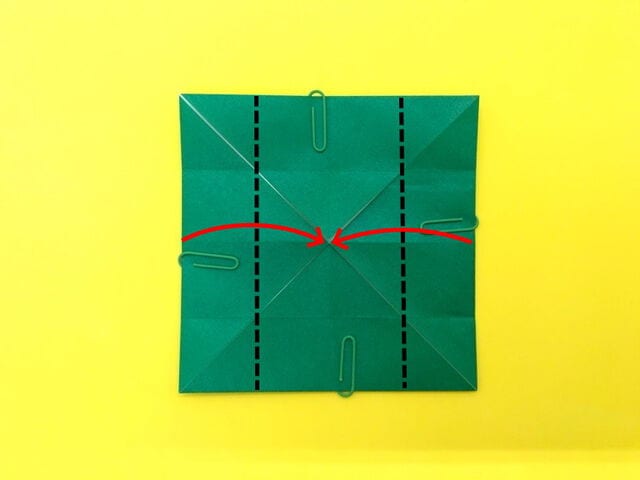
STEP 14.
After making the crease, unfold it back.
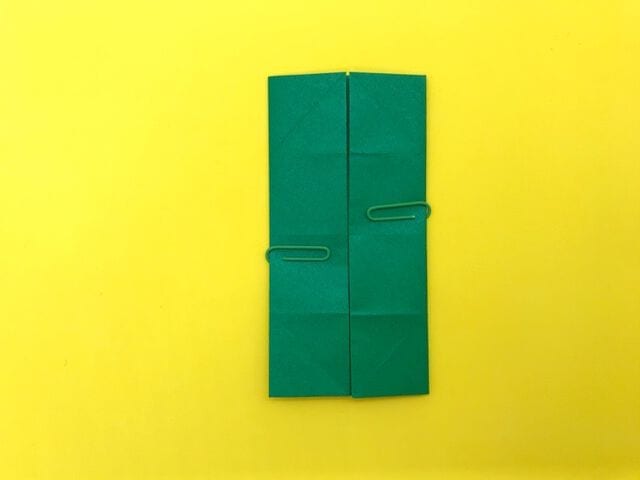
STEP 15.
Open the valley-folded sections out to the left and right.
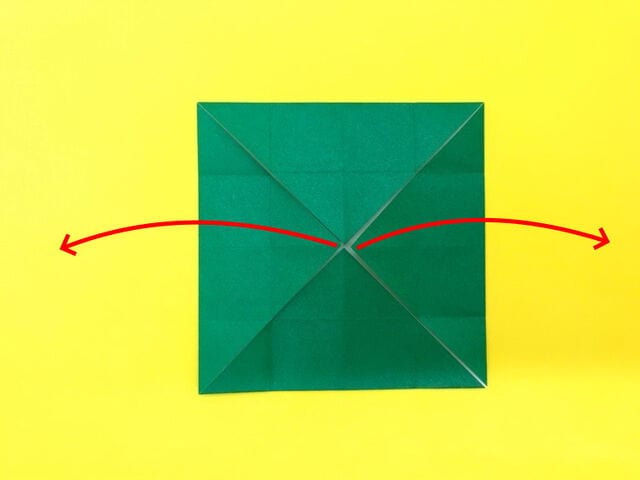
STEP 16.
Fold along the dotted crease lines, standing the sides up at a right angle as you go.
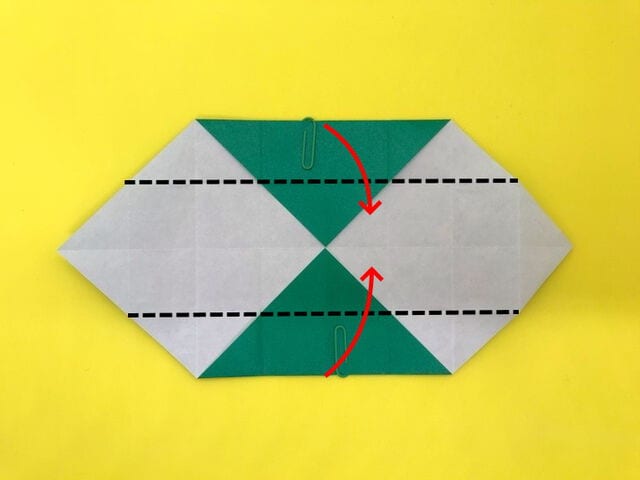
STEP 17.
Fold the corners marked with the circle inward along the existing creases, tucking them inside.
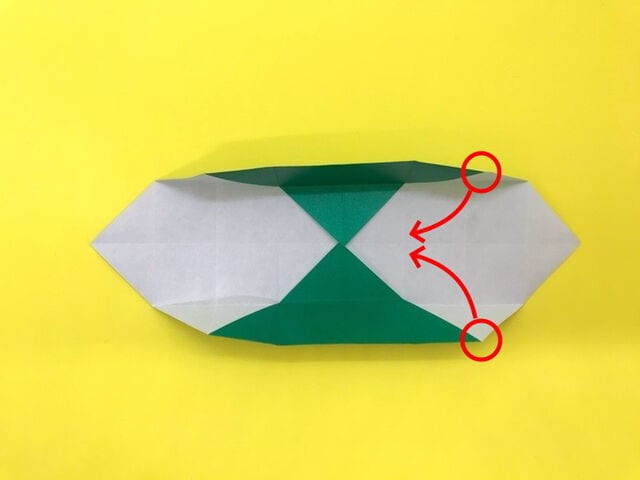
STEP 18.
While tucking them inside, make a valley fold along the dotted line and stand the right side up at a right angle.
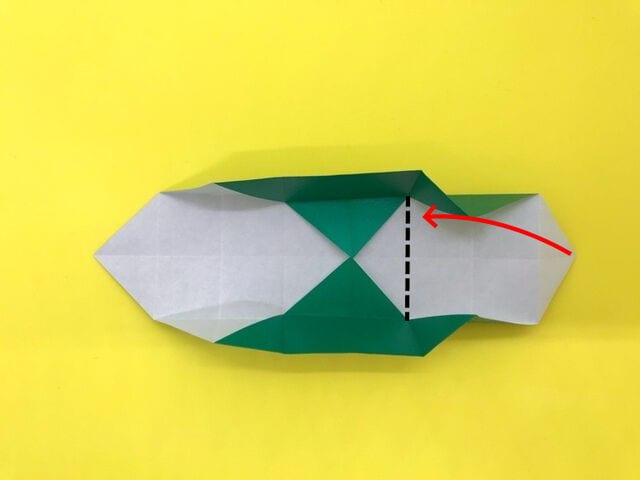
It stands up like this.
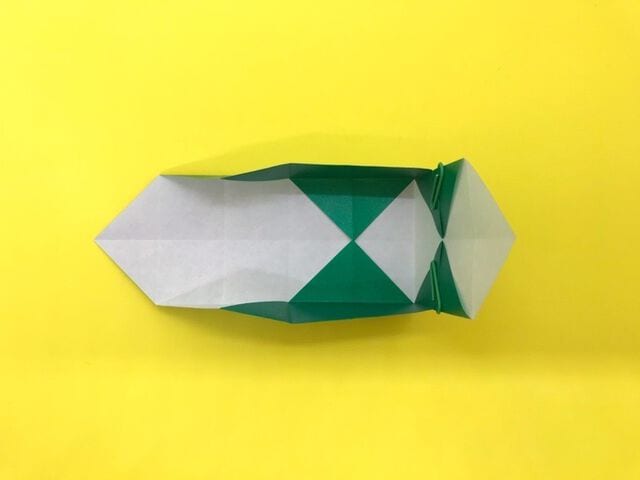
STEP 19.
This photo shows the box viewed from the left. Make a valley fold along the dotted crease line.
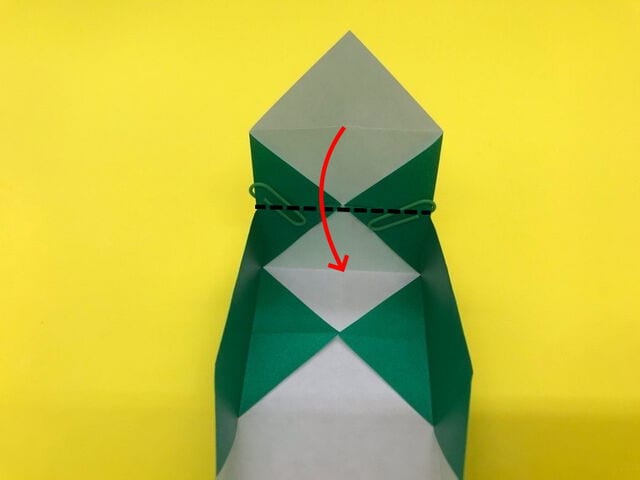
Fold the dotted line at a right angle and press the corner into place.
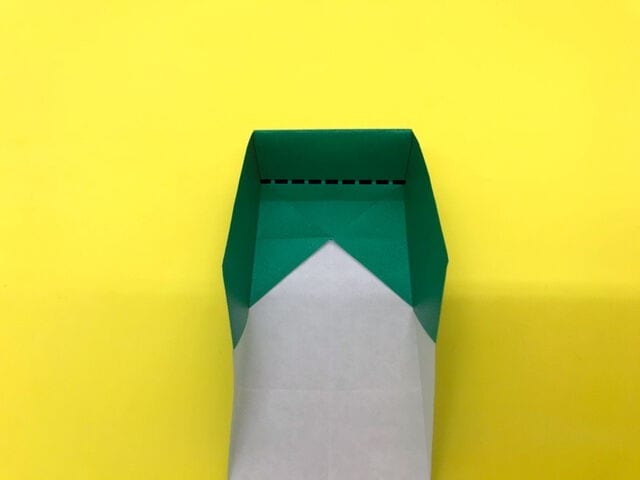
STEP 20.
Fold the left side the same way as the right. Fold the corners marked with the circle inward along the creases, tucking them inside.
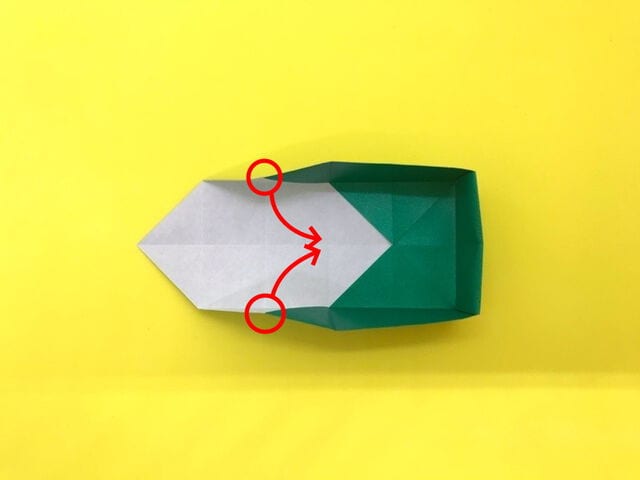
STEP 21.
While tucking them inside, make a valley fold along the dotted line and stand the left side up at a right angle.
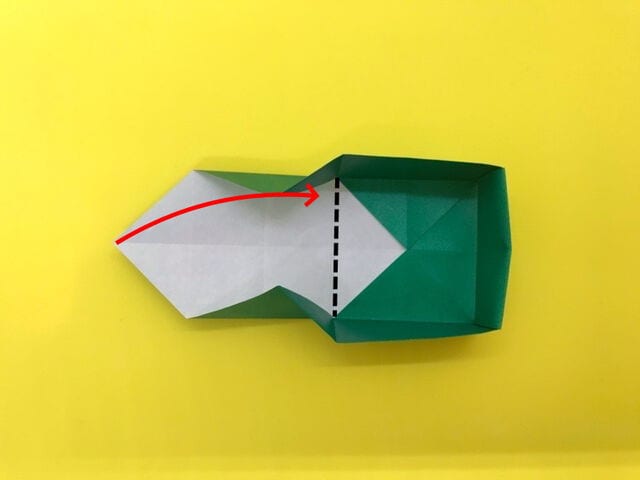
It stands up like this.
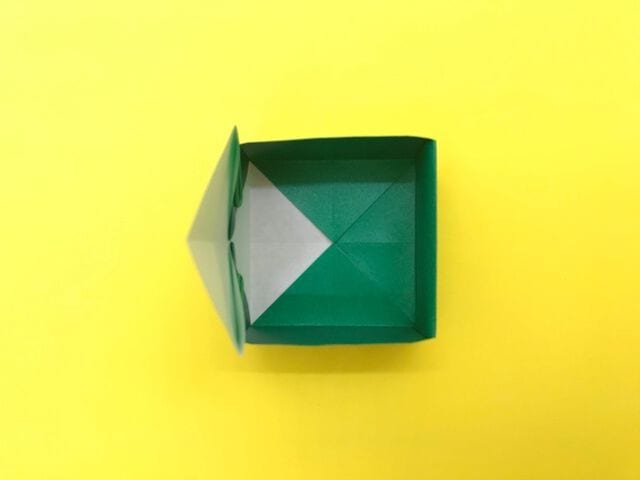
STEP 22.
This photo shows the box viewed from the right. Make a valley fold along the dotted crease line.
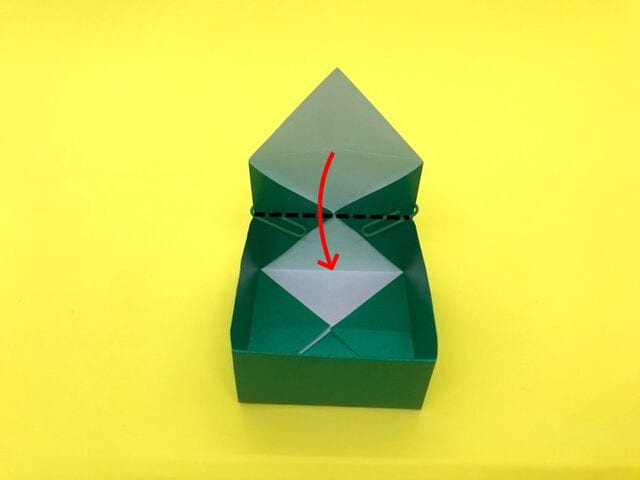
Fold the dotted line at a right angle and press the corner into place.
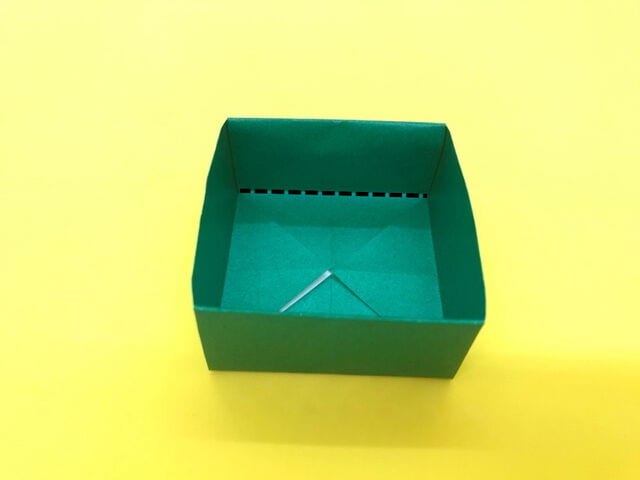
STEP 23.
Your “box” is complete!





