
Embossed Five-pointed Origami Star
Most paper stars are flat, puffy things you can inflate with a puff of breath. This one is different. It keeps the five-pointed silhouette but adds raised ridges running out from the center, so the star catches the light and actually looks carved rather than folded.
The secret is that nothing is wasted: you begin with a square, turn it into a regular pentagon, and the whole star grows out of that shape. There is a stretch in the middle where the same little group of folds repeats around all five sides, which is a good moment to slow down and make each crease sharp, because the final step is mostly a matter of pushing the center down and letting those creases decide the shape. Use paper with a slightly different front and back, and the finished ridges will show up beautifully.

This page is for anyone who wants the instructions to fold an embossed five-pointed origami star.
You can use almost any kind of paper for this star, although it is easier if the front and back sides differ slightly, whether in texture or in color.
Make sure the paper you start from is square, with four equal sides and four right angles.
This is the front side of the paper used for this tutorial.
This is the back side of the paper. As you can see, it is not as shiny as the front side.
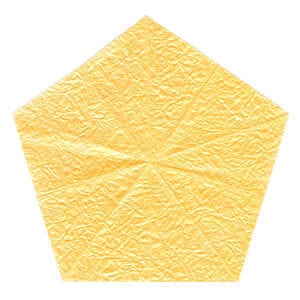
The star is folded from a regular pentagon, so first turn your square into one using your favourite pentagon-folding method. This is the front side of the finished regular pentagon.
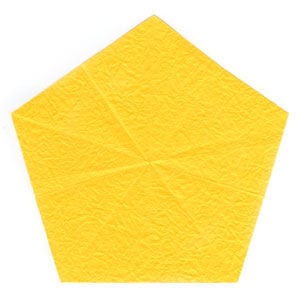
This is the back side of the regular pentagon.
STEP 1.
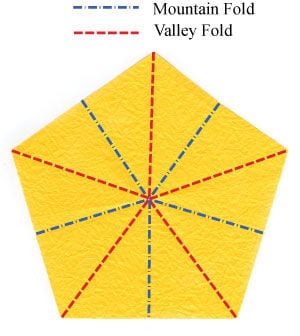
Start with the back side of the pentagon facing up. Prepare to convert all the creases into valley folds or mountain folds, following the crease pattern (CP) shown on the left.
STEP 2.
Complete the conversion of the crease pattern given in step 1. Prepare to press the model flat, following the arrows.

STEP 3.
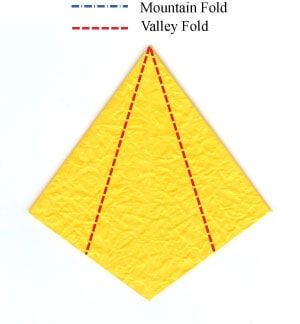
Flatten the model. The open side is at the bottom. Prepare for two valley folds.
STEP 4.
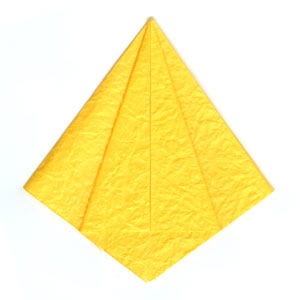
Apply the two valley folds. Prepare to unfold them again.
STEP 5.
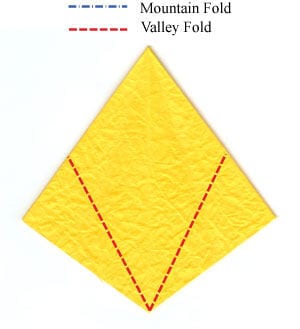
Unfold the two valley folds from the previous step. Prepare to apply two valley folds.
STEP 6.
Apply the two valley folds. Prepare to apply another valley fold.
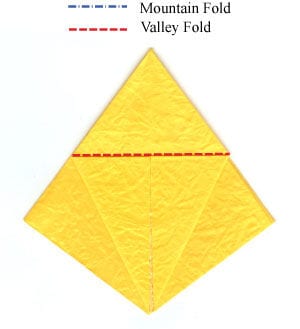
STEP 7.
Apply the valley fold. Prepare to unfold.
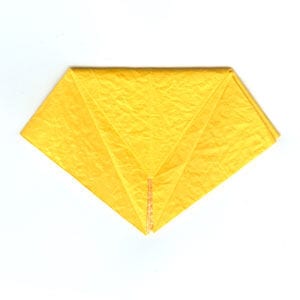
STEP 8.
Unfold all three valley folds from the previous steps. Prepare to apply a so-called petal fold.

STEP 9.
Lift the bottom corner upwards.
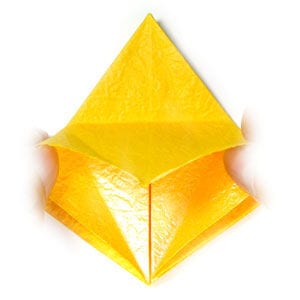
STEP 10.
Continue lifting.
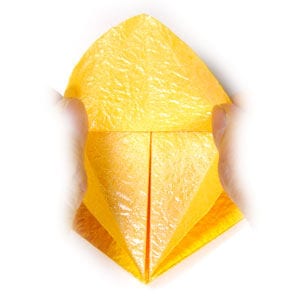
STEP 11.
As you push the corner up, bring the edges in towards the middle and flatten them.
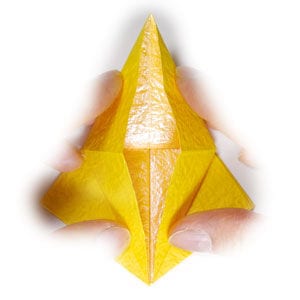
STEP 12.
You have now completed the petal fold.
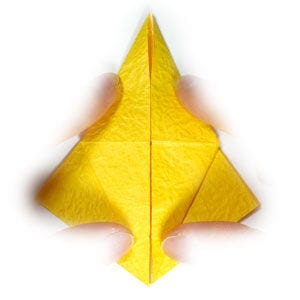
STEP 13.
Prepare for a valley fold.
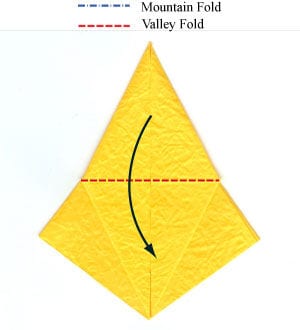
STEP 14.
Apply the valley fold from step 13. Prepare for two valley folds.
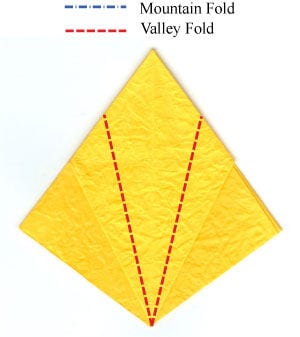
STEP 15.
Apply the two valley folds from step 14. Prepare to unfold.

STEP 16.
Unfold the two valley folds. Prepare for a valley fold by folding the right side over to the left.
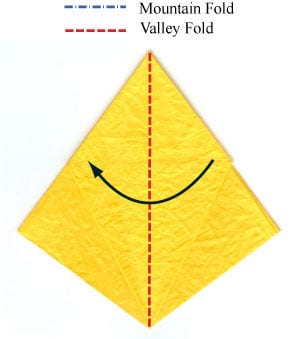
STEP 17.
Apply the valley fold from step 16. Prepare for another valley fold.
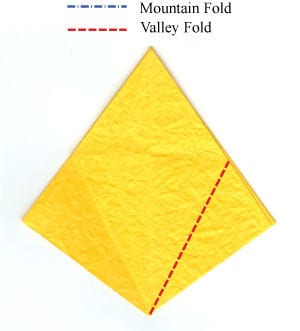
STEP 18.
Apply the valley fold from step 17. Prepare to unfold.
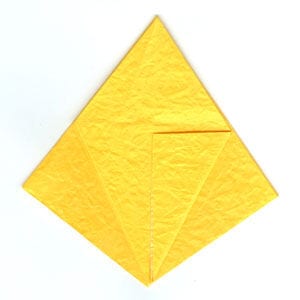
STEP 19.
Unfold the valley fold from step 18.
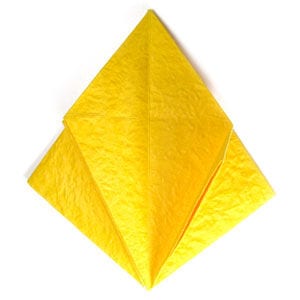
STEP 20.
Let us begin the petal fold again. Lift the bottom corner upwards.
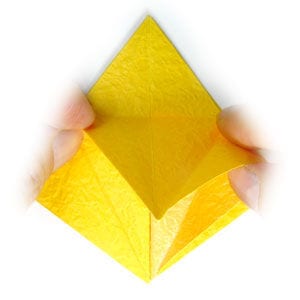
STEP 21.
Continue lifting.
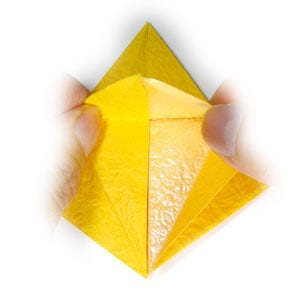
STEP 22.
As you push the corner up, bring the right edge in towards the middle and flatten it.
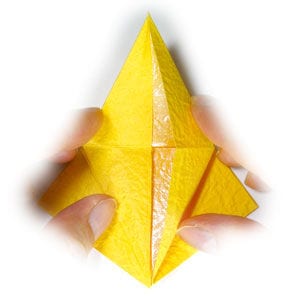
STEP 23.
You have now completed the petal fold. Prepare for two valley folds.
STEP 24.
Apply the two valley folds from step 23. Prepare for two more valley folds.
STEP 25.
Apply the two valley folds from step 24. Prepare to unfold.
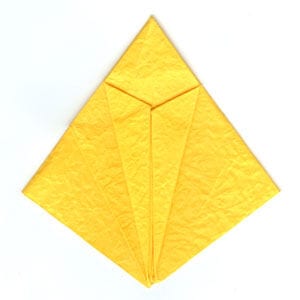
STEP 26.
Unfold the two valley folds from step 25. Prepare for another two valley folds.
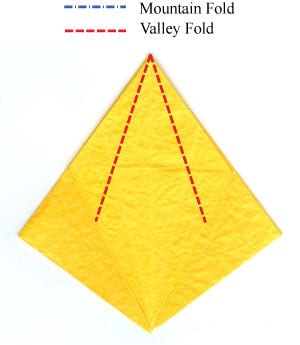
STEP 27.
Apply the two valley folds. Prepare to unfold.
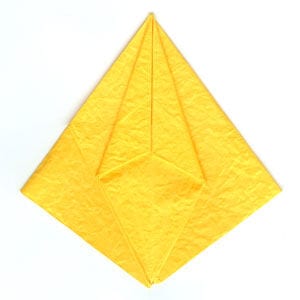
STEP 28.
Unfold the two valley folds. Prepare for a valley fold by folding the right side over to the left. This is the repetition of step 16.
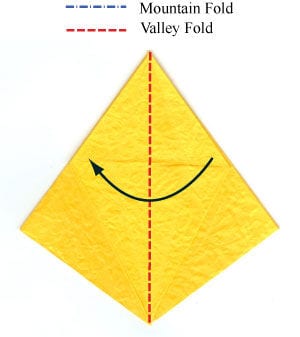
STEP 29.
Repeat steps 16 to 28 two more times. Prepare for two valley folds.
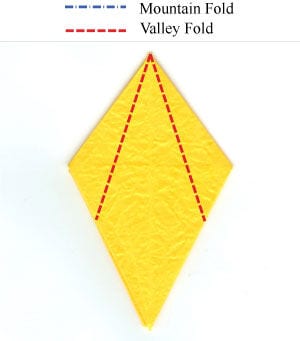
STEP 30.
Apply the two valley folds from step 29. Prepare to unfold.
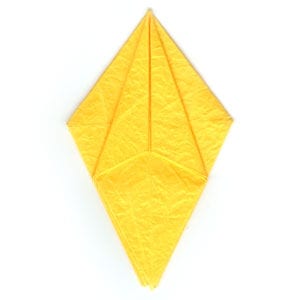
STEP 31.
Unfold the two valley folds from the previous step. Prepare for two valley folds.
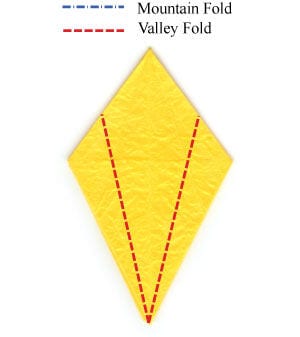
STEP 32.
Apply the two valley folds from step 31. Prepare to unfold.
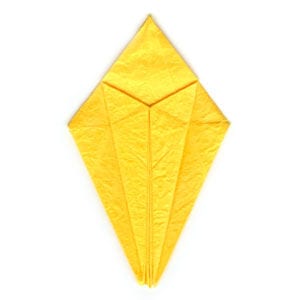
STEP 33.
Unfold the two valley folds from step 32. Prepare to open the model.
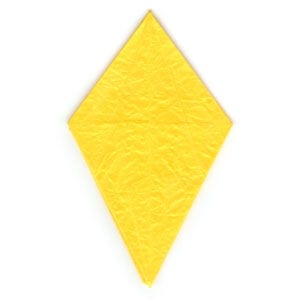
STEP 34.
Open the model a little. This is the top view. Prepare to push the top with your finger.
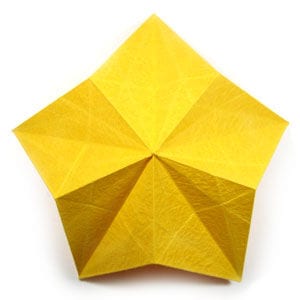
STEP 35.
Push the top with your finger until your finger touches the bottom.
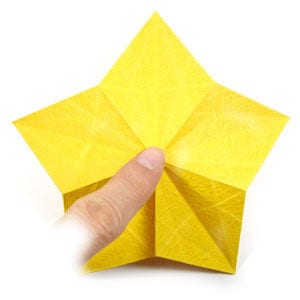
STEP 36.
The model transforms into the shape shown here. Prepare to turn the model over.
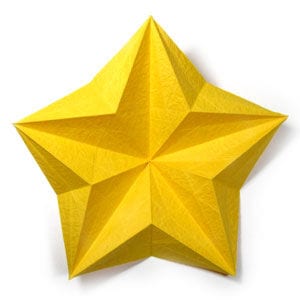
STEP 37.
Turn the model over. You are almost there.
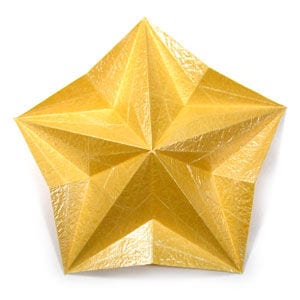
STEP 38.
Apply the crease pattern shown here to the existing creases. Every crease you need is already there, so you only have to emphasize each one as either a valley fold or a mountain fold.
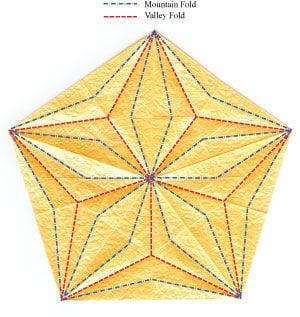
STEP 39.
Congratulations! You have now completed the embossed five-pointed origami star.




