
Origami Pansy
A pansy is one of those flowers that asks to be looked at straight on, and this flat paper version is happy to oblige. The model is built in two pieces: a square that becomes five rounded petals, and a much smaller triangle that becomes the center. Fold them separately, then slot the center into the gap between the petals and the whole thing holds itself together without a single dab of glue.
Do not be surprised if the petal section feels like it is mostly "fold, then fold again" - the pleats are what give the blossom its layered, slightly rumpled look. The center is quick and fiddly in the best way, tiny folds that finish with two little points. Paper with a different colour on each side makes the most of the folds, and a handful of them in different colours reads as a proper bouquet.
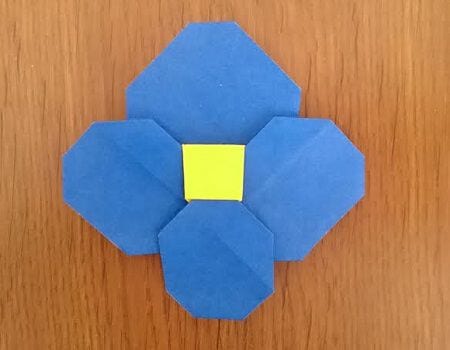
How to Fold the Petals
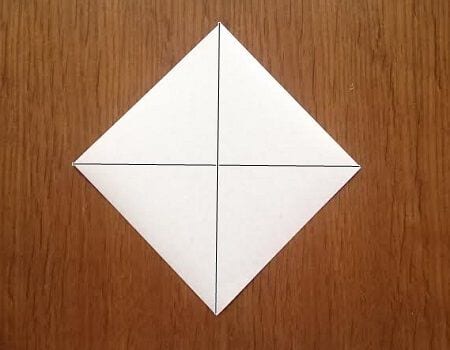
STEP 1. Make creases along the vertical and horizontal center lines.
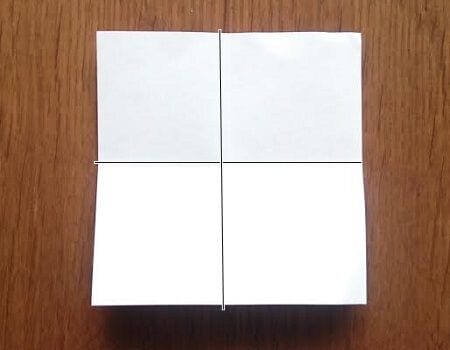
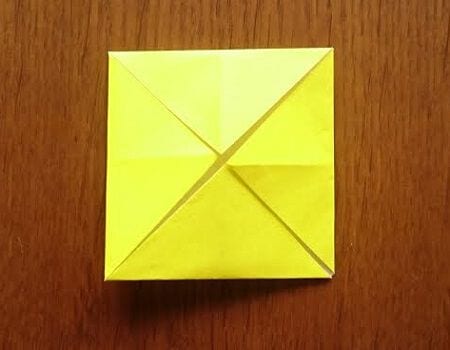
STEP 2. Fold along the crease.
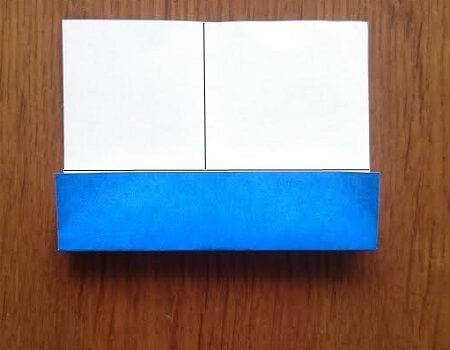
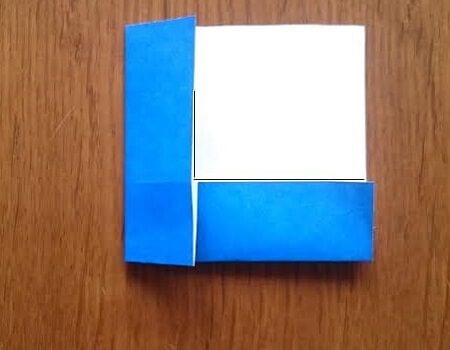
STEP 3. Spread the paper open.
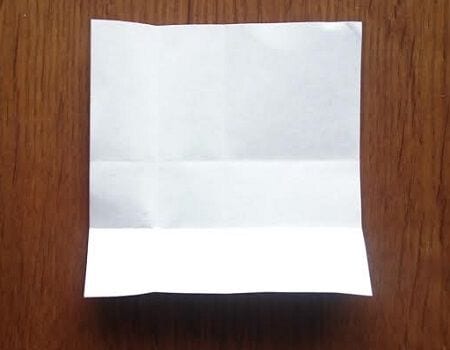
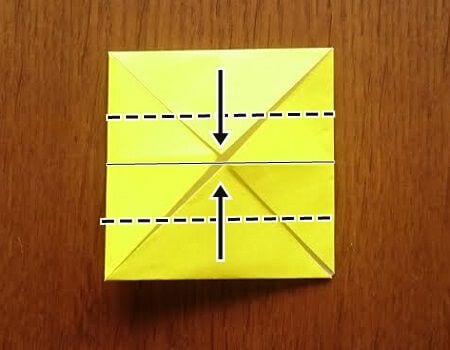
STEP 4. Make a step fold along the crease made in step 2.
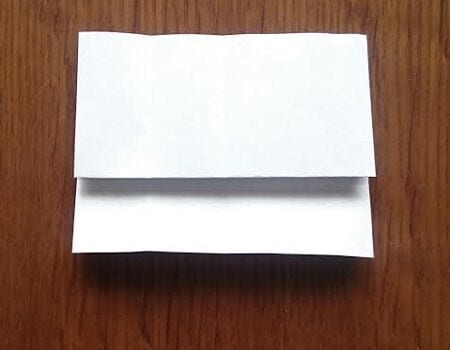
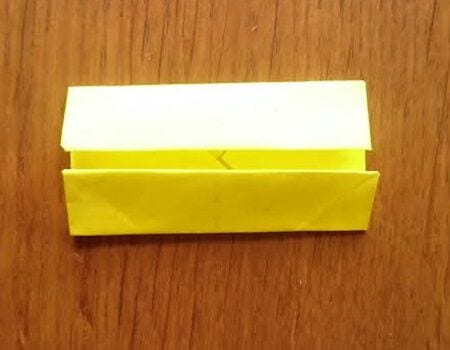
Seen from the side, it looks like this.
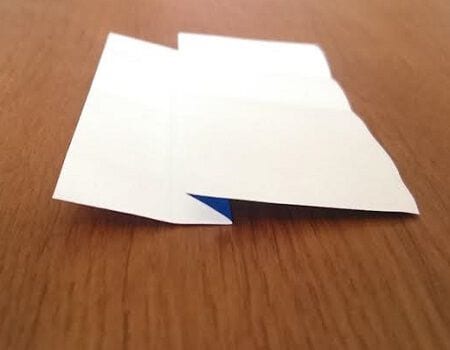
STEP 5. Make the same step fold on the other side, matching the red lines.
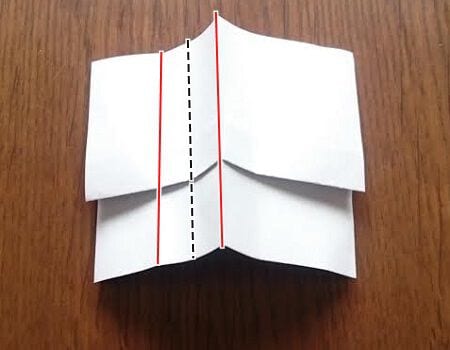
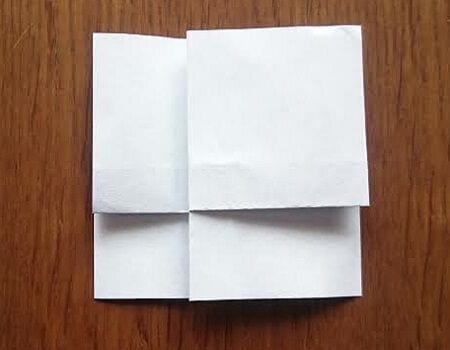
Flatten it back down.
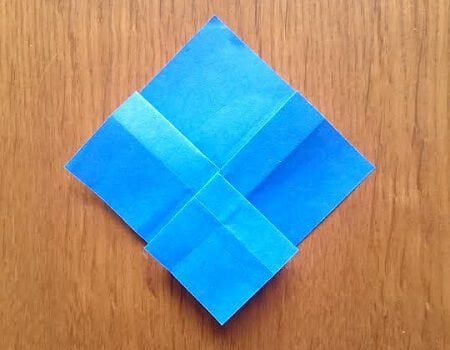
STEP 6. Fold so that the red lines match.
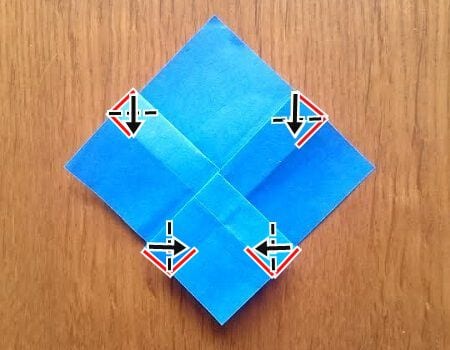
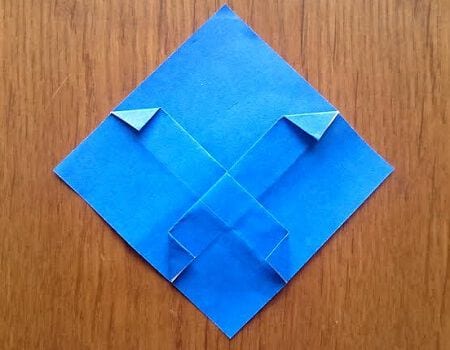
STEP 7. Fold each of the four flaps from step 6 in half.
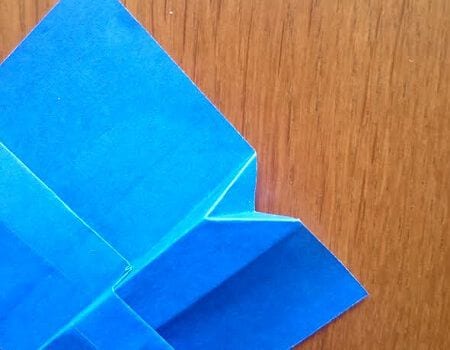
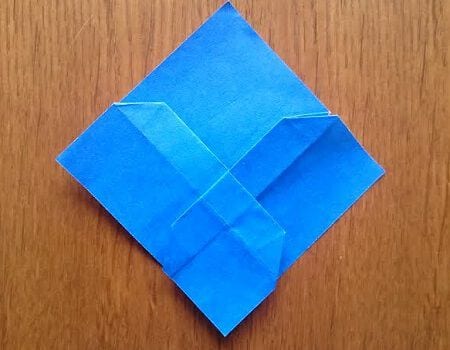
Turn the paper over.
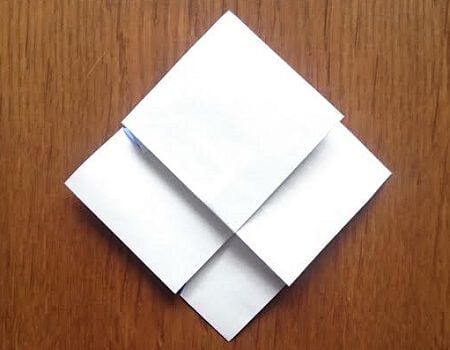
STEP 8. Open out the four corners.
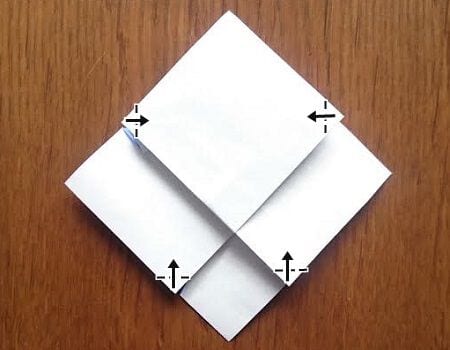
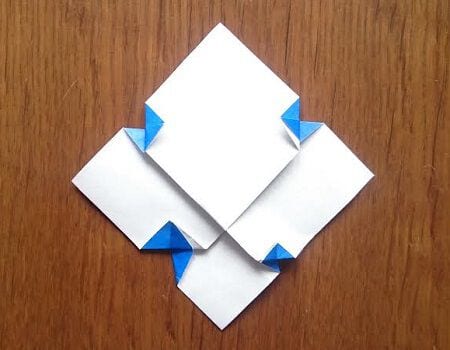
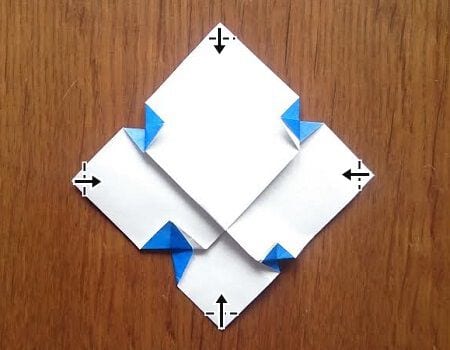
STEP 9. Fold the four corners over a little.
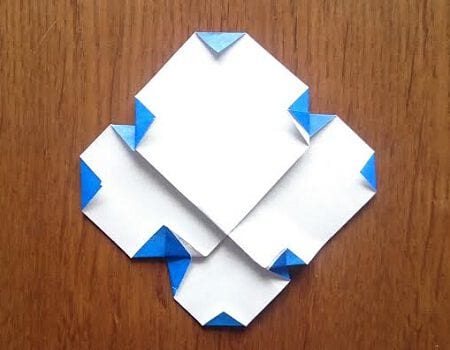
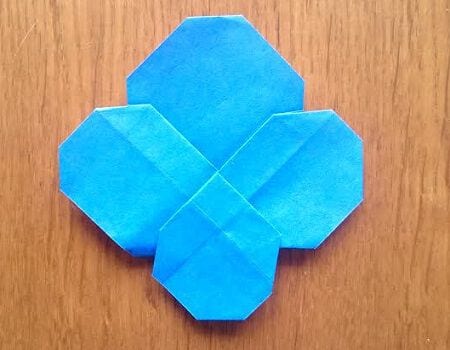
Turn it over and the petals are complete.
How to Fold the Center
STEP 1. Fold the triangle in half twice, creasing vertically and horizontally.
STEP 2. Fold it around the corner.
STEP 3. Fold as shown in the image.
STEP 4. Fold as shown in the image.
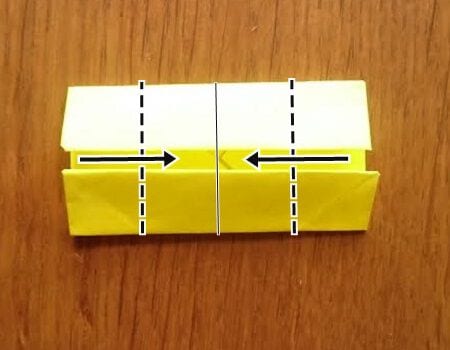
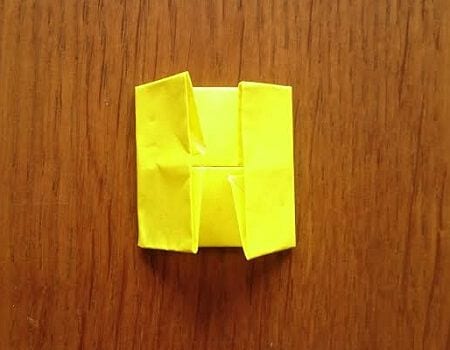
STEP 5. Fold as shown in the image.
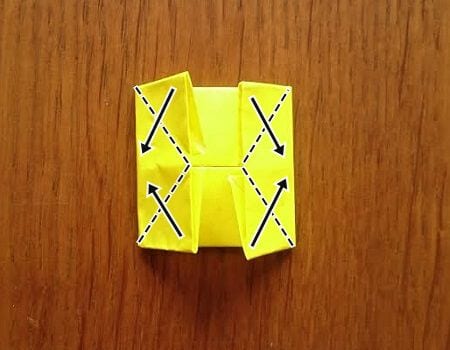
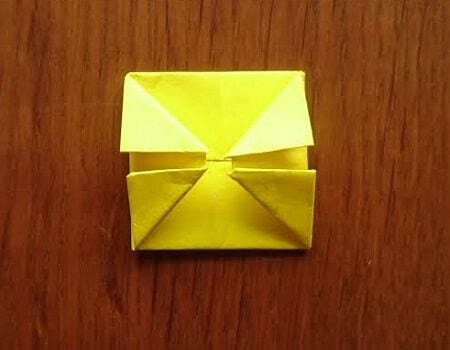
STEP 6. Pull out the corner.
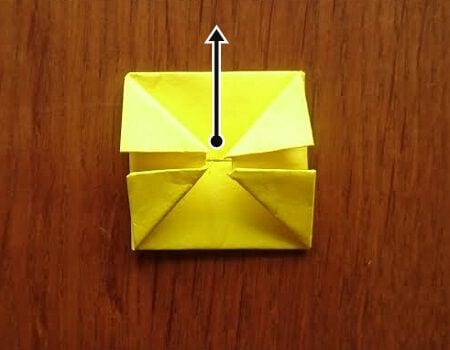
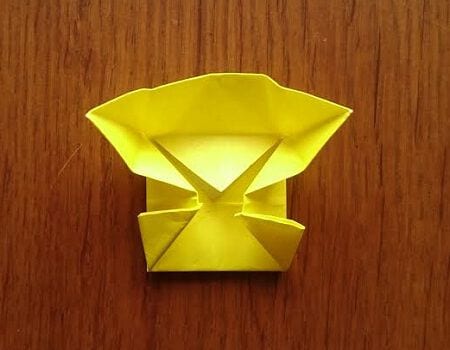
Pinch the corner.
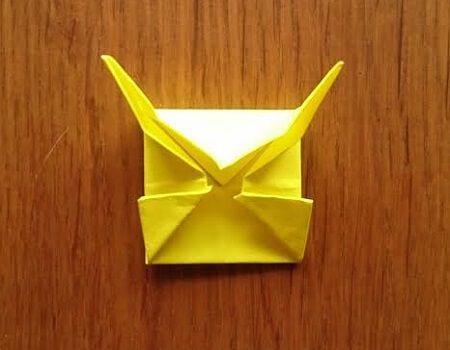
Fold it up.
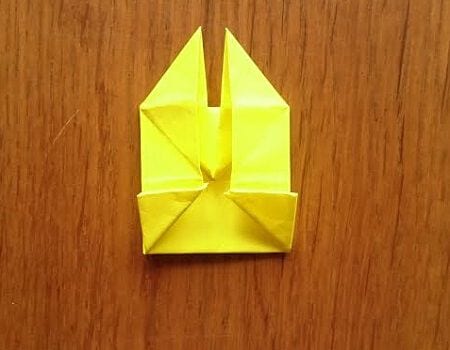
STEP 7. Fold the bottom side in the same way.
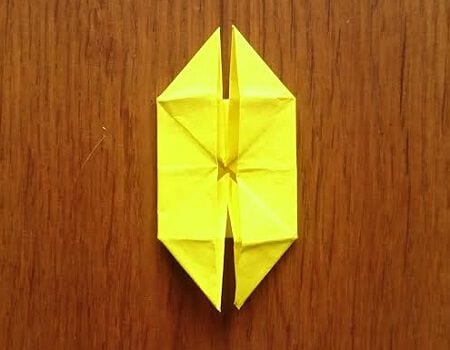
STEP 8. Fold the corners horizontally.
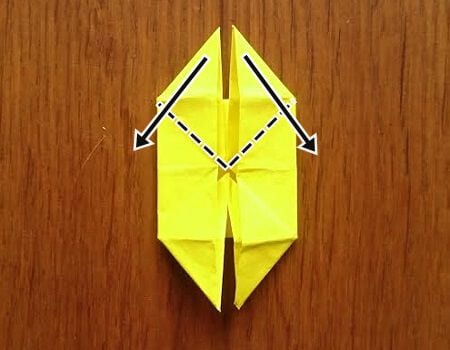
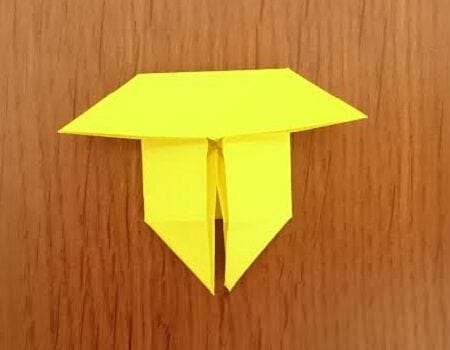
Flatten it back down.
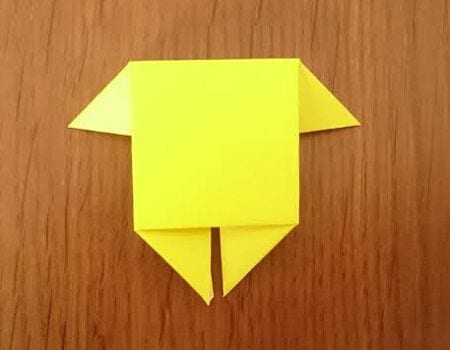
STEP 9. Insert it into the gap between the petals.
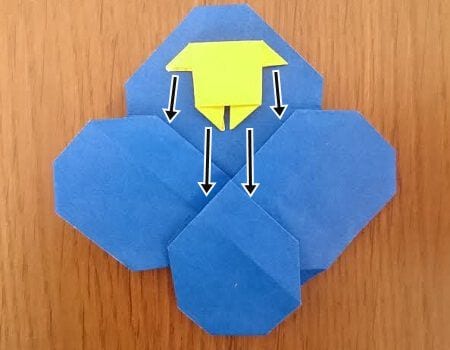
The pansy is complete.




