
Stair Fold In Origami
If you have been folding for a while, you already know the Z-fold for thirds and the gate-fold for quarters. So what do you do when the diagram asks for fifths? The stair fold - so called because the paper takes on a staircase profile before you open it out.
The stair fold is a measuring fold: instead of eyeballing the fifths, you bend the paper, compare two distances, and adjust until they hit the right ratio. This tutorial walks you through all ten steps, from the first bend to the final open-out, with photos at every stage so you can see exactly where each crease should sit.
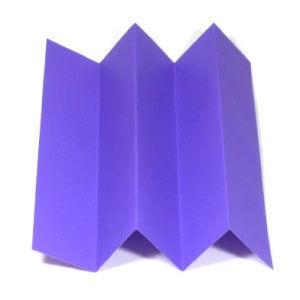
If you want to fold a paper in three equal parts, you need to apply a Z-fold. If you want to fold a paper in four equal parts, you need to apply a gate-fold. If you want to fold a paper in five equal parts, you need to apply a stair fold. The name “stair fold” is given here since the final shape resembles a stair.
This is the front side of the paper.

This is the back side of the paper.

STEP 1.
Let us start with a square paper. Prepare to bend the paper vertically but do not make a crease line yet.

STEP 2.
Bend the paper vertically so that the bended left-edge should be 1/3 from the unbended left-edge. Do not make a crease line yet.
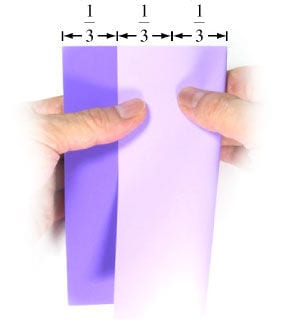
STEP 3.
Measure the distance between two left edges, L1.
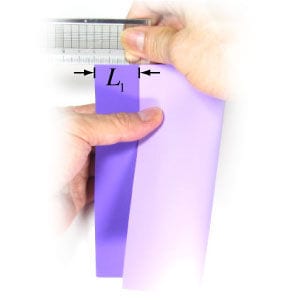
STEP 4.
Measure the length of the bended paper, L2. If L2 is not equal to the twice of L1, adjust L2 so that L2 = 2 * L1.
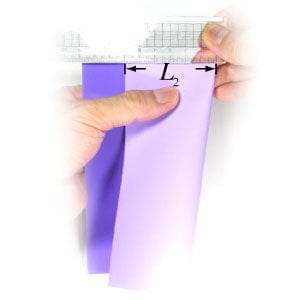
STEP 5.
Apply the mountain-fold on the right edge. Prepare to apply a vertical valley-fold.
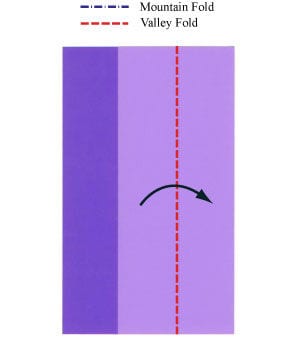
STEP 6.
Apply the vertical valley-fold of the step #5. Prepare to turn the paper over.
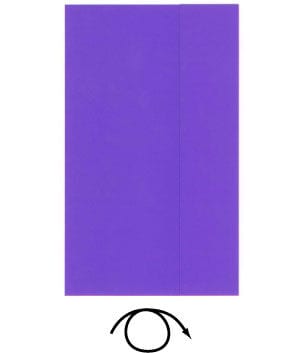
STEP 7.
Turn the paper over. Prepare to apply a valley-fold.
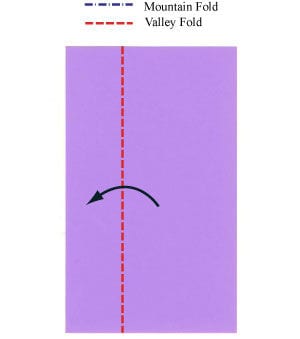
STEP 8.
Apply the valley-fold of the step #7. Prepare to apply a vertical valley-fold.
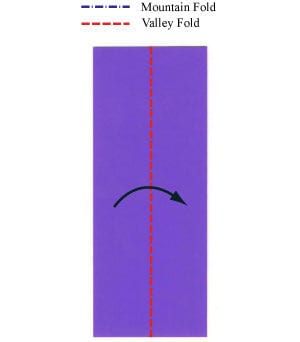
STEP 9.
Apply the vertical valley-fold of the step #8. Prepare to open the paper.
STEP 10.
Open the paper. You have completed applying a stair-fold.





