
New Origami Crown (Cubed Crown)
Crowns are among the most satisfying origami models to finish, because the final folds always turn a flat sheet into something that suddenly stands up and wears its shape. This one is a newer design with a twist: it keeps the four points of the traditional crown but hides a full cube of space beneath them, so it feels chunkier and far more regal in your hands.
Do not let the 35 steps scare you - the early ones are simple grid creases, and by the end you will have learned the inside reverse-fold, one of the most useful techniques in origami. Pick a sheet with different colours on each side, fold slowly where the steps ask for reverse-folds, and you will soon hold a crown fit for a tiny king or queen.
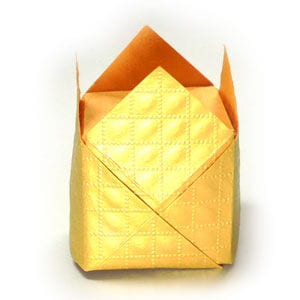
This page is for everyone who wants to fold a brand-new origami crown.
This new crown model starts from a 3 x 3 matrix base. It resembles the traditional crown because it keeps the same four points, but it holds far more volume - about twice as much as the classic version. Since the space inside is exactly a cube, it can also be called a “cubed crown”. A special technique you will learn along the way is the inside reverse-fold.
If you are ready, let us get started.
You may use any kind of paper to fold the origami crown. It is a little easier when the front and back of the paper look slightly different, whether in texture or in color.
Make sure your paper is a square - all sides equal and every angle 90 degrees. The paper used here is a 15 cm x 15 cm sheet of gold paper, to simulate a real crown.
This is the front side of the paper.
This is the back side of the paper.
STEP 1.
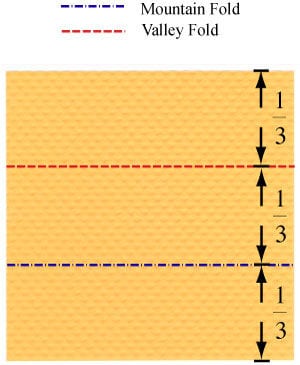
Start with the back side of the paper facing up. Prepare to apply a horizontal “Z-fold”, then unfold.
STEP 2.
Apply a vertical “Z-fold”, then unfold it.
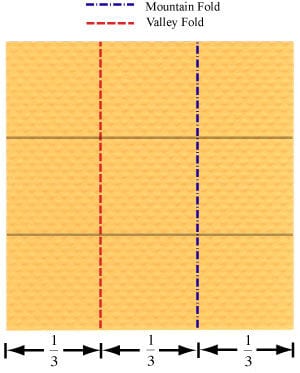
STEP 3.
Apply three horizontal “valley-folds”, then unfold them.
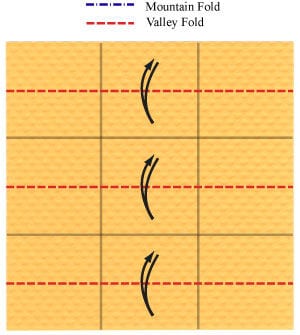
STEP 4.
Apply three vertical “valley-folds”, then unfold them.
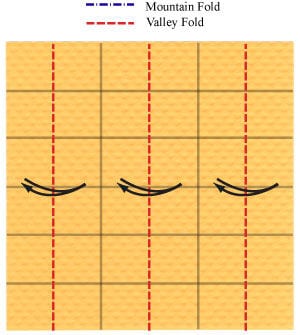
STEP 5.
You have now completed the “6x6 matrix base”.
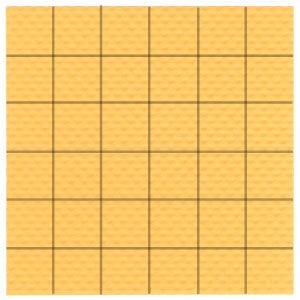
STEP 6.
Prepare to apply a “cushion-fold”, then unfold.
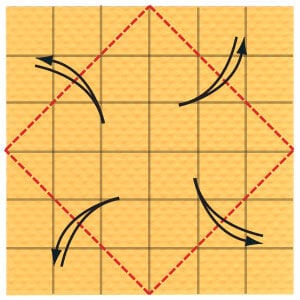
STEP 7.
Apply the “cushion-fold”, then unfold. Prepare to turn the paper over.
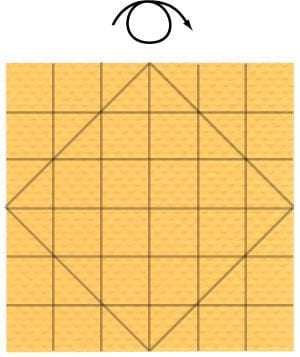
STEP 8.
Turn the paper over. Prepare to apply four “valley-folds”, then unfold.
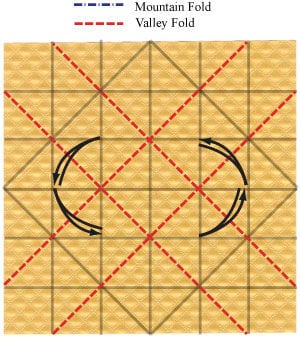
STEP 9.
Apply four “valley-folds”, then unfold. Prepare to turn the paper over again.
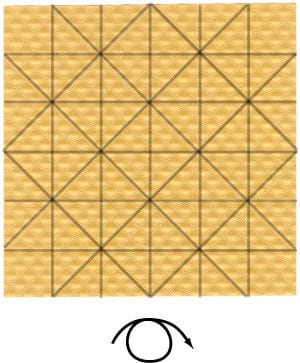
STEP 10.
Turn the paper over. Prepare to rotate it by 45 degrees.
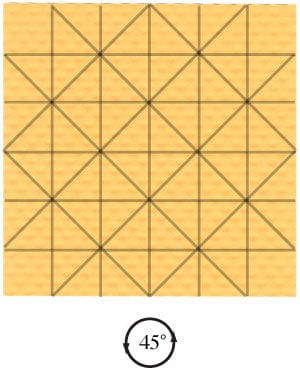
STEP 11.
Rotate the paper by 45 degrees. Prepare to apply a horizontal “valley-fold”.
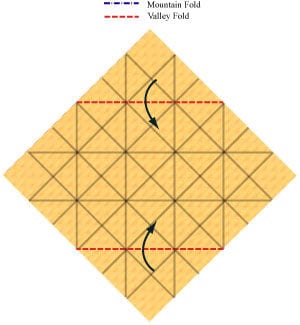
STEP 12.
Apply the horizontal “valley-fold”. Prepare to apply an “inside reverse-fold”.
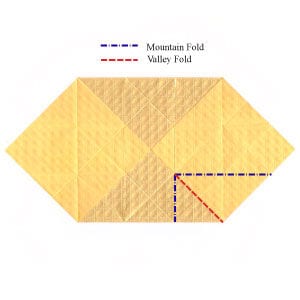
STEP 13.
Start applying the “inside reverse-fold”.
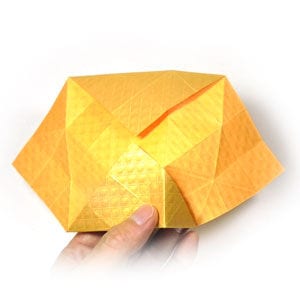
STEP 14.
Continue applying the “inside reverse-fold”.
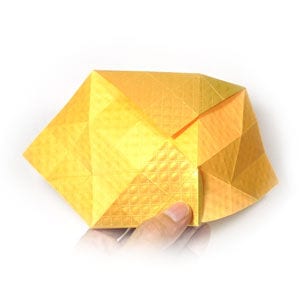
STEP 15.
Complete the “inside reverse-fold”. Prepare to apply a horizontal “valley-fold”.
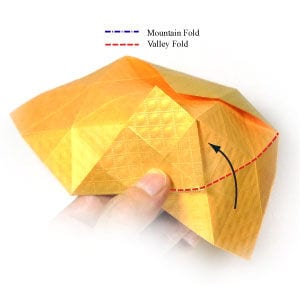
STEP 16.
Start applying the horizontal “valley-fold”.

STEP 17.
Complete the horizontal “valley-fold”. Prepare to apply another “inside reverse-fold”.
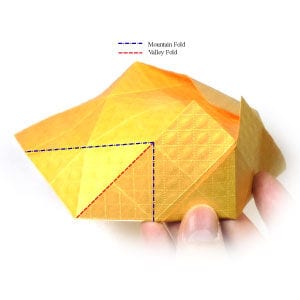
STEP 18.
Start applying the “inside reverse-fold”.
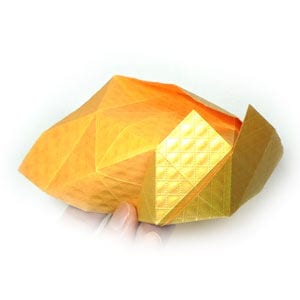
STEP 19.
Continue applying the “inside reverse-fold”.
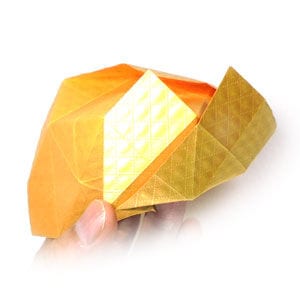
STEP 20.
Complete the “inside reverse-fold”. Prepare to apply a “valley-fold”.
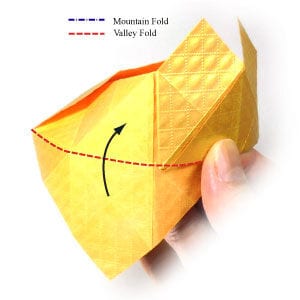
STEP 21.
Start applying the “valley-fold”.
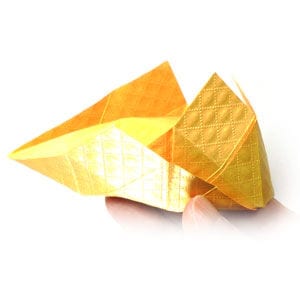
STEP 22.
Complete the “valley-fold”. Prepare to rotate the crown model by 90 degrees.
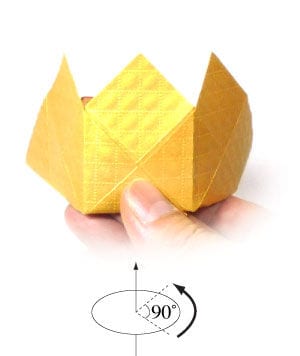
STEP 23.
Rotate the crown model by 90 degrees. Prepare to grab the encircled corner edge.
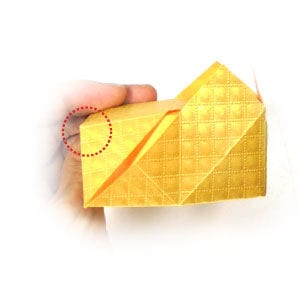
STEP 24.
Grab the corner edge. Prepare to lift the first layer.

STEP 25.
Lift the first layer. Prepare to insert the triangular flap into the pocket with a “valley-fold”.
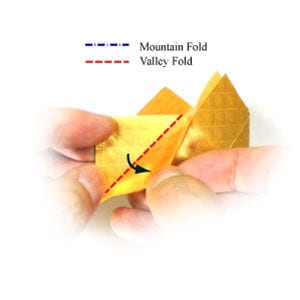
STEP 26.
Start inserting the triangular flap into the pocket with the “valley-fold”.
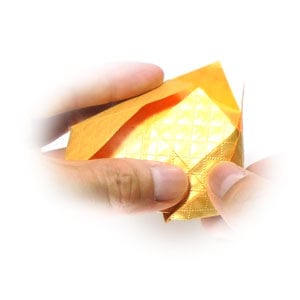
STEP 27.
Complete inserting the triangular flap into the pocket. Prepare to rotate the crown model by 180 degrees.
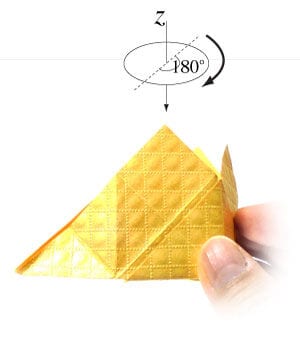
STEP 28.
Rotate the crown model by 180 degrees. Prepare to grab the encircled corner edge.
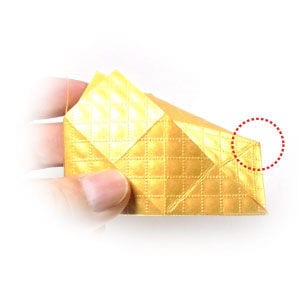
STEP 29.
Grab the corner edge. Prepare to lift the front-most layer.
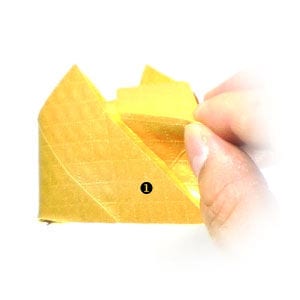
STEP 30.
Lift the front-most layer. Prepare to insert the triangular flap into the pocket with a “valley-fold”.
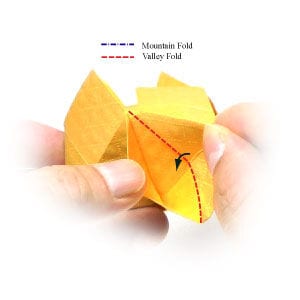
STEP 31.
Start inserting the triangular flap into the pocket with the “valley-fold”.
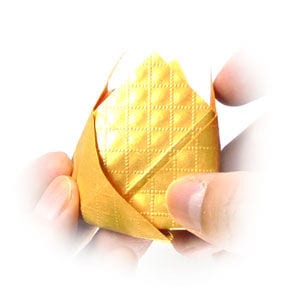
STEP 32.
Complete inserting the triangular flap into the pocket. Prepare to lay the crown model down.
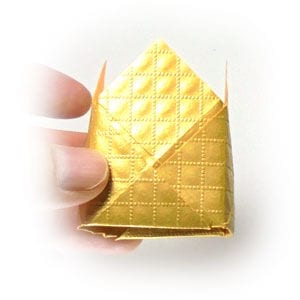
STEP 33.
Lay the crown model down - here is the top view of the new origami crown.
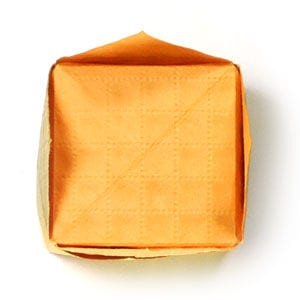
STEP 34.
This is the perspective view of the new origami crown model.
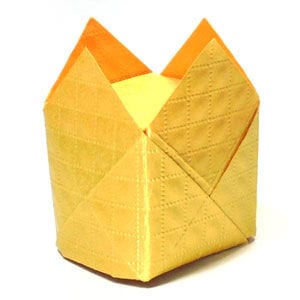
STEP 35.
Congratulations! You have just completed a new origami crown.





