
Simple Jet Plane
Everyone remembers their first paper airplane — usually a quick triangle dart that immediately nosedived into the floor. This one's a step up, and a fun one: the simple origami jet plane. It's still only sixteen steps and still just valley and mountain folds, but the result looks properly sleek, like something that belongs on a runway.
What I like about this model is how it teaches you to read a crease pattern without ever feeling overwhelming. You build a little grid of folds first, collapse them into a clean base, then swing the wings up — and suddenly it's a jet. Toss it gently and level and it actually glides. Perfect for a rainy afternoon, a classroom demo, or just proving to yourself that paper can absolutely become a plane.
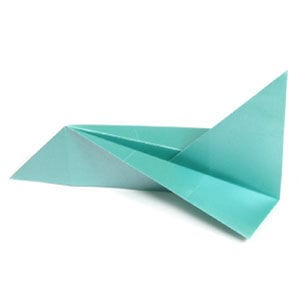
This page is for anyone looking for instructions to fold a simple origami jet plane.
This simple origami jet plane takes only sixteen steps to complete.
Before working on this model, you need to know what a valley fold and a mountain fold are. If you know these two folding techniques, then you’ll have no trouble making an origami airplane.
If you’re ready, let’s get started.
You can use any kind of paper to fold the origami airplane. Here I’m using a 15 cm × 15 cm sheet of origami paper.
This is the front side of the paper.
This is the back side of the paper.
STEP 1.
Start with the back side of the paper facing up. Valley-fold it in half horizontally, then unfold.
STEP 2.
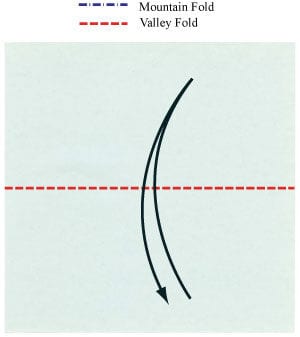
Apply the horizontal valley fold from step 1, then unfold. Valley-fold it in half vertically, then unfold.
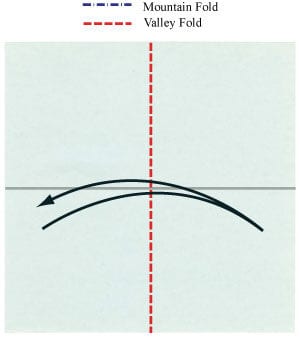
STEP 3.
Apply the vertical valley fold from step 2, then unfold. Prepare a horizontal “gate fold,” then unfold.
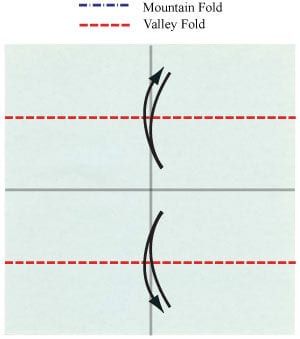
STEP 4.
Apply the horizontal “gate fold” from step 3, then unfold. Prepare a vertical “gate fold,” then unfold.
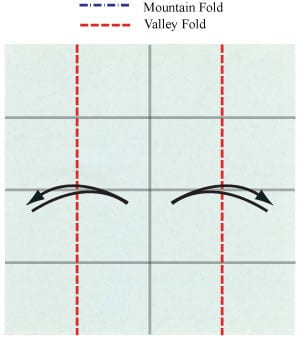
STEP 5.
Apply the vertical “gate fold” from step 4, then unfold. Prepare a diagonal valley fold, then unfold.
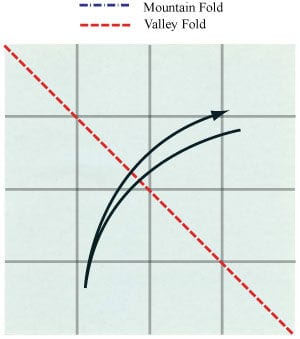
STEP 6.
Apply the diagonal valley fold from step 5, then unfold. Prepare to turn the model over.
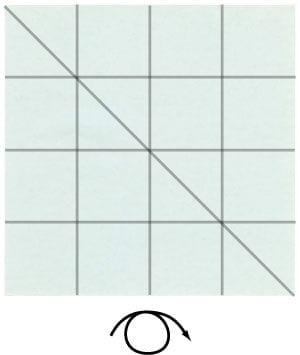
STEP 7.
Turn the origami jet plane model over. You should now see seven crease lines.
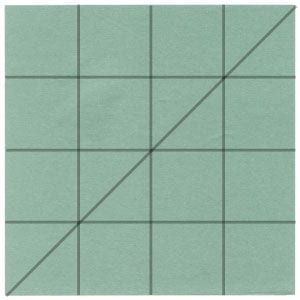
STEP 8.
Prepare to apply the crease pattern (CP) shown on the left.
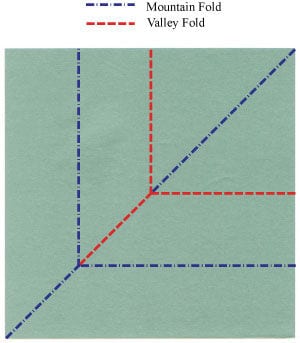
STEP 9.
Apply the CP from step 8. Prepare to make a valley fold.
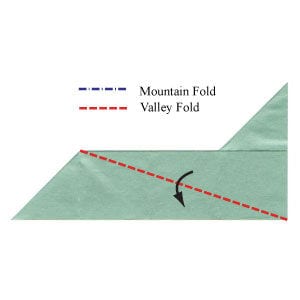
STEP 10.
Apply the valley fold from step 9. Prepare to turn the model over.
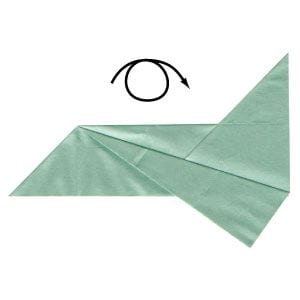
STEP 11.
Turn the origami jet plane model over. Prepare to make a valley fold.
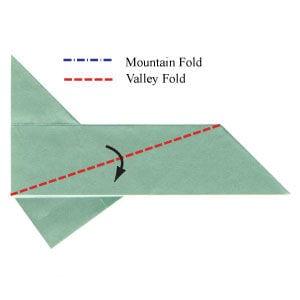
STEP 12.
Apply the valley fold from step 11. Prepare to rotate the model by 90 degrees.
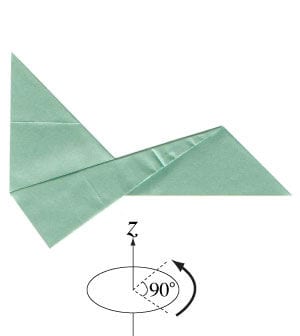
STEP 13.
Rotate the origami jet plane model by 90 degrees. Prepare to lift both wings following the arrows.

STEP 14.
Lift both wings following the arrows from step 13. Prepare to rotate the model by 90 degrees.
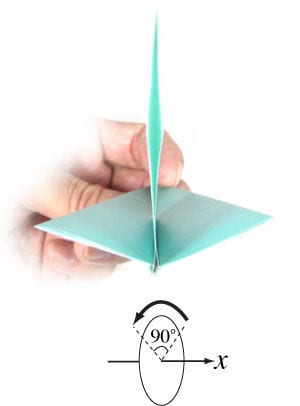
STEP 15.
Rotate the origami jet plane by 90 degrees. This is the top view of the finished jet.
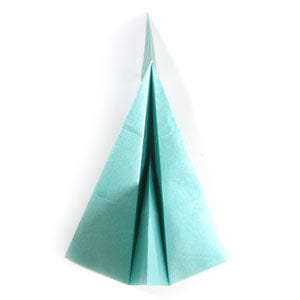
STEP 16.
Congratulations! You have just completed a simple origami jet plane.





