
How to Fold a Traditional Origami Seal
Four inside reverse folds in a row — that is the whole trick of the traditional seal, and also the reason the model is worth folding. Do the same fold four times, watch a fish base turn into an animal with a raised head and a pair of flippers, and the technique stops feeling exotic.
The rest is gentle. Everything before step 9 is valley folds on a base you have almost certainly folded before, and everything after step 14 is a couple of right-angle folds and a rotation. The reverse folds in the middle are where the creases need to be sharp and matched on both sides: rush them and the seal ends up lopsided.
A 15 cm square is plenty. Choose paper with a bit of body to it, since the finished model has to stand on its own front flippers.
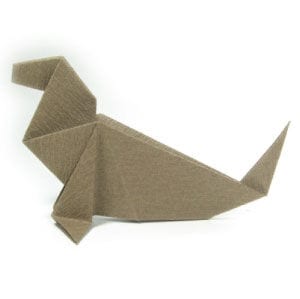
These instructions show how to fold the traditional origami seal.
The seal is a classic model that starts from the fish base. The one technique worth learning from it is the inside reverse fold, which you will apply four times.
Any kind of paper will do. The sheet used here measures 15 cm x 15 cm.
This is the front side of the paper.
This is the back side of the paper.
STEP 1. Start from the fish base and rotate it by 90 degrees.
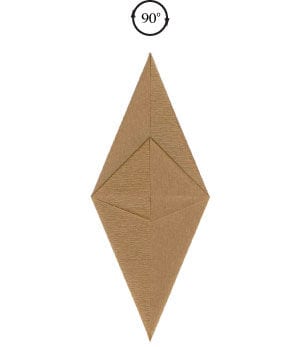
STEP 2. Rotate the fish base by 90 degrees, then turn it over.
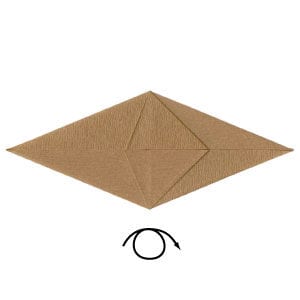
STEP 3. Turn the fish base over and prepare to make a horizontal valley fold.
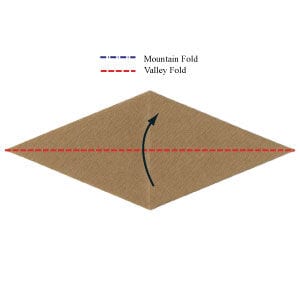
STEP 4. Make the horizontal valley fold.
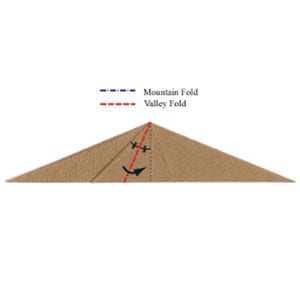
STEP 5. Make the valley fold shown, then turn the model over.
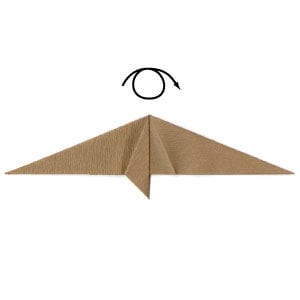
STEP 6. Turn the model over and prepare to make a valley fold.
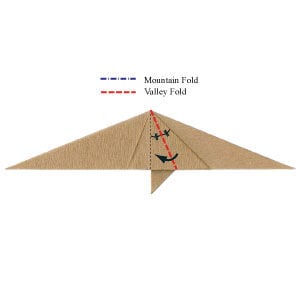
STEP 7. Make the valley fold, then turn the model over.
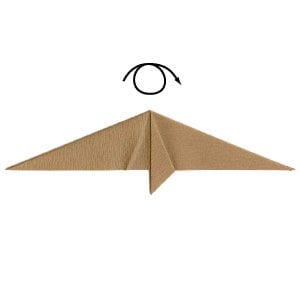
STEP 8. Turn the model over and prepare to make a valley fold.
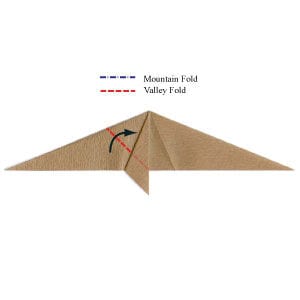
STEP 9. Make the valley fold, then unfold the fold you have just made.
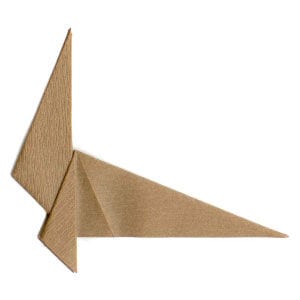
STEP 10. Unfold the fold from step 9 and prepare to make an inside reverse fold.
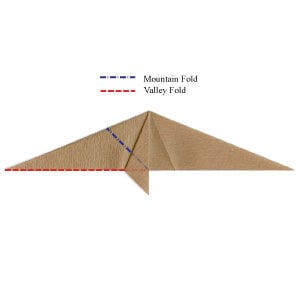
STEP 11. Make the first inside reverse fold, then prepare to make another.
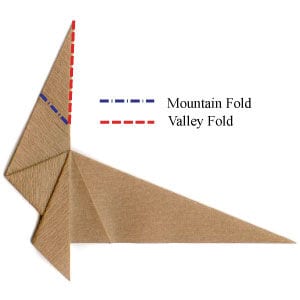
STEP 12. Make the second inside reverse fold, then prepare to make another.
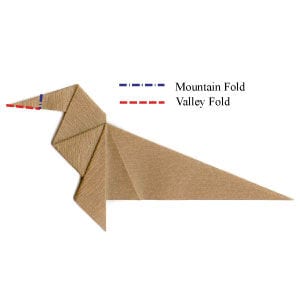
STEP 13. Make the third inside reverse fold, then prepare to make another.
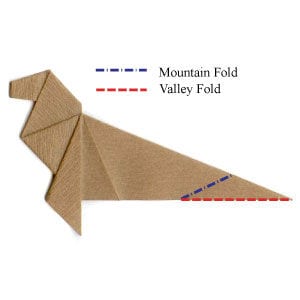
STEP 14. Make the fourth inside reverse fold, then prepare to make a 90-degree valley fold.
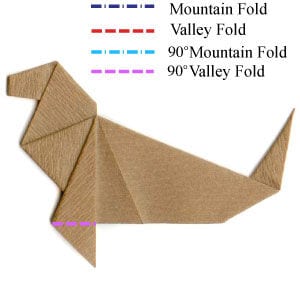
STEP 15. Make the 90-degree valley fold, then prepare to make a 90-degree mountain fold.
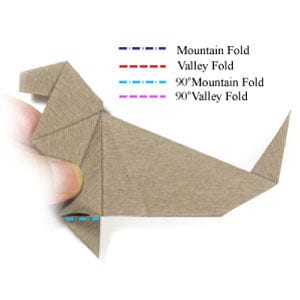
STEP 16. Make the 90-degree mountain fold, then rotate the model by 90 degrees.
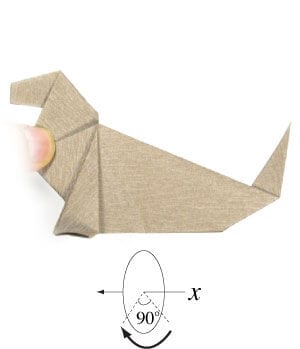
STEP 17. Rotate the model by 90 degrees. This is the bottom view. Rotate it by 180 degrees.
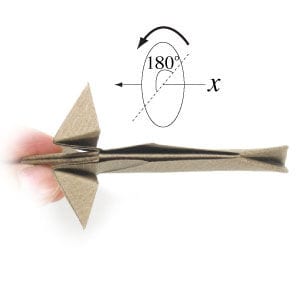
STEP 18. Rotate the model by 180 degrees. This is the top view. Set the model down so it stands on its own.
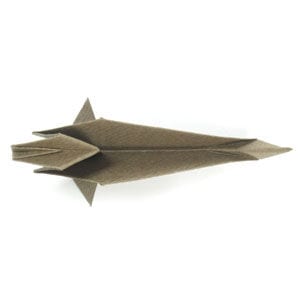
STEP 19. Congratulations — you have just completed the traditional origami seal.




