Origami Pig (15-Step Model)
Paper animals tend to fall into two camps: the ones that look like extinct megafauna, and the ones that somehow need no explanation at all. This pig is happily in the second group — a rounded body, four stubby legs, a snout that juts out just far enough to be charming.
It is also a lovely illustration of how much origami gets done with nothing but repeat. Almost every stage here is some variation on crease-to-crease alignment, and yet fifteen steps later there is a pig standing on your desk. Just take it slowly at the legs: they are narrow, they carry a lot of paper layers, and they will tear if you hurry them.
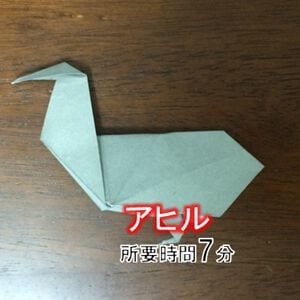
Here is how to fold this origami pig, explained step by step so it is easy to follow. One word of warning before you begin: the legs are thin and easy to tear, so fold slowly and take extra care with them.
How to fold an origami pig
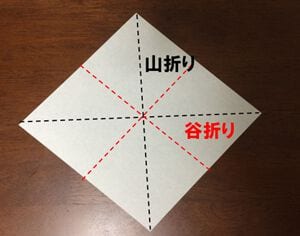
STEP 1. Make a mountain fold along the black line and a valley fold along the red line.
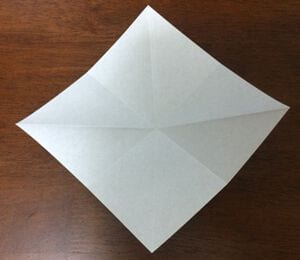
STEP 2. Fold the paper along the creases you just made.
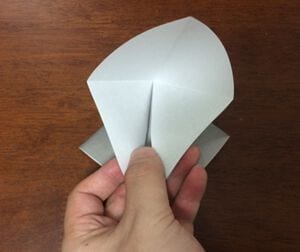
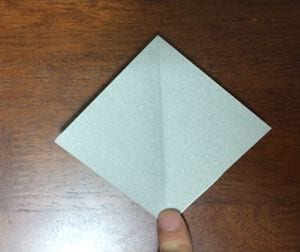
STEP 3. Add the creases shown here.
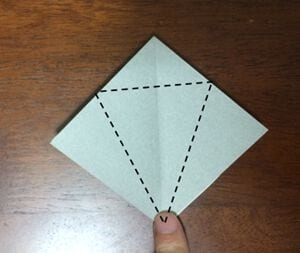
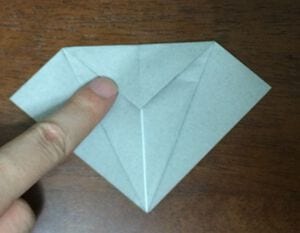
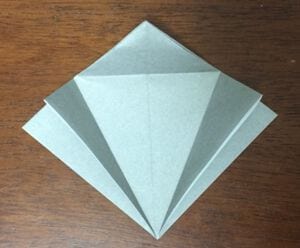
STEP 4. Fold the corners up along the creases.
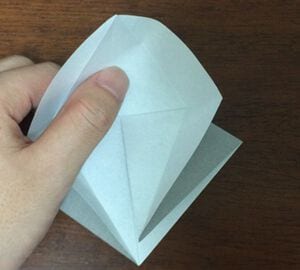
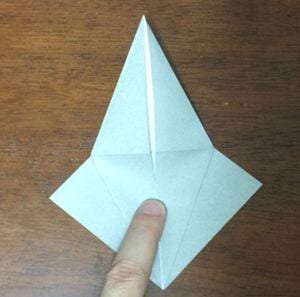
STEP 5. Crease so that the left and right edges line up with the center.
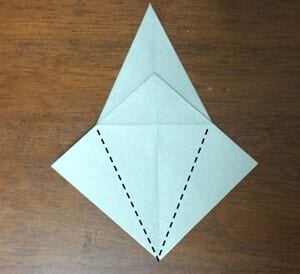
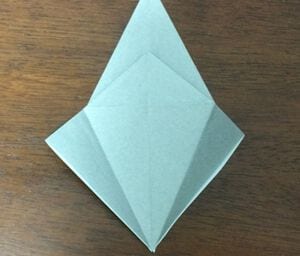
STEP 6. Fold along the crease and press a new crease in.
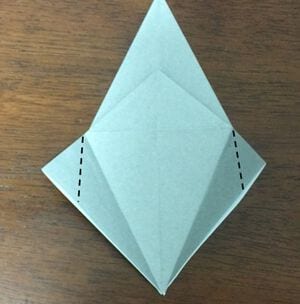
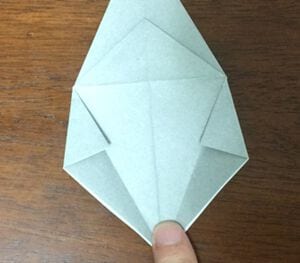
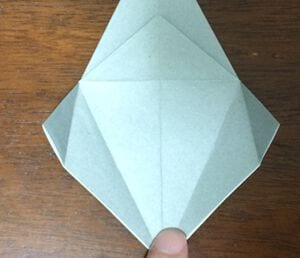
STEP 7. Fold the bottom corner up, then do the same on the back.
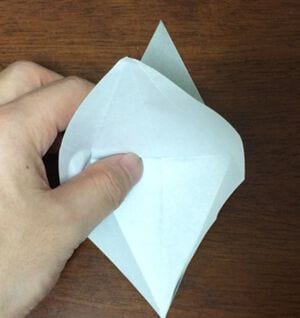
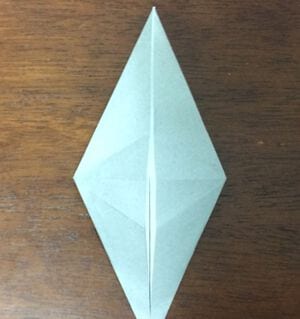
STEP 8. Fold it down, opening the paper out along the dotted line.
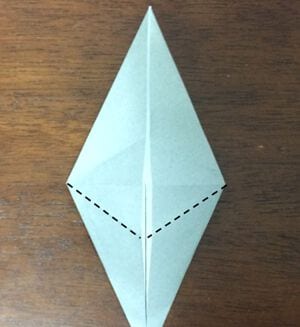
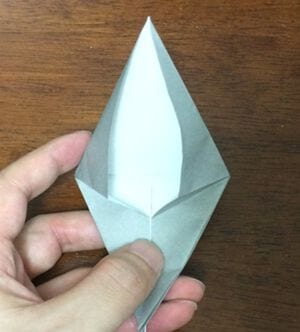
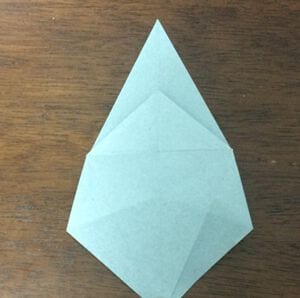
STEP 9. Turn the paper over and fold slightly on the diagonal, as shown.
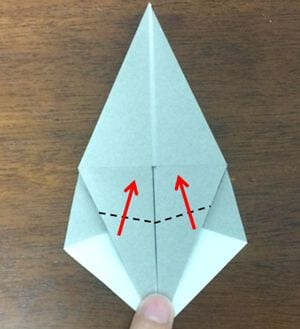
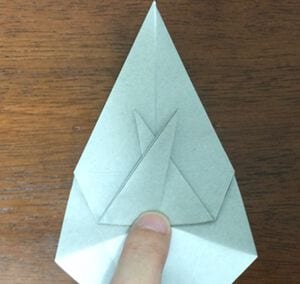
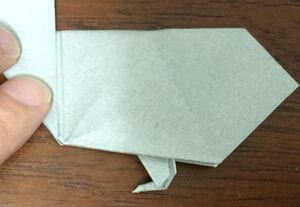
STEP 10. Then wrap the paper around as shown.
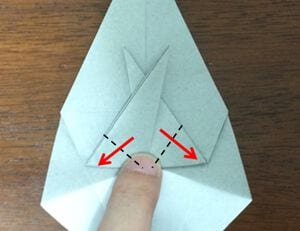
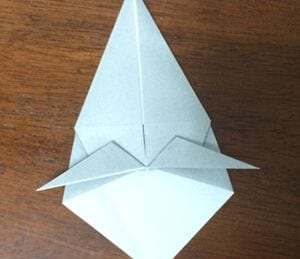
STEP 11. Turn the paper over and make the creases shown here.
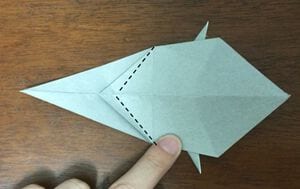
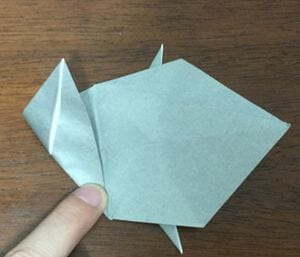
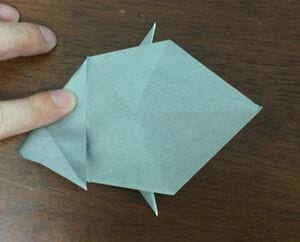
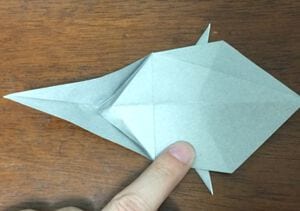
STEP 12. Fold it back along the dotted line.
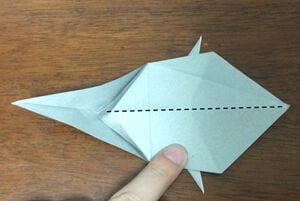
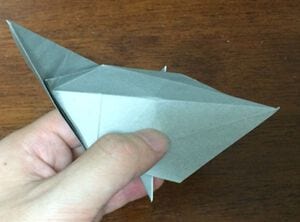
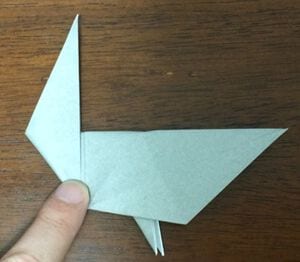
STEP 13. Turn the head over.
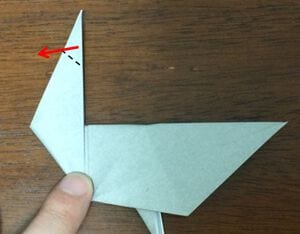
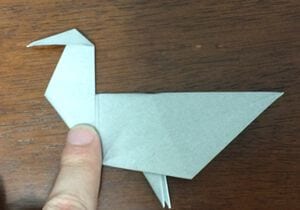
STEP 14. Fold the right corner inward.
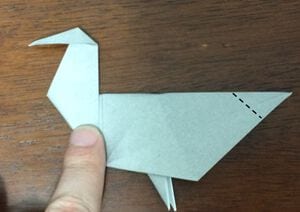
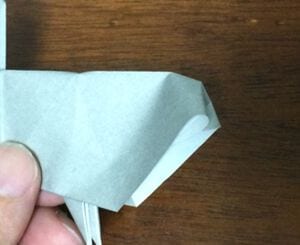
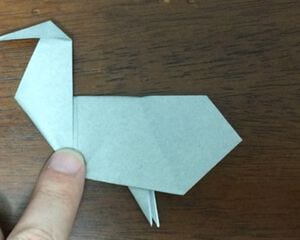
STEP 15. Arrange the legs as shown — once they stand properly, your origami pig is finished.