
Origami Fox
There is something irresistible about a paper fox. With just one square sheet and a handful of folds, you can turn a flat piece of paper into a pointy-eared little companion—either a sleek flat version to slip into a card, or a puffed-up 3D one that stands on its own. These two fox designs are about as friendly as origami gets: no tricky sinks, no measuring, just creases you can feel with your fingers. They are perfect for a quiet afternoon, a kids' craft table, or as the first step toward a whole paper forest of animals.
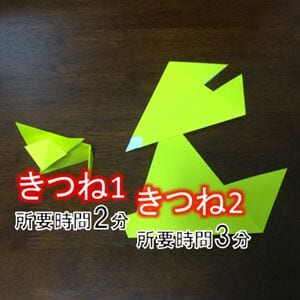
I will show you how to fold an origami fox.
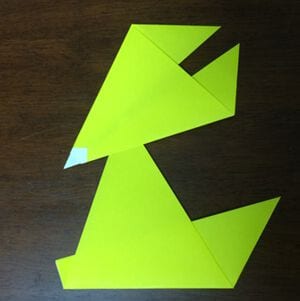
I will introduce two versions—a flat one and a three-dimensional one. Both are easy to fold, so I encourage you to give them a try.
How to fold a fox 1
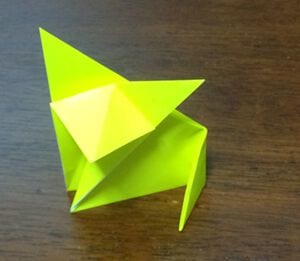
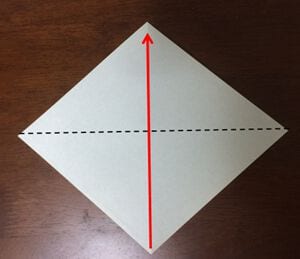
STEP 1. Crease the paper in half.
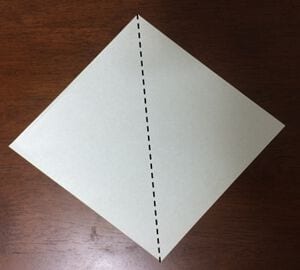
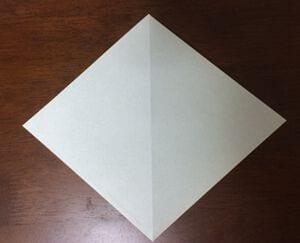
STEP 2. Fold it along the other diagonal.
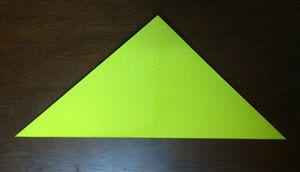
STEP 3. Fold the left and right corners up so they meet the top corner.
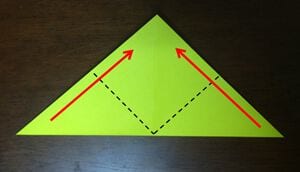
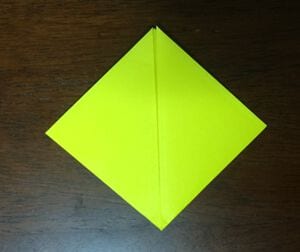
STEP 4. Fold the dotted line as a mountain fold.
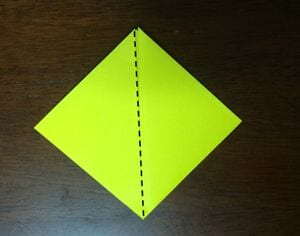
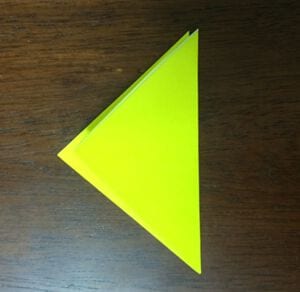
STEP 5. Turn the paper over and fold the edges diagonally as shown.
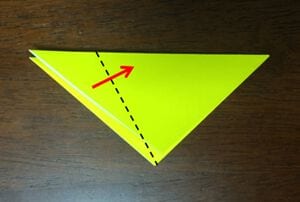
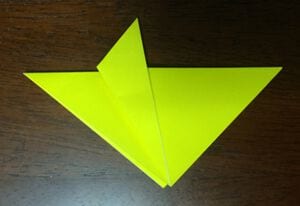
STEP 6. Fold the edges so they fit together.
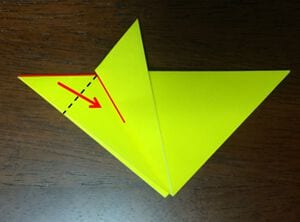
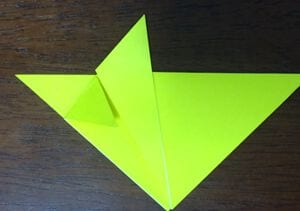
STEP 7. Fold along the dotted line as shown.
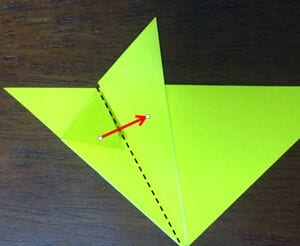
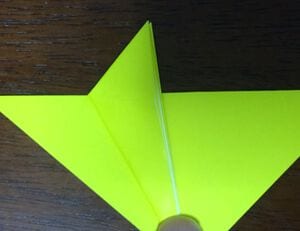
STEP 8. Fold it so the paper opens inward along the crease.
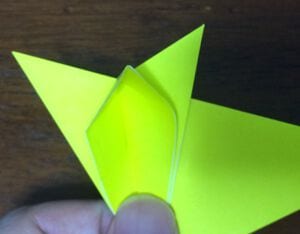
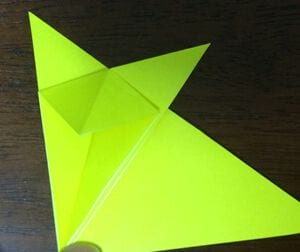
STEP 9. Fold the right side as shown, and the fox is complete.
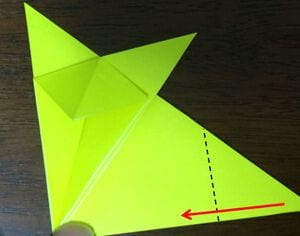
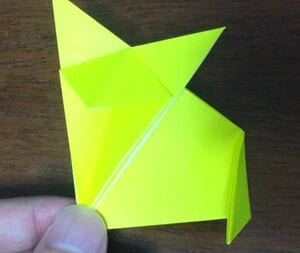
How to fold a fox 2
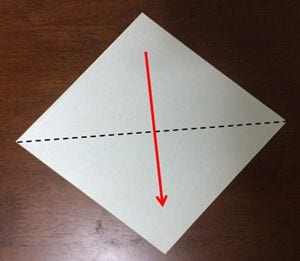
STEP 1. Fold it in half.
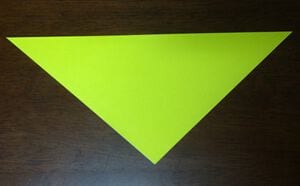
STEP 2. Fold the corners up just a little.
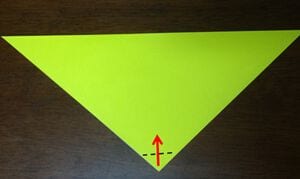
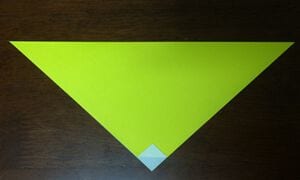
STEP 3. Fold the dotted line backward to complete the fox face piece.
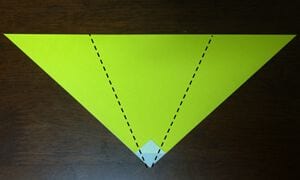
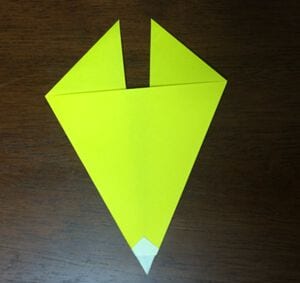
STEP 4. Fold it in half diagonally.
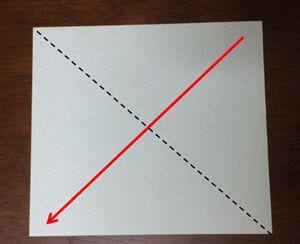
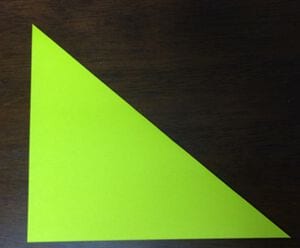
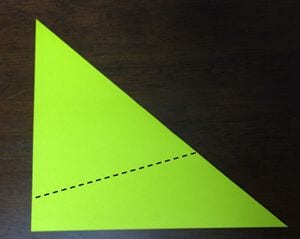
STEP 5. Fold it backward along the dotted line to complete the body piece.
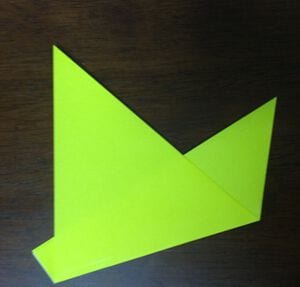
STEP 6. Attach the face piece to the body piece, and the fox is complete.




