
Origami Fish Base
Chances are you've met the fish base before — it's the quiet workhorse hiding inside goldfish, angelfish, whales and a whole aquarium full of other models. It starts with the same triangle fold you probably already know, then a few clever tucks and a couple of flips turn a flat square into a long, pointed base that seems to know it wants to become a fish.
The best part is that it gives you a gentle first taste of opening folds — the moment the paper starts to open out and you coax the layers flat, you'll feel exactly why experienced folders love them. Give it two or three careful tries and the moves will click into place. After that, half the fish in the origami world are within reach.
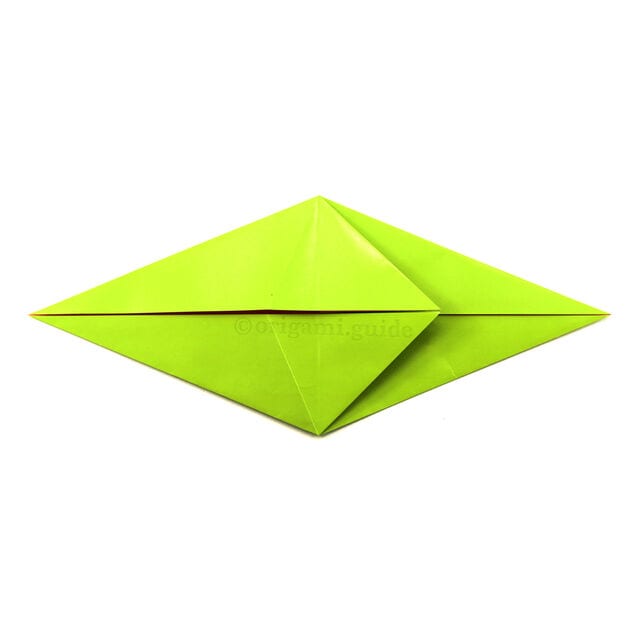
Learn how to fold an origami fish base. This base fold is used to create many fish origami models, as well as plenty of other designs.
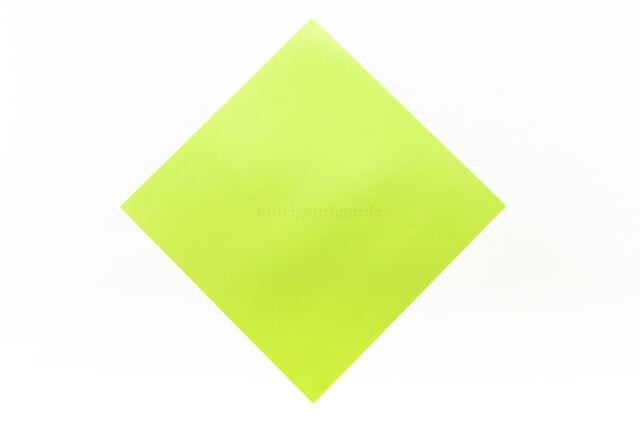
STEP 1. This is the front of the paper.
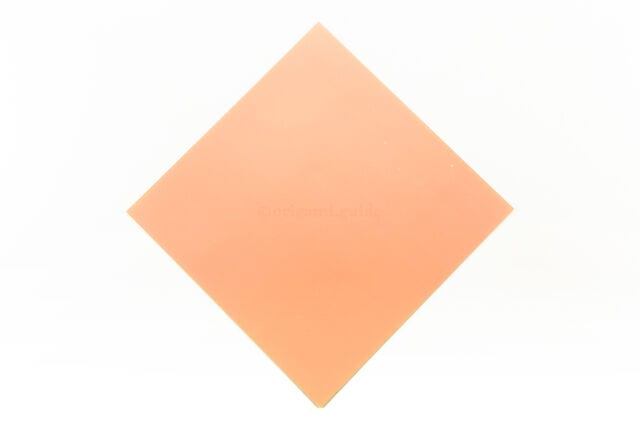
STEP 2. This is the back of the paper (usually white).
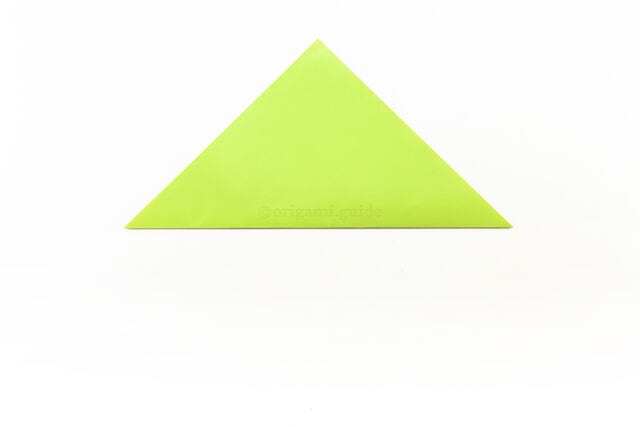
STEP 3. Fold the bottom corner up to the top corner.
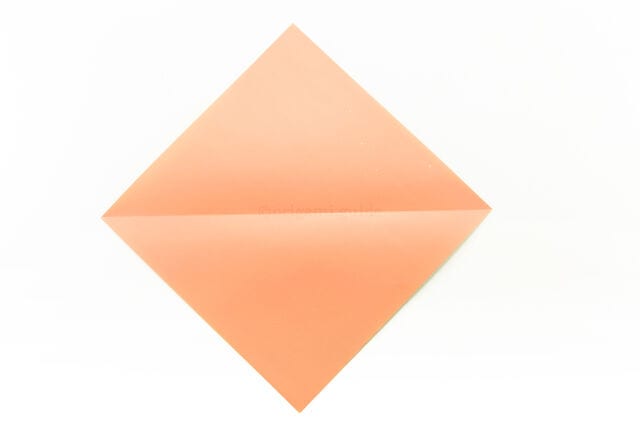
STEP 4. Unfold the previous step.
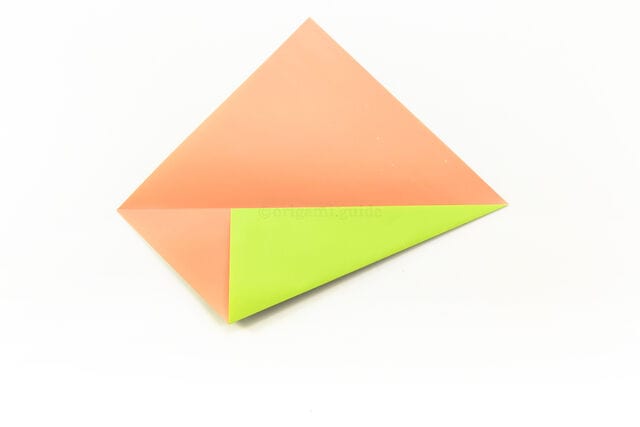
STEP 5. Fold the bottom right diagonal edge up to align with the central horizontal crease.
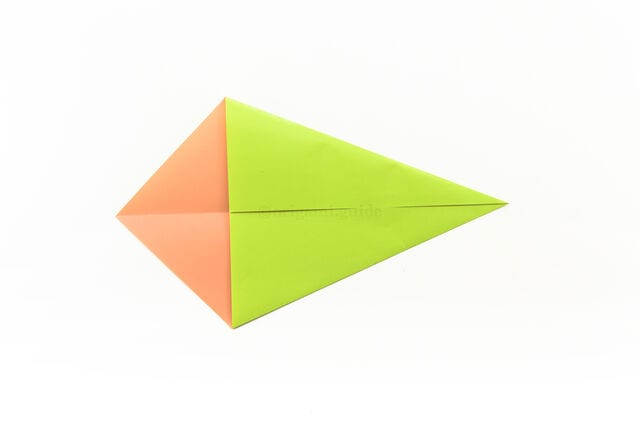
STEP 6. Fold the top right diagonal edge down to align with the central horizontal crease.
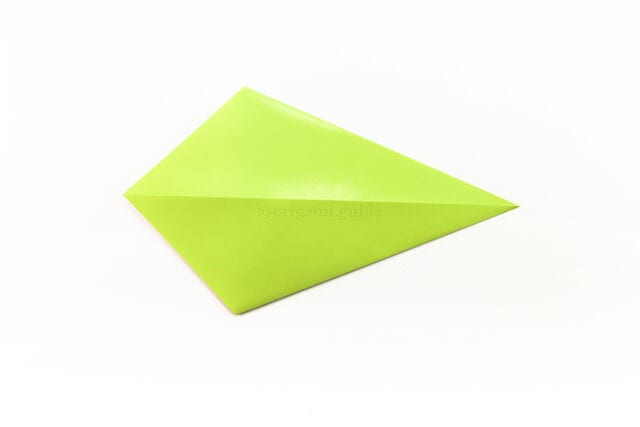
STEP 7. Flip the model over, keeping the narrow end on the right.
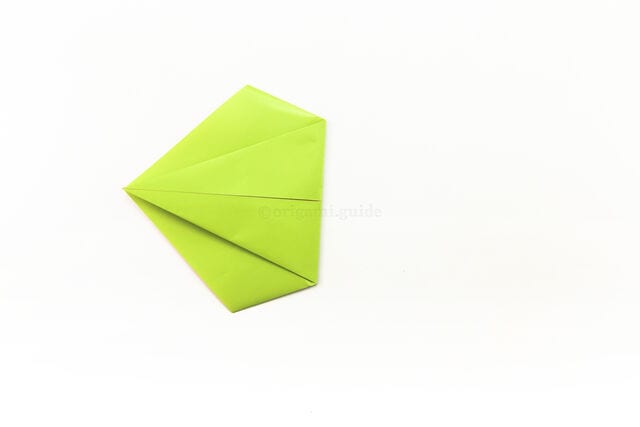
STEP 8. Fold the right corner over to the left corner.
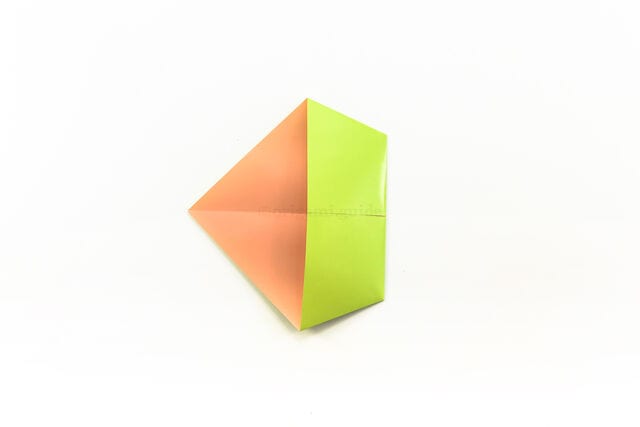
STEP 9. Flip the model over to the other side, keeping the point on the left.
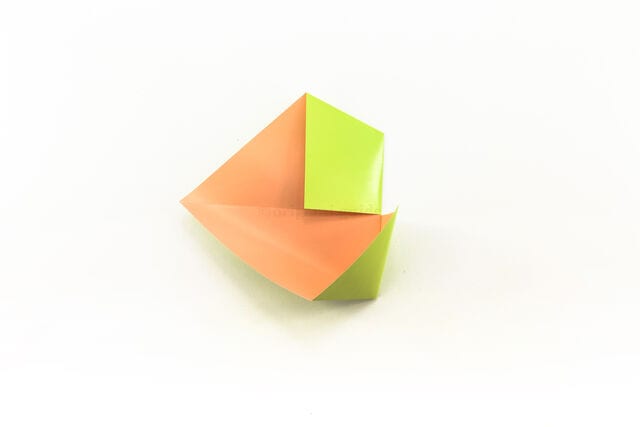
STEP 10. Open out the lower section.
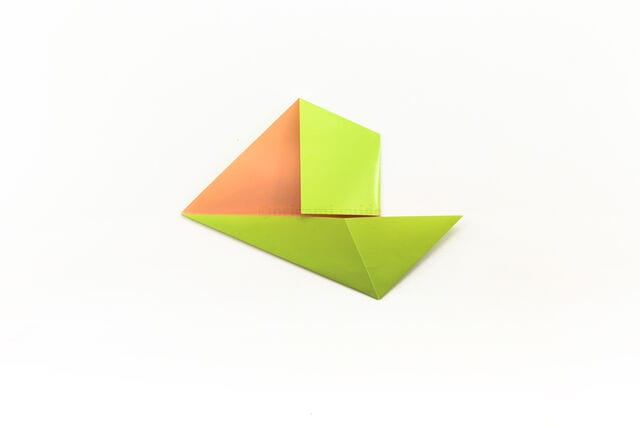
STEP 11. Pull the lower section to the right until it becomes a point, then flatten it.
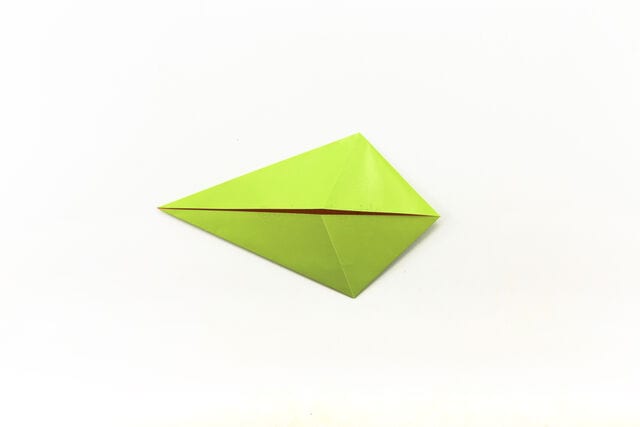
STEP 12. Repeat the last step on the top section.
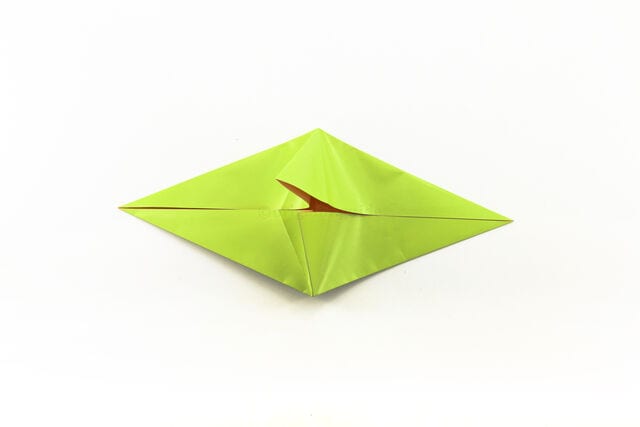
STEP 13. Bring the layer from behind out to the right.
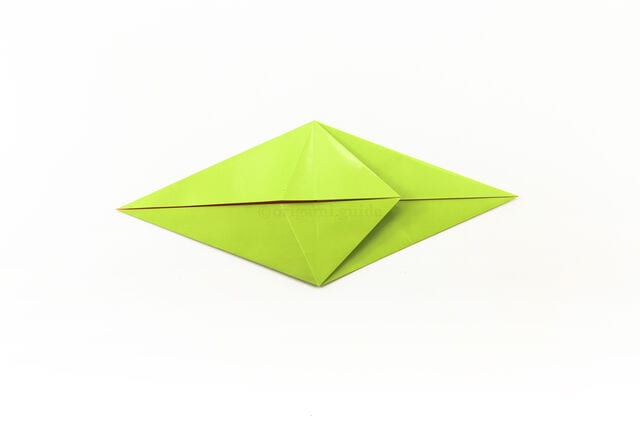
STEP 14. Flatten the front flaps. Your origami fish base is complete.




