Shuriken (Complete Tutorial)
Few origami toys are as instantly recognizable as the shuriken — the paper throwing star every ninja fan has tried to make at least once. The good news is it's simpler than it looks: two square sheets, a handful of creases, and a satisfying click as the two halves lock into a four-pointed star. I've used pink and white paper here because the contrast makes every fold easy to follow, but any two colors work. The middle section is where people usually get stuck, so I've called out steps 5–8 as the part to watch. Gather your paper, give yourself a clear table, and let's fold one together.
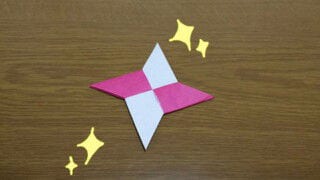
How to Fold a Shuriken (with Photos)
Step 1. Fold the origami in half to make a crease, then unfold.
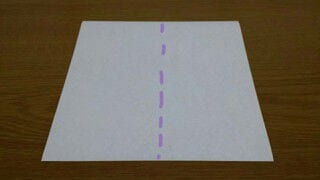
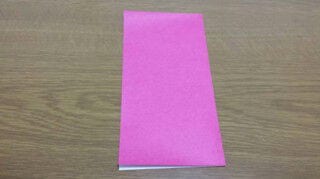
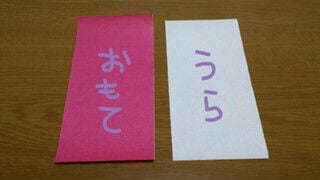
Step 2. Fold it in half along that crease. Using two colors makes the folds easier to see, so I’ll keep the colored side facing up.
Step 3. Fold it in half again along the crease.
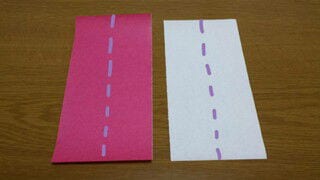
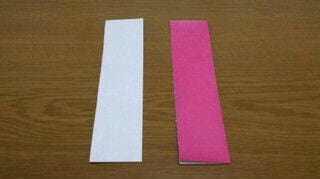
Step 4. Fold it in half once more. Once the creases line up neatly, unfold.
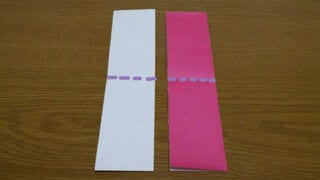
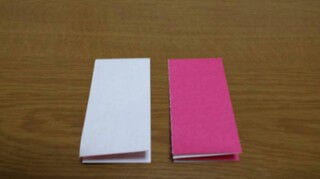
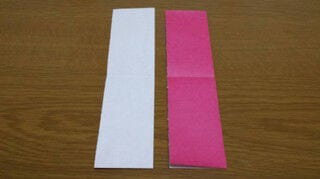
Step 5. This is the key point!
Fold along the creases as shown.
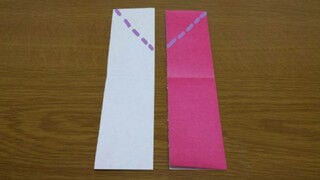
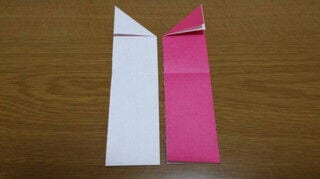
It’s easiest to understand if you line them up like the photo.
Step 6. In the same way, fold along the creases while keeping everything aligned in the same direction.
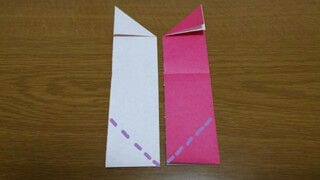
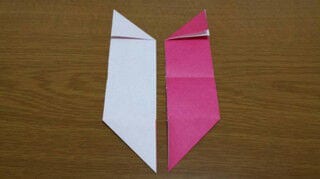
Step 7. Fold along the creases, alternating the direction as shown.
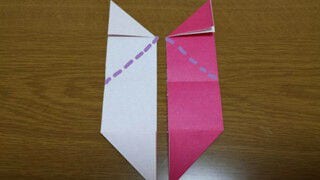
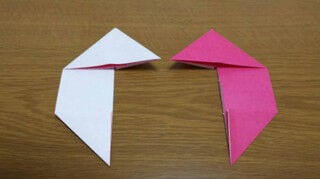
Step 8. Continue folding in the same way.
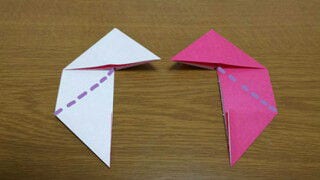
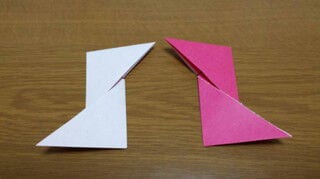
Step 9. Turn over only the paper on the left side.
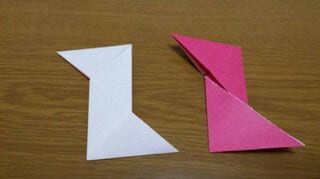
Line it up so it points in this direction.
Step 10. Place the pink origami on top of the white origami so that they form a “cross”.
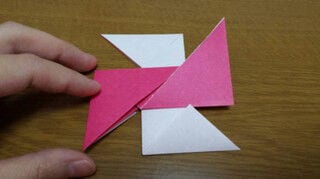
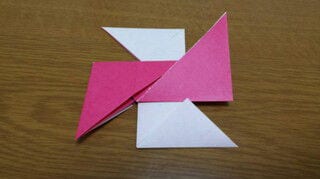
Step 11. Tuck the ☆ point into the pink origami and mark a dotted line.
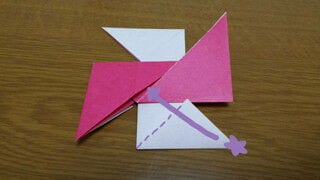
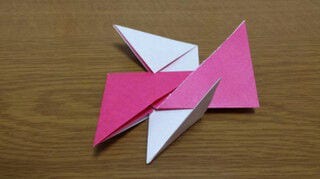
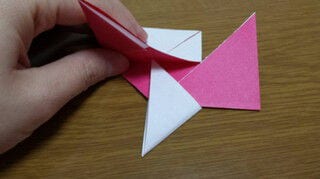
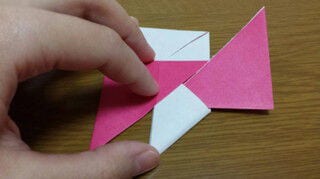
If it looks like this, you’re on the right track!
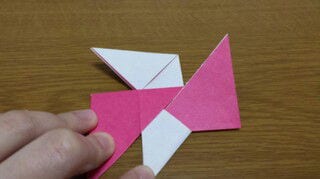
Step 12. Insert the top piece in the same way.
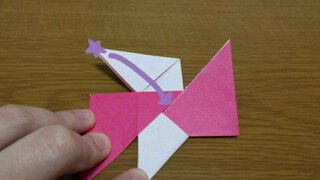
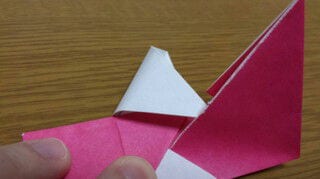
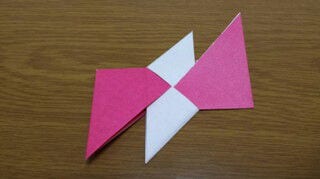
Step 13. Once it fits snugly, turn it over.
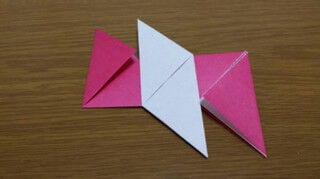
Step 14. As before, tuck the ☆ points into the gaps of the white piece.
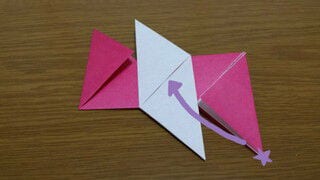
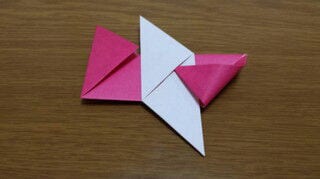
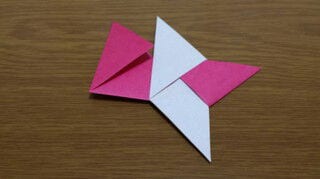
Step 15. Tuck one of the remaining blades inside…
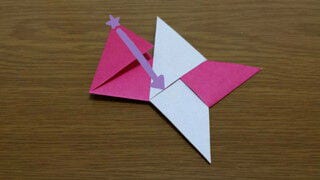
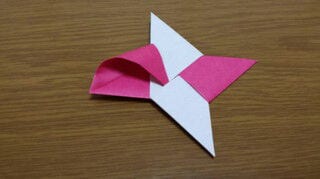
Step 16. Completed!!!
Points When Folding
When making the shuriken, pay close attention to steps 5 through 8.
And please be careful with scissors!
Have a parent or teacher do any cutting for you.