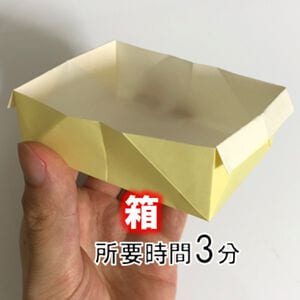
Chrysanthemum (Complete Tutorial)
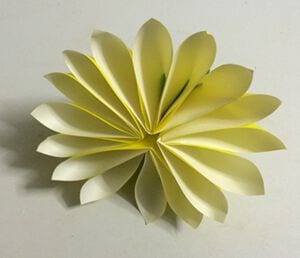
There's something special about a paper flower that actually has depth, and this three-dimensional chrysanthemum delivers exactly that — from the right angle it's easy to mistake for the real thing. The build is a calm, repetitive kind of project: one cupped calyx base and four petal units, each shaped from simple crease patterns before they all click together. It does take a bit of patience (the corners are delicate, so work gently), but no single step is hard, and the diagrams walk you through every fold. Set aside a quiet afternoon, pick a few coordinating colors, and you'll end up with a bloom that looks far more impressive than the effort it took.
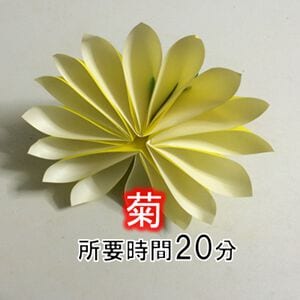
Here’s how to fold a three-dimensional origami chrysanthemum.
At first glance it looks like a real chrysanthemum, and although it takes a little patience, the steps themselves are quite simple.
The diagrams are made easy to follow so that anyone can make it — do give it a try.
How to Fold the Chrysanthemum
For this model you’ll need one sheet for the calyx (base) and four sheets for the flower petals.
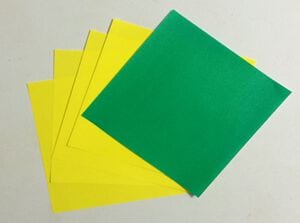
First, here is what the calyx looks like.
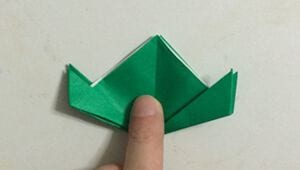
Make 4 of the petal units shown below.
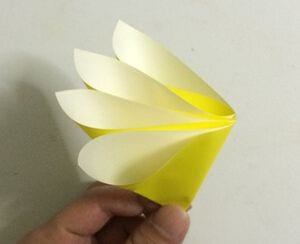
Let’s start with the calyx.
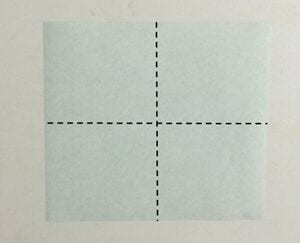
Step 1. Fold it in half both vertically and horizontally to make creases.

Step 2. Fold the square so its edges meet at the center.
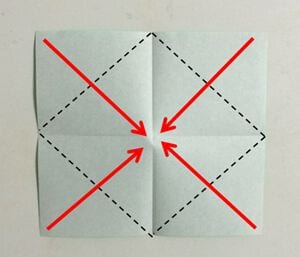
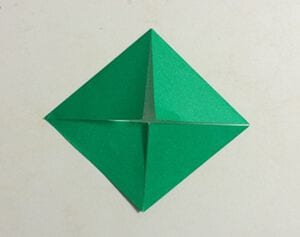
Step 3. As shown, mountain-fold along the white dotted lines and valley-fold along the black dotted lines to set the creases.
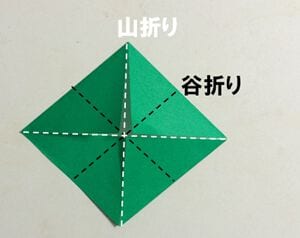
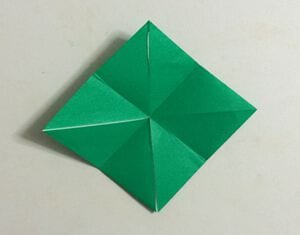
Step 4. Fold it into a triangle as shown.
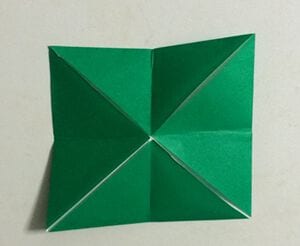
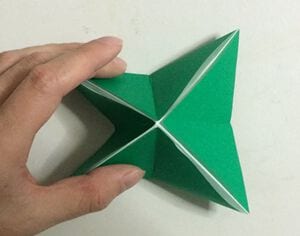

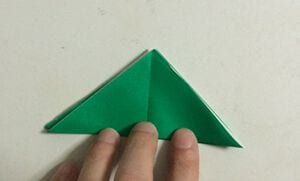
Step 5. To form the crease at the dotted line, flip only the top layer where the two sheets overlap, and fold the left and right corners up toward the top corner.
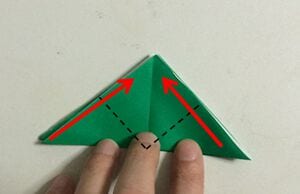
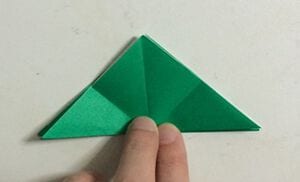
Step 6. Fold so the edges line up with the creases you made earlier, then crease again.
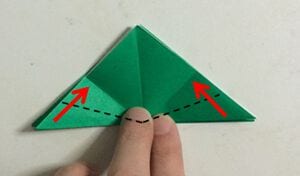
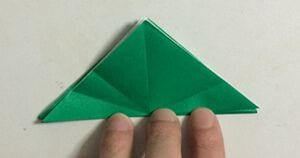
Step 7. Fold the back side back at the same position to make a crease.
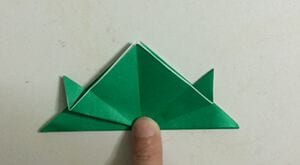
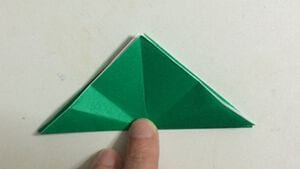
Step 8. Open it out as shown, then fold it back along the crease and fold again.
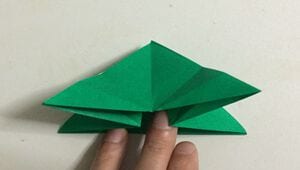
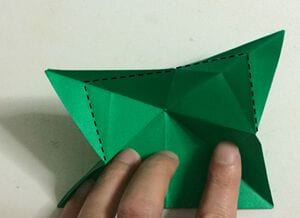
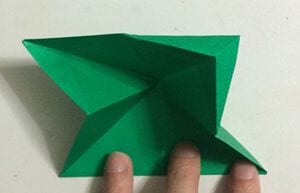
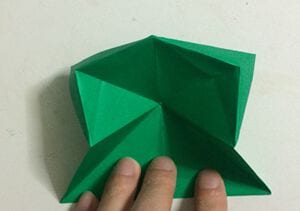
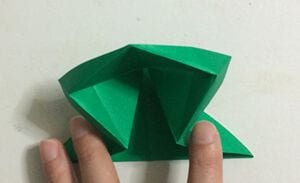
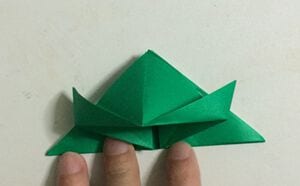
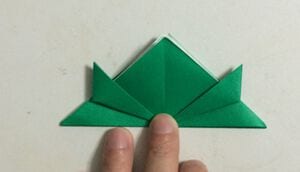
Step 9. Fold the back side the same way to complete the calyx.
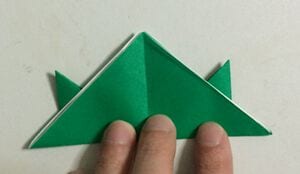
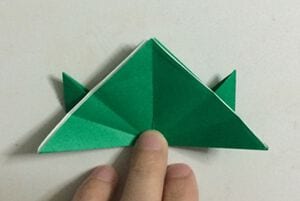
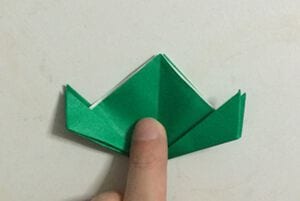
Next, let’s make the petal units.
Step 1. Place the colored side up, fold in half both vertically and horizontally, and crease.
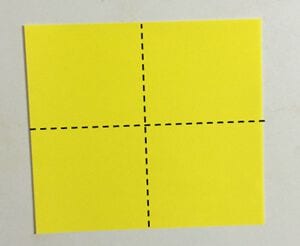

Step 2. Turn it over and crease only the center diagonally. * Be careful not to crease all the way through.
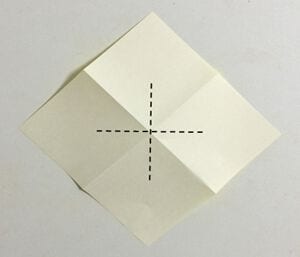
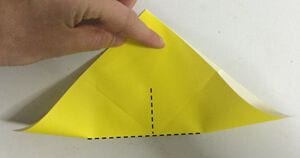

Step 3. When folded as shown, one petal unit is complete. * Again, take care not to tear the corners.
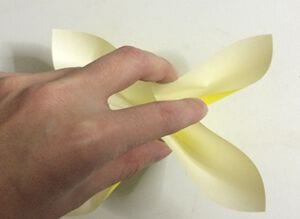
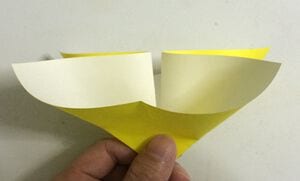
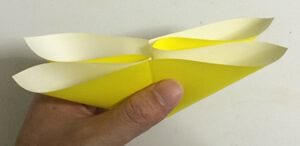
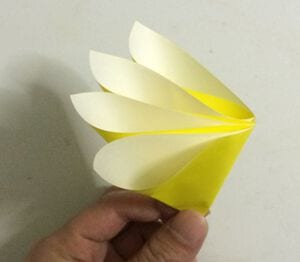
When you open the finished petal slightly and stand it up, it looks like this from above.
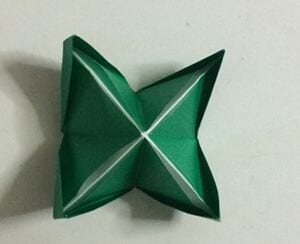
Insert the petal units into the four openings shown in the figure.
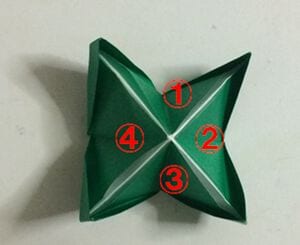
Slip them into the colored part of the calyx like this.
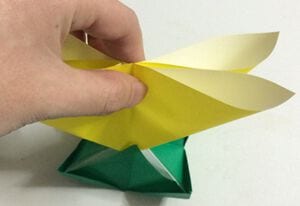
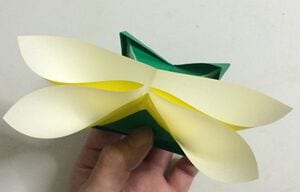
Insert all four the same way and you’re done.