Christmas Wreath Origami (Short Tutorial)
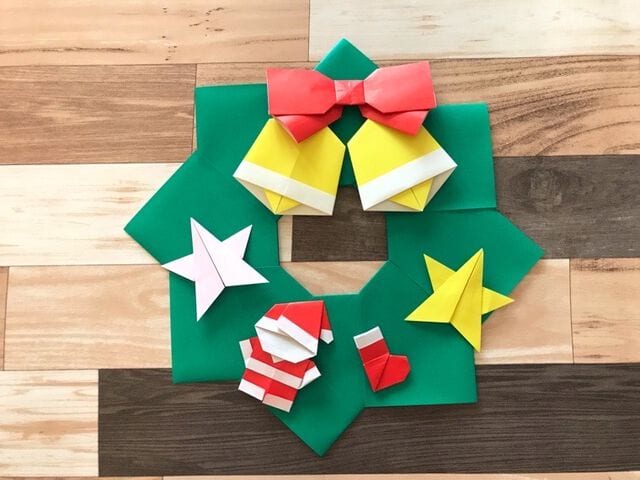
Nothing says December like a handmade wreath on the door — and this one is pure origami, no wire or florist foam required. You'll fold eight simple units (four red, four green), then join them into a ring with either glue or double-sided tape. The tape method gives a crisper finish with no wrinkles, which I'll walk you through as well. Once the ring is done, tiny folded stars, a mini Santa, and little boots turn it into a proper festive centerpiece. It's a relaxing build that's perfect for a cozy afternoon, and the modular design means you can swap colors to match your own holiday palette.
Things to Prepare
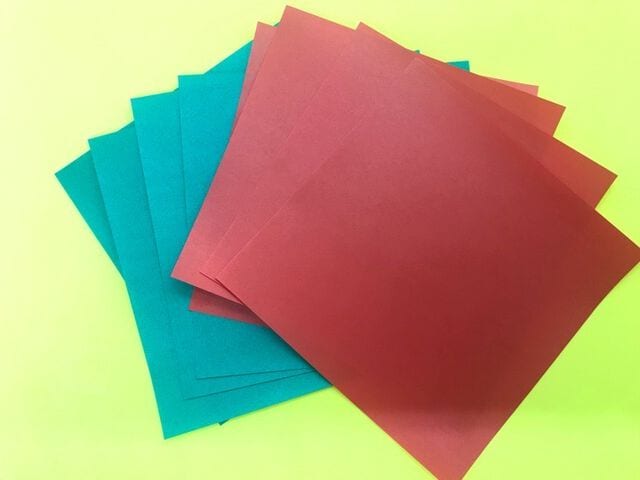
8 sheets of origami paper
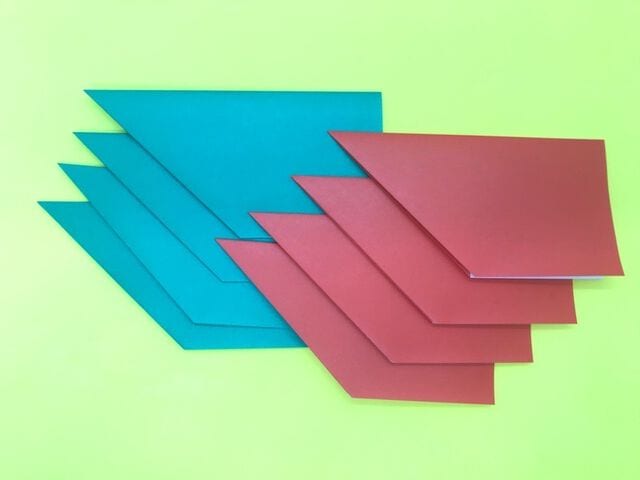
This time we’ll use 4 red and 4 green sheets.
How to Fold the Units
Step 1
Fold the sheet in half horizontally to make a center crease.
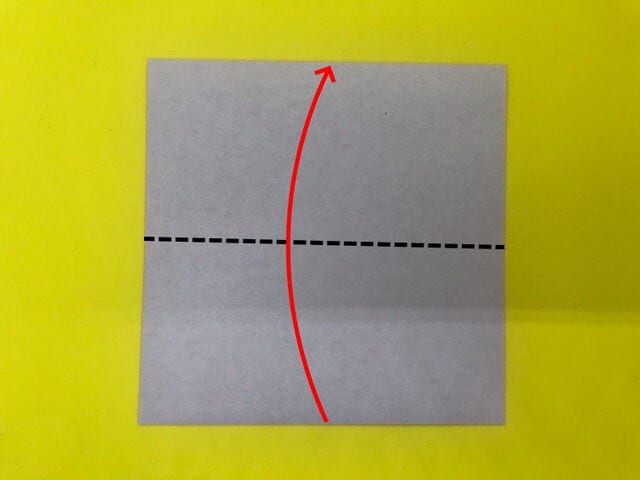
Step 2
Make a valley fold like this, then unfold.

Step 3
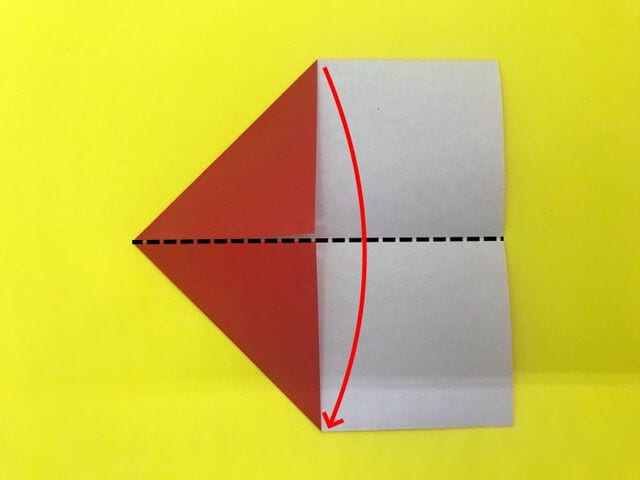
After unfolding, valley-fold along the center crease at the dotted lines.
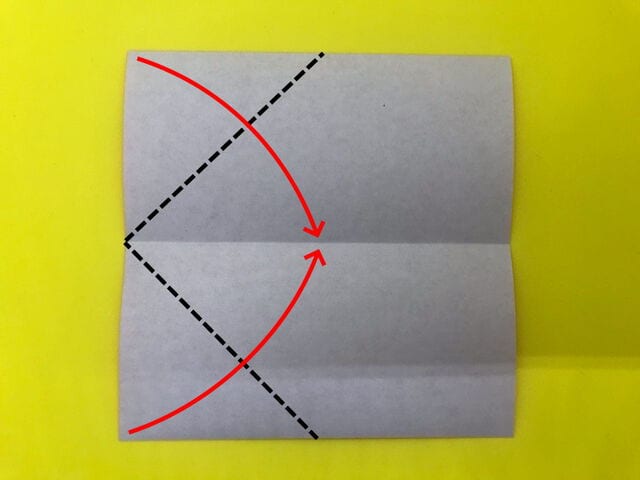
Step 4
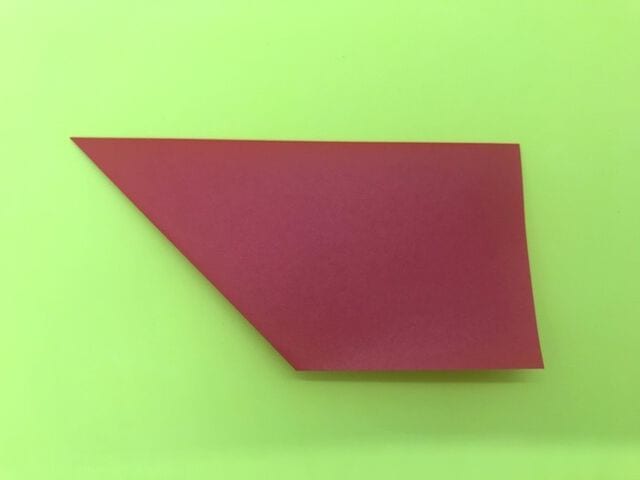
Fold it in half.
Step 5
Fold all 8 sheets into this same shape.
Assembling the Wreath with Glue
Here is how to assemble the wreath with glue.
This is a simple, beginner-friendly method: the glue doesn’t set right away, so you can adjust each piece before it dries.
However, glue can cause wrinkles on the paper, so below I’ll also show you a method that keeps the finish looking neat.
Let’s start with the glue method.
Step 1
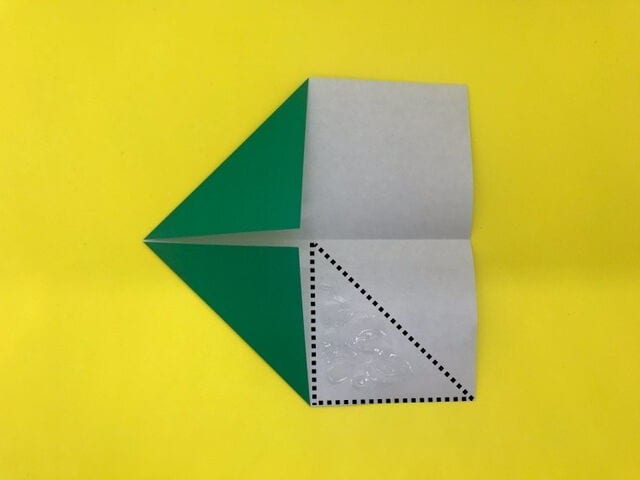
Apply glue inside the dotted line and overlap the next unit.
Step 2
Place the next red unit where shown in the photo. Then apply glue inside the dotted line, fold the green unit over, and press to attach.
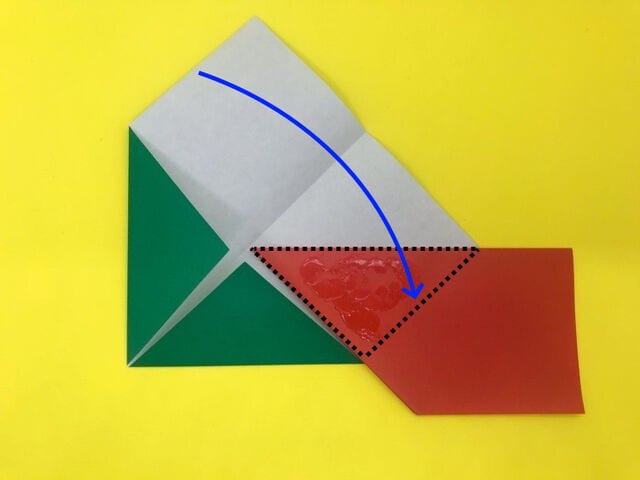
Step 3
Open the red unit, apply glue inside the dotted line, and insert the next green unit.
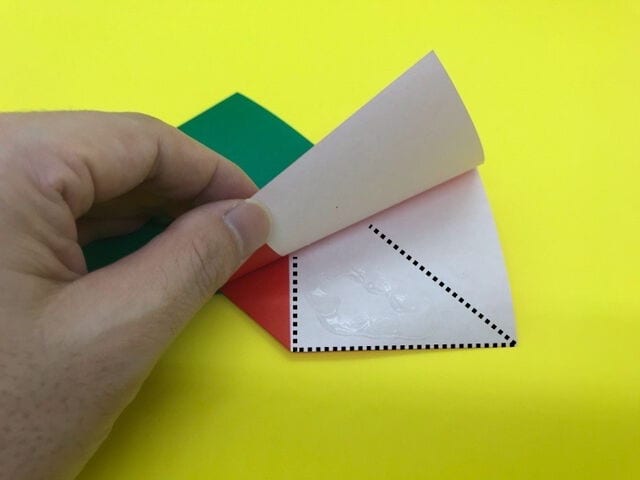
Step 4
Apply glue inside the dotted line of the inserted green unit, fold the red unit over, and press to attach.
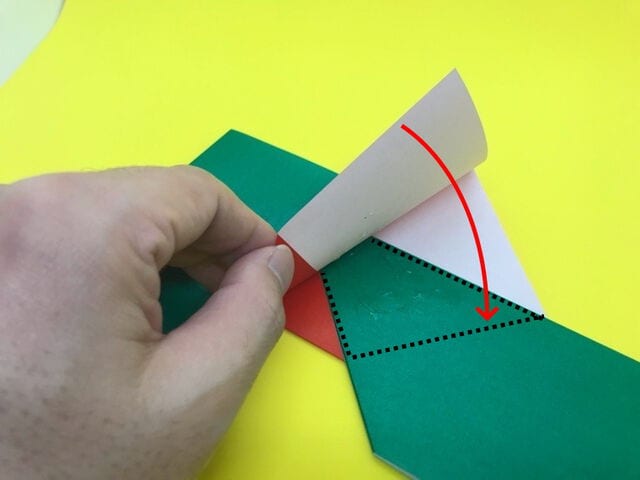
Step 5
Attach all 8 sheets the same way.
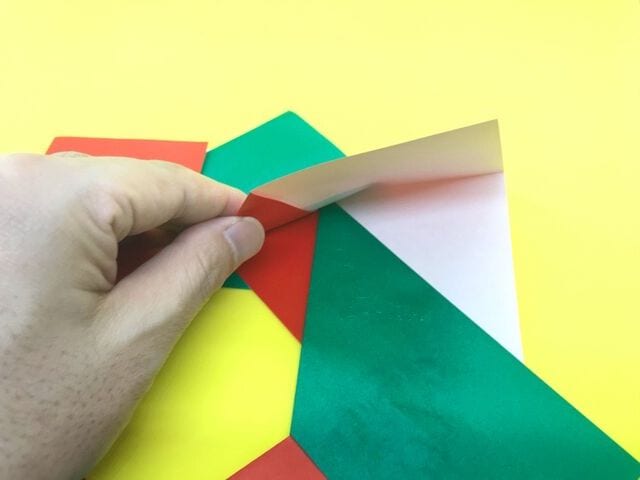
Step 6
This completes the Christmas wreath.
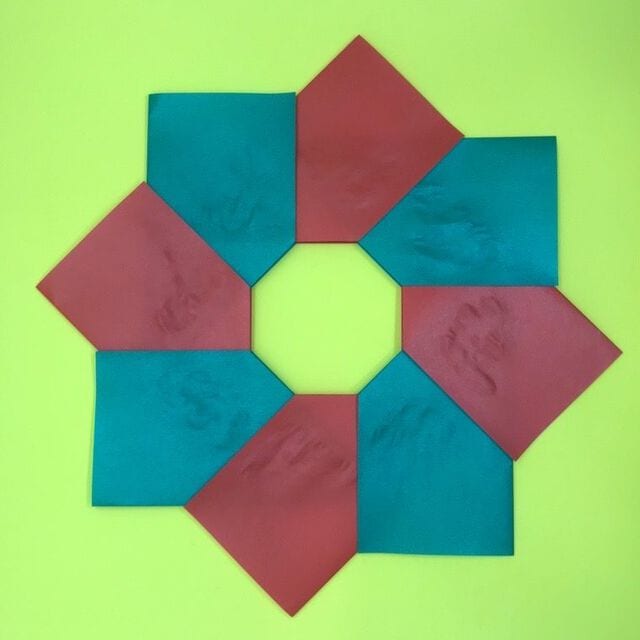
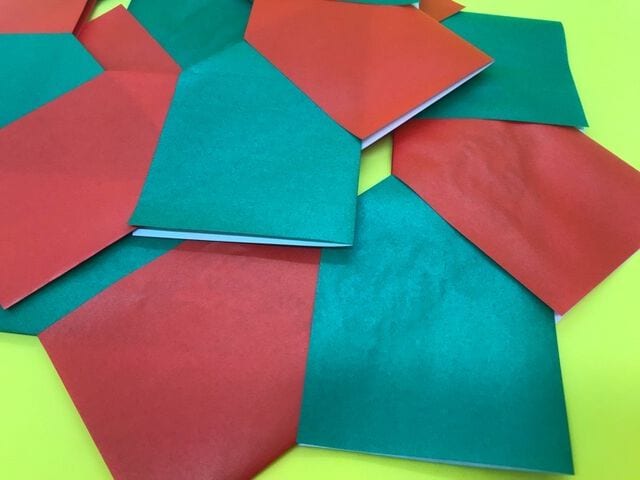
Gluing is easy and very forgiving, so it’s my recommended method — but as you can see above, it can leave wrinkles on the paper.
Next, I’ll show you how to assemble with double-sided tape, which avoids those wrinkles.
Assembling the Wreath with Tape
Step 1
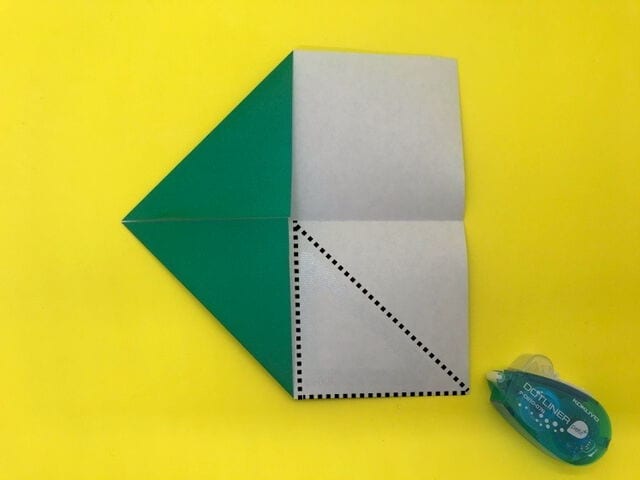
Apply double-sided tape inside the dotted line and overlap the next unit.
Step 2
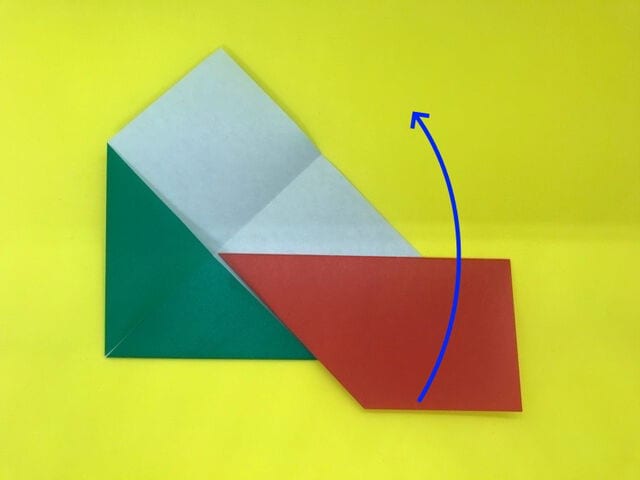
Place the next red unit where shown in the photo. Unlike glue, you can’t nudge it into place after pressing, so line it up carefully. Then open the red unit.
Step 3
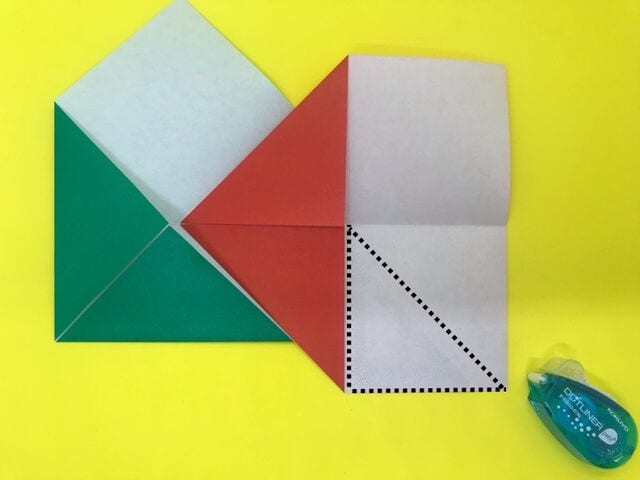
Apply double-sided tape inside the dotted line and overlap the next unit.
Step 4
Attach all eight units the same way. Once taped, fold each unit along the creases at the dotted lines.
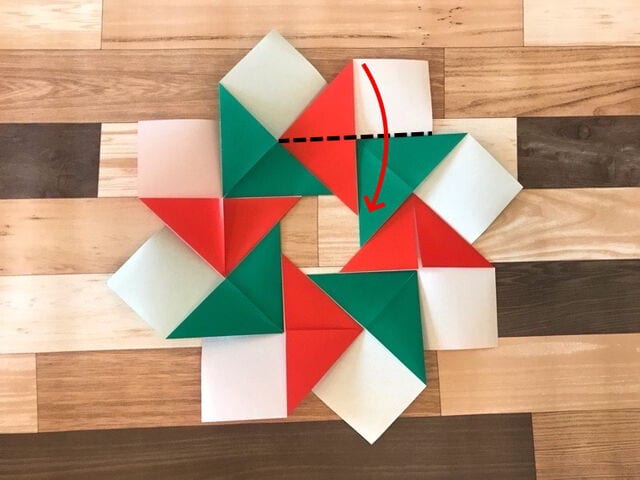
Step 5
Once folded, the next step is to tape the units together.
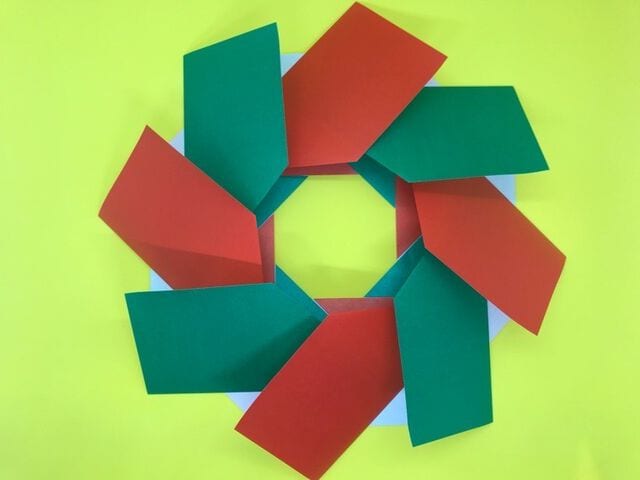
Step 6
Apply tape inside the dotted line and attach the top unit.
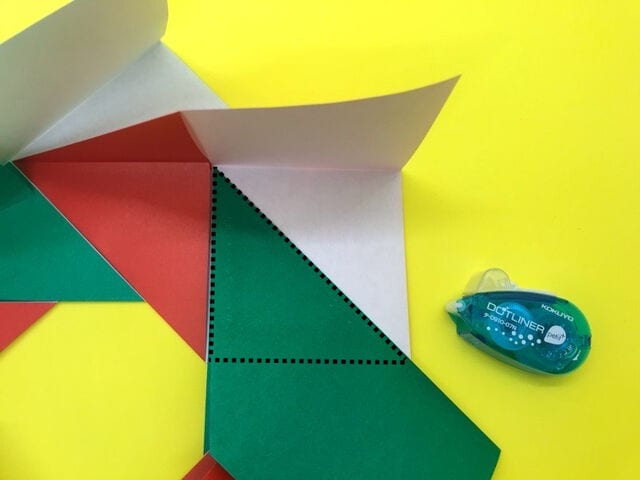
Step 7
Attach the remaining units the same way until all eight are joined.
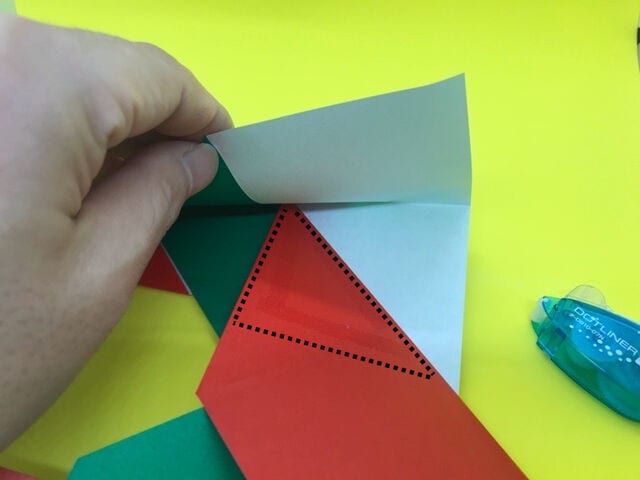
Step 8
This completes the Christmas wreath assembled with tape.
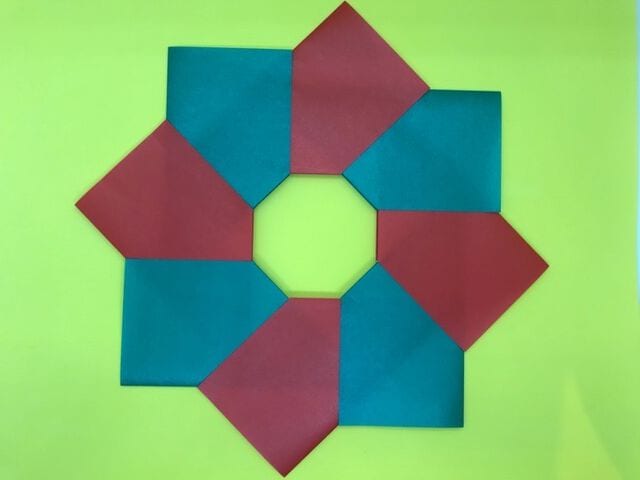
The top one is the tape version; the bottom is the glue version. Look how much cleaner the tape finish is — barely any wrinkles!
Decorating the Wreath
Add some origami accessories to make your wreath even more festive!
Here is an example of decoration.
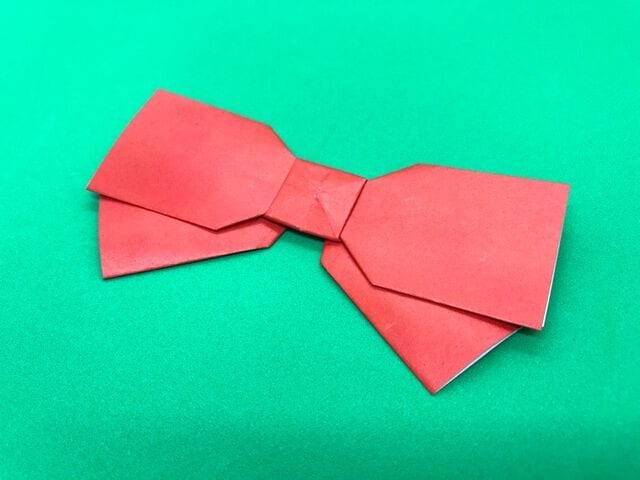
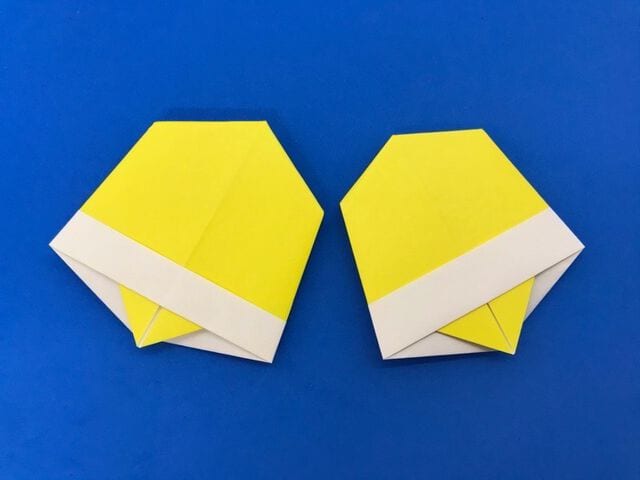
Below are the little charms I added to this wreath, with how to fold each.
Standard 15 × 15 cm origami makes the stars too large, so the wreath stars are folded from 10 × 10 cm paper.

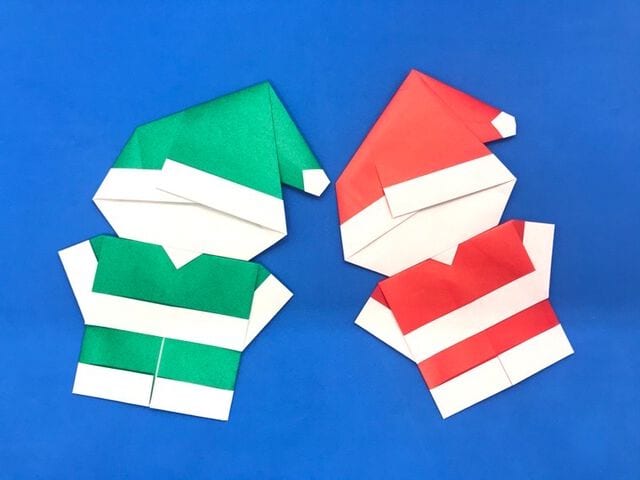
Santa is too big at 15 × 15 cm, so the wreath Santa is made from 7.5 × 7.5 cm paper.
The Santa boots are also too big at 15 × 15 cm, so the wreath boots use 7.5 × 7.5 cm paper.