Baseball cap (cap)
Have you ever wanted to fold your very own Baseball cap? There is something quietly satisfying about turning a flat square of paper into a little recognizable model using nothing but your hands and a few well-placed creases.
This Baseball cap is one of those classic folds that looks impressive but comes together one step at a time, so don't worry if it feels fiddly at first — the photos will keep you on track. Whether you are new to origami or just after a quick, rewarding build, you will have a finished Baseball cap before you know it. Let's get folding!
Hello, this time I tried folding a baseball cap with origami paper-it's surprisingly cute, isn't it?
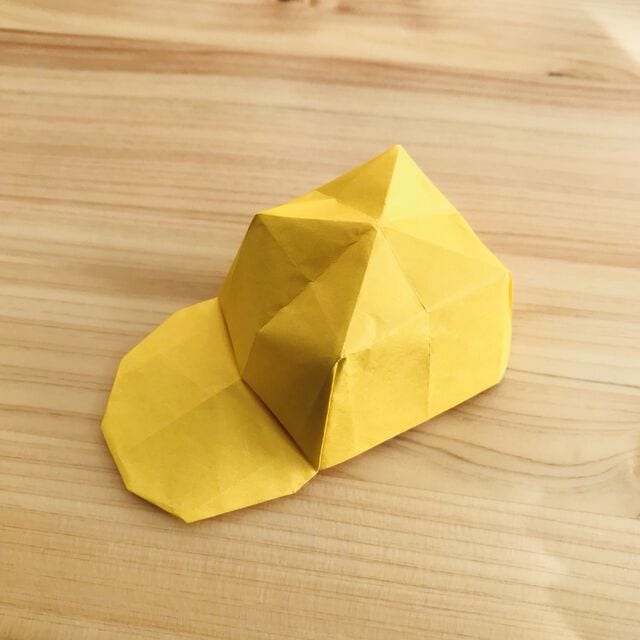
If you use yellow origami, it looks like an elementary school cap and is cute, isn't it?
If you use a camouflage pattern, I feel like you can make a cool hat.
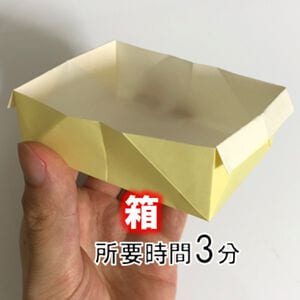
It's not that difficult if you just make it look like a box without a lid with a brim.
However, please be assured that the videos that I referred to as usual and the actually folded images are explained in an easy-to-understand manner!
How to fold an origami baseball cap
Please make it with origami paper of your favorite color and pattern.
Let's fold it now
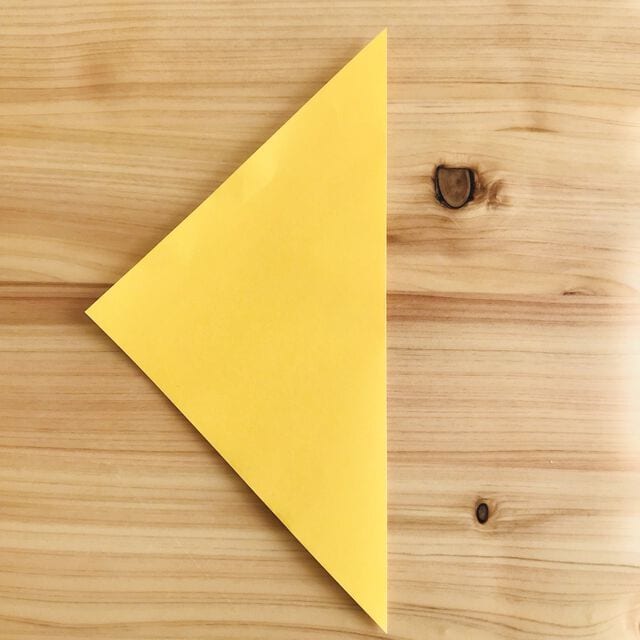
[ 1 ] Fold it in half so that it becomes a triangle, make a crease, and then put it back.
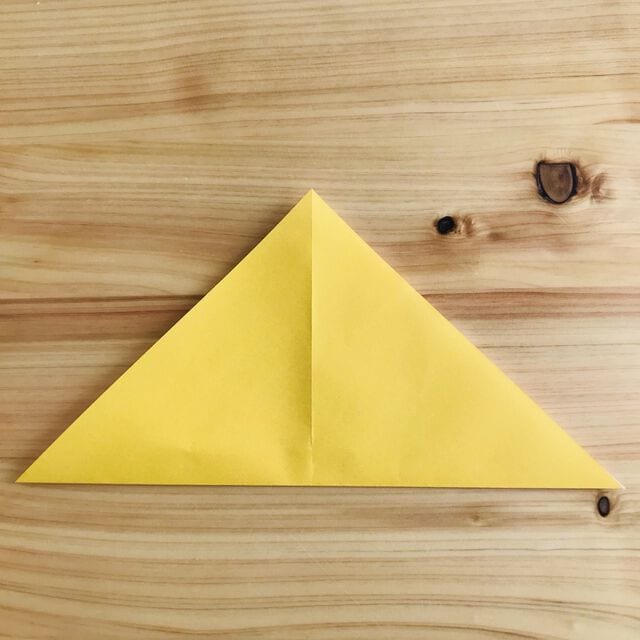
[ 2 ] Fold the other side into a triangle, make a crease, and then put it back.
[ 3 ] Fold it in half vertically so that it becomes a rectangle, make a crease, and then put it back.
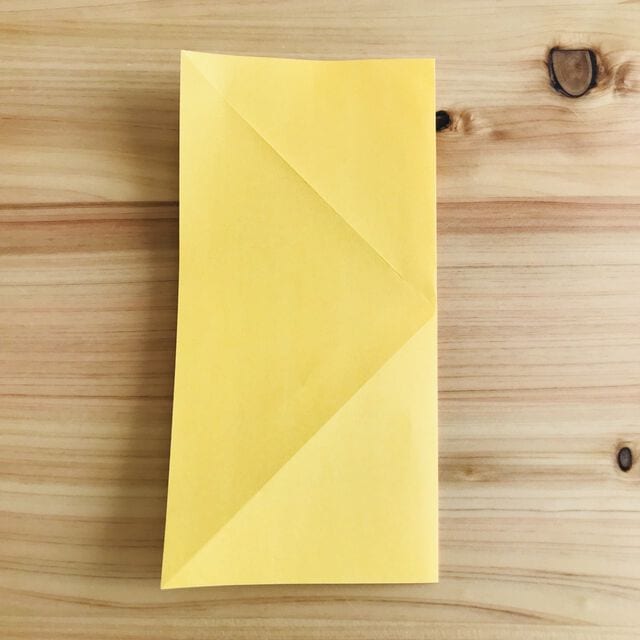
[ 4 ] Fold it in half and put it back after making a crease.
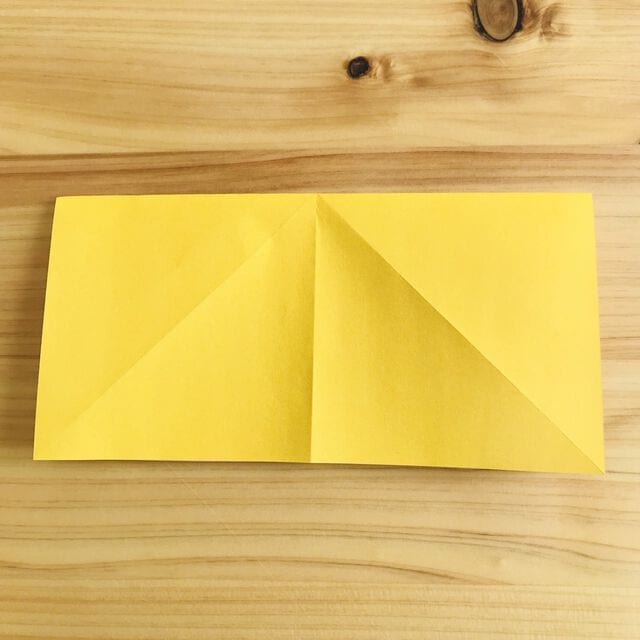
[ 5 ] Fold each diagonally to the center.
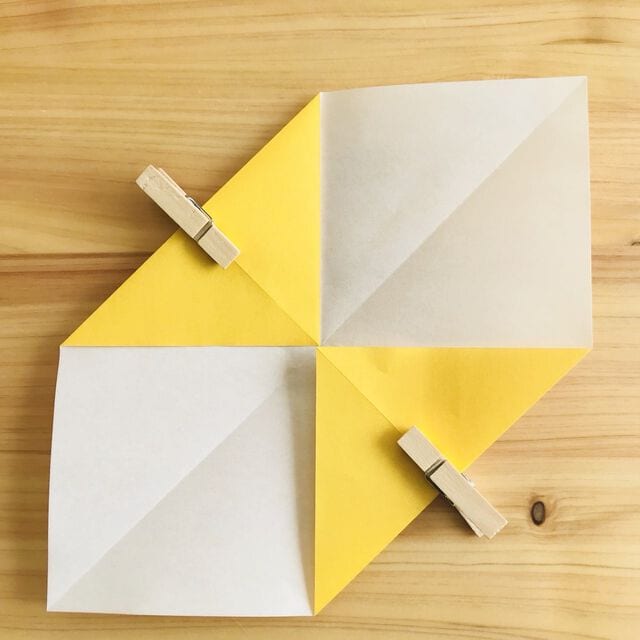
[ 6 ] Fold the lower right side diagonally to the dotted line. Rule of thumb 3 of minutes 1 is a place of much become.
Rule of thumb 3 of minutes 1 is a place of much become.
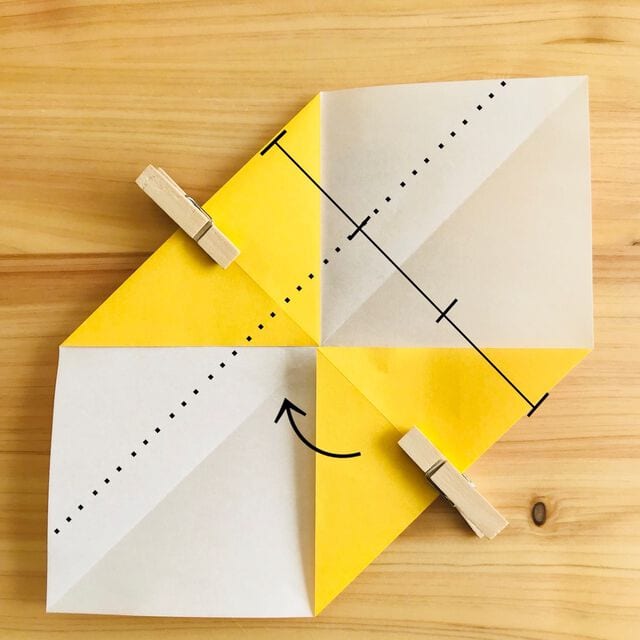
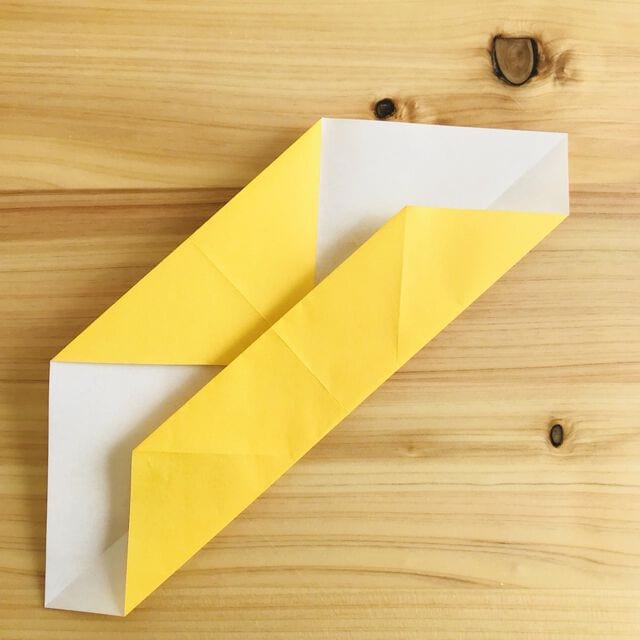
[ 7 ] Fold the diagonally upper left surface along the dotted line.
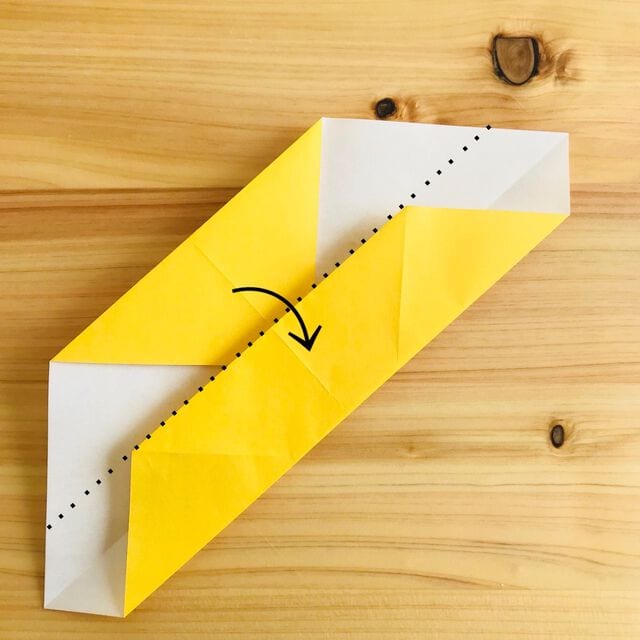
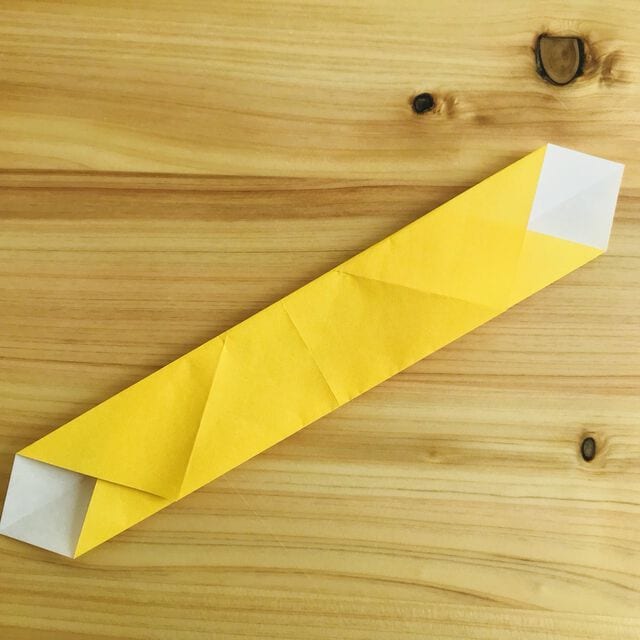
[ 8 ] Open all and fold each of the top and bottom corners to the center.
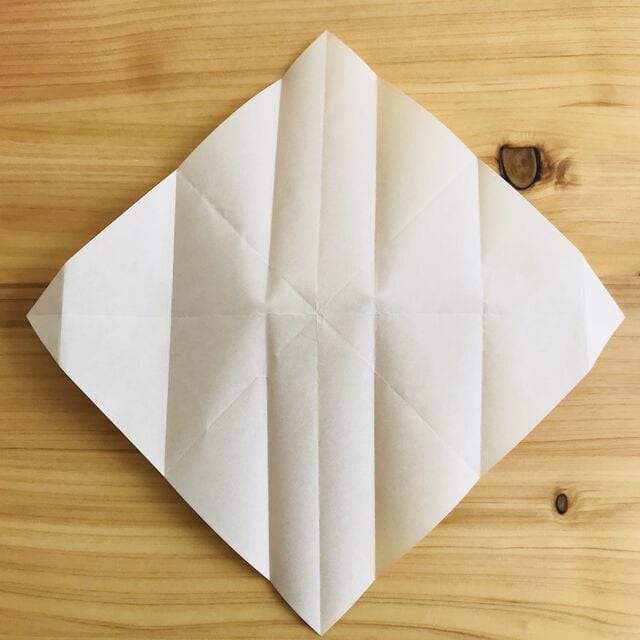
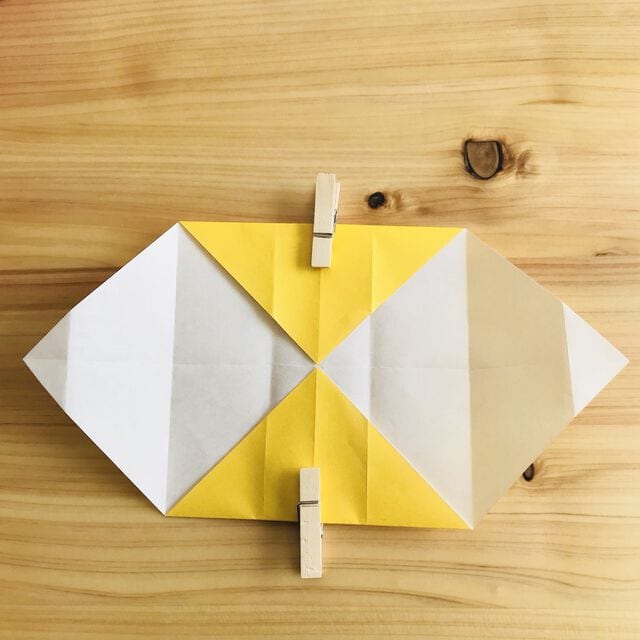
[ 9 ] As before, fold the bottom surface to the dotted line. Here also 3 of minutes 1 is the place to be.
Here also 3 of minutes 1 is the place to be.
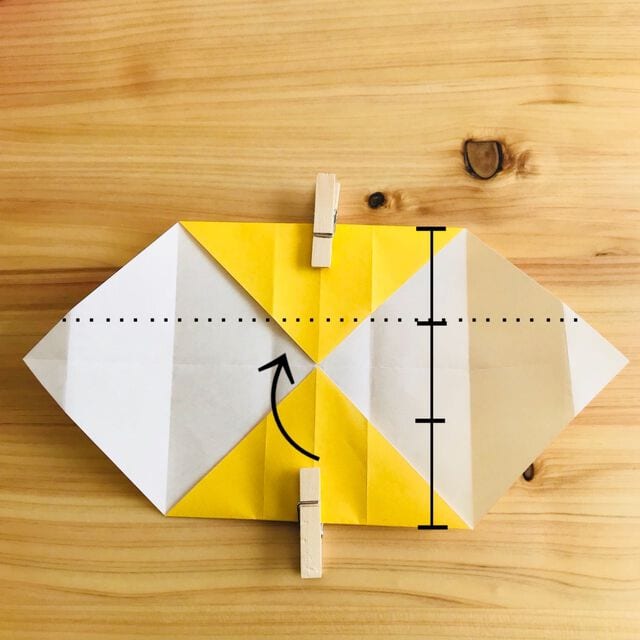
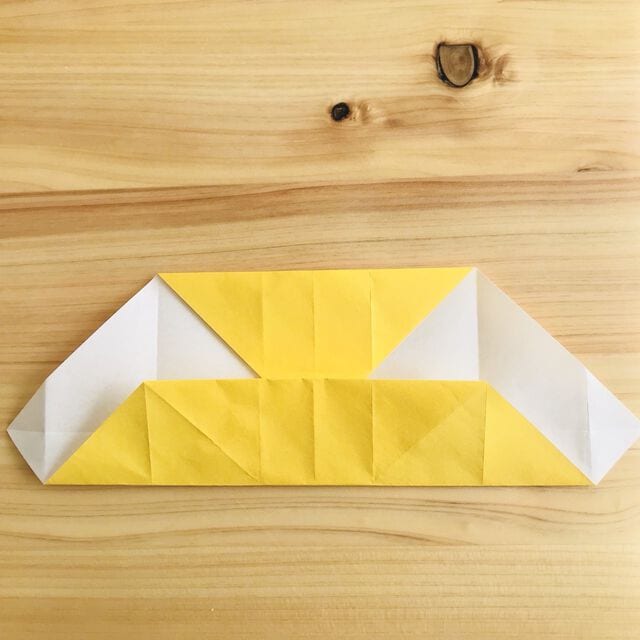
[ 10 ] Fold the top surface along the dotted line.
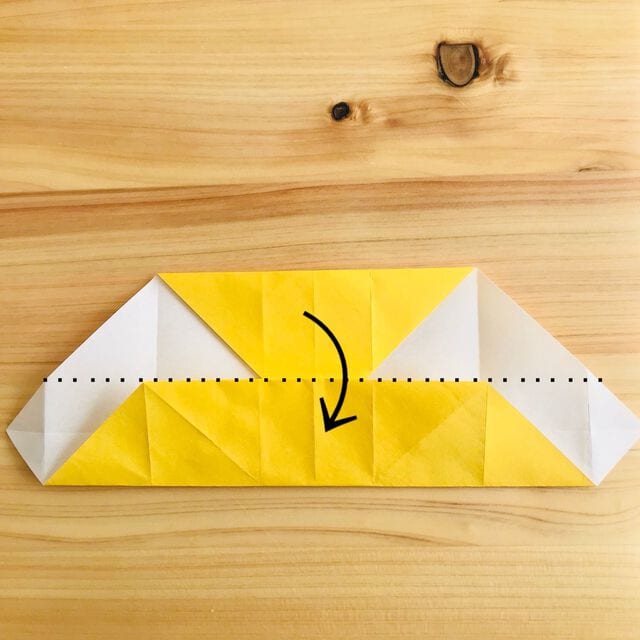
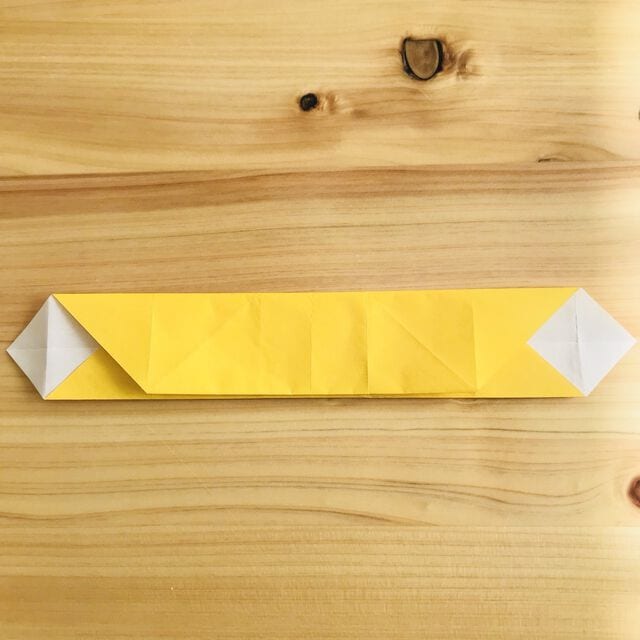
[ 11 ] Fold the left and right corners inward and open halfway.
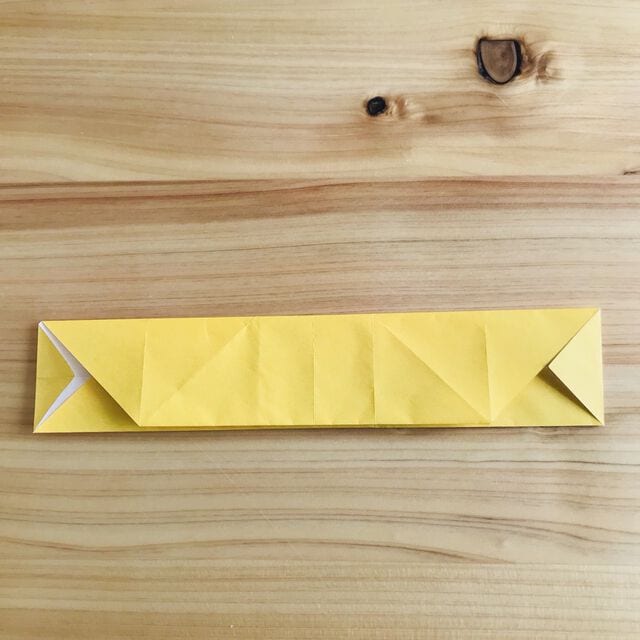
[ 12 ] Fold the top surface in a valley fold for the red dotted line and in a mountain fold for the blue line.
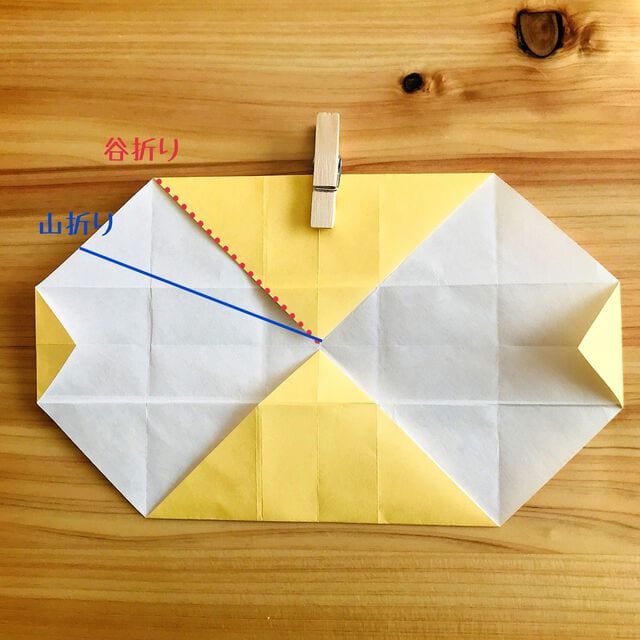
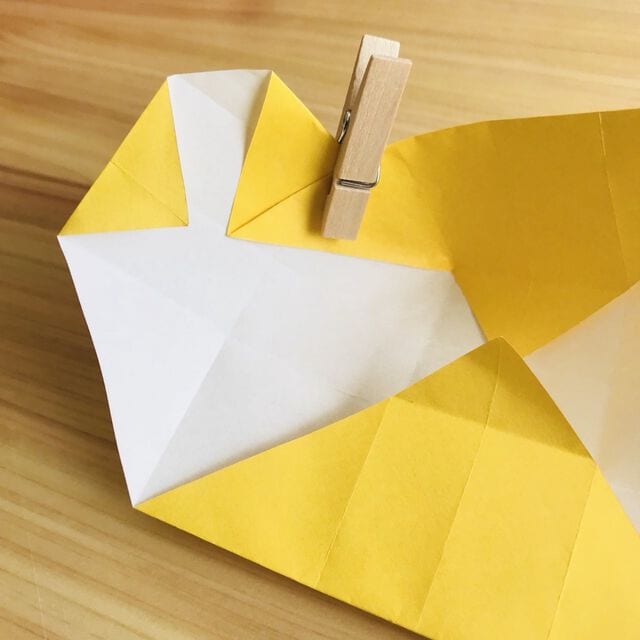
[ 13 ] Fold the other side in the same way.
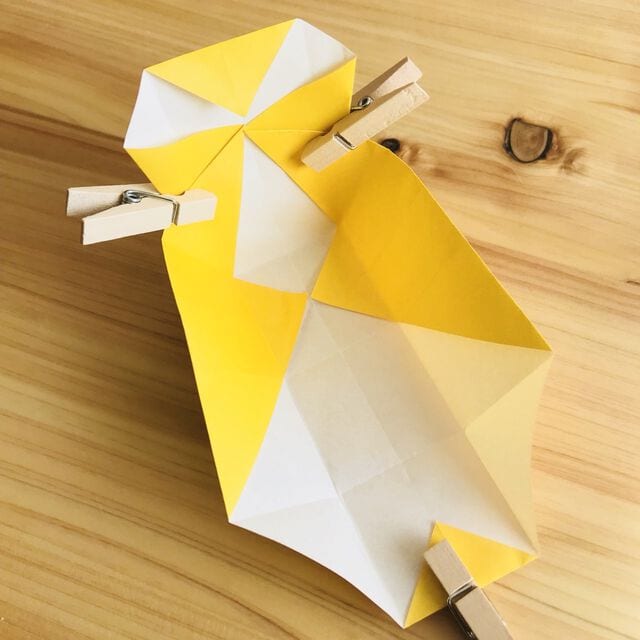
[ 14 ] Fold the left edge of the side as shown in the photo.
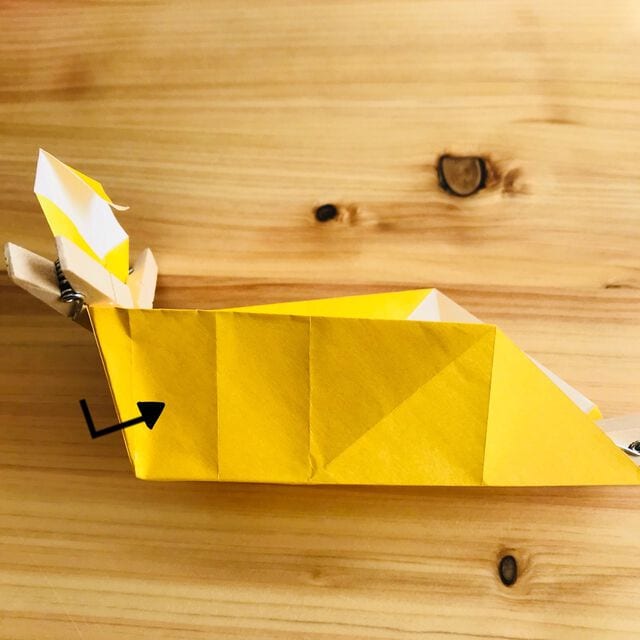
[ 15 ] Fold the other side in the same way.
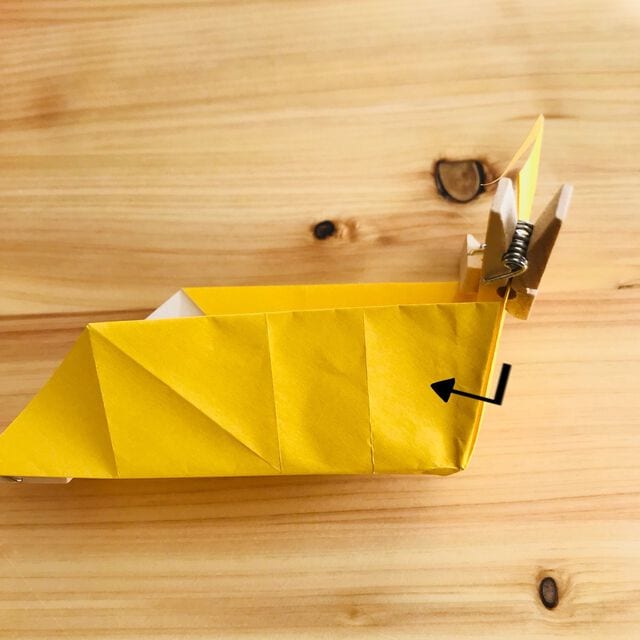
[ 16 ] Change the direction and fold the top surface along the dotted line.
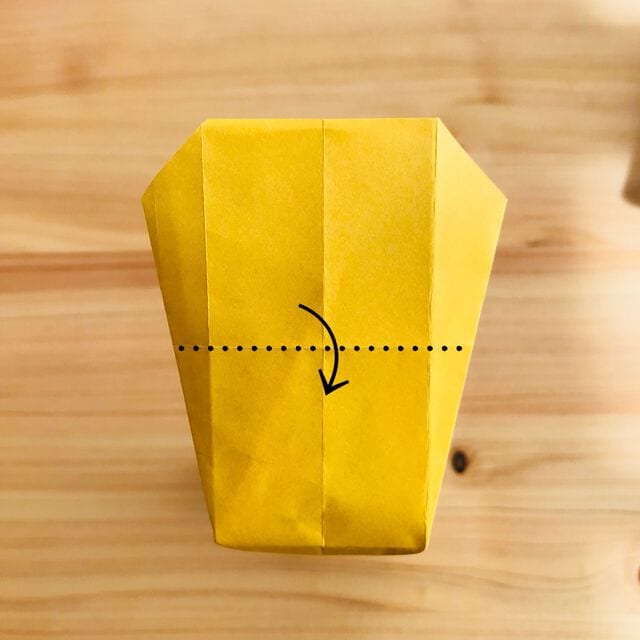
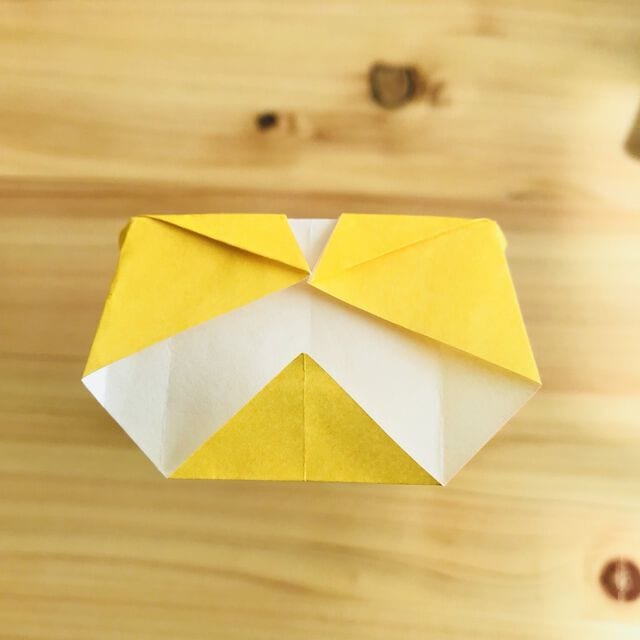
[ 17 ] Change the direction and fold it while overlapping the left and right sides inside.
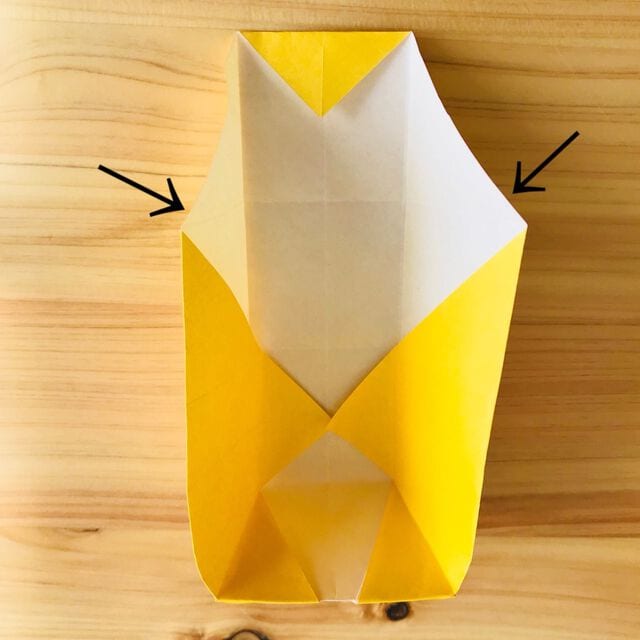
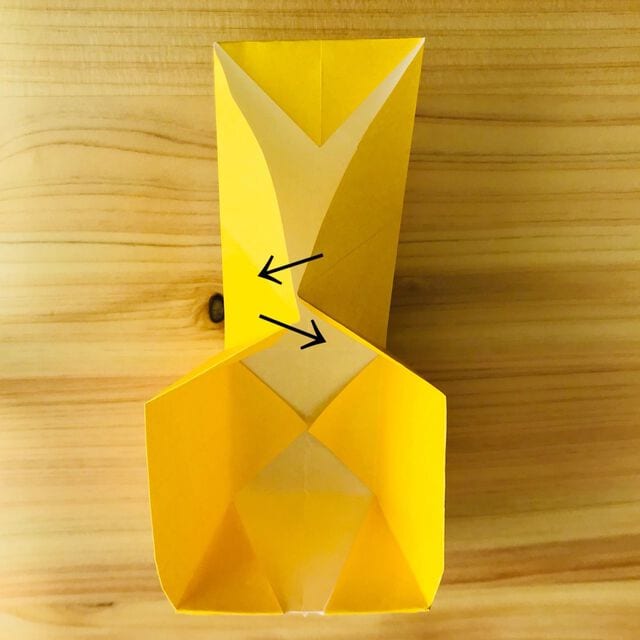
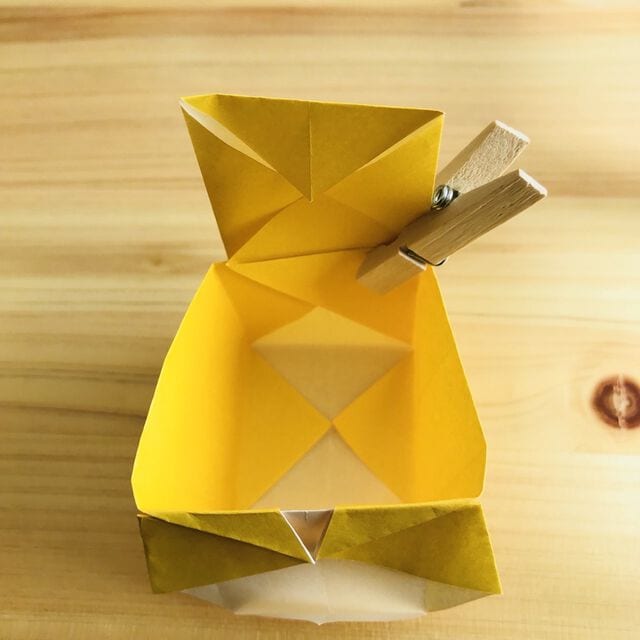
[ 18 ] Fold it diagonally to the upper right as shown in the photo.
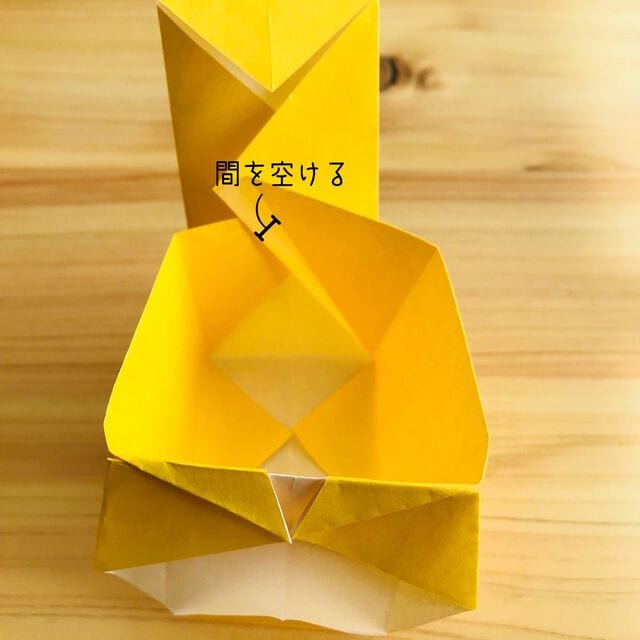
[ 19 ] Fold it in the same way with the other side facing up.
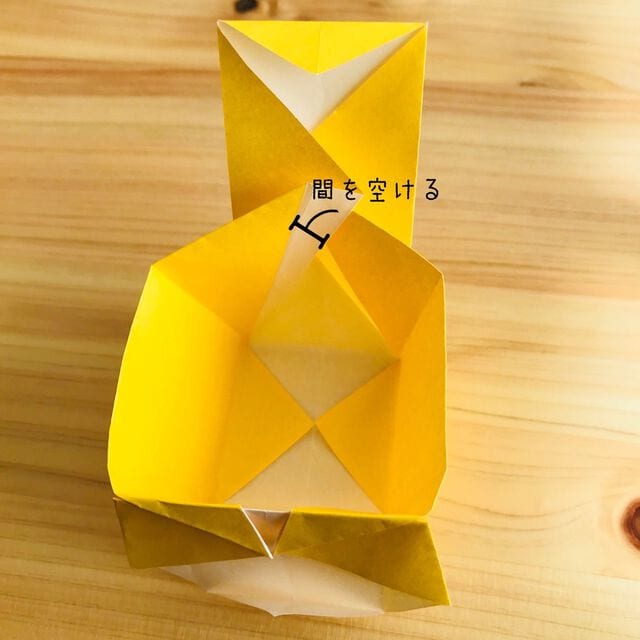
[ 20 ] Raise the upper corner and fold it down along the dotted line.
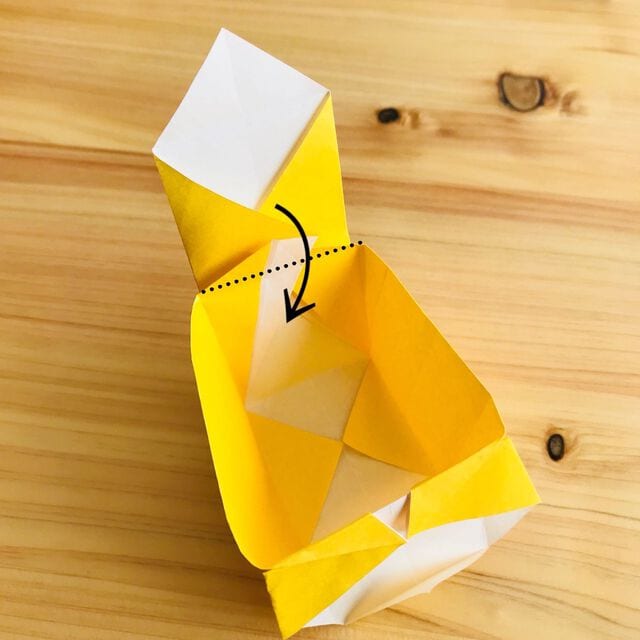
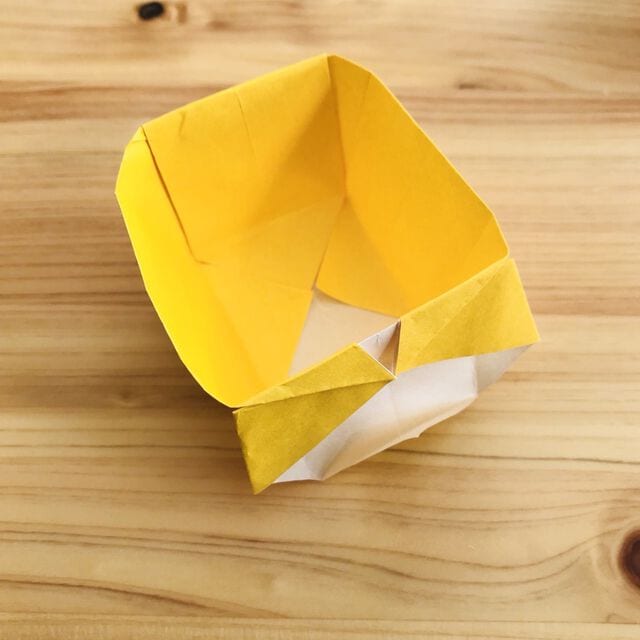
[ 21 ] Turn around and fold the left and right corners slightly inward.
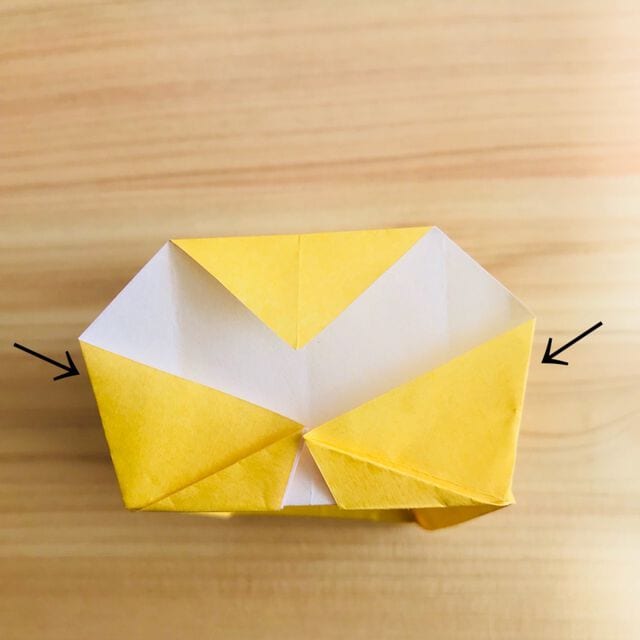
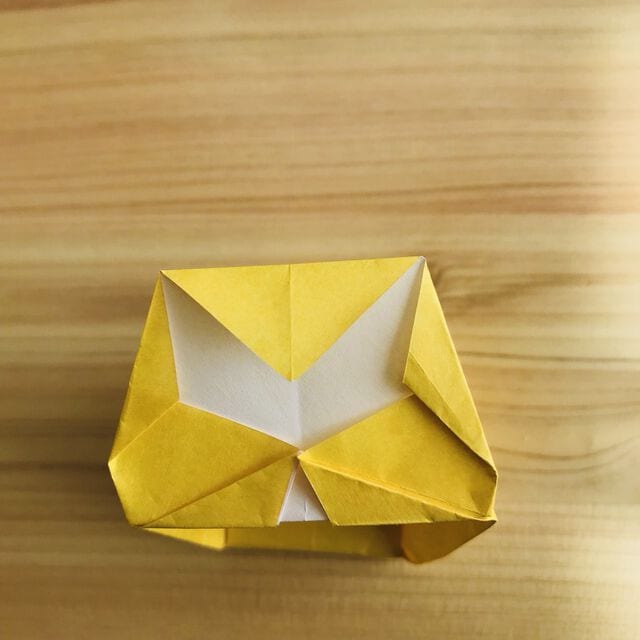
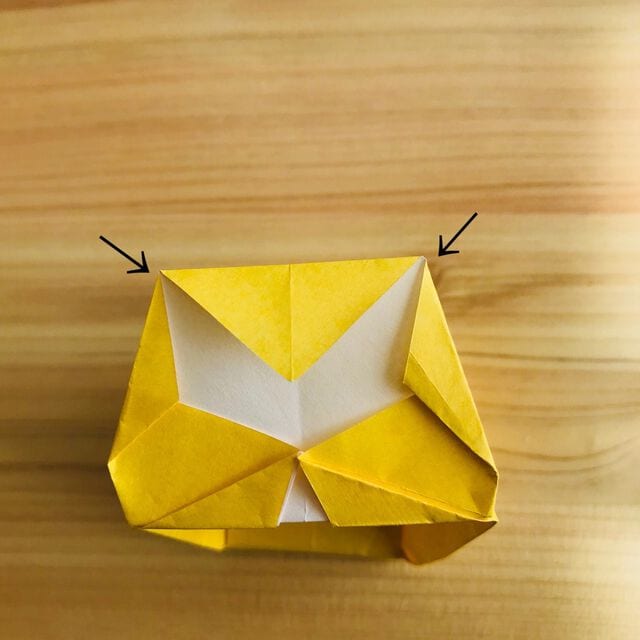
[ 22 ] Fold the left and right upper corners slightly inward.
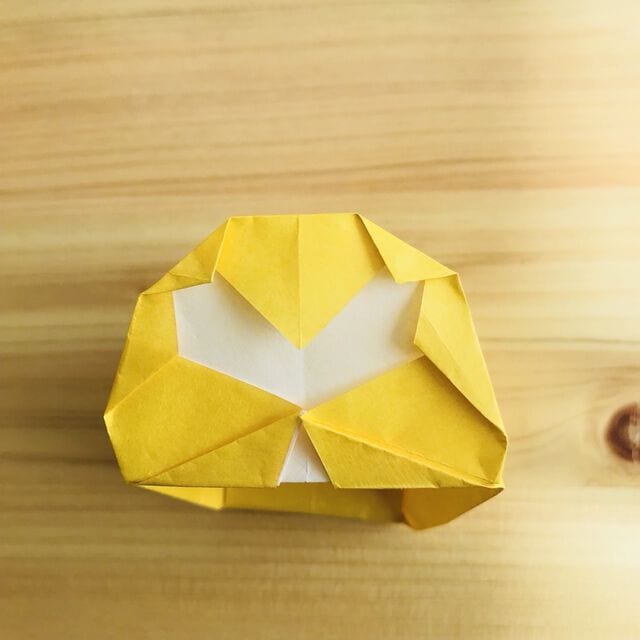
[ 23 ] Fold the top surface along the curve shown in the photo.
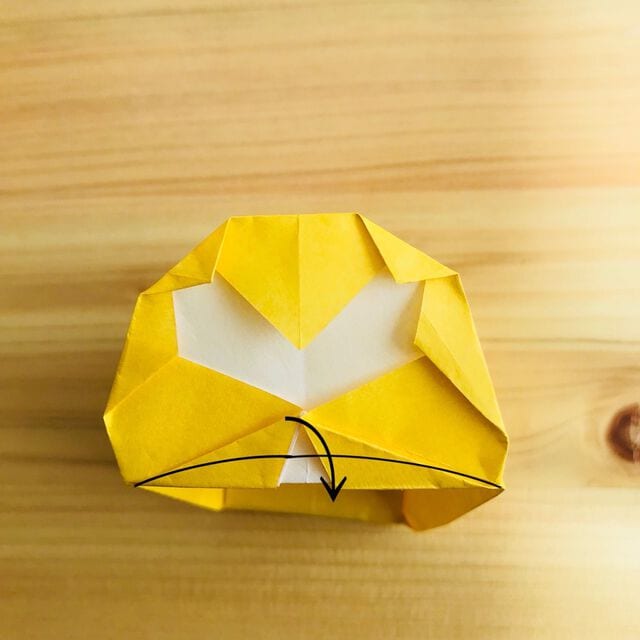
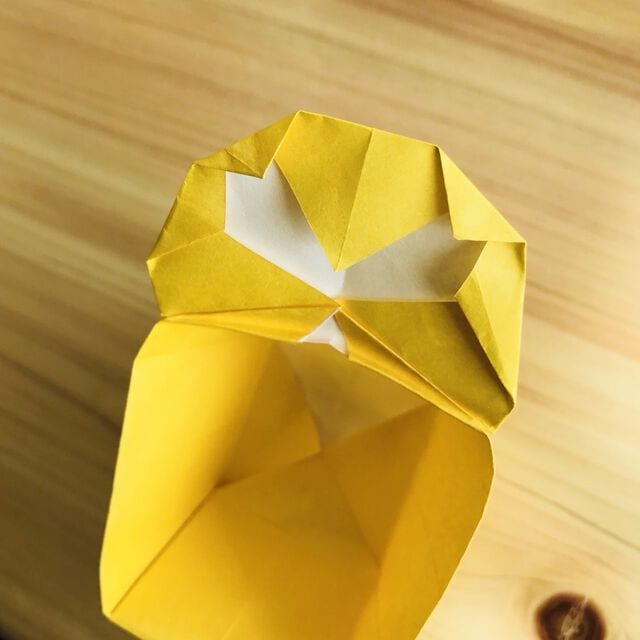
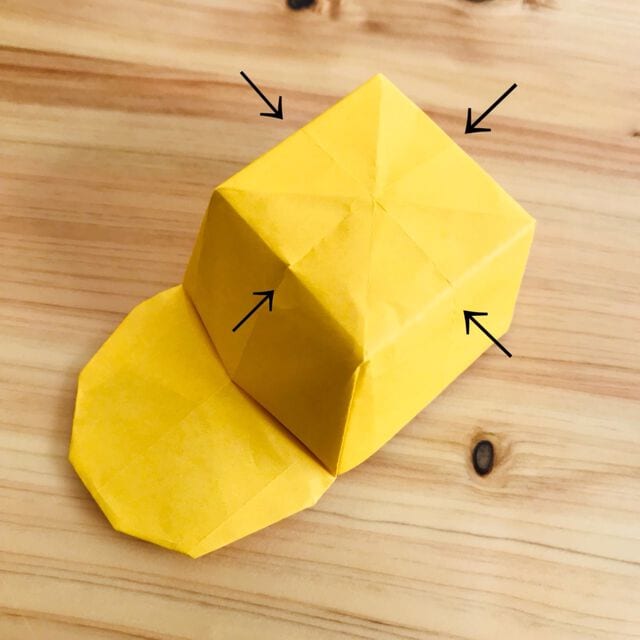
[ 24 ] Turn around and push the head part a little from all sides to shape it and you're done.
Thank you for your hard work
How was it?
Please adjust how long it will fold while looking at the photo.