
Easy Origami Frog
The origami frog is one of those models everybody folds once and then forgets, which is a shame, because six creases is all it takes and the result genuinely looks like a frog: front legs tucked under, back legs kicked out behind, ready to hop off the table.
This is the short version of the sequence - fold the square in half twice, squash both pockets open into triangles, turn up four small points for legs, then flip it over. Two minutes, no glue, no scissors. The one thing to watch is symmetry: if the two squash folds are not mirror images, the frog will sit crooked. Finish it with two round stickers for eyes, or just draw them on with a pen.
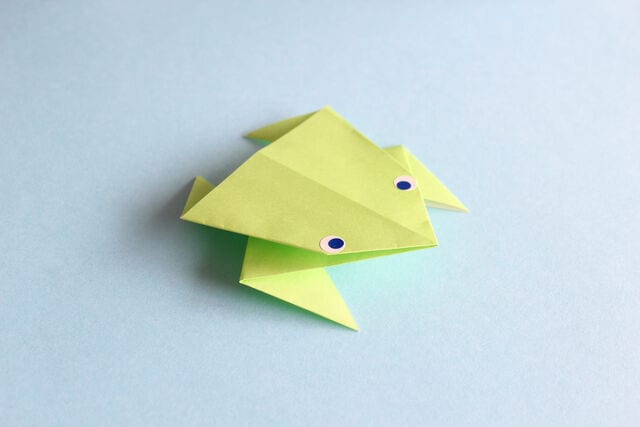
This little frog is folded from a single sheet of origami paper. Today I will show you how to fold it, and I hope you find the instructions useful.
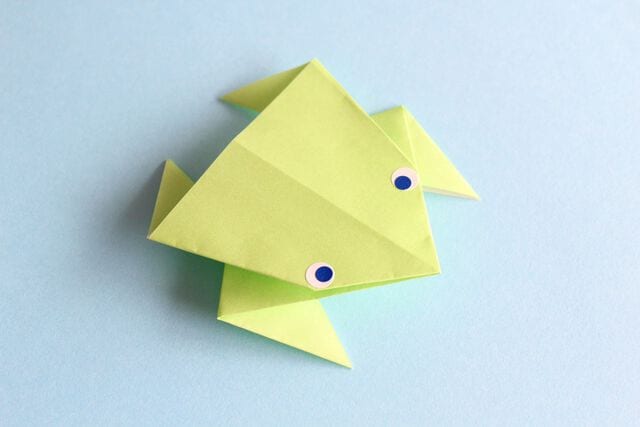
How to Fold a Frog with Origami
Frogs are very easy to fold.
Are you looking for something quick and simple to make with origami paper?
Maybe you have already folded most of the models you know and are hunting for something new.
If so, you want a model that comes together in just a few folds.
Wouldn't it be nice to have another easy origami model in your repertoire?
A folded frog answers that request perfectly!
So today I will show you how to fold a frog.
The folding is very simple, and the model is ready in no time.
Do give this origami frog a try.
What the Finished Frog Looks Like
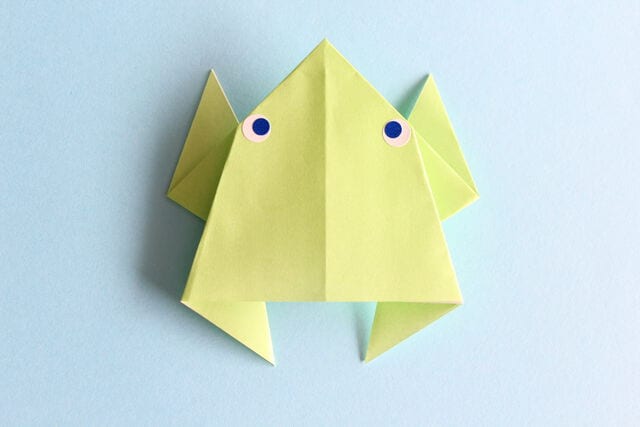
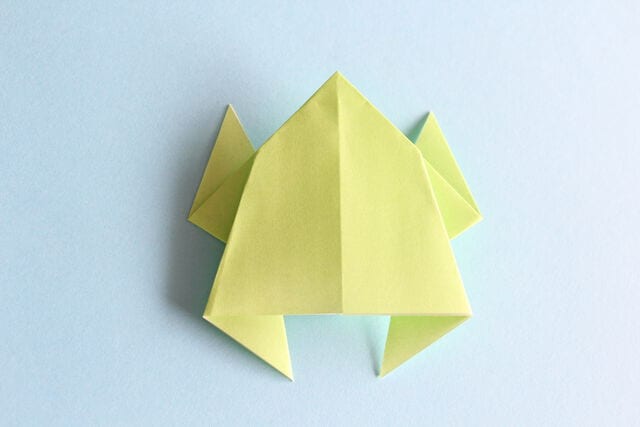
When you finish, you will have a frog like the one in the photo above.
I added stickers for the eyes.
I used two round stickers of different sizes, placing a smaller blue one on top of a larger white one.
If you have no stickers handy, a pen or a crayon works just as well.
Have fun, and put your own ideas into it.
How to Fold a Frog
All right, let's get to the folding.
STEP 1. Fold the square sheet in half twice.
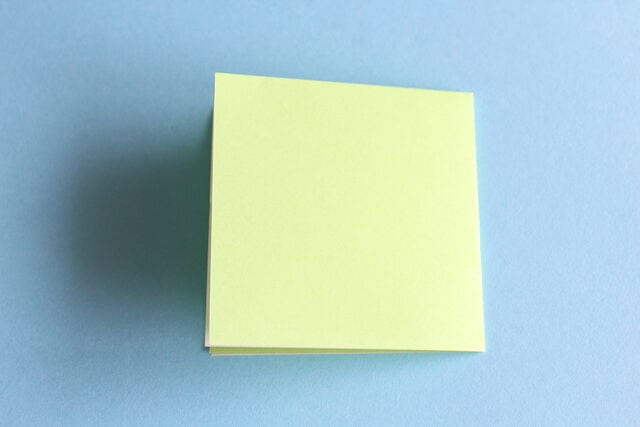
STEP 2. Slip a finger into the pocket, open it out into a triangle and flatten it.
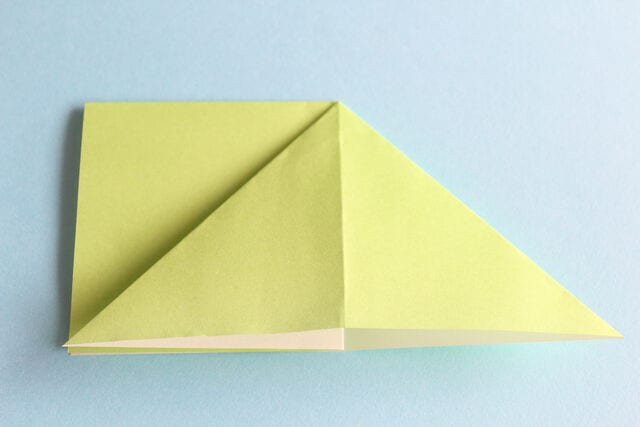
STEP 3. Open and flatten the other side the same way.
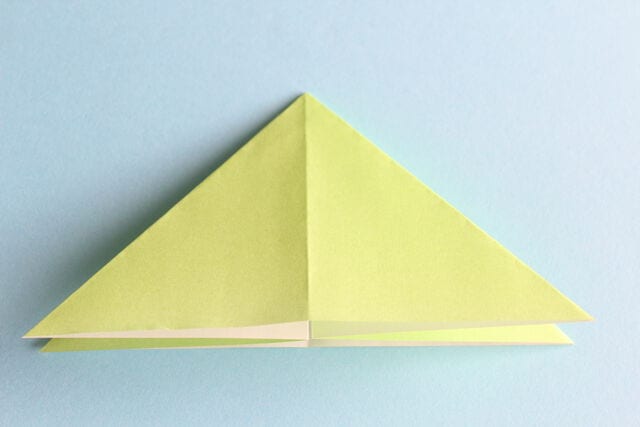
STEP 4. Fold both ends up as shown.
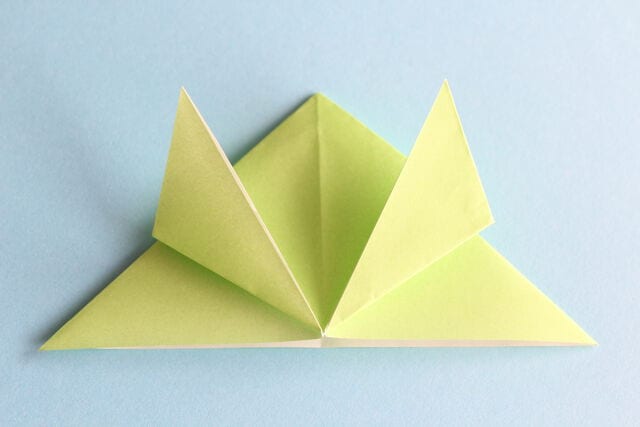
STEP 5. Fold both ends on the back side as shown.
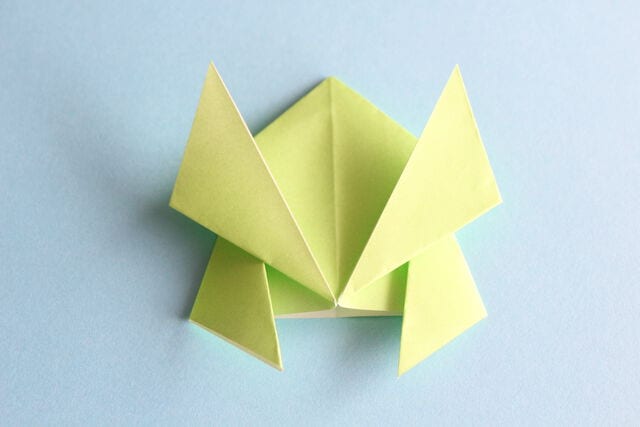
STEP 6. Turn the model over and your frog is done!
Quick and easy, isn't it?
I added the eye stickers here as well.




