
Three-Dimensional Origami Butterfly
Is there a better sign that spring has arrived than a butterfly? This three-dimensional origami butterfly captures that springtime feeling — vivid, sculpted, and surprisingly lifelike.
It's a step up from a flat fold: you'll build a real crease pattern first, then bring the model to life with squash and mountain folds. The final three-dimensional shaping is the satisfying part, so take your time with the photos. Grab a bright sheet of paper and let's fold a whole flutter of them.
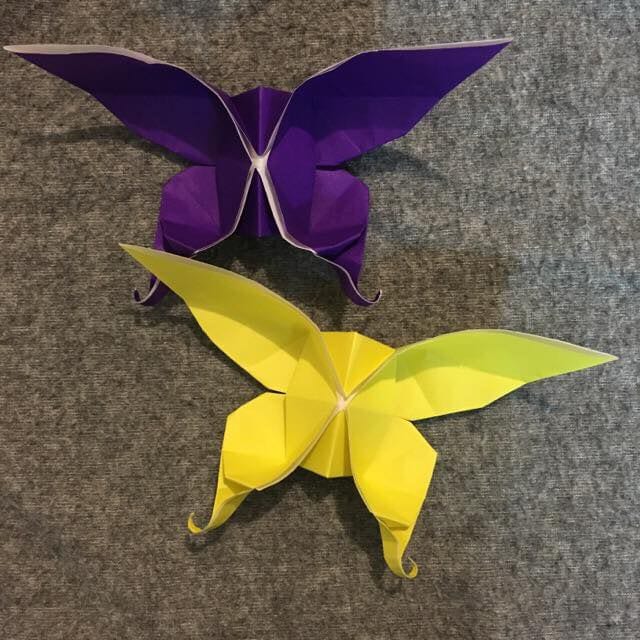
The butterfly is the little messenger that tells us spring has arrived — and here it is in paper form. This time I’ll show you how to fold an origami butterfly as lovely as a swallowtail.
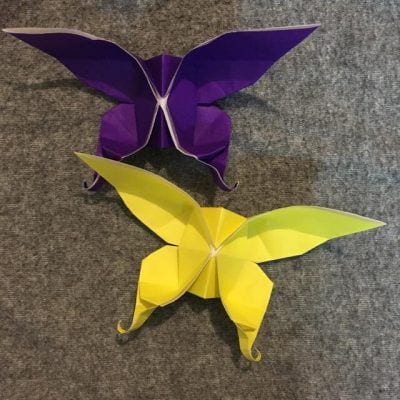
Look how vivid it is! Because this is a beautiful three-dimensional model, it really does resemble a swallowtail butterfly. Fold lots of flowers and butterflies and turn your room into a little garden.
So let’s get right into the folding method for this three-dimensional, pretty origami butterfly!
How to Fold a Three-Dimensional Origami Butterfly
We’ll use a single sheet of origami paper, so pick your favorite color. Since the result is so pretty, a flashy or patterned paper works beautifully here too.
Let’s fold! For this one I worked from a reference video.
Step 1: Start by making creases. Fold the paper into a rectangle with the colored side facing out, then unfold.
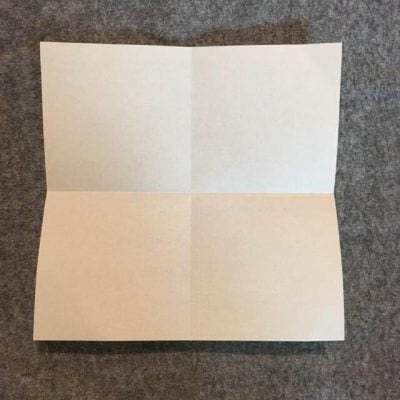
Step 2: Rotate the paper 90 degrees, fold it into a rectangle the same way, and unfold.
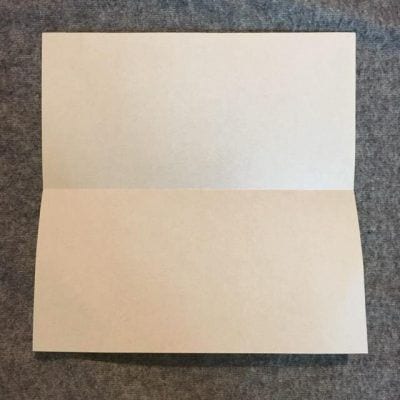
Step 3: Fold it into a triangle with the colored side facing out, then unfold.
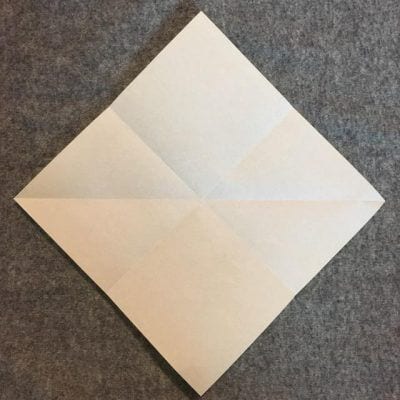
Step 4: Rotate the paper 90 degrees and fold it into a triangle the same way, then unfold.
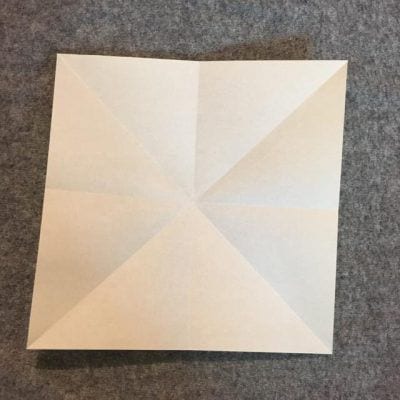
Step 5: Fold along the center line as shown in the photo.

Step 6: Fold the other side the same way and unfold.

Step 7: Rotate the paper 90 degrees and fold along the center line again.
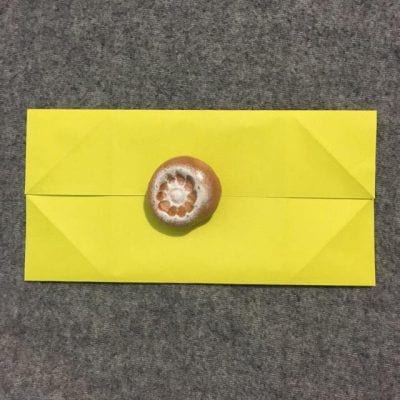
Step 8: From the square base you made, align the colored corners to the center as shown and fold, then unfold. By now you should have a full set of creases.
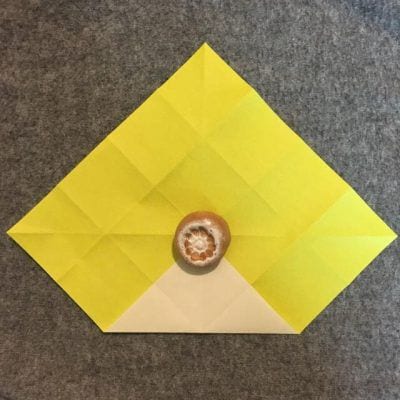
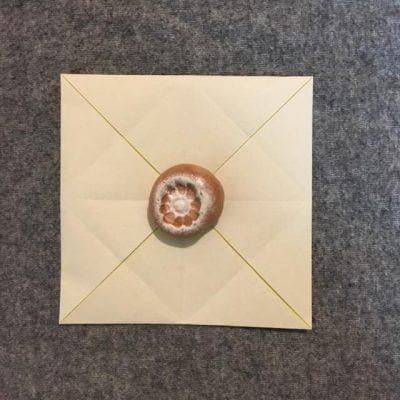
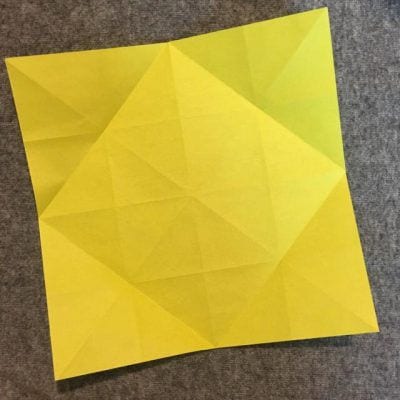
Step 9: Turn the paper over and fold it as shown in the photo.
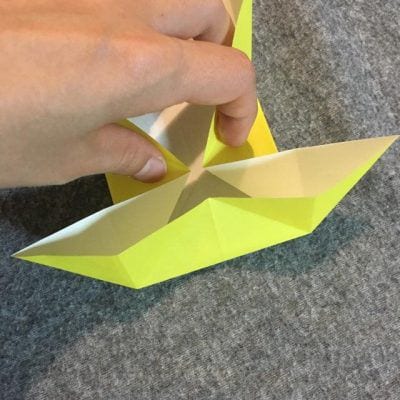

Step 10: Fold the other side the same way.
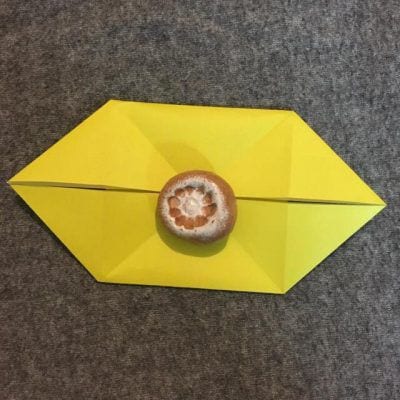
Step 11: Turn it over and fold along the center line as shown.
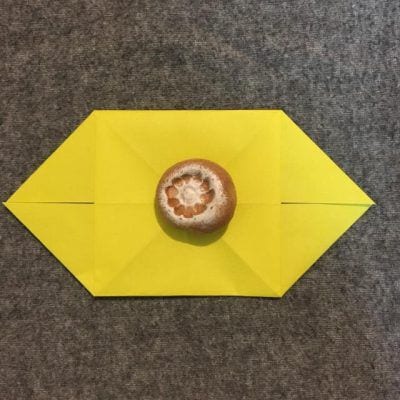
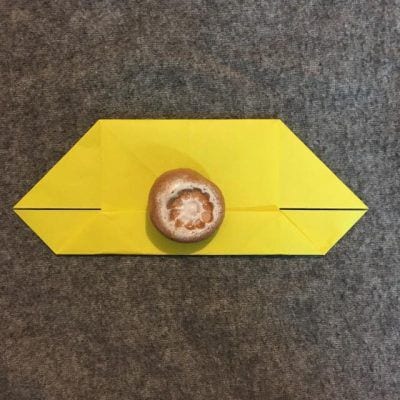
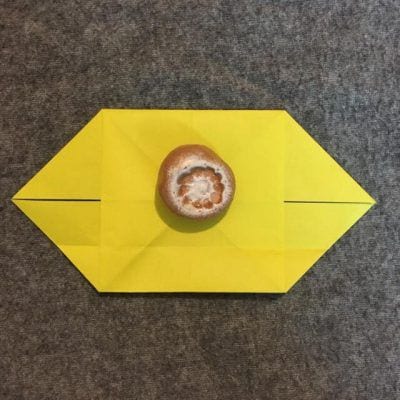
Step 12: Fold the other side the same way and unfold.
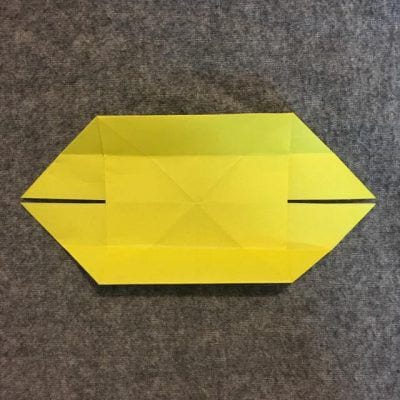
Step 13: Stand it upright and fold along the top edge, then unfold.
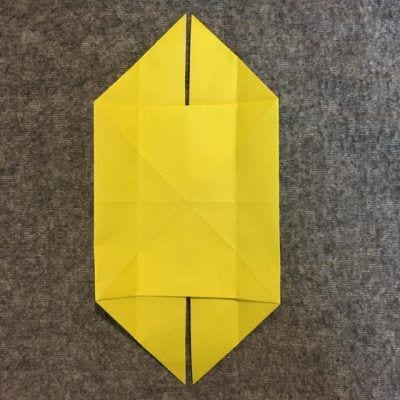
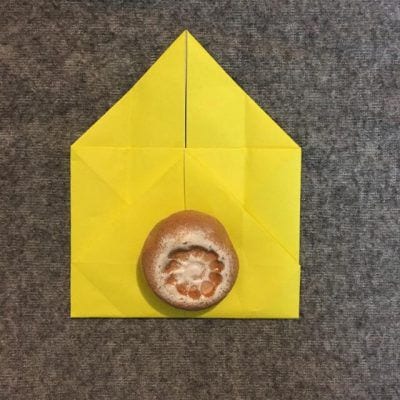
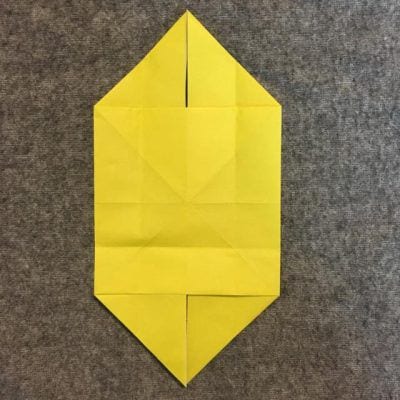
Step 14: Fold the other side the same way and unfold.
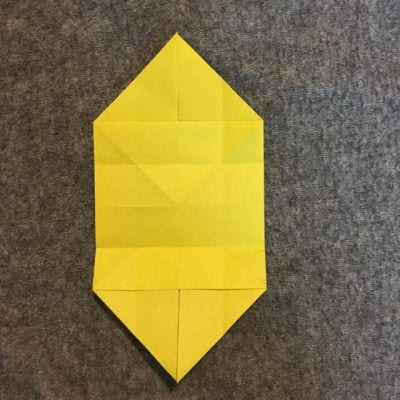
Step 15: Turn it sideways, lift the center so a small box forms as shown, and squash it flat.
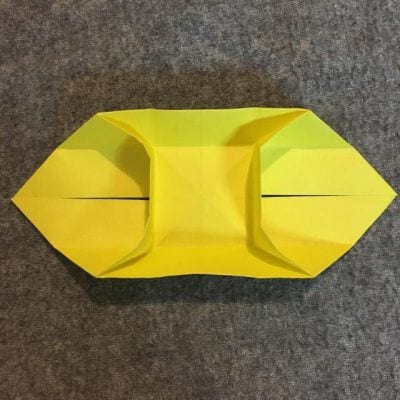

Step 16: Fold it up and down, then unfold.
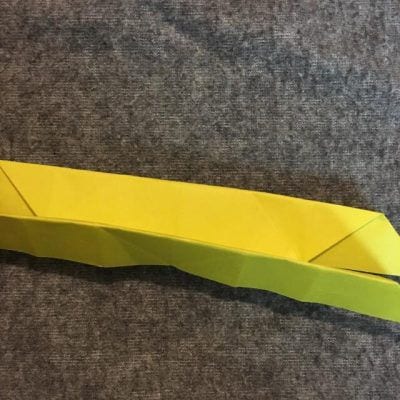
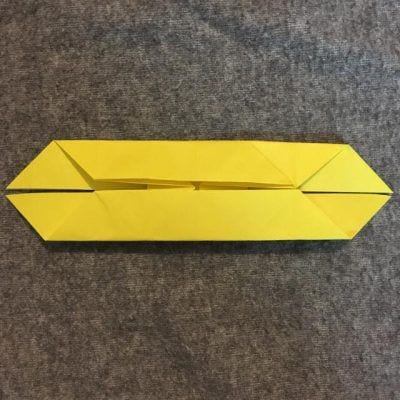
Step 17: Stand it upright and fold it up and down, then unfold.
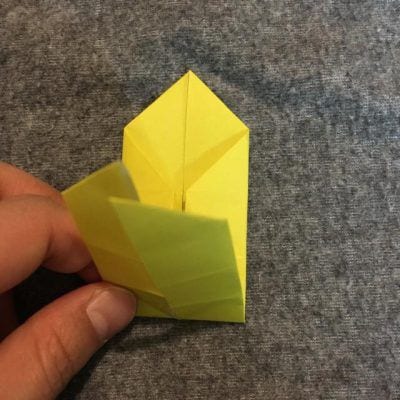
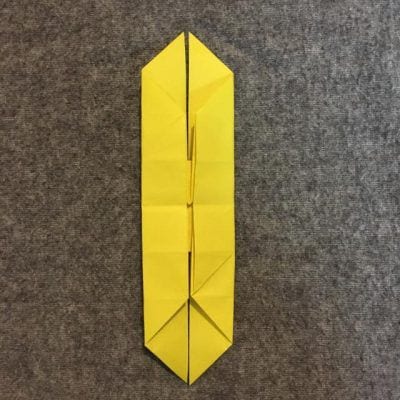
Step 18: Turn it over, tuck your fingers into the four openings shown, lift the paper, and mountain-fold the left and right sides.
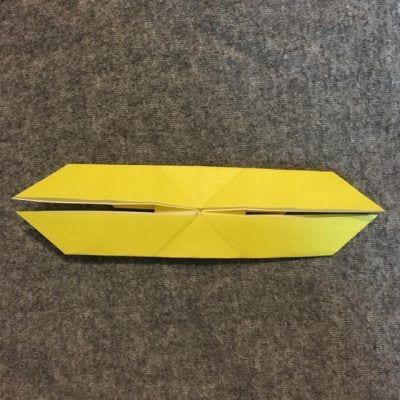
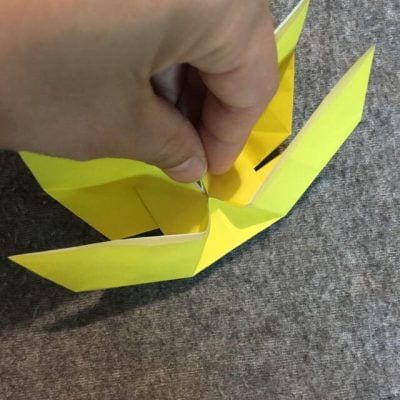
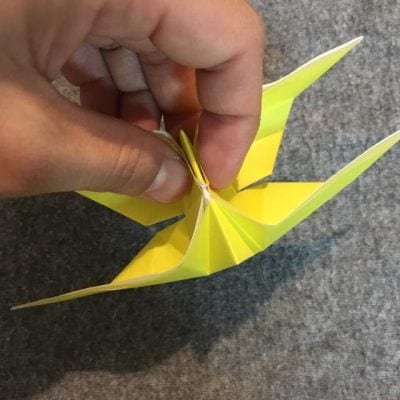
Step 19: Fold the lower-left wing into a sharp triangle point. Open it once, mountain-fold the corners, then firmly crease it back into place — do the same for the lower-right wing.
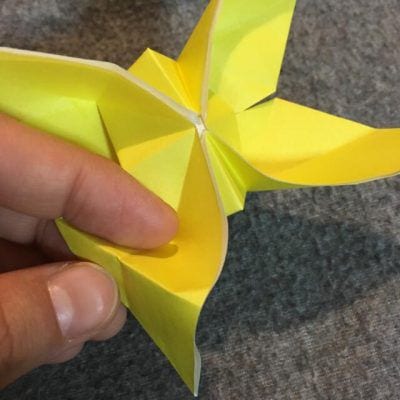
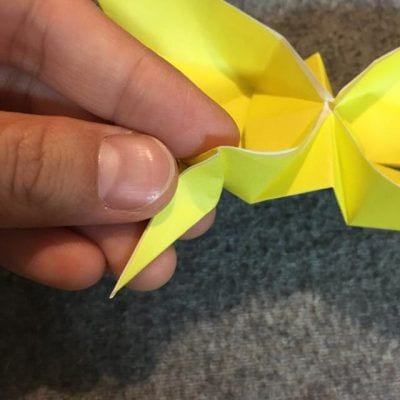
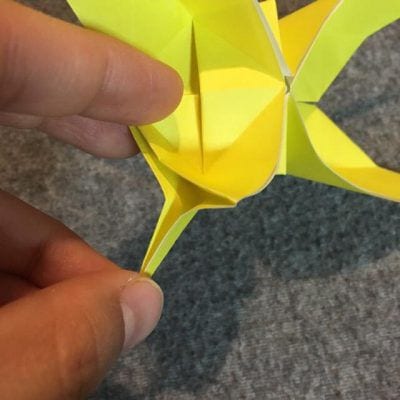
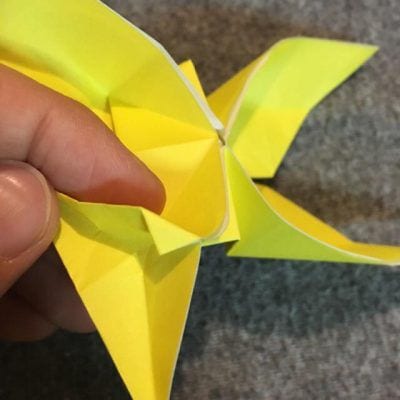
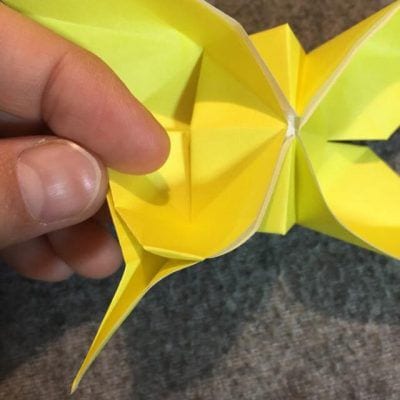
Step 20: Fold the corner between the upper and lower wings.
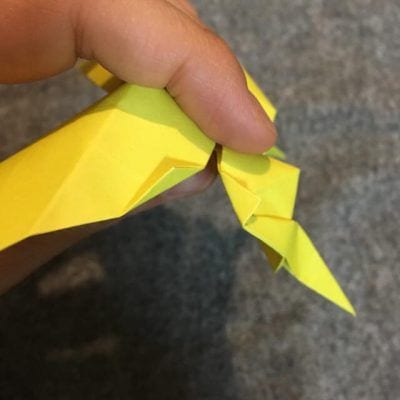
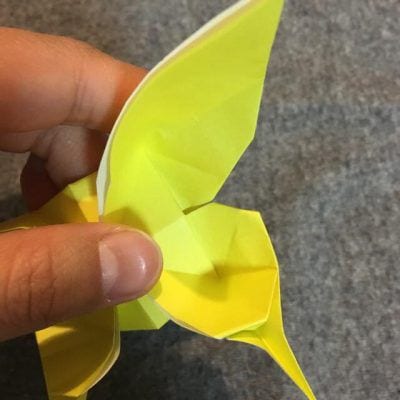
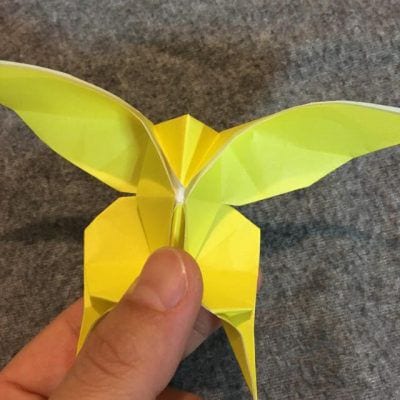
Great job — how did your folding go? If you get the creases up through step 17 right, everything from there folds crisply. The part from step 18 to 20, where the butterfly becomes three-dimensional, can be a little tricky, but it’s the key to making it look beautiful. Do your best, following the photos and video, and you’ll have a gorgeous paper butterfly!




