Cicada
Few sounds say "summer" like the buzzing of cicadas — and folding one out of a single square of paper is a small, satisfying way to bring that season to your desk. This little insect is quicker to make than you'd expect: a symmetric base, a couple of mark-aligning folds, and a pair of antennae you get to angle however you like. Grab a sheet, find a flat surface, and in about eight steps you'll have a cicada ready to perch on a shelf or gift to a friend.
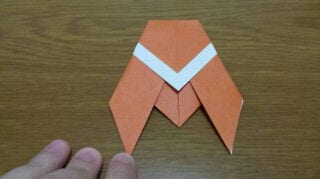
How to Fold a Cicada (with illustrated steps)
What you need: 1 sheet of origami paper.
Begin by creasing the square, then open it back up to start the fold.
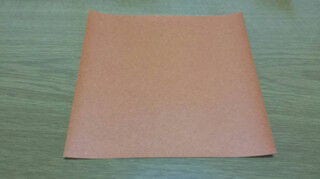
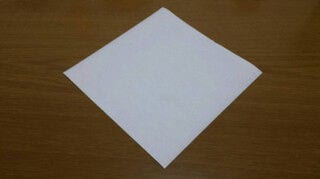
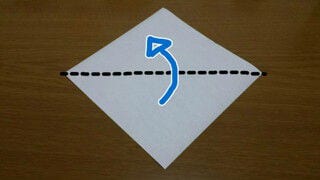
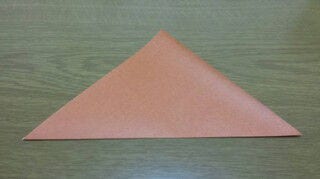
STEP 1. Fold along the crease lines to build the base, then unfold and flatten it out.
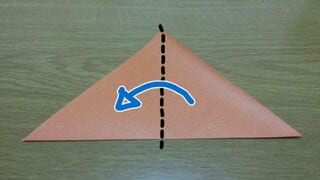
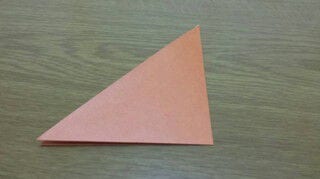
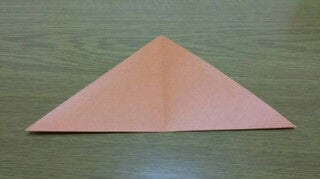
STEP 2. Fold the paper so the reference marks line up with each other, then open it back out.
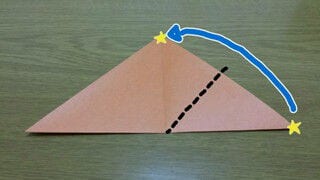
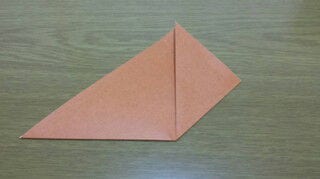
STEP 3. Arrange the layers so the marks match, aligning them neatly.
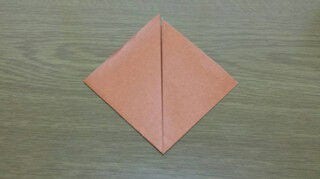
The back side is folded the same way.
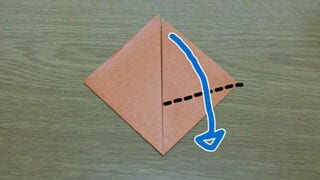
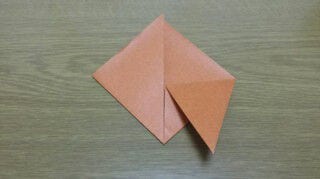
STEP 4. Form the antennae — you can choose the angle freely.
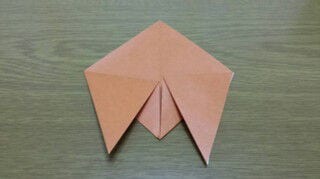
Do the same on the other side (adjust the angle to taste).
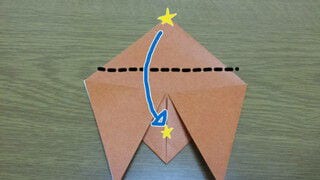
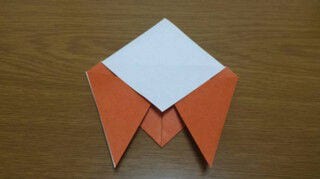
STEP 5. Adjust the folds so the marks stay consistent.
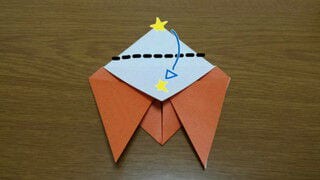
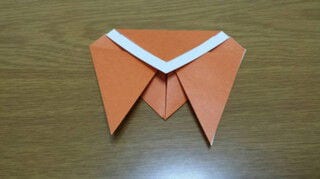
STEP 6. Adjust again so the marks line up.
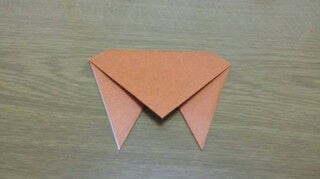
STEP 7. Turn the model over.
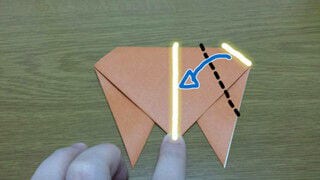
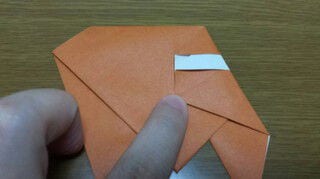
STEP 8. Line up the fold lines, then do the same on the other side.
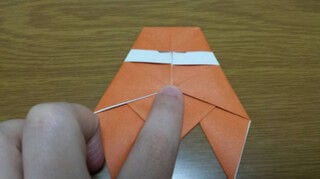
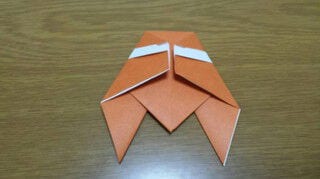
If you flip it over, the shape settles into place.
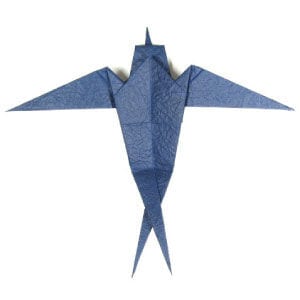
Your cicada is complete!