
Outside Reverse Fold (Short Tutorial)
The inside reverse fold tucks paper in; the outside reverse fold wraps it around the outside - and if you have ever shaped a crane's head or a bird's beak, you already know both. This is the short version: three steps, no filler, straight to the finished fold.
You start from a prefolded triangle, make a quick valley fold to mark the line, then open the tip, bend it behind, and flatten everything down - three mountain folds and one valley fold working together in a single motion. If the longer tutorial is for learning slowly, this one is for the moment you just need the reminder.
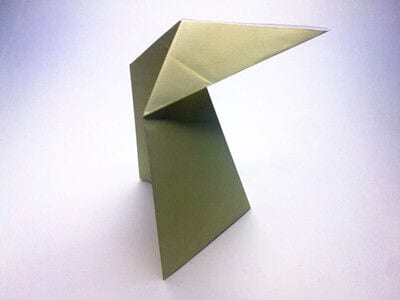
This folding will change the direction of the paper, usually used to make the head of a bird or the foot or tail of an animal. In the outside reverse fold, the fold wraps over the paper.
Step 1
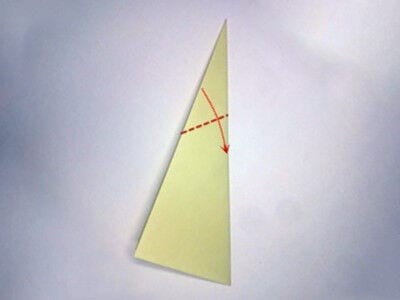
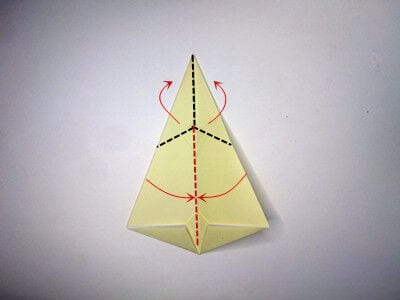
Start with a prefolded triangle. Make a valley fold along the dotted line, then unfold.
Step 2
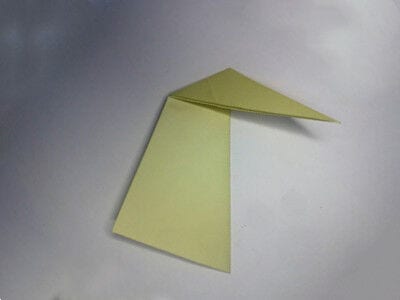
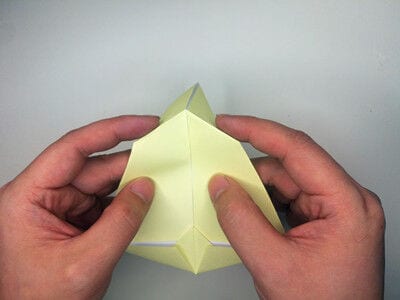
Open the tip and bend the tip behind and flatten. We will make three mountain folds along the red dotted lines and make one valley fold along the black dotted line.
Step 3
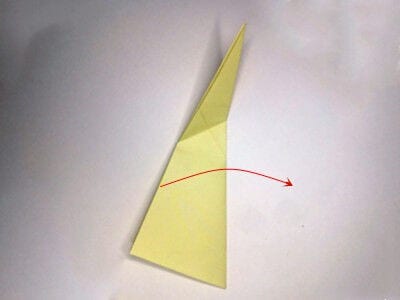
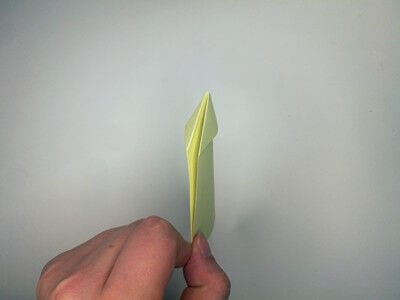
The outside reverse fold is done.




