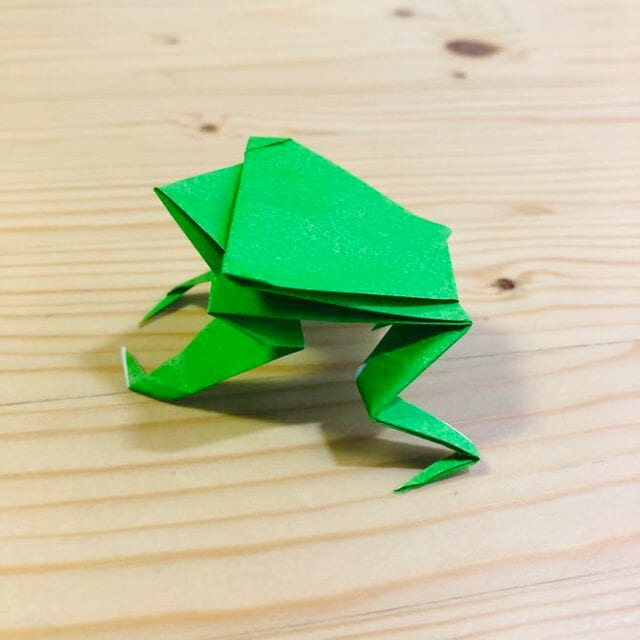
Frog (Complete Tutorial)
Have you ever wanted to fold your very own Frog? There is something quietly satisfying about turning a flat square of paper into a little recognizable model using nothing but your hands and a few well-placed creases.
This Frog is one of those classic folds that looks impressive but comes together one step at a time, so don't worry if it feels fiddly at first — the photos will keep you on track. Whether you are new to origami or just after a quick, rewarding build, you will have a finished Frog before you know it. Let's get folding!
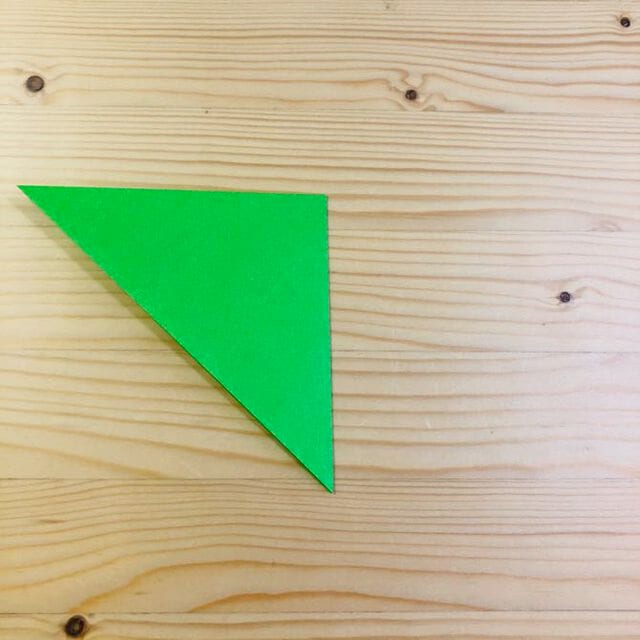
STEP 1
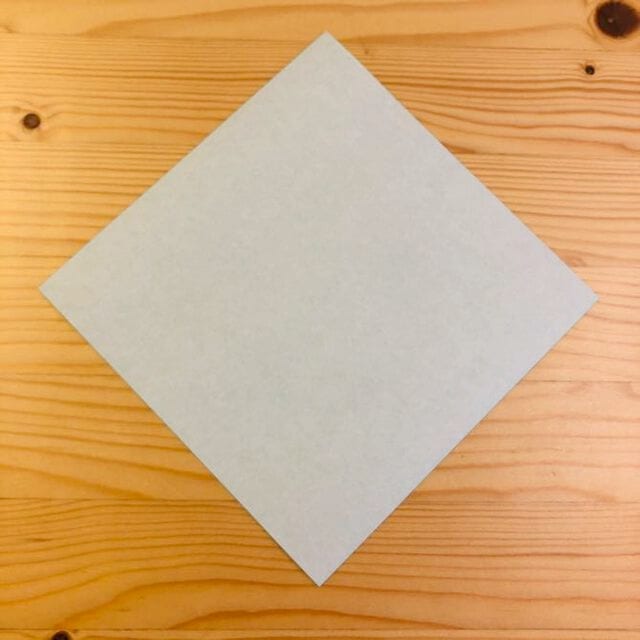
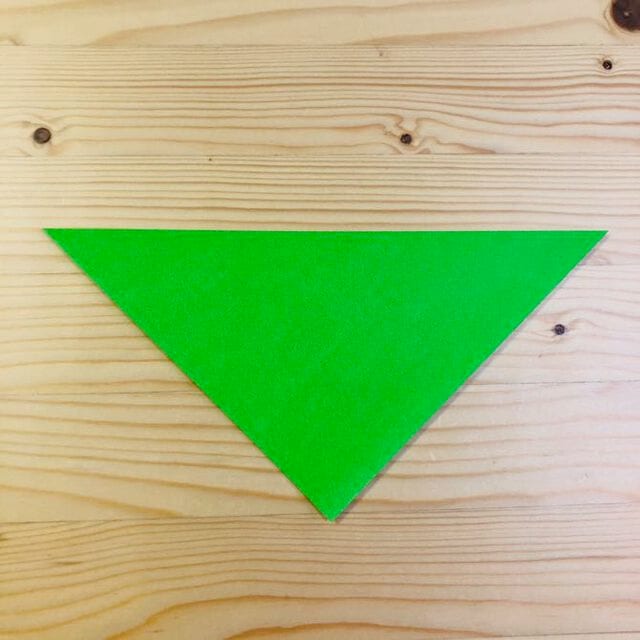
Fold it in half.
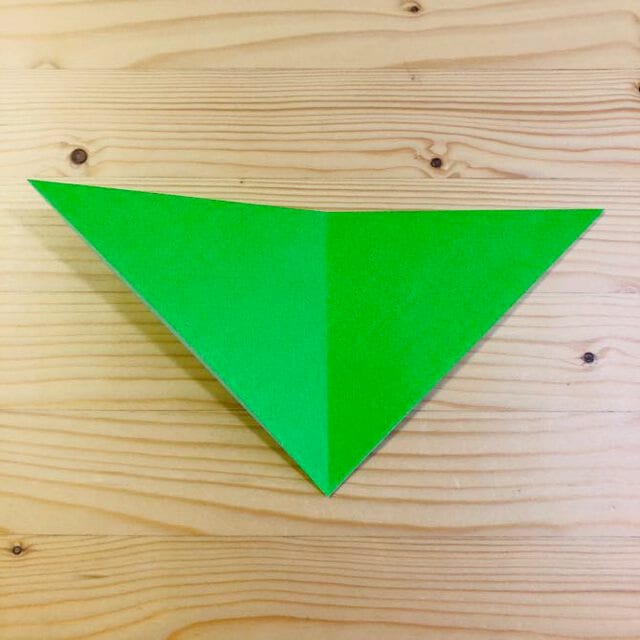
STEP 2
Fold it in half, then unfold to leave a crease.
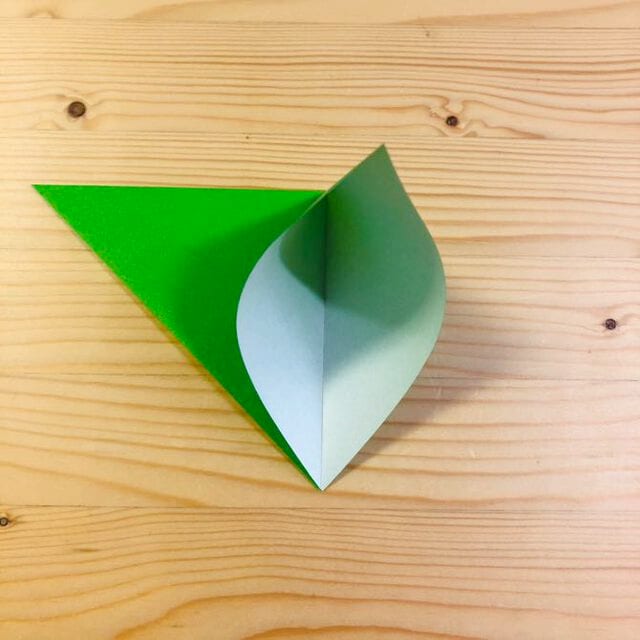
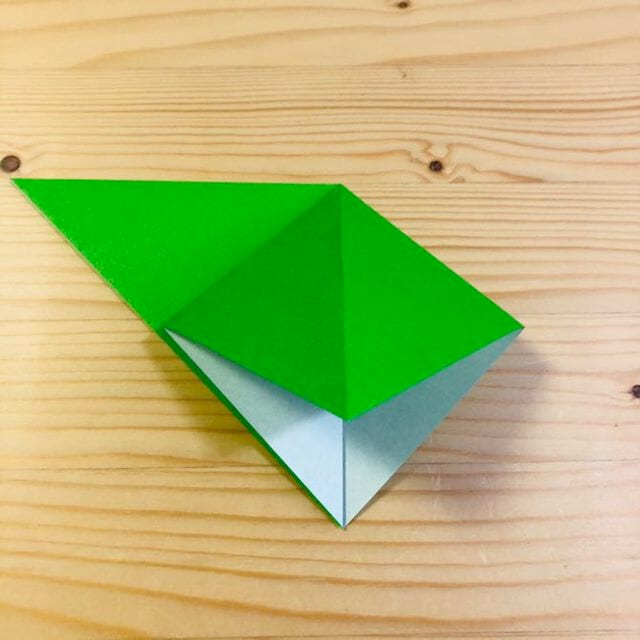
STEP 3
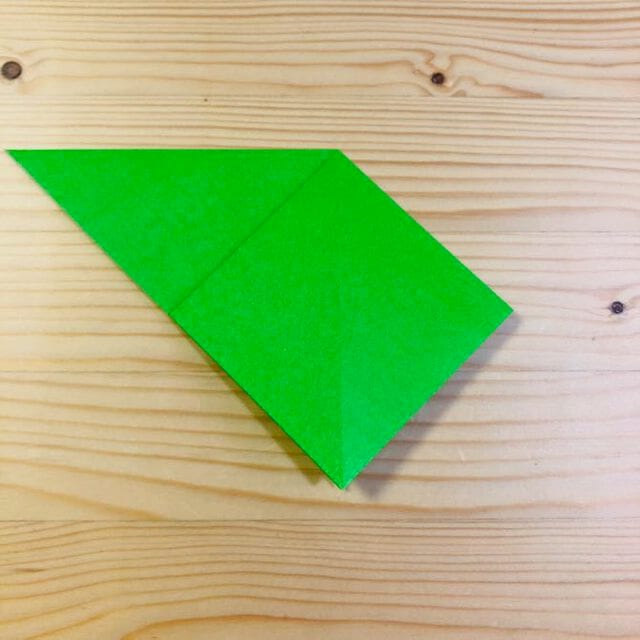
Open and fold as shown in the picture.
STEP 4
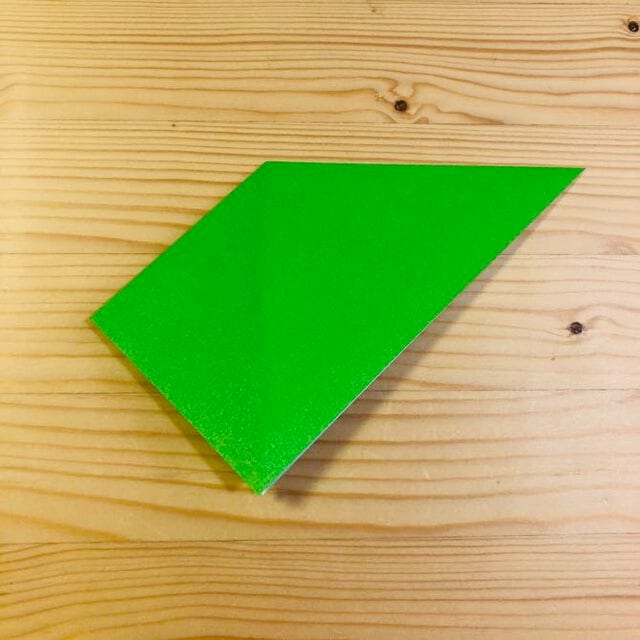
Fold the back side in the same way.
STEP 5
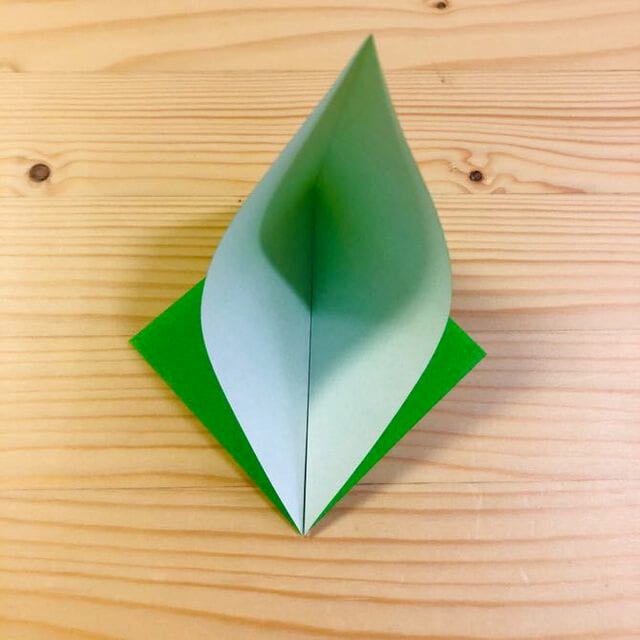
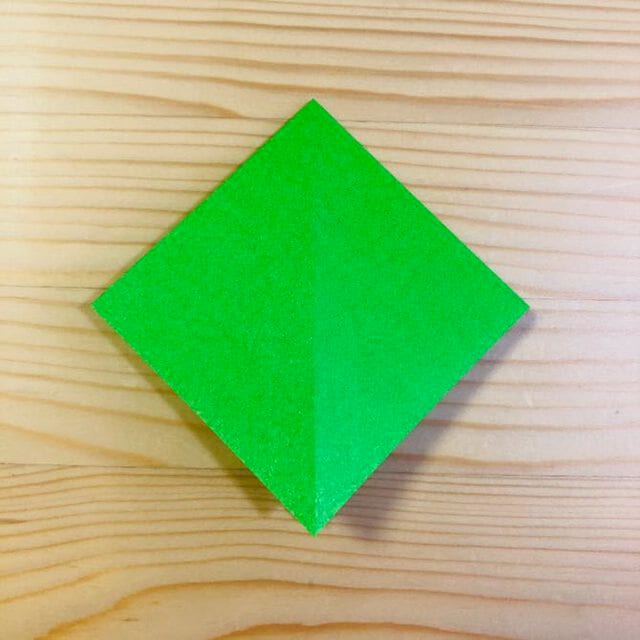
Make a crease at the position shown in the photo.
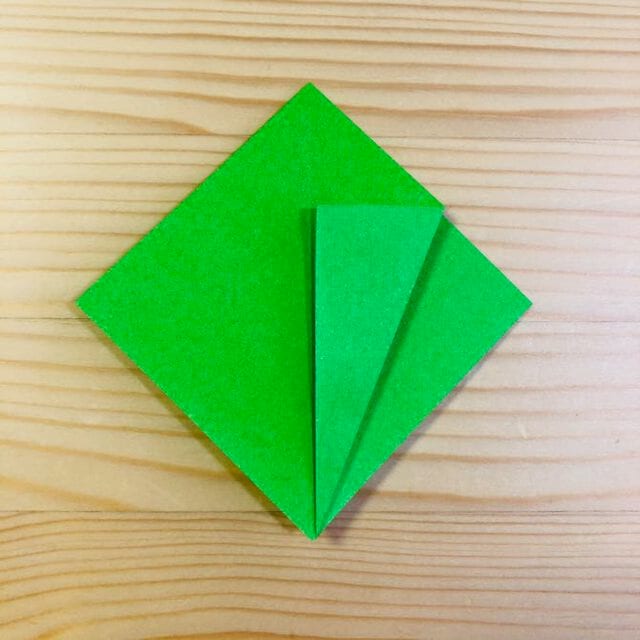
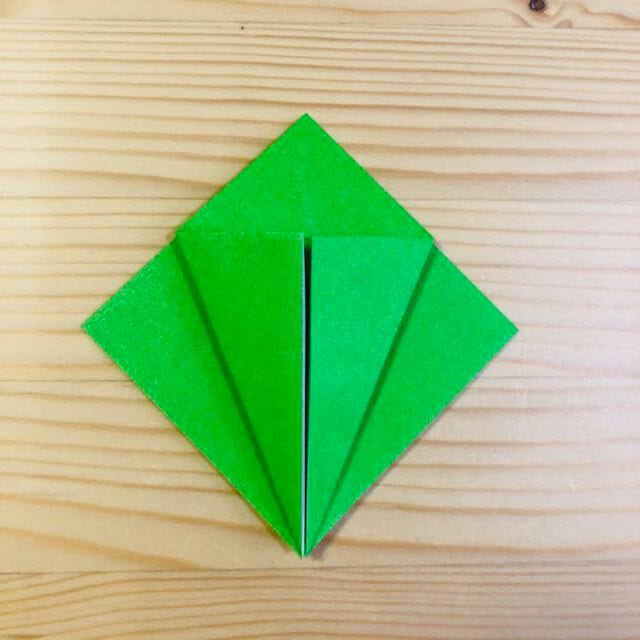
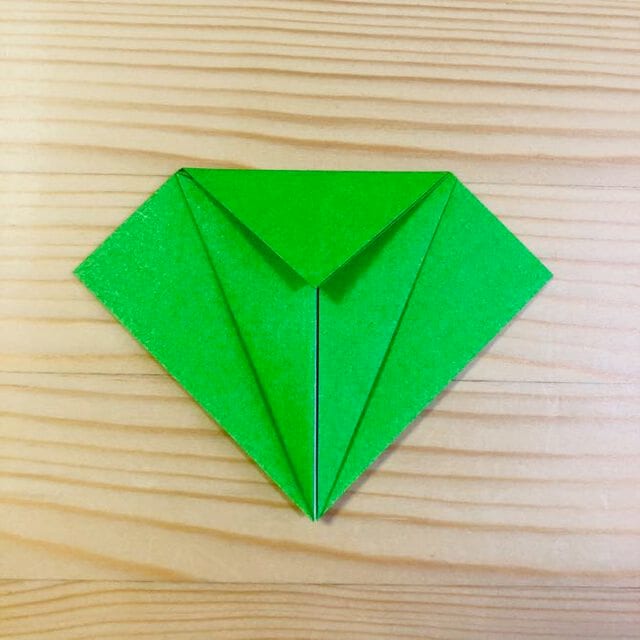
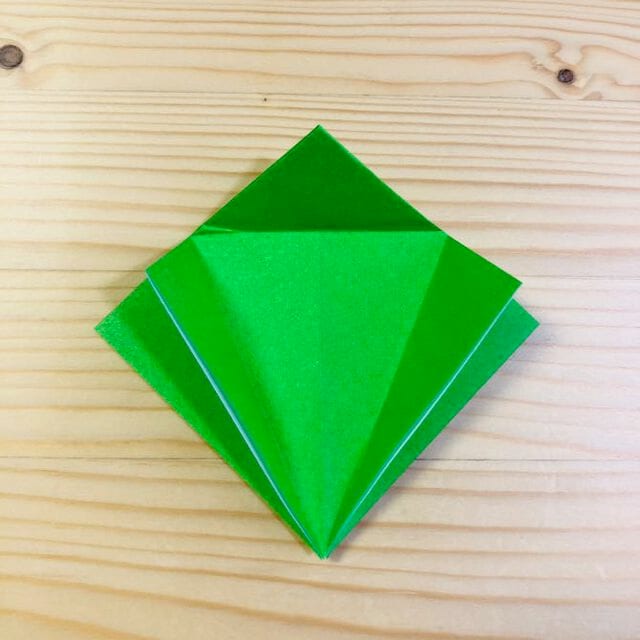
STEP 6
Open and fold as shown in the picture.
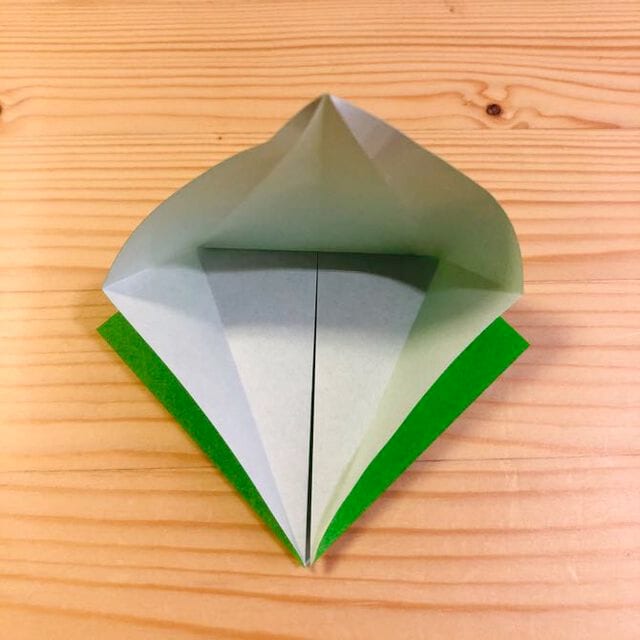
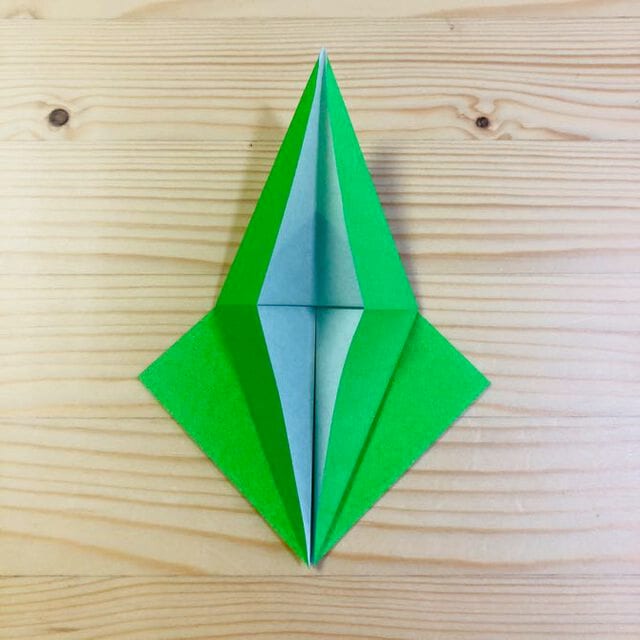
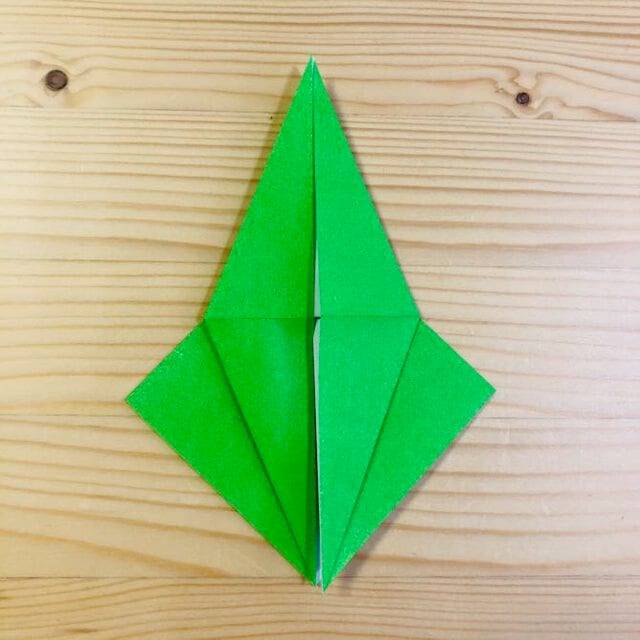
STEP 7
Fold the back side in the same way.
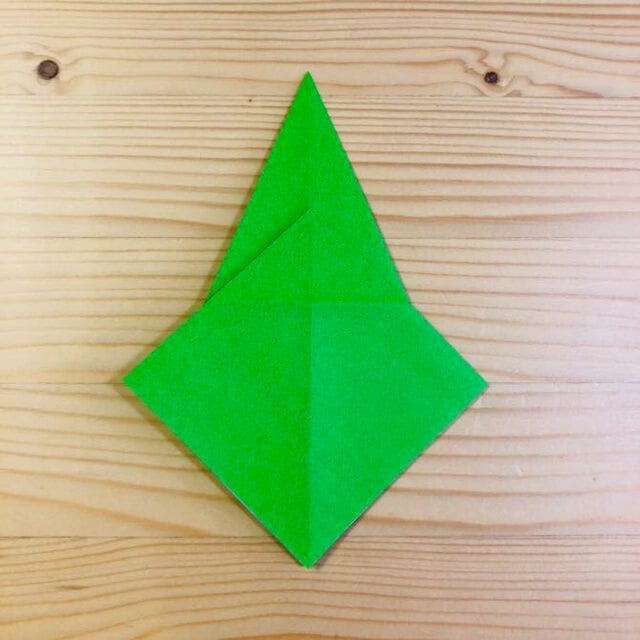
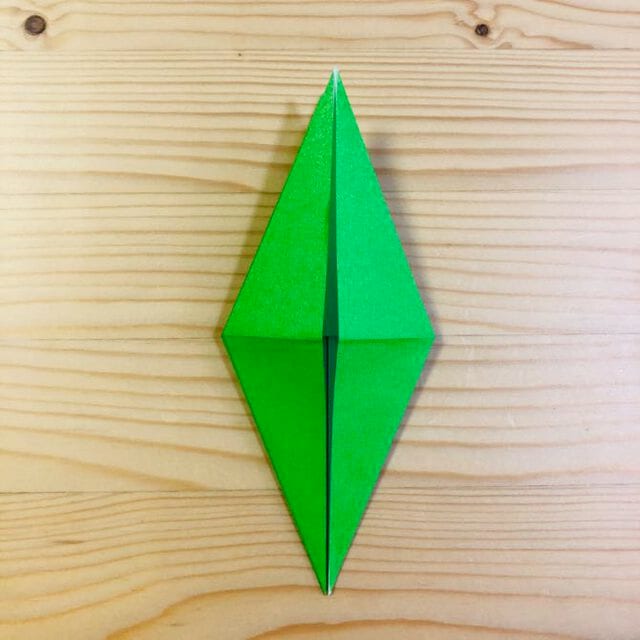
STEP 8
Fold one flap over to the side.
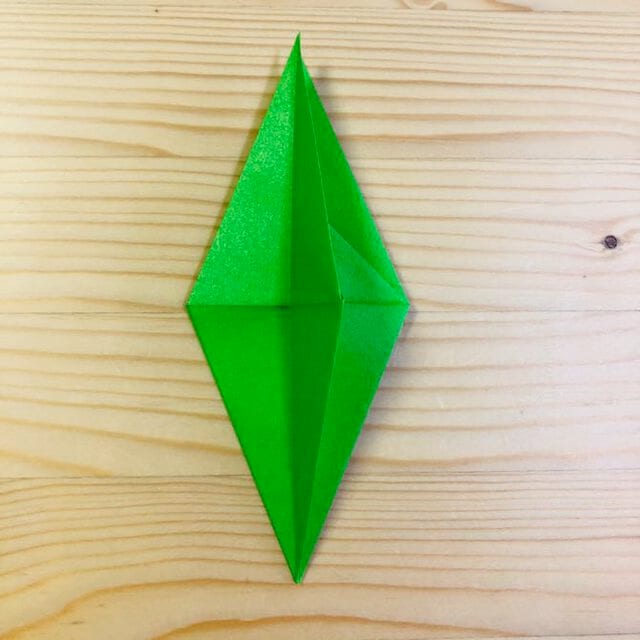
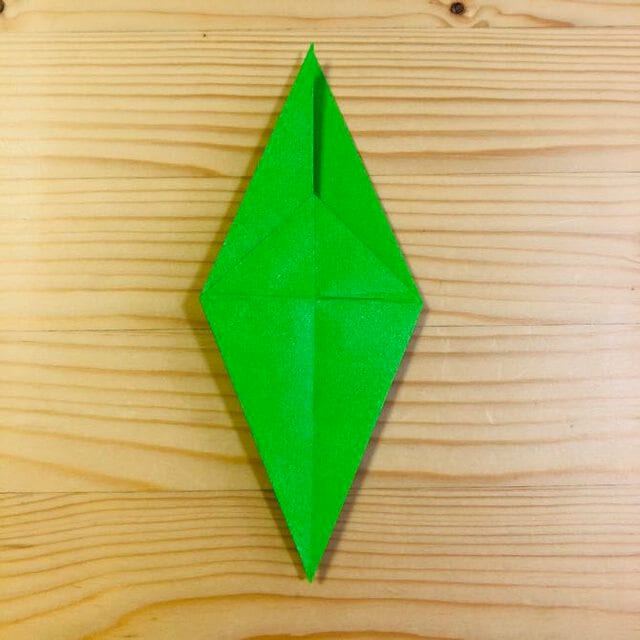
STEP 9
Fold the back side in the same way.
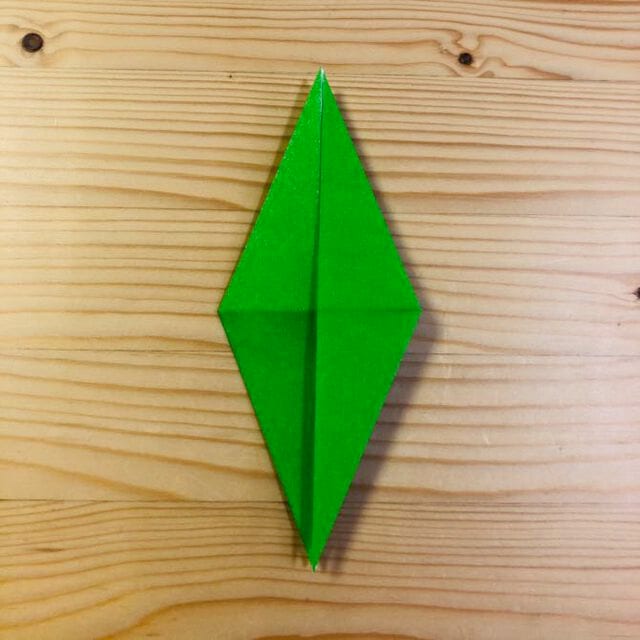
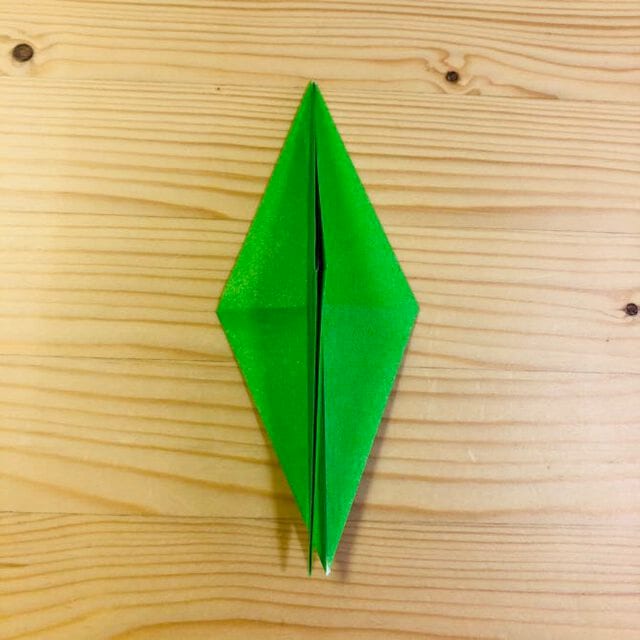
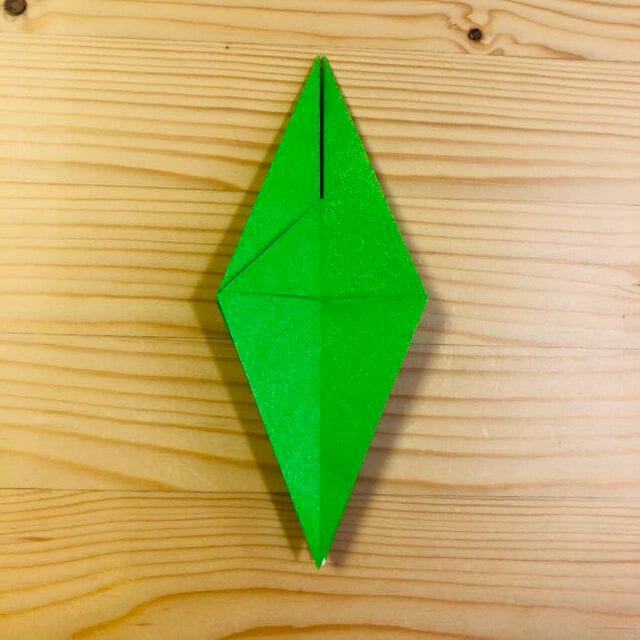
STEP 10
Fold it at the position shown in the photo.
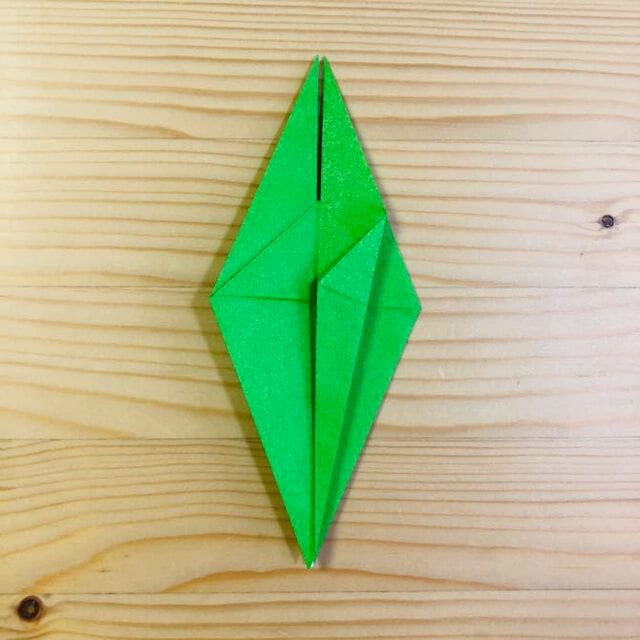
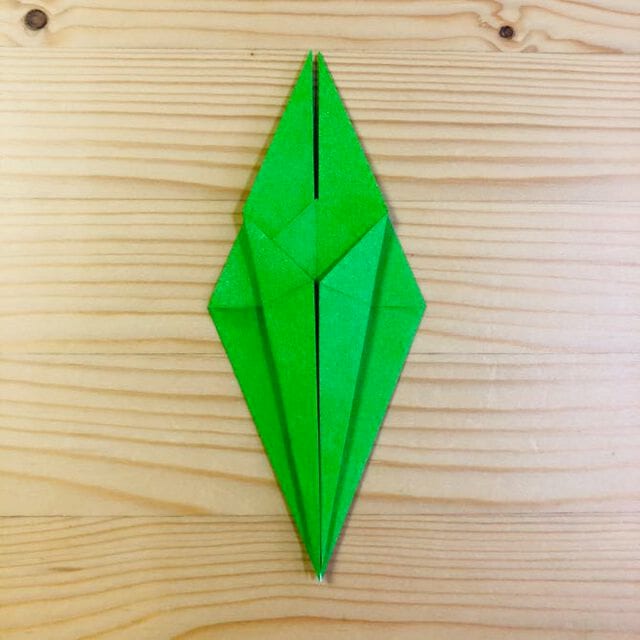
STEP 11
Fold the back side in the same way.
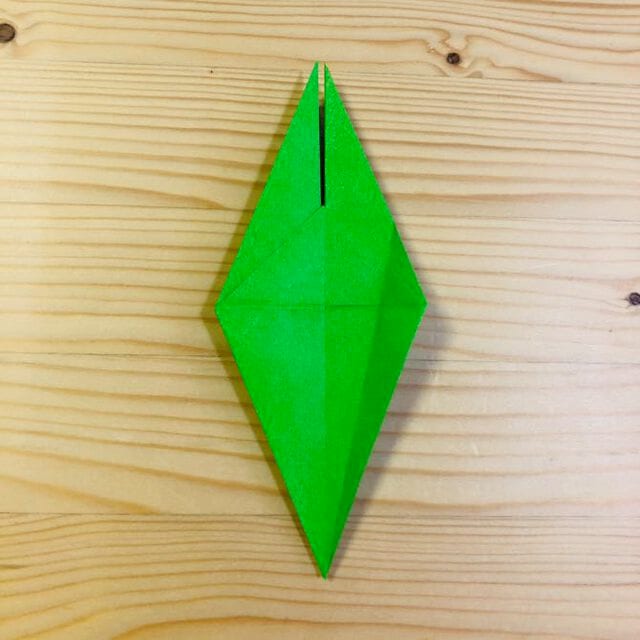
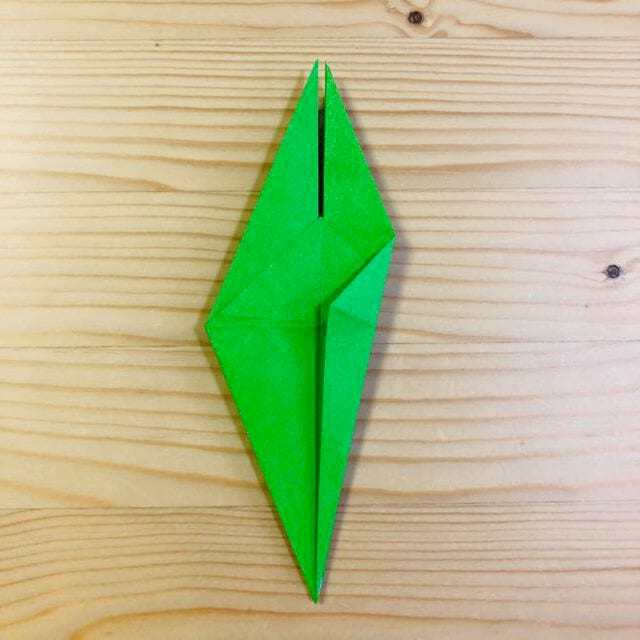
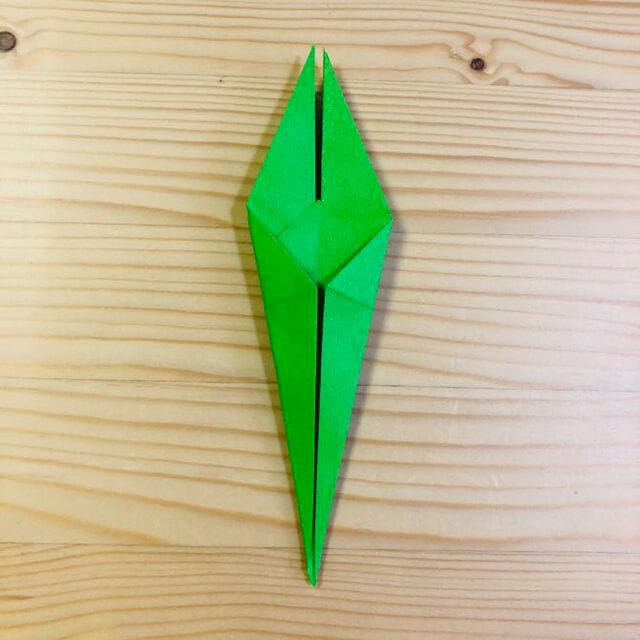
STEP 12
Fold one flap over to the side.
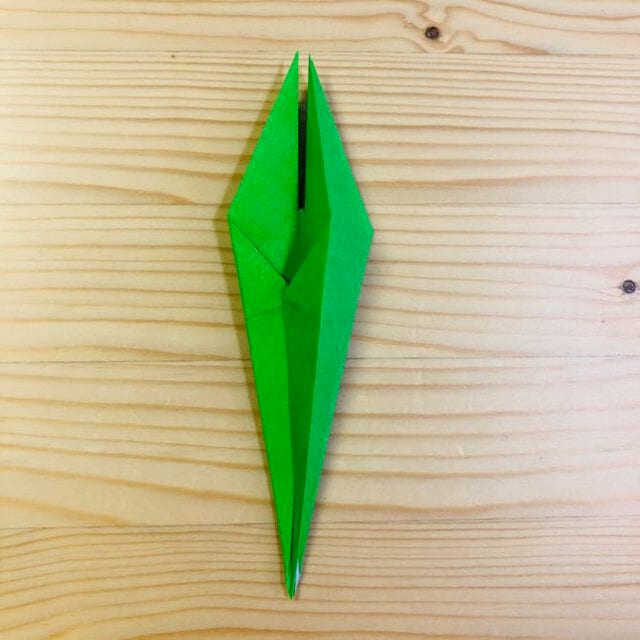
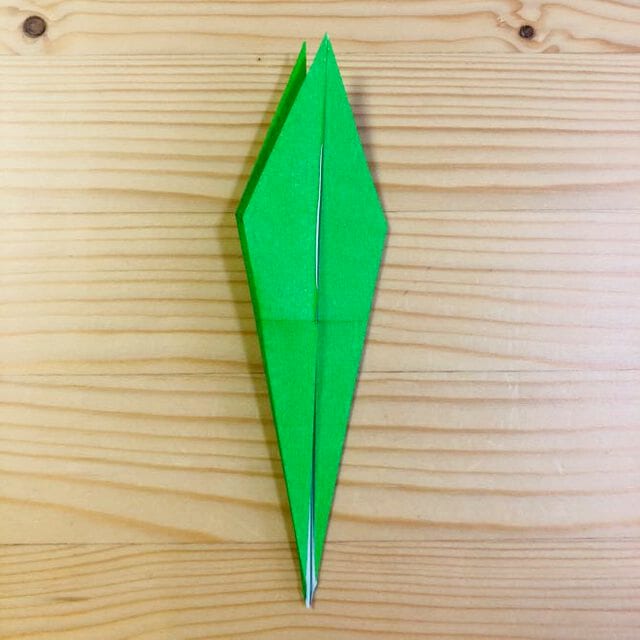
STEP 13
Fold the back side in the same way.
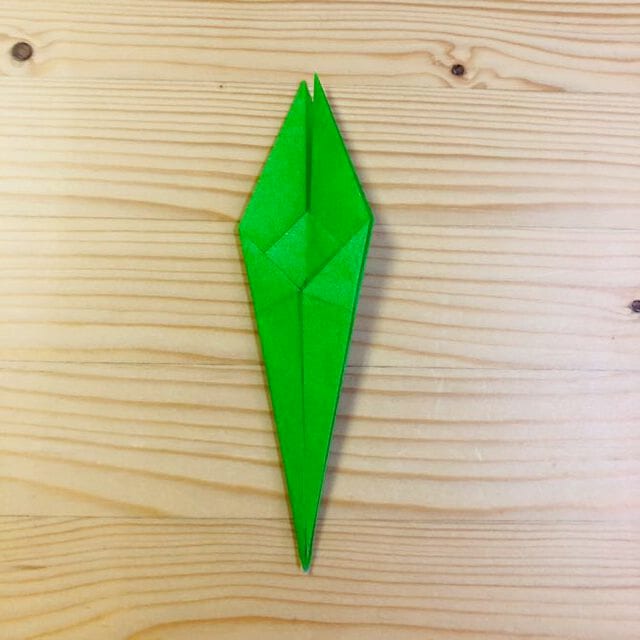
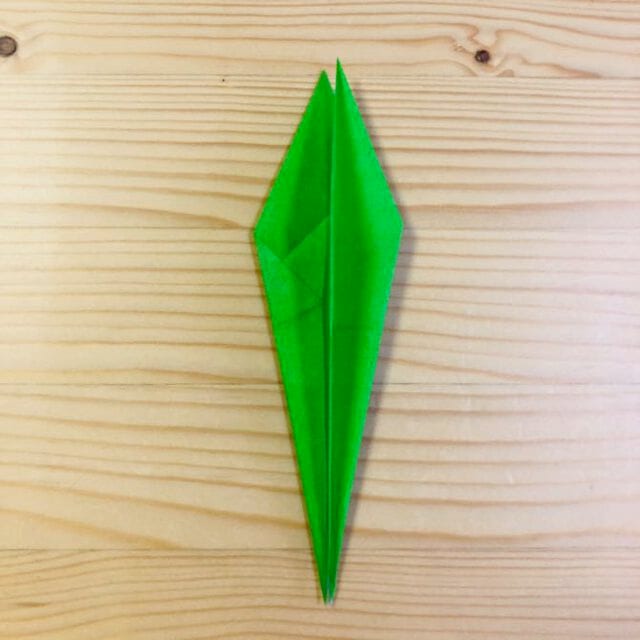
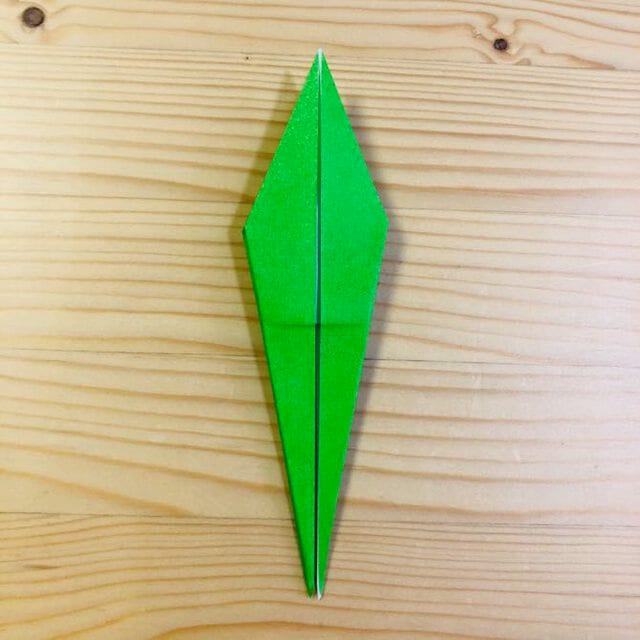
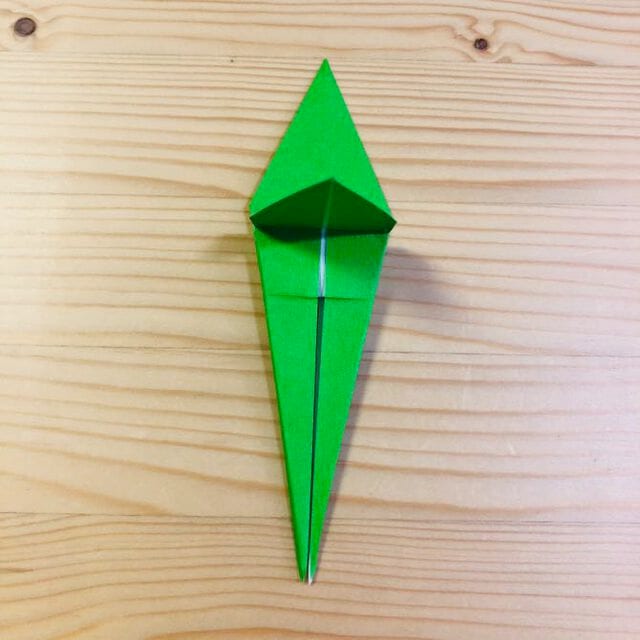
STEP 14
Fold it down at the position shown in the photo.
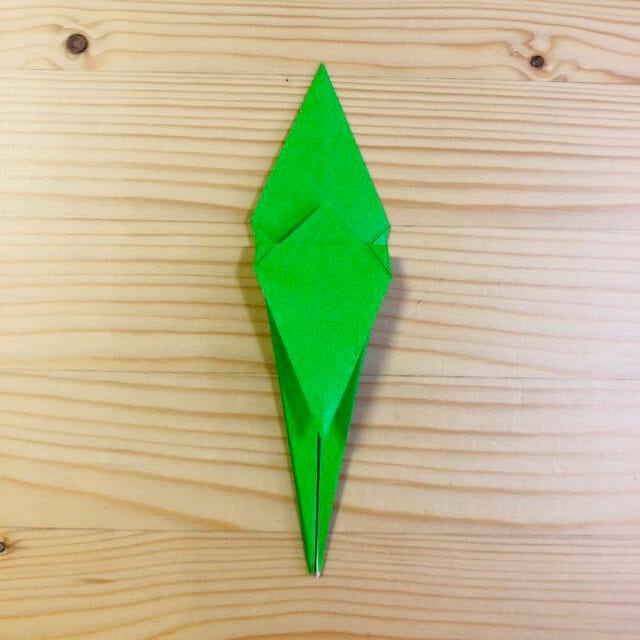
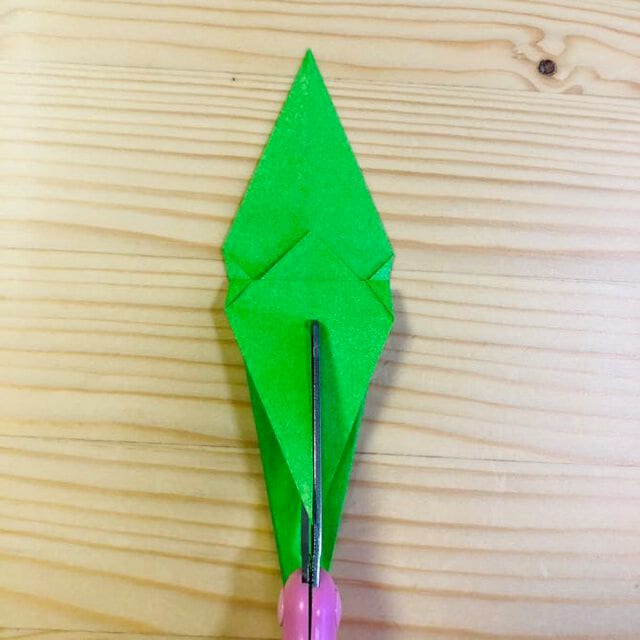
STEP 15
Cut with scissors.
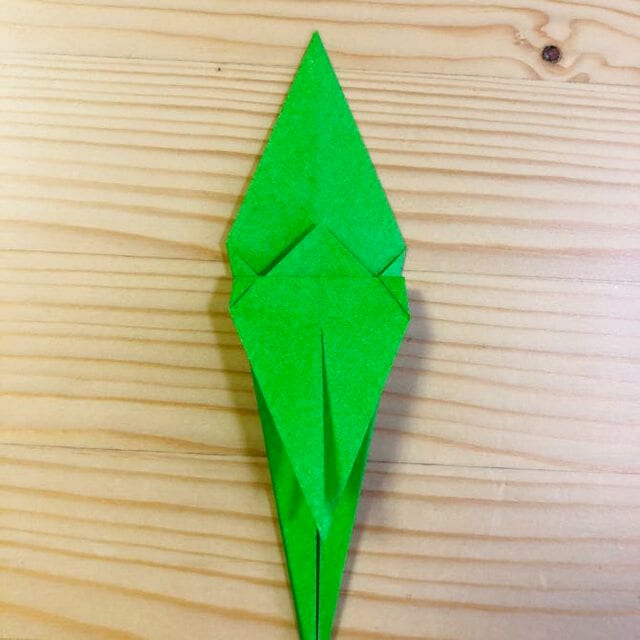
STEP 16
Fold it at the position shown in the photo.
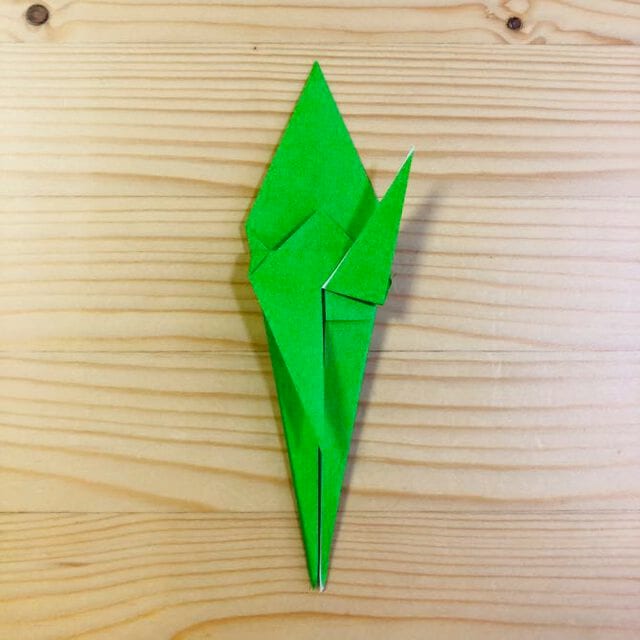
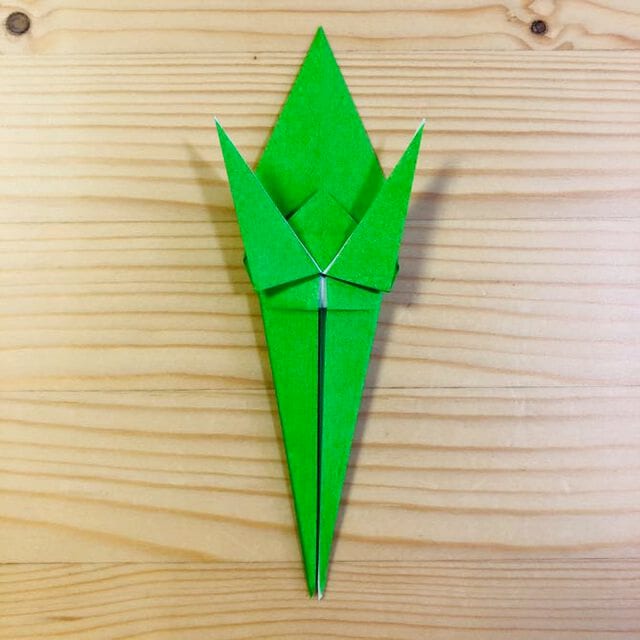
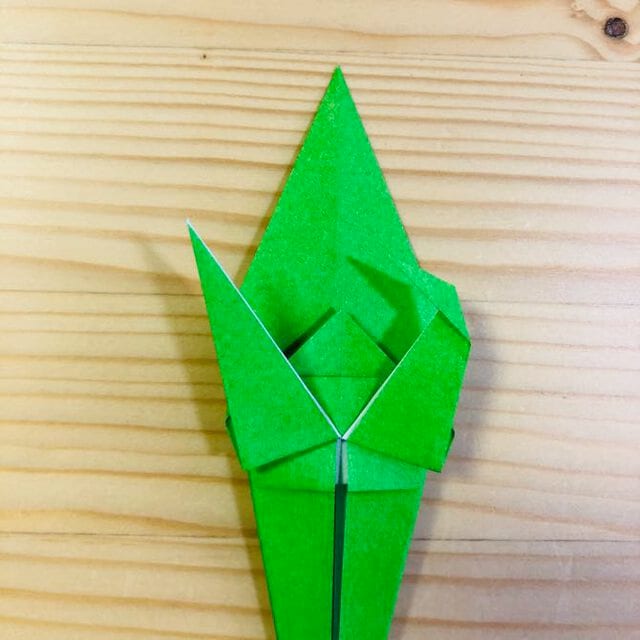
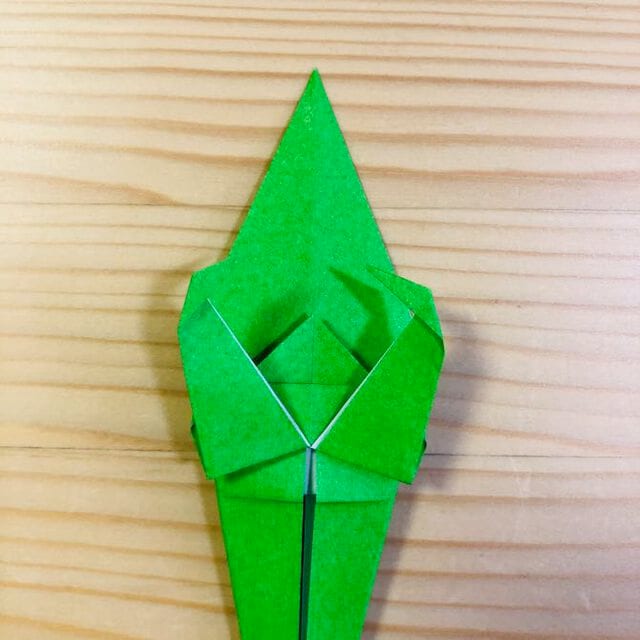
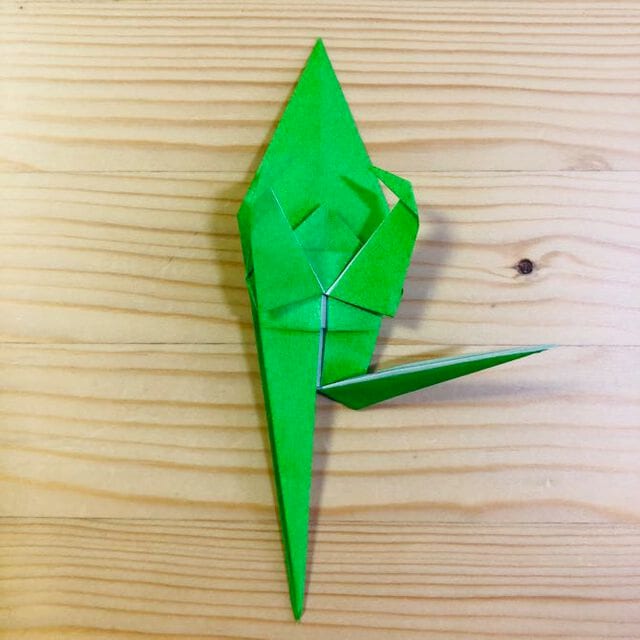
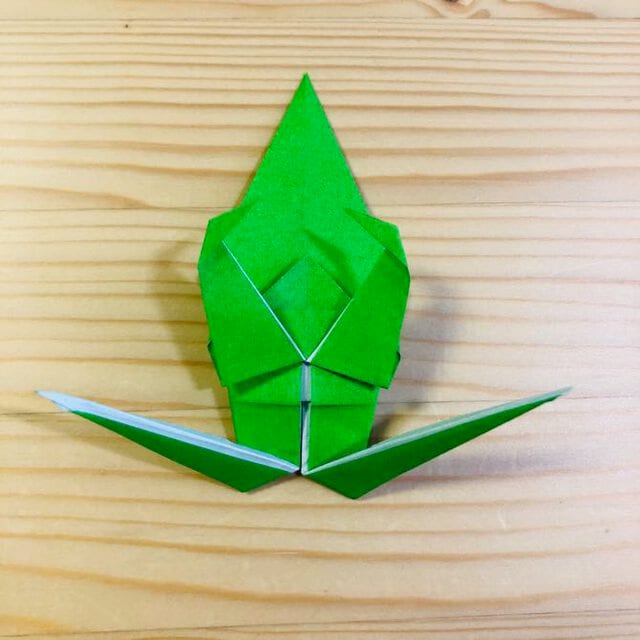
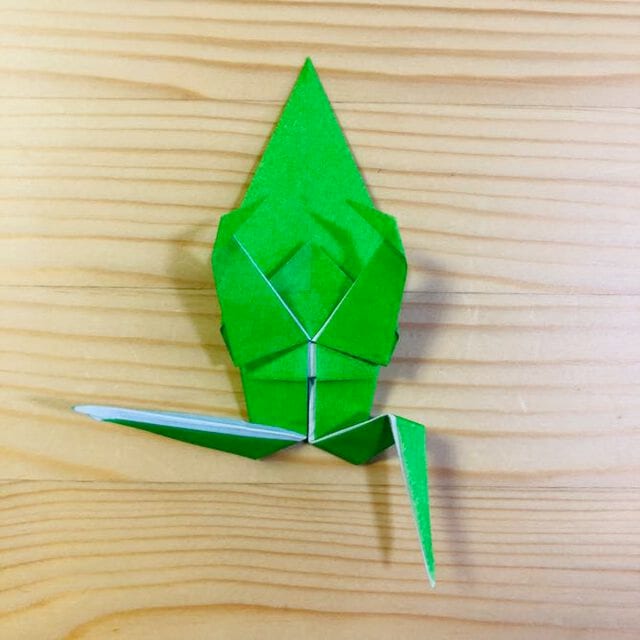
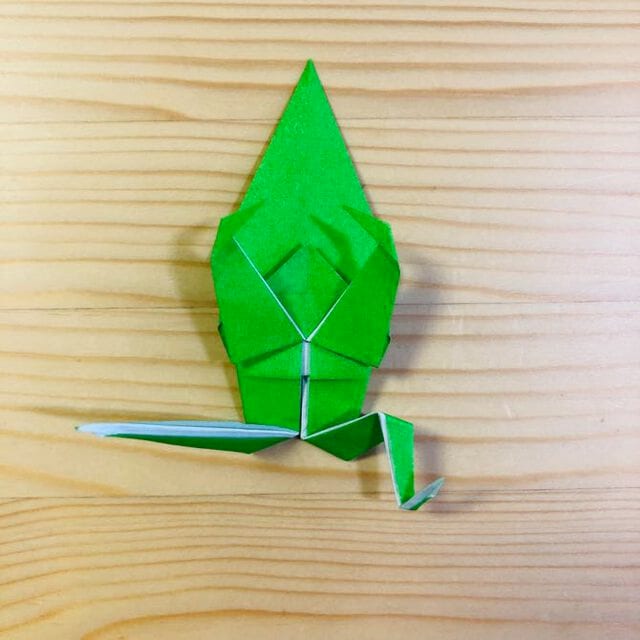
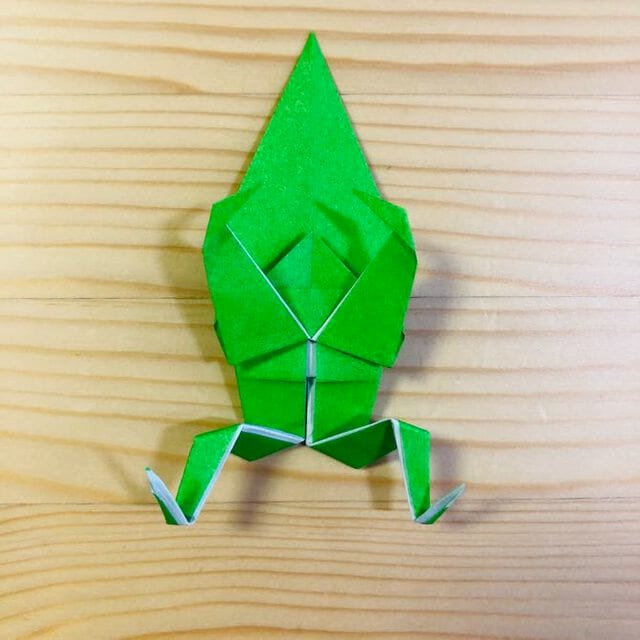
STEP 17
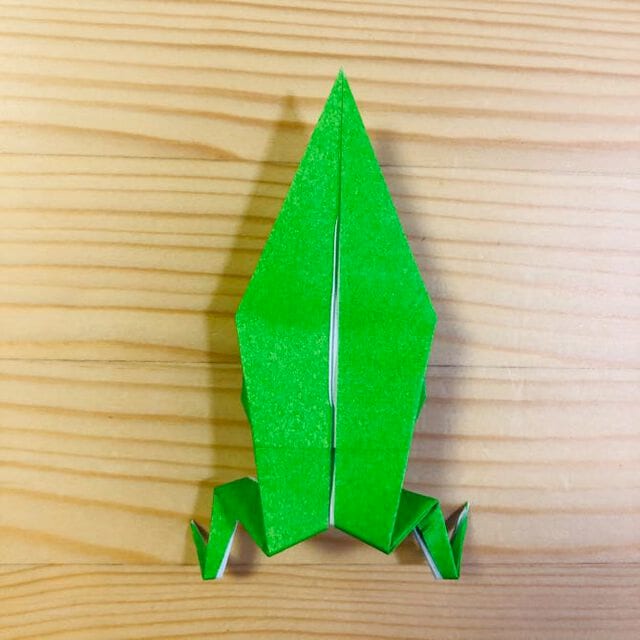
Turn it over and it is in the position shown in the photo.
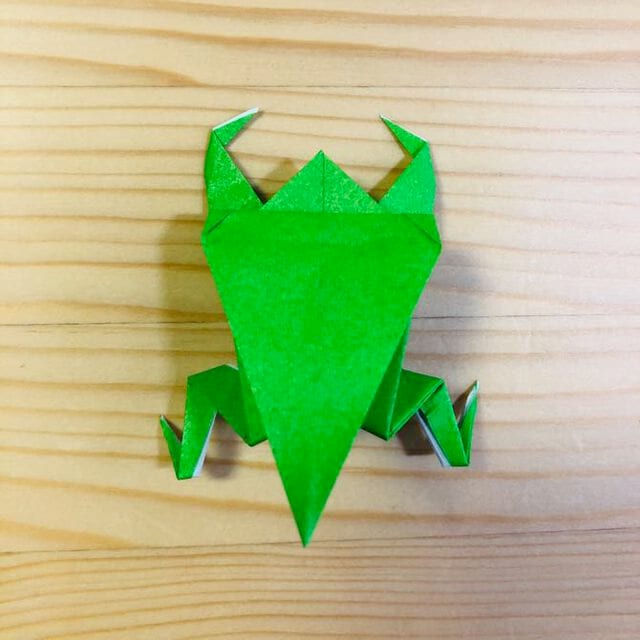
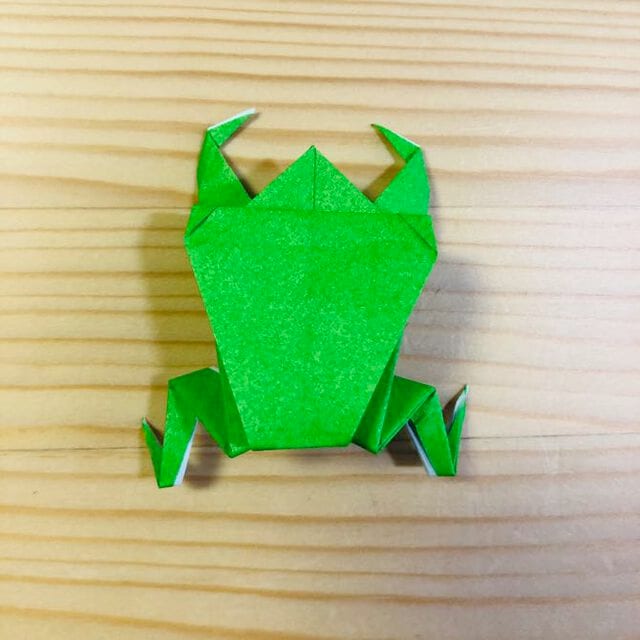
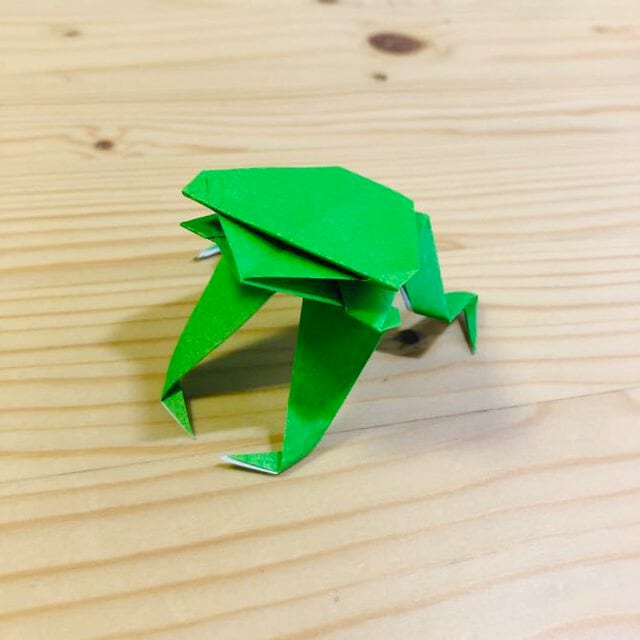
Completion !!
The frog is complete.