
Origami Fan
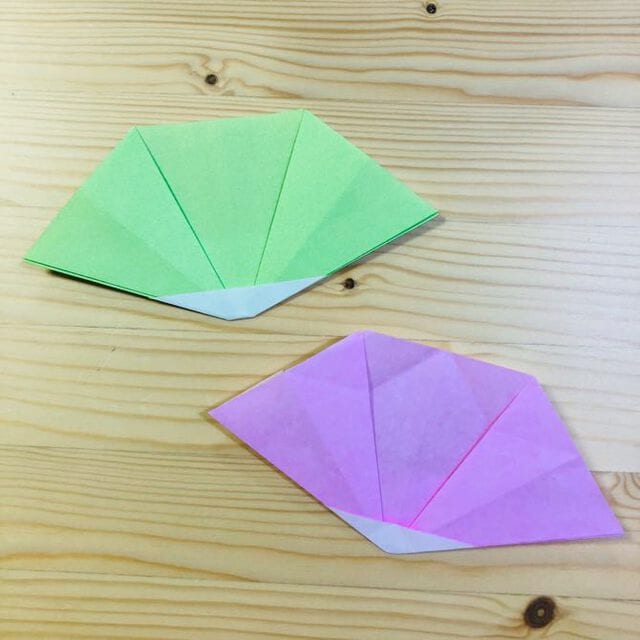
Almost everyone has made a paper fan at some point, usually by concertina-folding a strip of paper and stapling one end. This version skips the staples. It is folded from a single square, and the handle is shaped out of the paper itself with a few angled folds, so the whole thing stays in one piece and can be folded flat again when you are finished with it.
What makes it worth learning is the moment at the end. For most of the folding you are looking at a rather unpromising stack of pleats, and then you open it out and it is unmistakably a fan. Patterned or double-sided paper works best here, because the pleats will flash a different colour every time you wave it.
STEP 1. Fold the paper in half and make a crease.
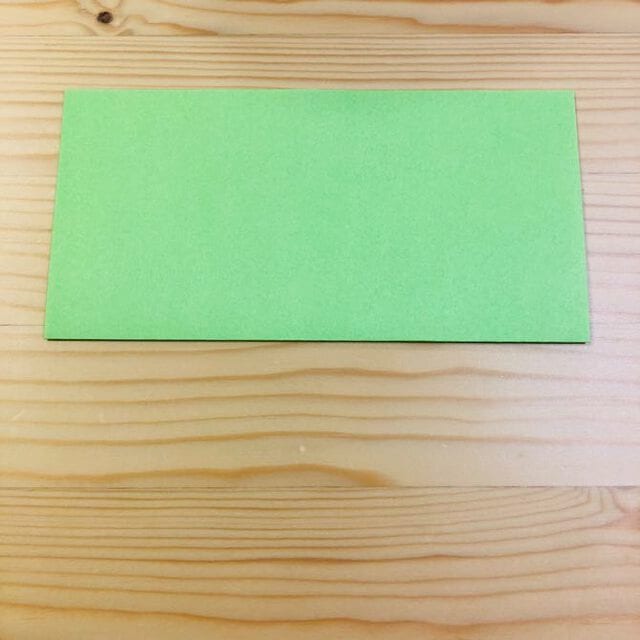
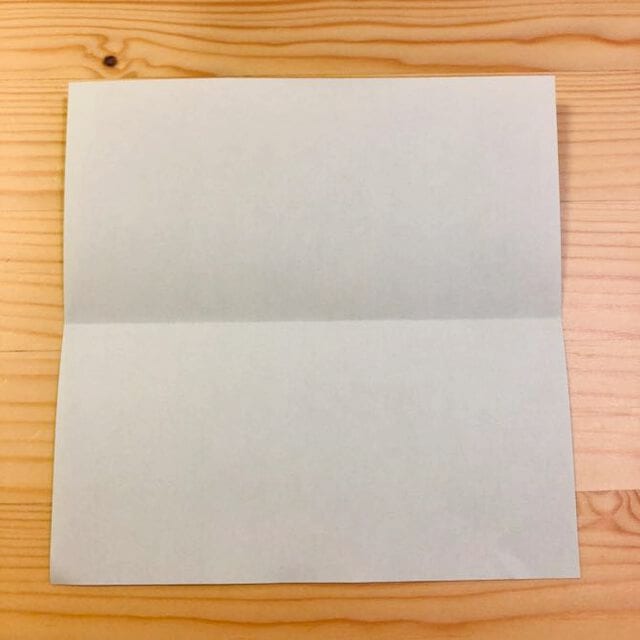
STEP 2. Fold it in half again and make a crease.
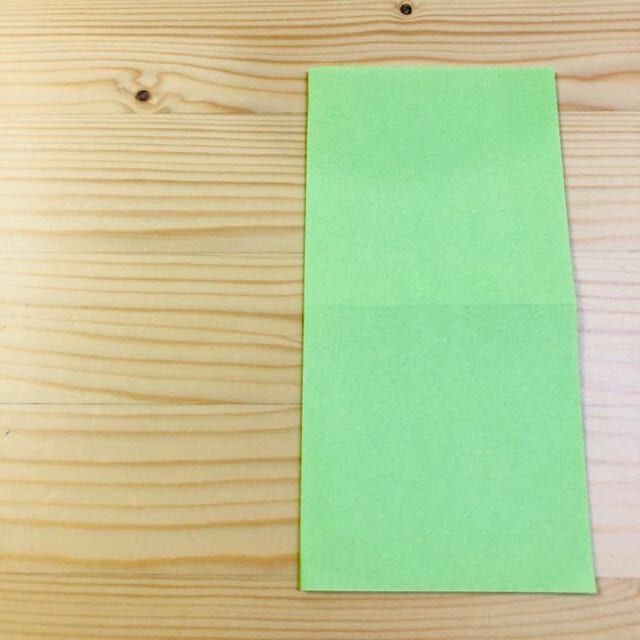
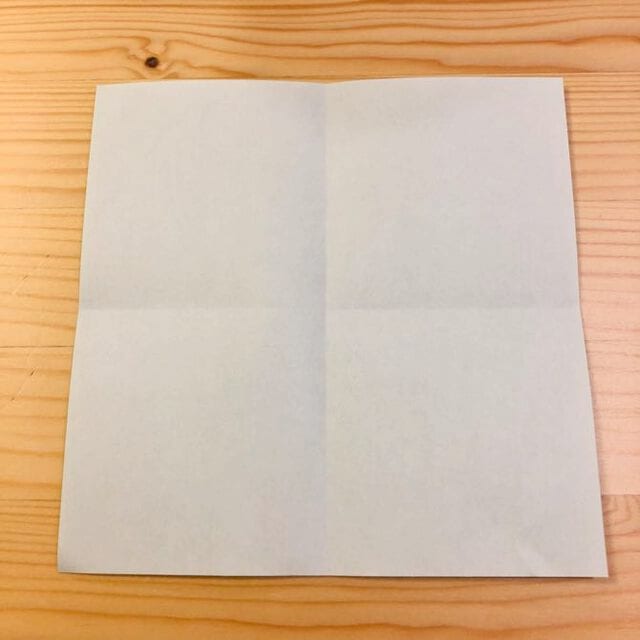
STEP 3. Fold it in half once more.
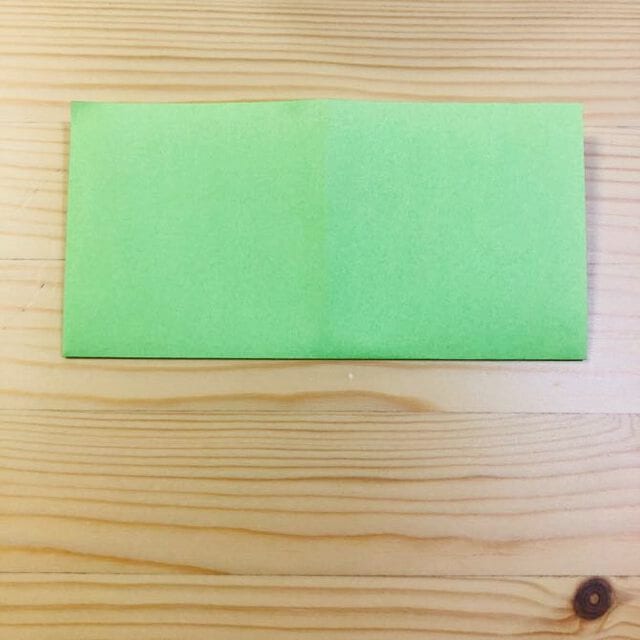
STEP 4. Fold it up at the position shown in the photo.
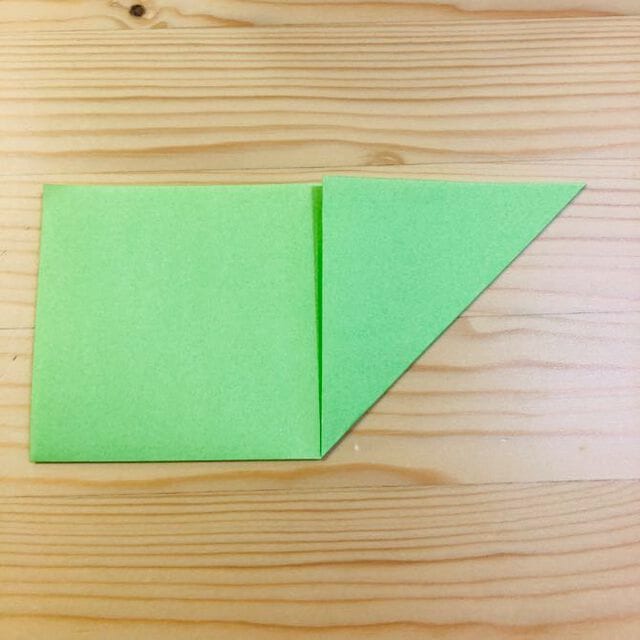
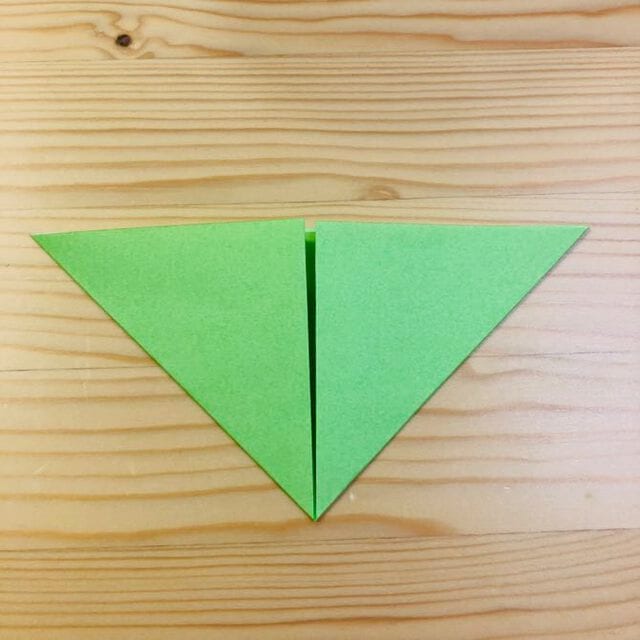
STEP 5. Open the paper out and fold it as shown in the picture.
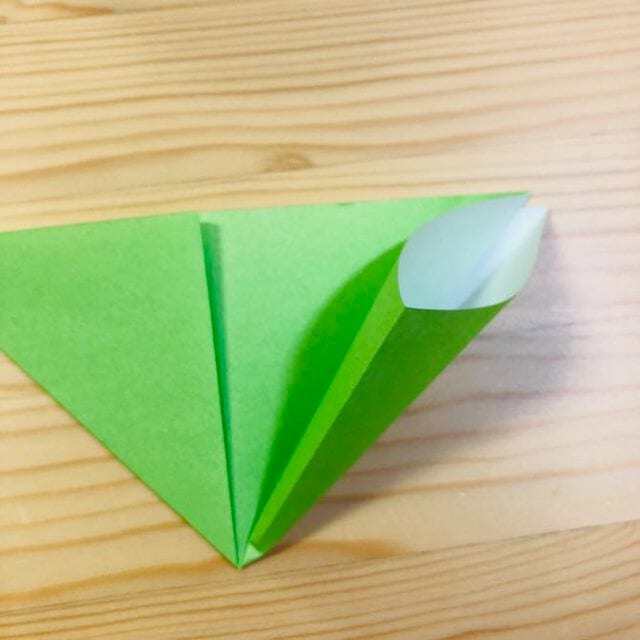
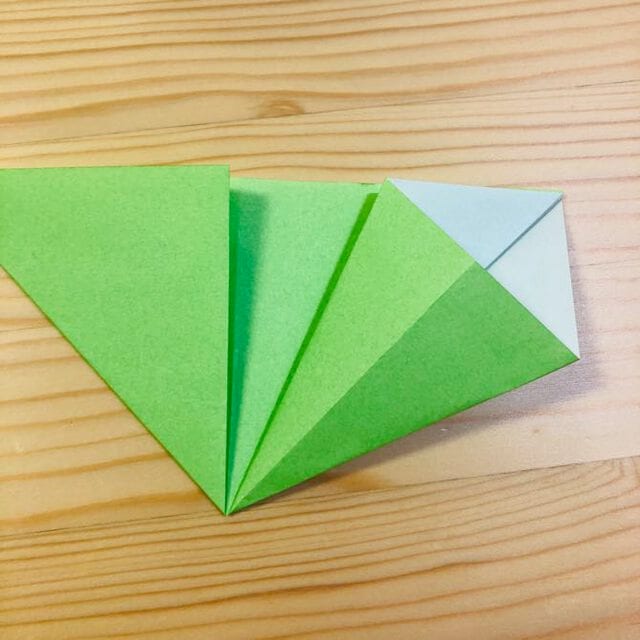
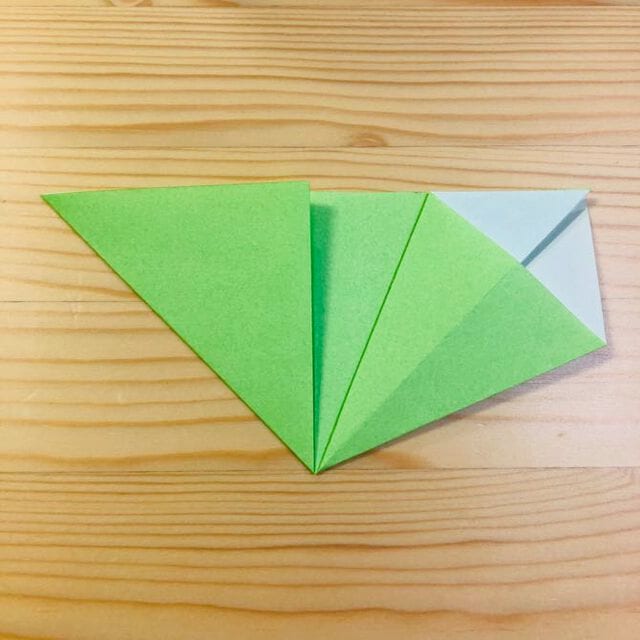
STEP 6. Fold the other side in the same way.
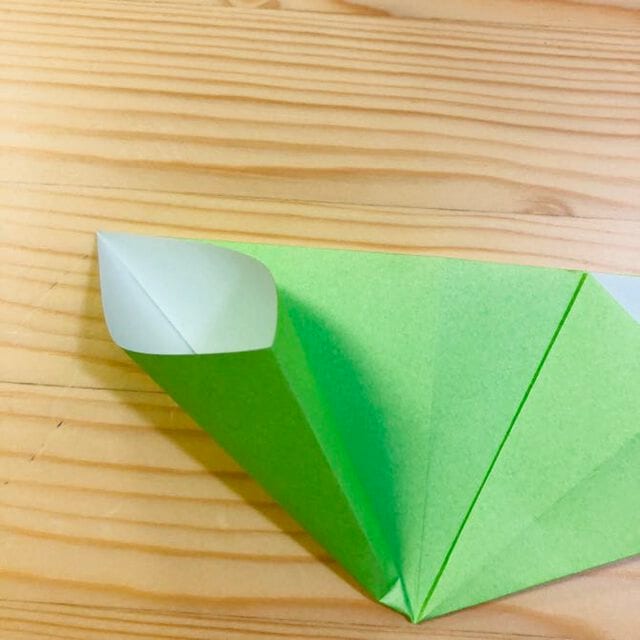
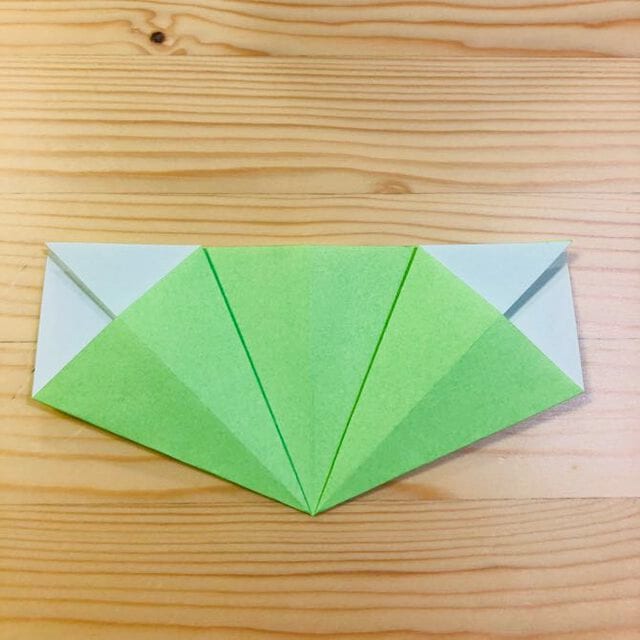
STEP 7. Turn the model over.
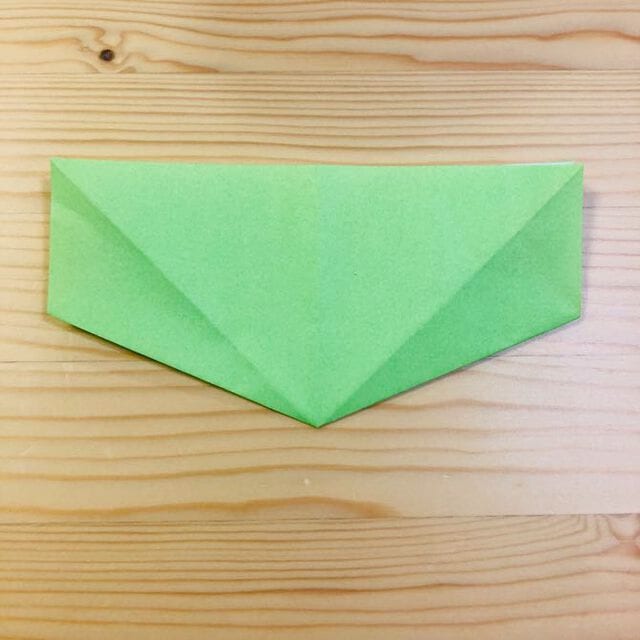
STEP 8. Fold it down at the position shown in the photo.
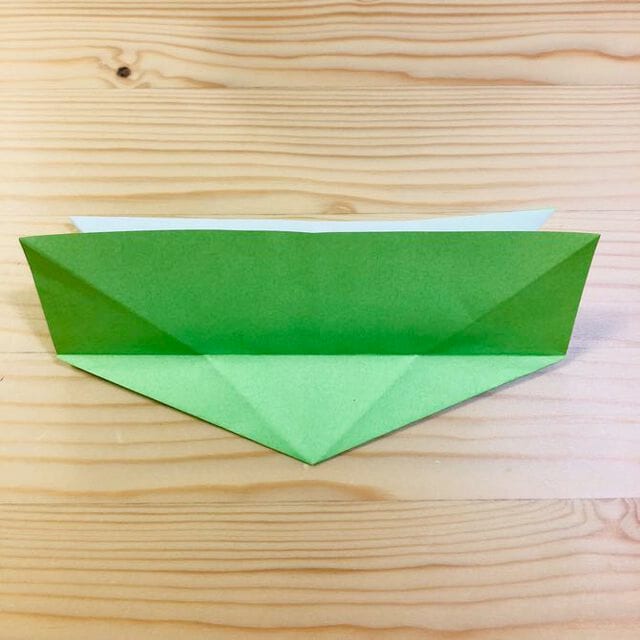
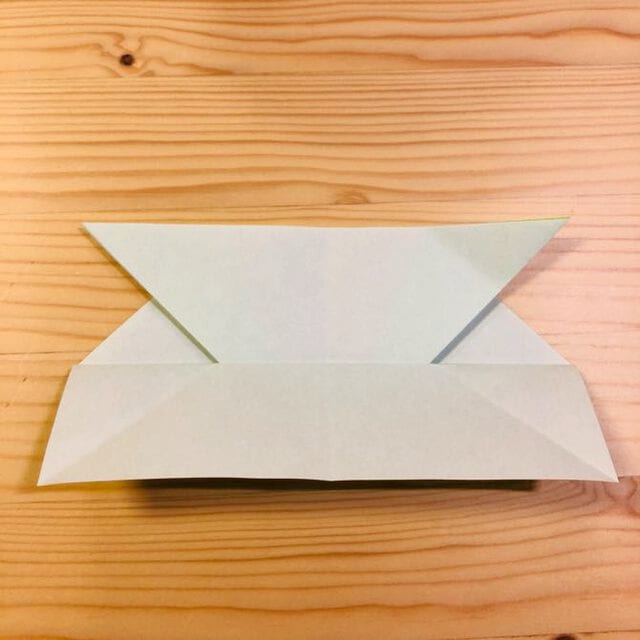
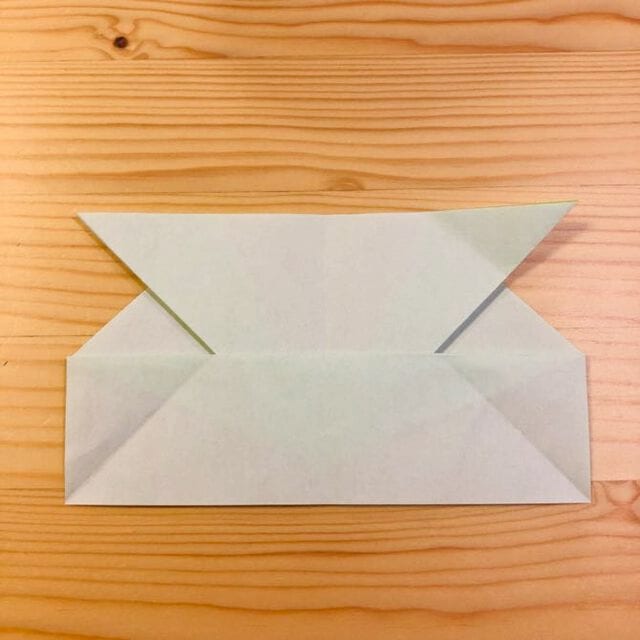
STEP 9. Fold it down again at the position shown in the photo.
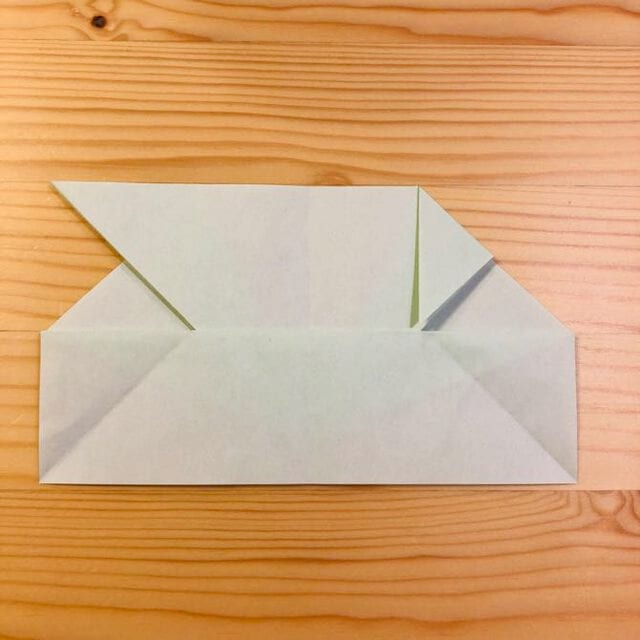
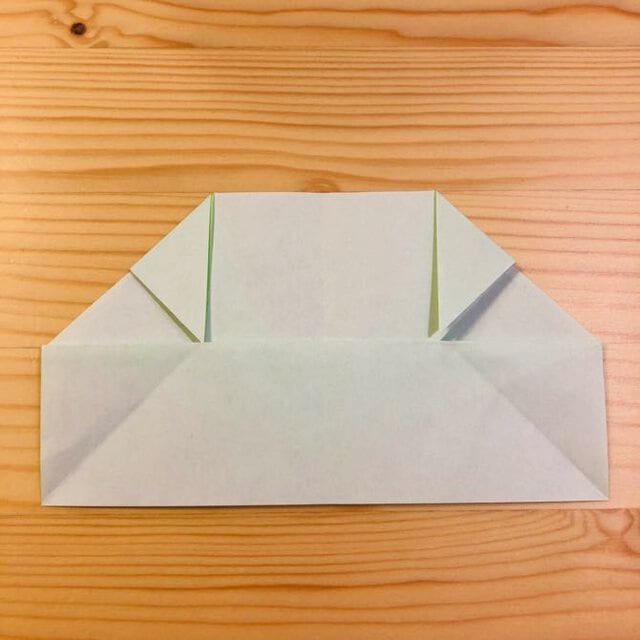
STEP 10. Turn the model over.
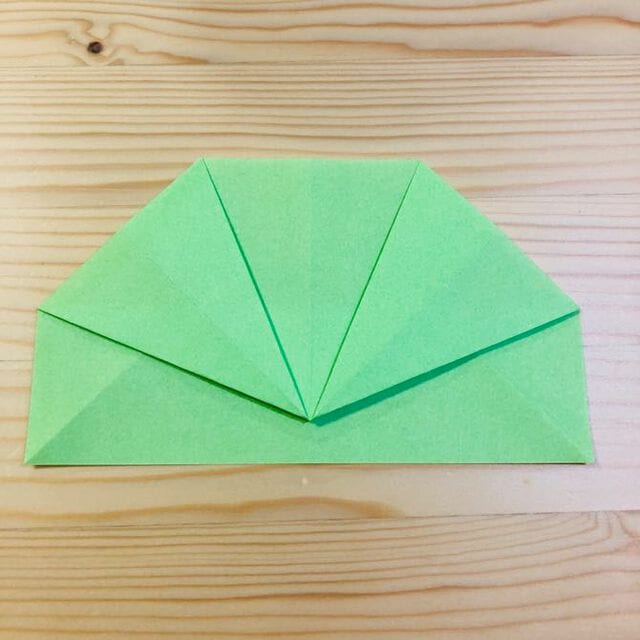
STEP 11. Fold it up at the position shown in the photo.
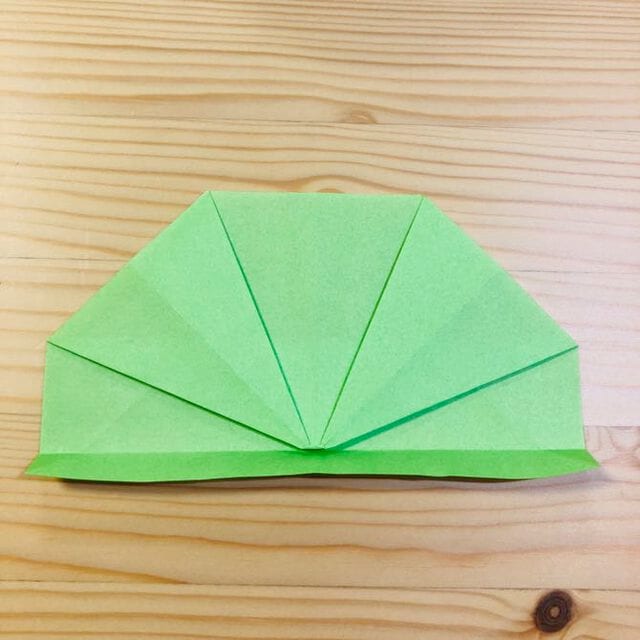
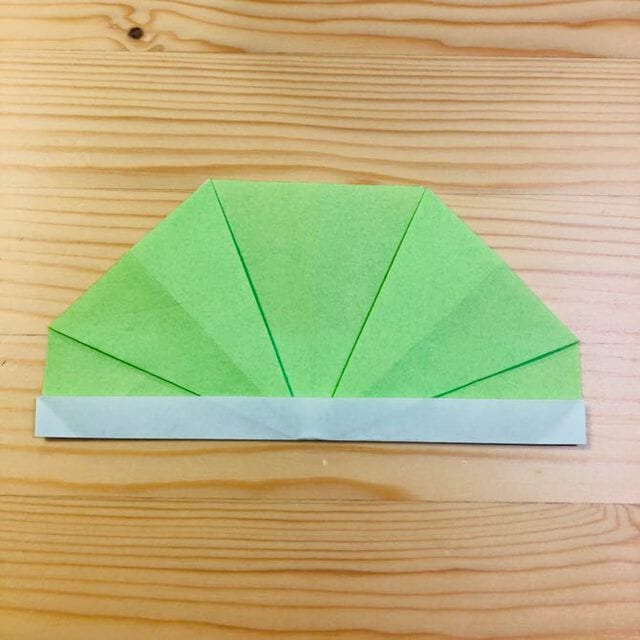
STEP 12. Turn the model over.
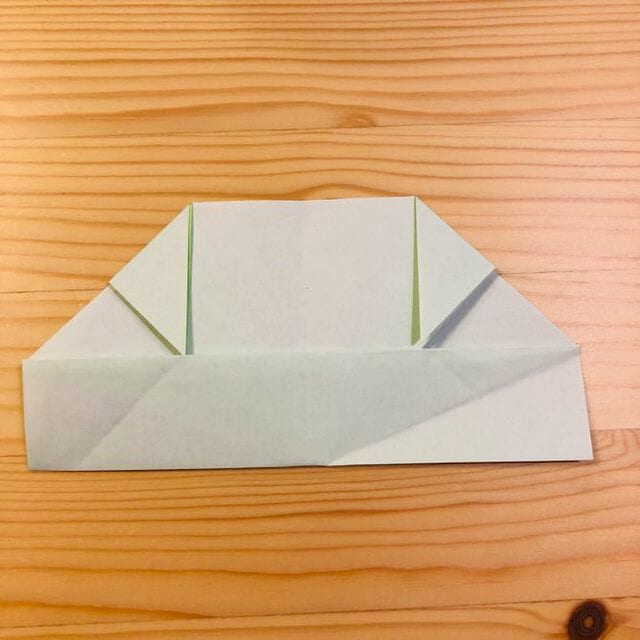
STEP 13. Fold it up at the position shown in the photo.
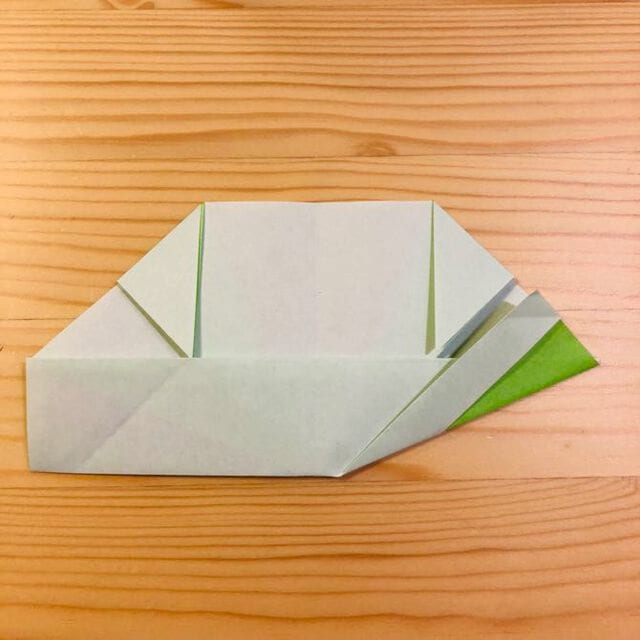
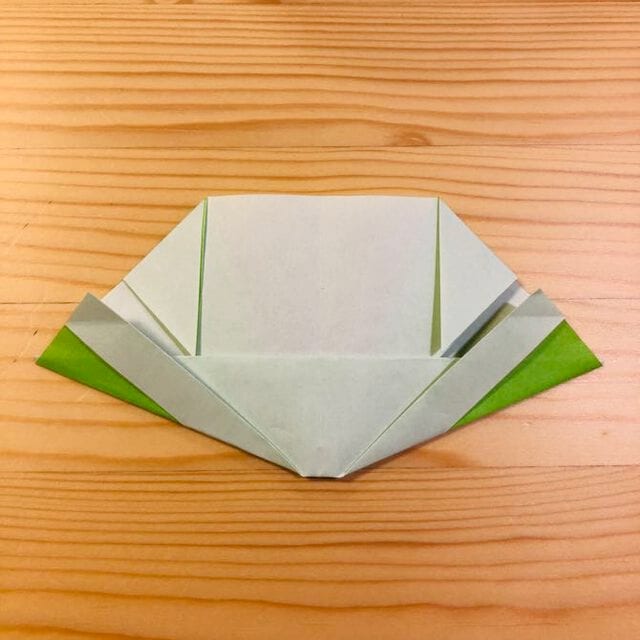
STEP 14. Turn the model over one last time.
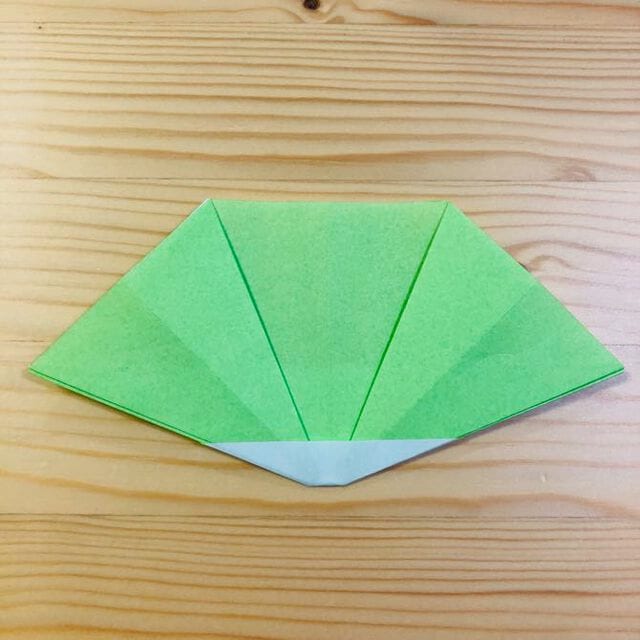
Your origami fan is complete. Open out the pleats and give it a wave.




