
Strawberry (Complete Tutorial)
There are two ways to fold an origami strawberry: the plump three-dimensional one, and this quick flat version that looks like it has just been picked and sliced in half. This tutorial is the flat one - the one you can fold in a few minutes and then fold again and again, until you have a whole little pile of berries.
Kids love this model, partly because fruit origami is fun and partly because the only real trick is using paper that is red on one side and green on the other. The red does all the work of looking like a strawberry, and the green folds up into the leafy top. Fold a handful, drop them into a small basket or glue them onto a card, dot on a few seeds with a marker, and nobody will guess how little work it took.
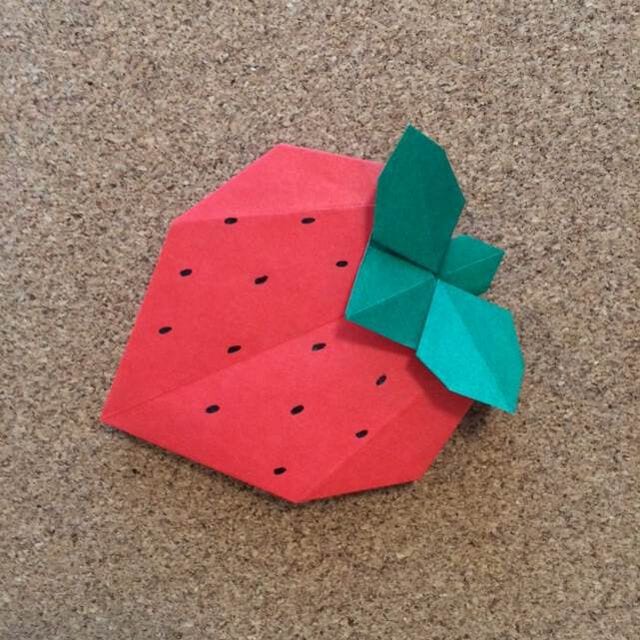
This tutorial shows how to fold an origami strawberry. Strawberries are my favorite fruit, so I am more than happy to share this one with you.
There are two versions: a three-dimensional one and a simple flat one. This time we will fold the simple flat version.
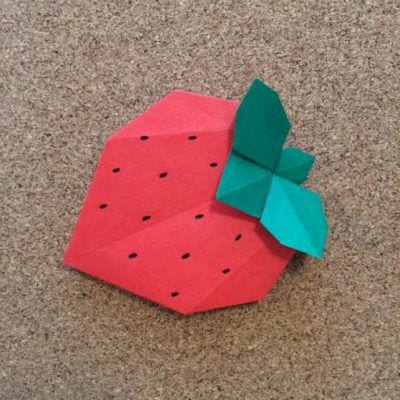
Isn't it cute? I always end up folding a whole batch and piling them into a little basket.
Fruit and animal origami is always a hit with children, so try this one together with them. Now, here is a quick and easy way to fold a flat origami strawberry.
How to fold an easy origami strawberry
This model is folded from a single sheet of paper, so use origami paper that is red on one side and green on the other.
If you do not have two-color paper, you can stack a red sheet and a green sheet, but the layers tend to slip, which makes the folding harder.
Ready? Let's fold!
STEP 1. Use red and green double-sided origami paper.
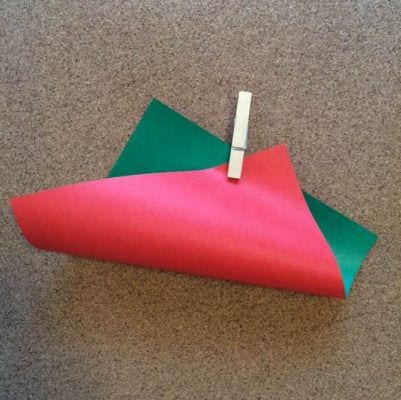
STEP 2. With the green side on the outside, fold it in half at the center so that it becomes a triangle, and make a crease.
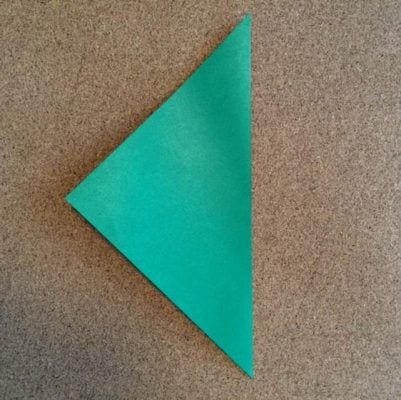
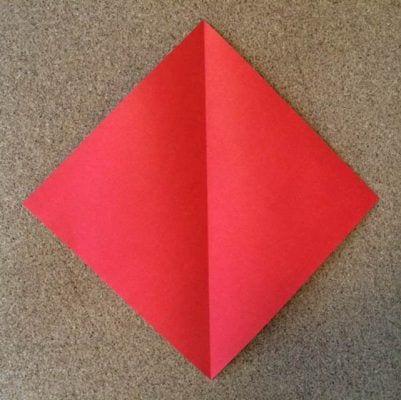
STEP 3. Fold it in a triangle from the other side and make a cross crease.
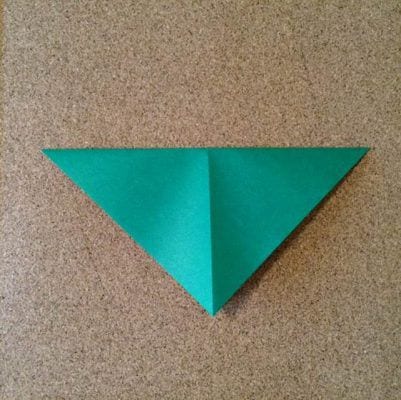
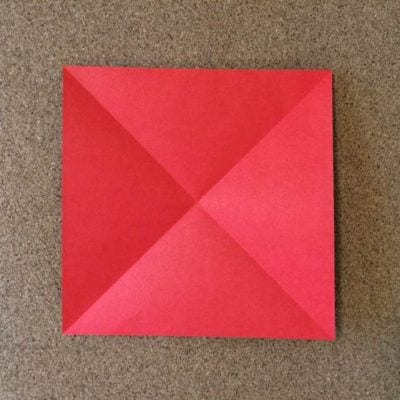
STEP 4. Turn the paper over.
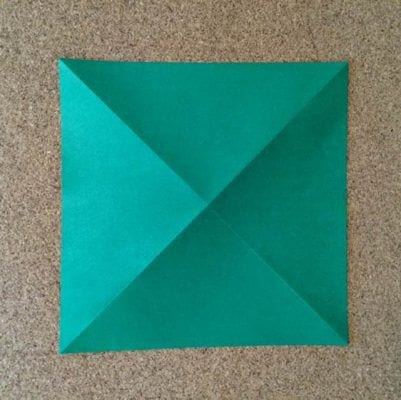
STEP 5. Fold it in half at the center with the red side facing outward, and make a crease.
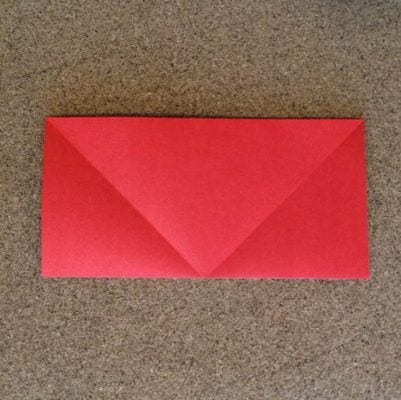
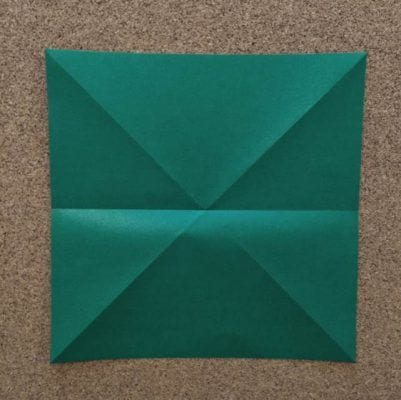
STEP 6. Fold it in half at the center from the other side and make a crease.
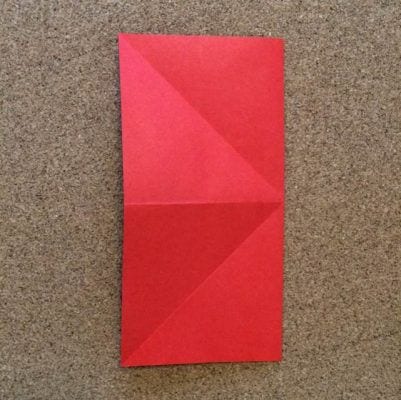
STEP 7. After unfolding, bring the corners on both sides down to the bottom corner along the creases so that the paper becomes a square.
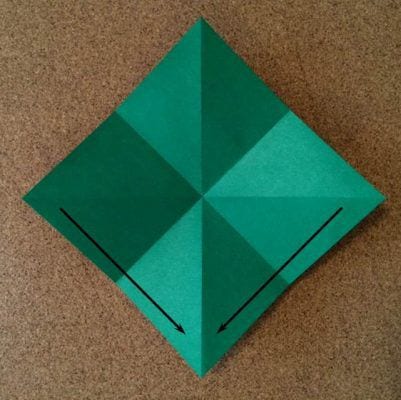
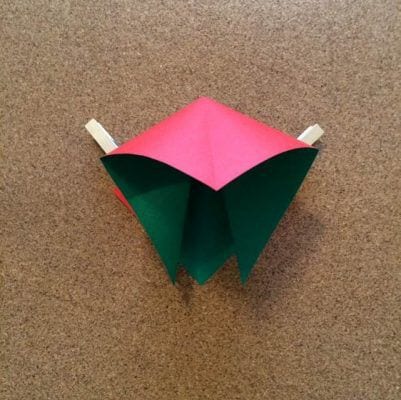
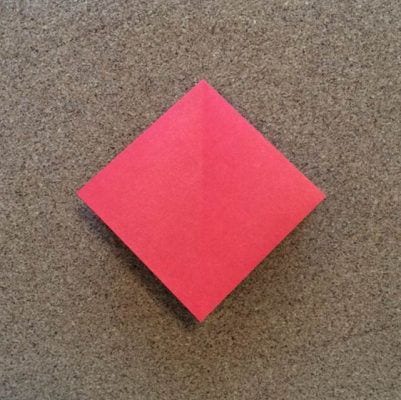
STEP 8. Leave about 1.2 cm from the bottom corner and fold the corner along the center line.
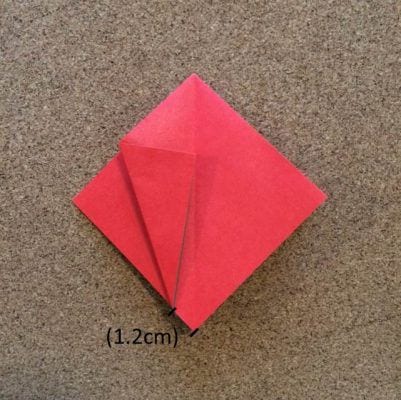
STEP 9. Fold the other side in the same way.
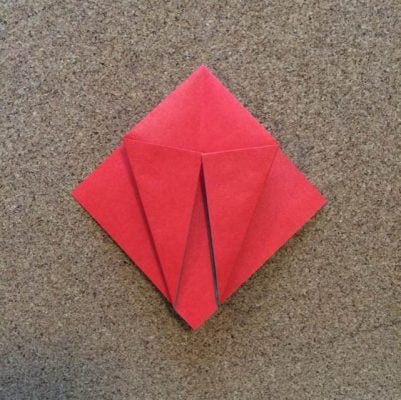
STEP 10. Open the folded part out into a triangle and flatten it.
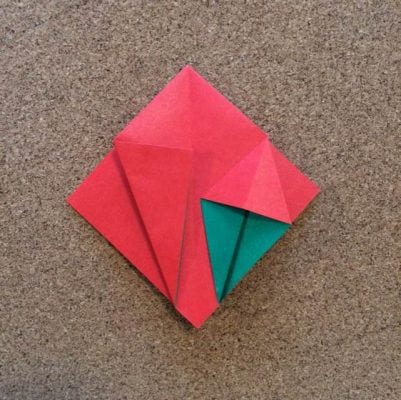
STEP 11. Fold the other side in the same way.
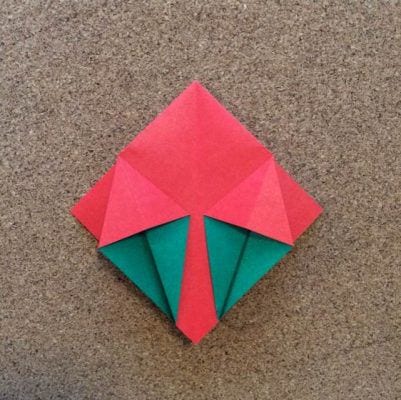
STEP 12. Turn the paper over.
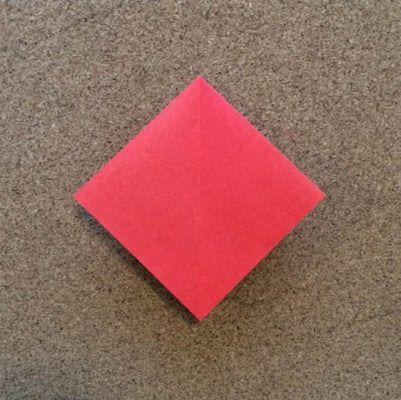
STEP 13. Fold the back in the same way, using the creases underneath as a guide.
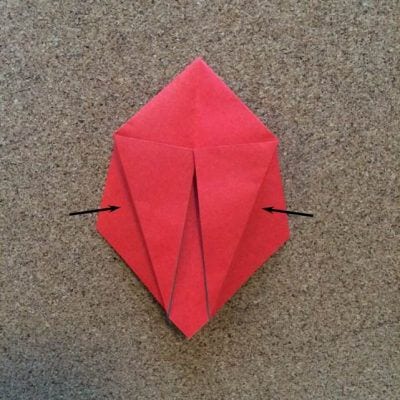
STEP 14. Open both sides out into a triangle and flatten them.
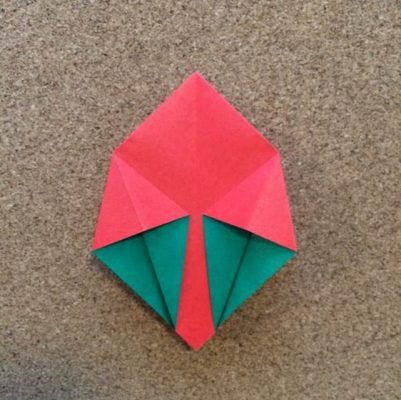
STEP 15. Flip one layer over on the right side and bring the back layer of the left side across, so that the paper looks like the photo.
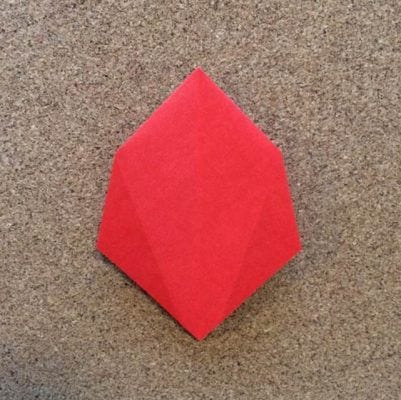
STEP 16. Fold it in a triangle, referring to the creases on the back.
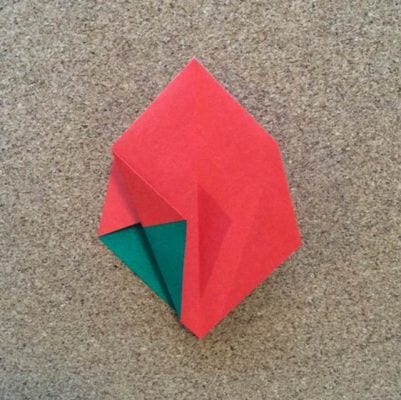
STEP 17. Fold the other side in the same way.
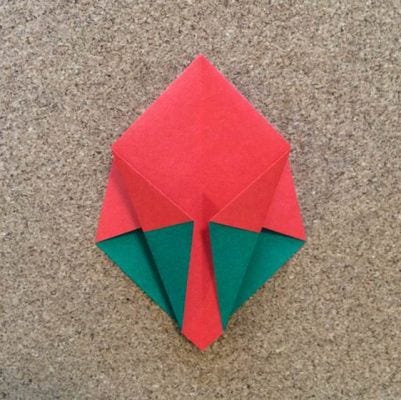
STEP 18. Leaving about 5 mm of the red paper showing, fold one layer up at the center.
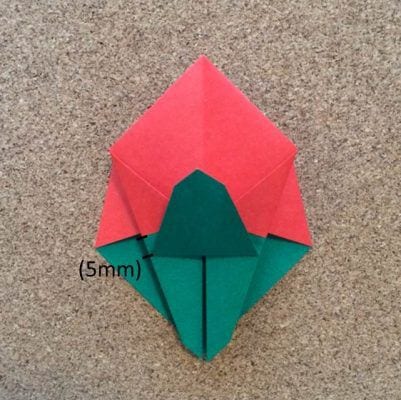
STEP 19. Fold it down along the red origami line.
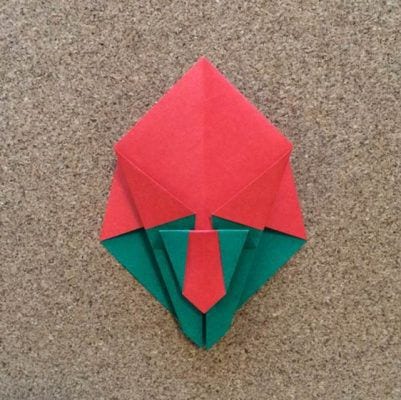
STEP 20. After folding this far, turn it upside down so that the green part is on top.
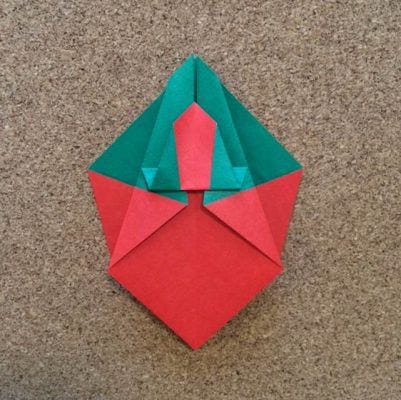
STEP 21. Open the part marked by the arrow and squash-fold it into a triangle.
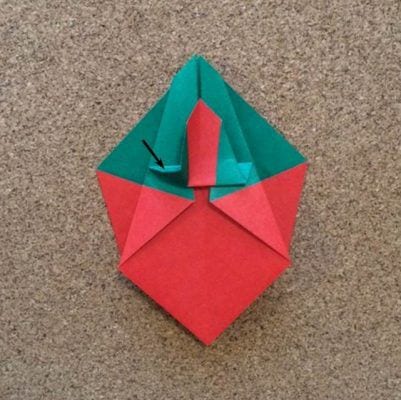
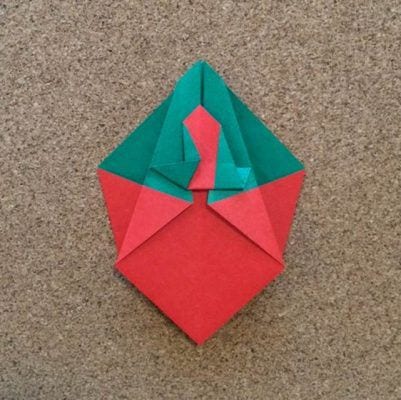
STEP 22. Fold the other side in the same way.
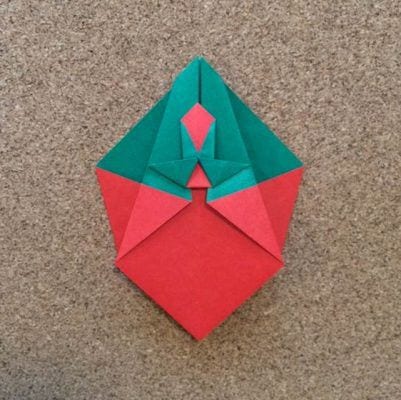
STEP 23. Turn the paper over.
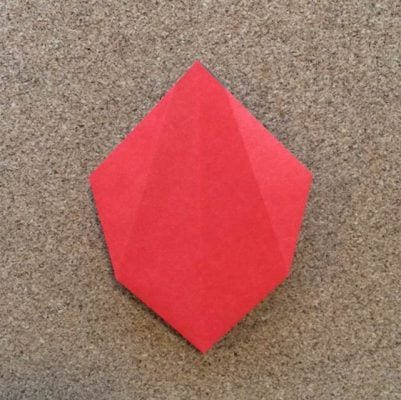
STEP 24. Fold the top layer down to match the green part showing at the top.
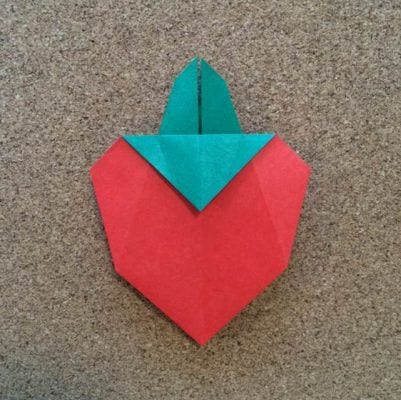
STEP 25. Fold the pointed tip slightly toward the inside.
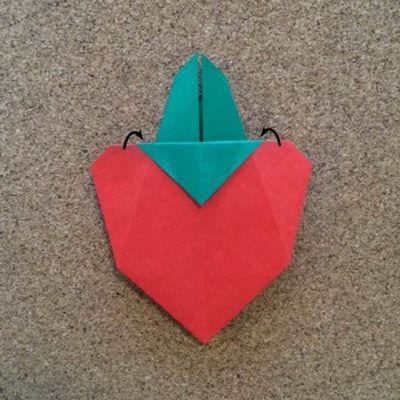
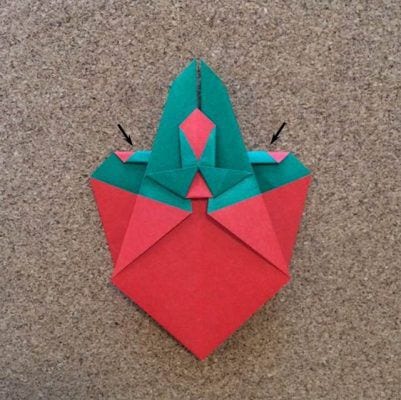
STEP 26. Fold the green part that shows at the top down.
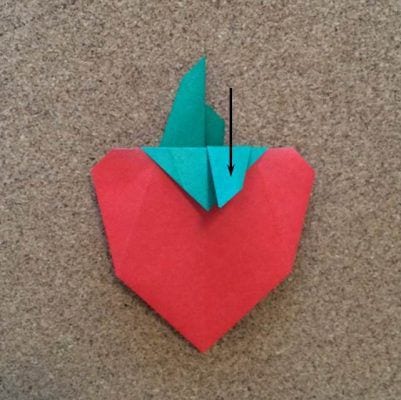
STEP 27. Open out the inside, flatten it and shape it into a leaf.
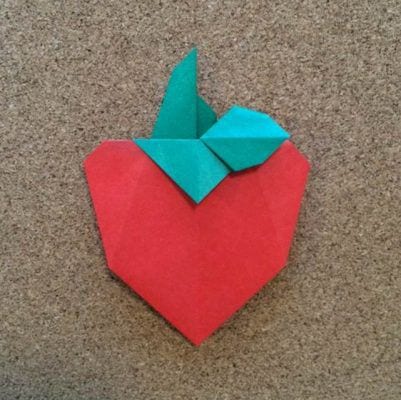
STEP 28. Fold the other side down, open out the inside and flatten it into a leaf shape as well.
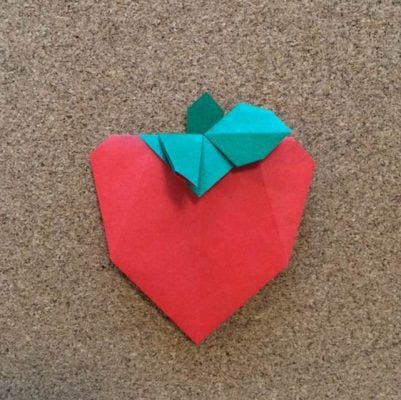
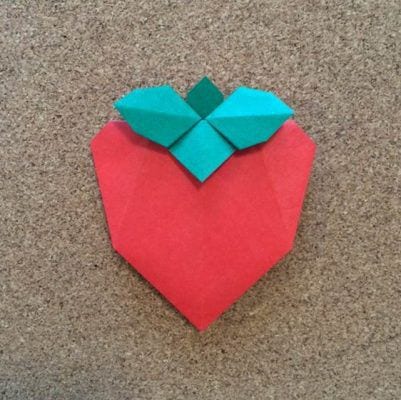
STEP 29. Curl the corners on both sides slightly to round out the shape.
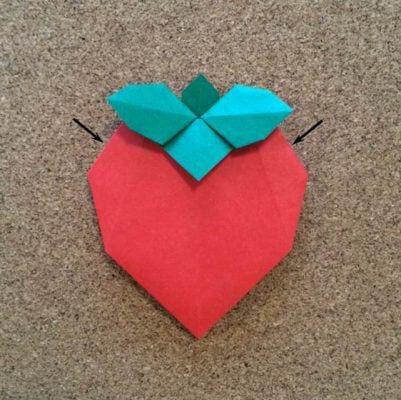
STEP 30. Draw the seeds with a marker, and the strawberry is complete.
Good work, and thank you for folding along!
It is not a difficult model, but younger children may find a few of the steps tricky, so give them a hand when they need it.




