Cicada (Short Tutorial)
The cicada is the sound of summer in Japan — that buzzing chorus you hear the moment the hot season arrives — and folding one out of paper lets you keep a little of that summer on your shelf. This short tutorial builds a surprisingly lifelike bug from a single square.
The clever part is that nothing is fixed: you decide how long the wings and body turn out by where you place a few folds, so your cicada ends up truly yours. It is a longer walk than a beginner model — about nineteen crease-and-fold steps — but every move is just a valley fold. Spread out the photos, take it slowly, and you will have a crisp paper cicada with wings shaped exactly the way you like.
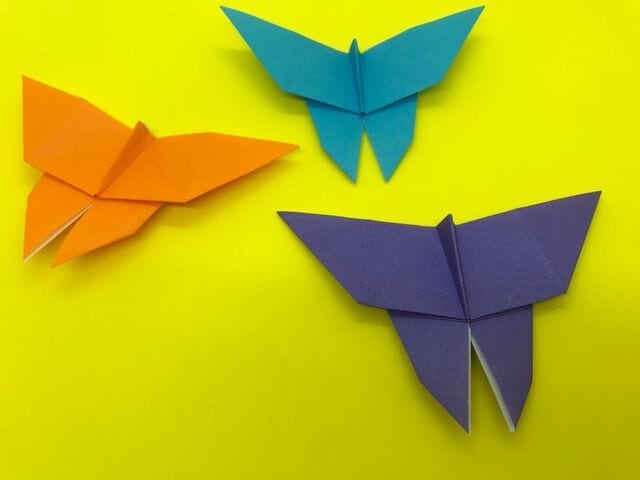
Things to prepare
1 sheet of normal-size origami paper (15 cm × 15 cm).
How to fold a cicada
STEP 1.
With the uncolored side of the paper facing up, make a crease by folding the center across in a valley fold.
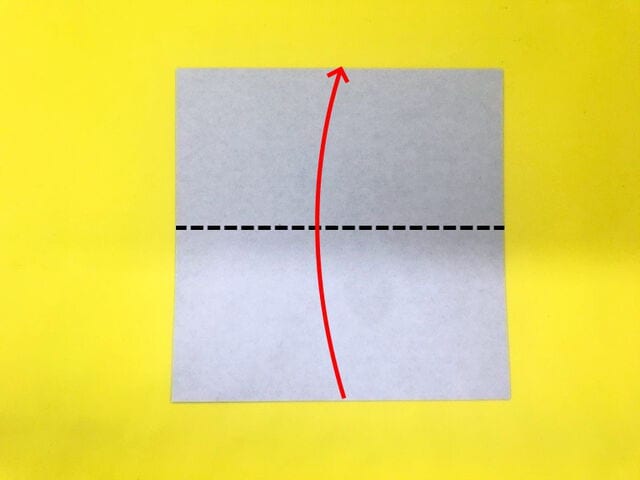
STEP 2.
Valley-fold as shown, then unfold.
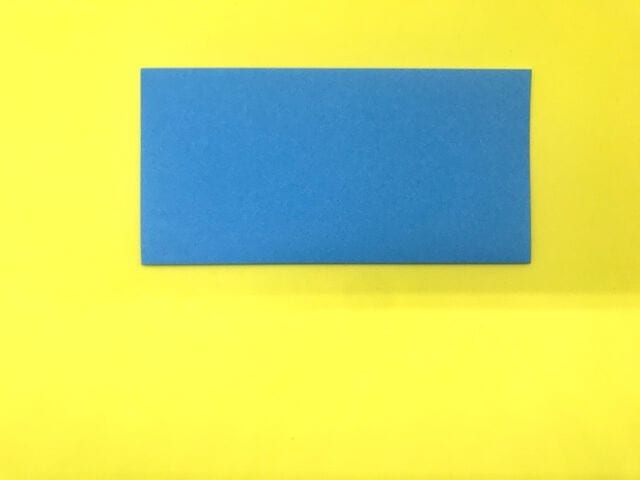
STEP 3.
After unfolding, fold the center vertically to make a crease.
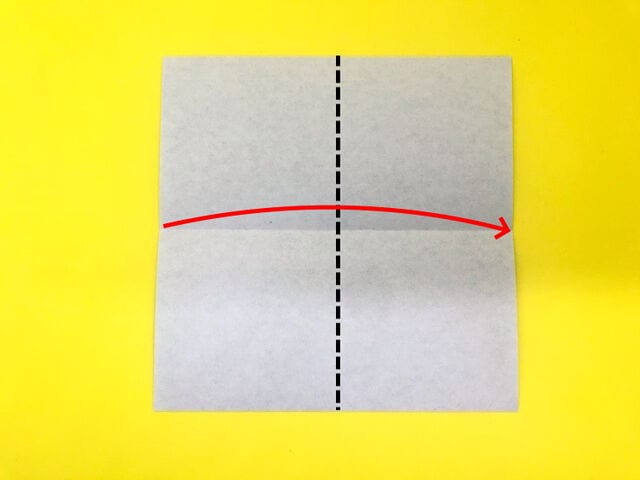
STEP 4.
Valley-fold as shown, then unfold.
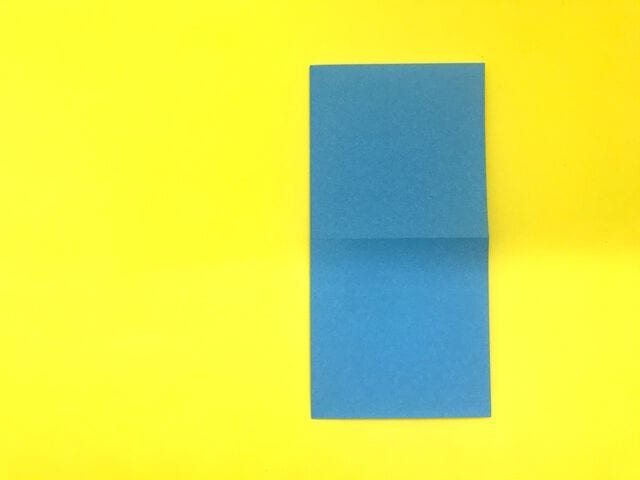
STEP 5.
After unfolding, fold it diagonally along the dotted line to make a crease.
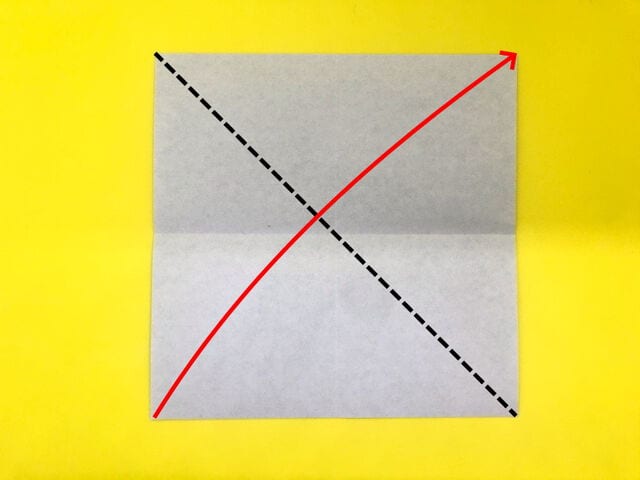
STEP 6.
Valley-fold as shown, then unfold.
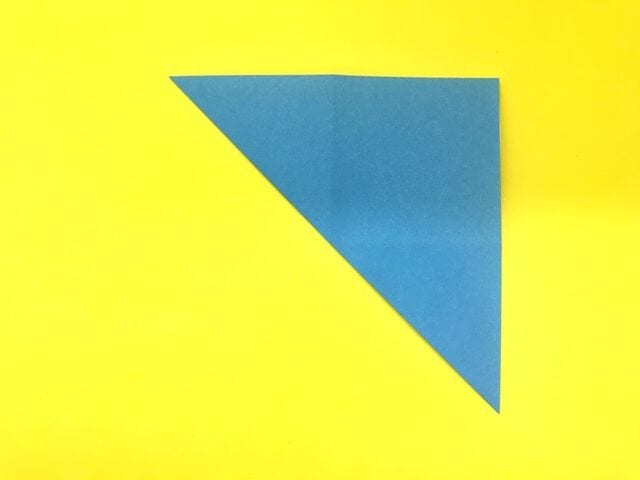
STEP 7.
After unfolding, valley-fold along the dotted line to make a crease.
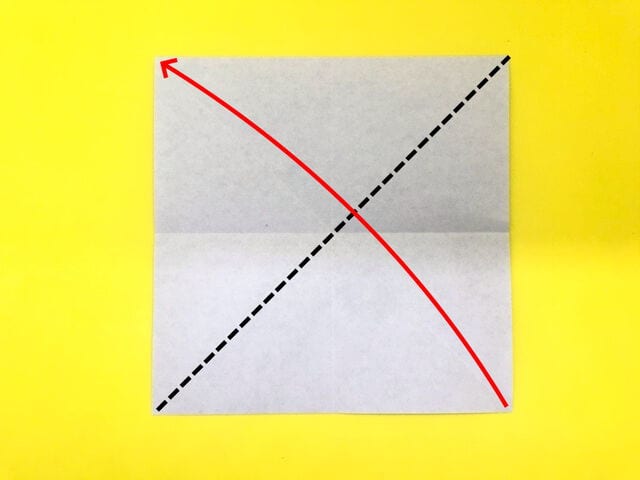
STEP 8.
Valley-fold as shown, then unfold.
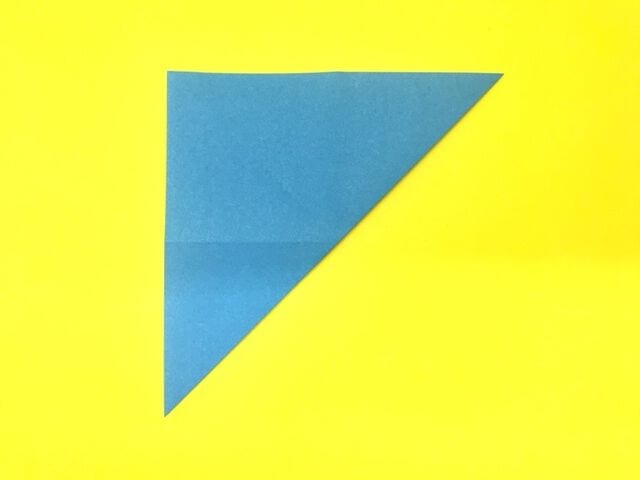
STEP 9.
Fold along the dotted line so the corners meet at the center.
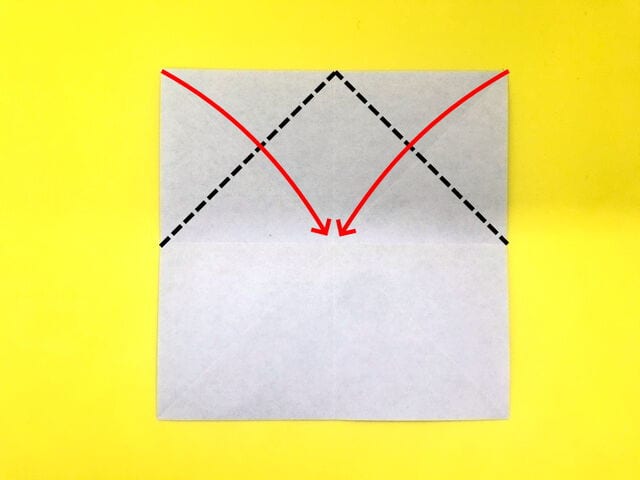
STEP 10.
Fold along the dotted line so the corners meet at the center.
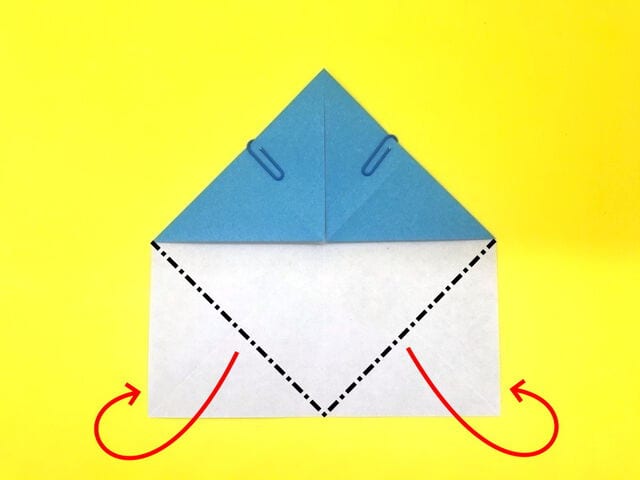
STEP 11.
Valley-fold along the dotted line.
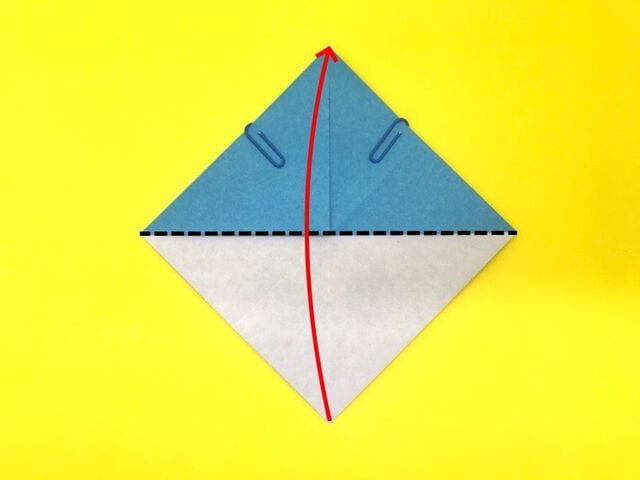
STEP 12.
Valley-fold along the dotted crease so the corners match.
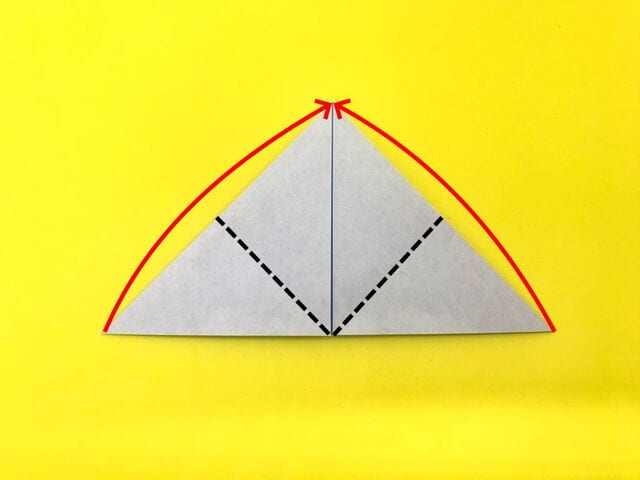
STEP 13.
On the front side, valley-fold the upper corners at the position shown by the dotted line to form the cicada’s wings.
If the position of the dotted line marked with a blue circle is lower, you get long wings; if it is higher, you get short wings.
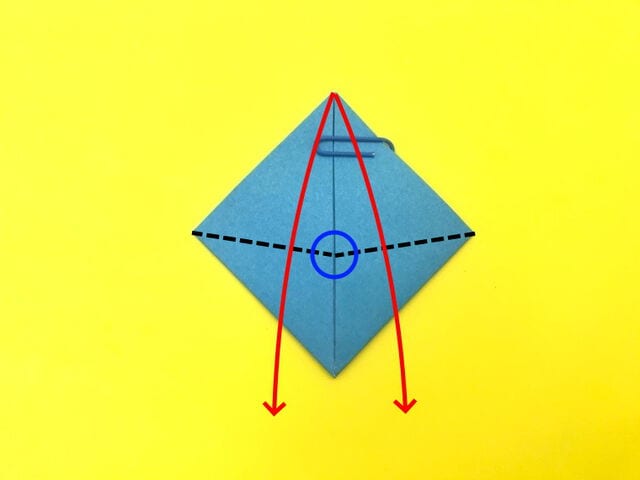
The wing length changes with the folding position, so fold at the spot you like.

STEP 14.
Valley-fold along the dotted line. The thickness of the V-shaped white line also changes with this position, so choose the spot you prefer.
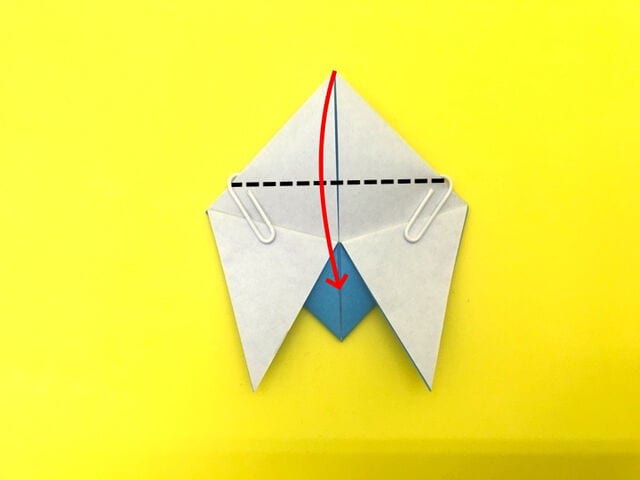
STEP 15.
Valley-fold along the dotted line. When this dotted line is higher, you get a long-bodied cicada; when it is lower, a short-bodied one.
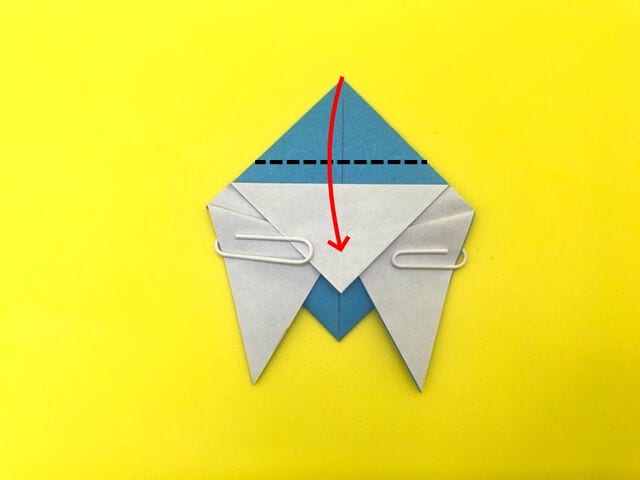
The body length changes with the folding position, so fold at your favorite spot.
STEP 16.
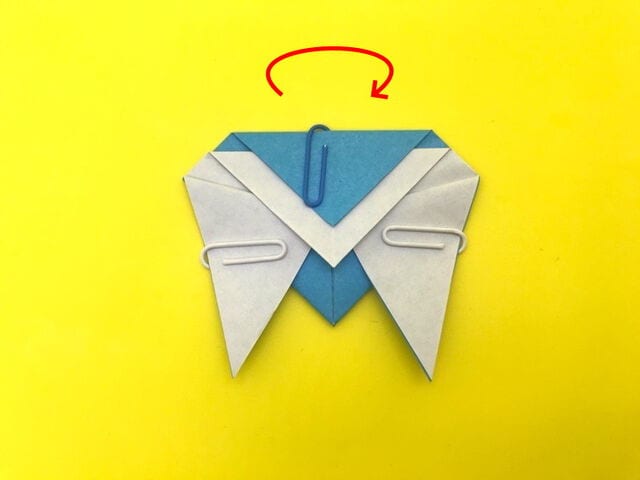
Once folded, turn it over.
STEP 17.
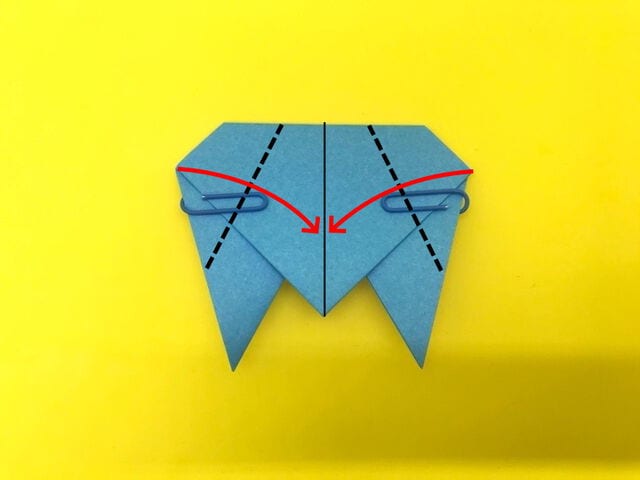
Valley-fold along the dotted line so it aligns with the center crease.
STEP 18.
Once folded, turn it over.
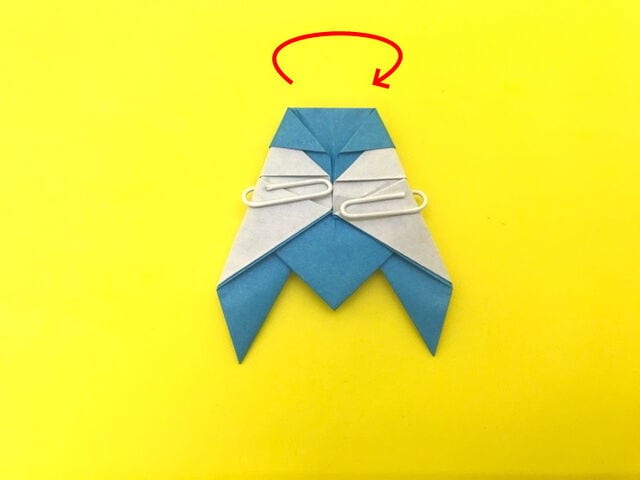
STEP 19.
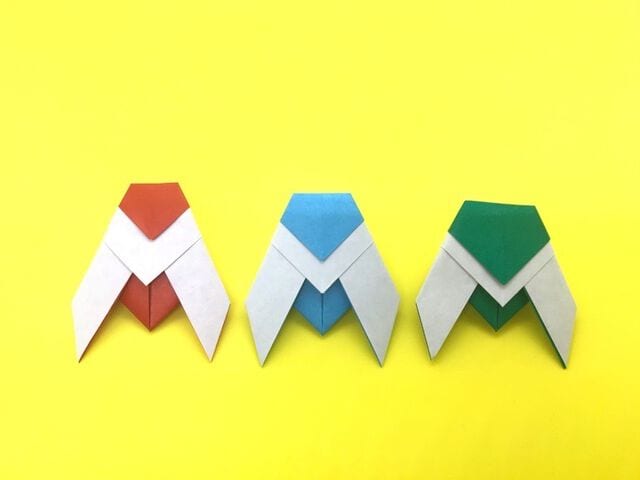
Your cicada is complete!