
3x3 Matrix Origami Base
Every big origami grid has to start somewhere, and the 3x3 matrix base is the smallest possible beginning. It is just a square of paper divided into nine equal cells, but that humble little grid is a genuine building block: once the creases are in place, you have a ready-made map for modular and geometric projects. The whole base takes only three steps. You lay down a horizontal Z-fold, which splits the sheet into thirds, then a vertical Z-fold that does the same the other way. That is it. No collapsing, no flipping, just two careful folds and a perfect grid of nine cells appears. It is the ideal way to practice the rhythm of the Z-fold before moving on to bigger matrix bases like the 4x4 or 8x8. Grab a 15cm square, keep the backside up, and let us make three quick folds.
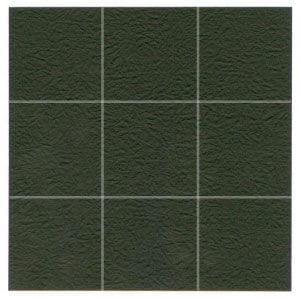
This page is for those who want the instruction to fold a 3x3 matrix origami base.
From this instructional page, you will be able to produce an origami base with 3x3 matrix cells.
Before working on this model, you need to know what valley-fold and mountain-fold are. If you know these two folding techniques, then you will have no problem in making an origami base with 3x3 matrix cells.
If you are ready, then let’s get started.
The paper I am using here is a 15cm x 15cm square. It is a good size for those who are not experienced in paper folding. Once you become familiar with this model, you can try a smaller size paper.
This is the front side of the paper.
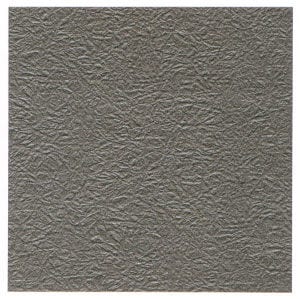
This is the back side of the paper.
Step 1
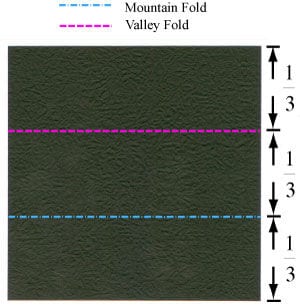
Start with the backside of the paper facing up. Prepare to apply a horizontal “Z-fold” and then unfold.
Step 2
Apply the horizontal “Z-fold” of step 1 and then unfold. Prepare to apply a vertical “Z-fold” and then unfold.
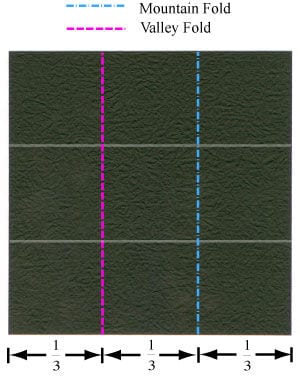
Step 3
Apply the vertical “Z-fold” of step 2 and then unfold. Congratulations! You have just completed making a 3x3 matrix origami base.




