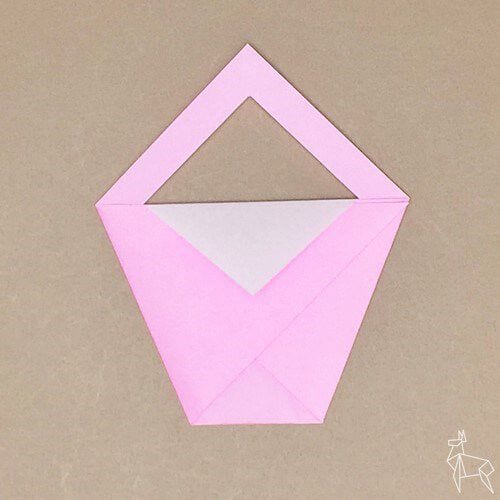
Origami Hanakago (Flower Basket)
A hanakago is a woven flower basket, and this origami version borrows its shape rather than its material. Two sheets of paper, a couple of diagonal folds, and one careful cut are all that stand between you and a little basket that will actually sit upright and hold things. It is the rare origami container that feels useful instead of decorative, which is probably why it keeps turning up on party tables.
Do not be put off by the craft knife in step 5. The cut is a single straight notch, and everything after that is just folding one sheet one way and the other sheet the other way until the basket locks into place. Patterned paper works best, since it gives the flat sides the look of woven strips, but a bright plain sheet is just as happy. Seven steps, no glue, and you have a basket.
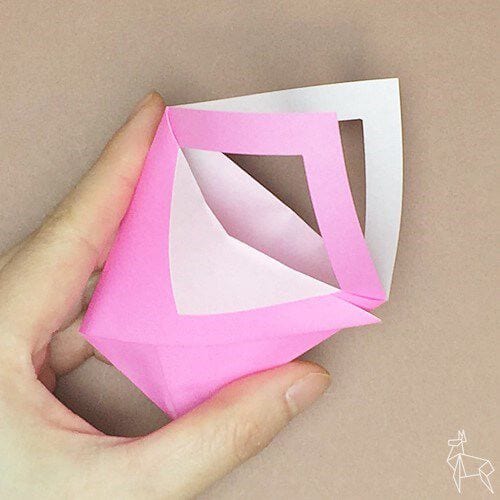
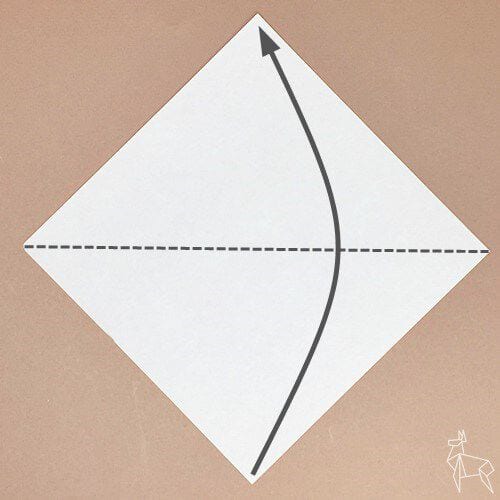
STEP 1.
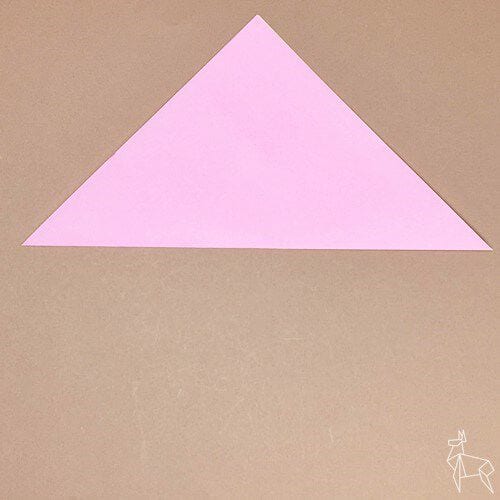
Place the origami paper with the white side facing up and fold it in half along the dotted line.
STEP 2.
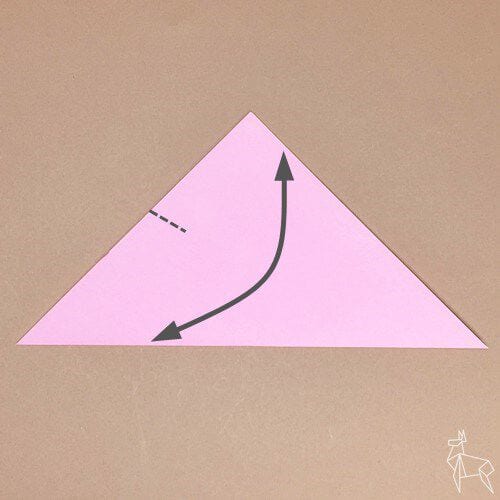
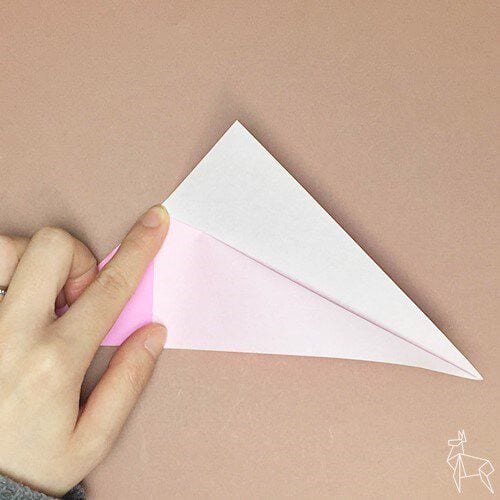
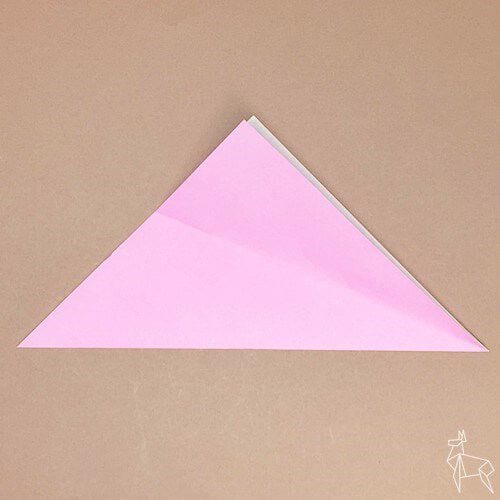
Turn over one sheet, align the edges, and make creases only along the dotted line.
STEP 3.
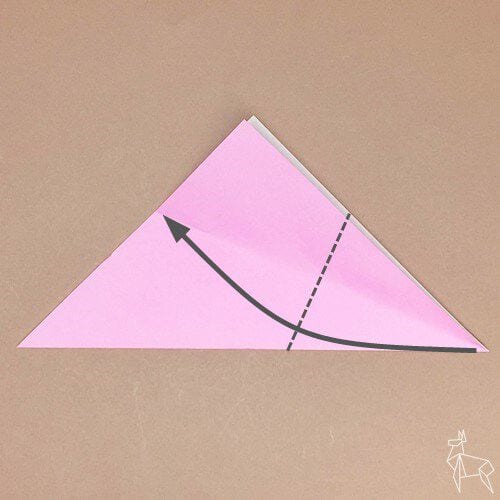
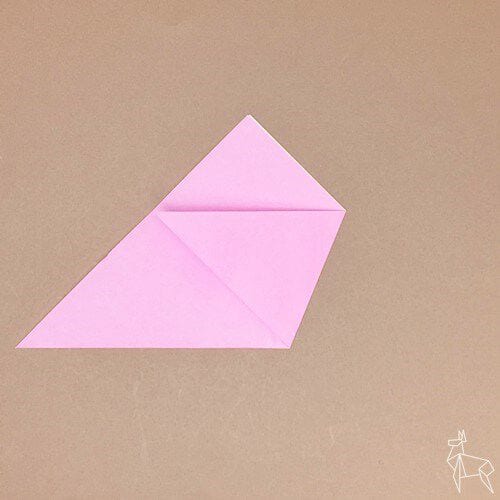
Fold so that the right corner meets the end of the crease you just made.
STEP 4.
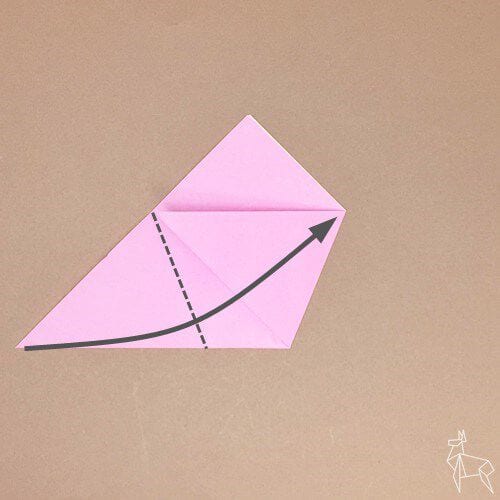
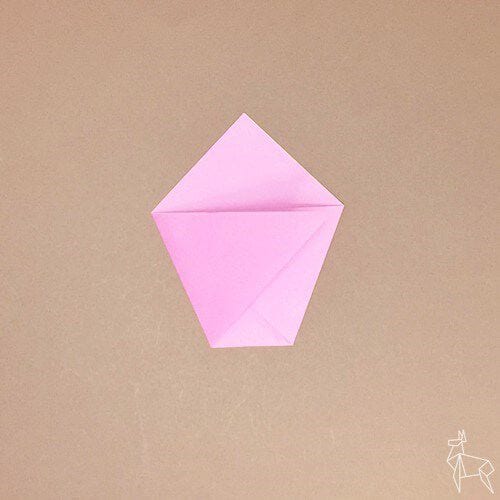
Fold so that the corners match.
STEP 5.
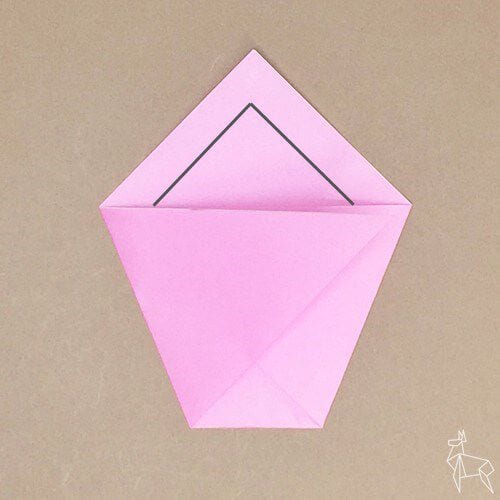
Cut a notch along the black line with a cutter.
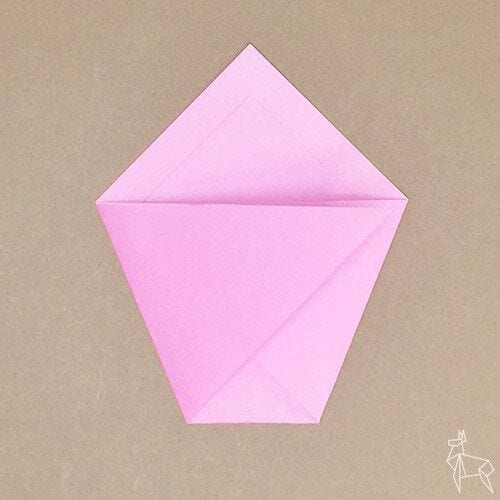
STEP 6.
Turn over one sheet and fold it along the dotted line.
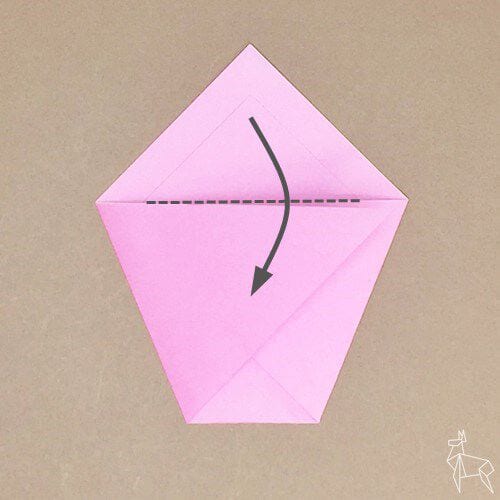
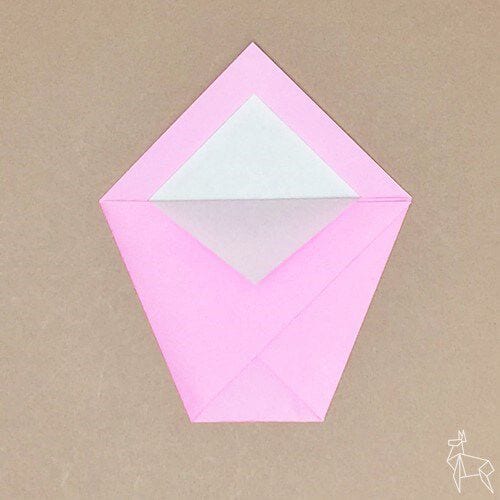
STEP 7.
Fold the other side back in the same way, and the basket is complete.