
Pinecone
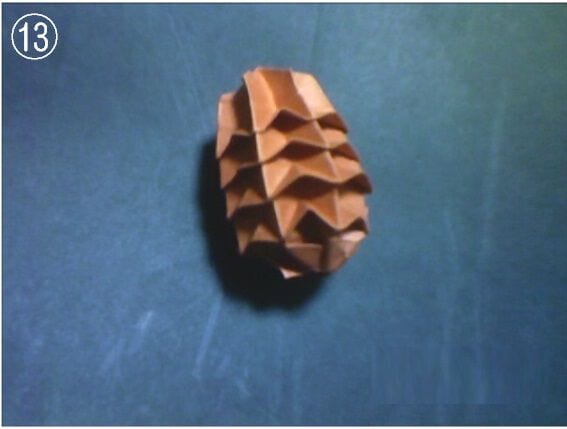
There's something quietly satisfying about an origami model that doesn't try to look like an animal or a flower — and the pinecone is exactly that kind of quiet win. It starts out looking like nothing more than a grid of creases, and then, almost like a magic trick, it collapses into a bumpy, scaly little cone that really does resemble the real thing.
If you've ever folded an accordion base, you'll feel right at home here; if you haven't, this is a lovely, forgiving place to learn. Grab a square of paper, a mechanical pencil for the fiddly bits, and let's grow one.
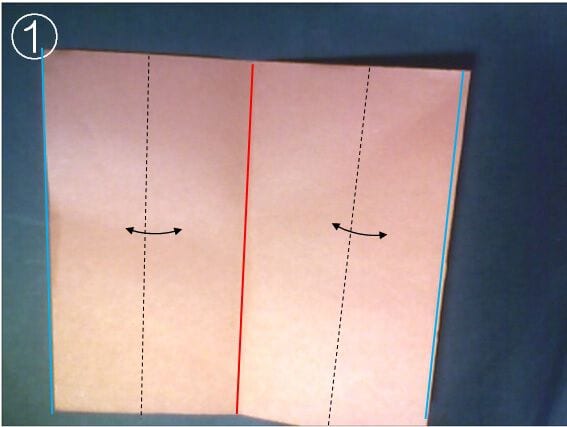
Way of folding
STEP 1. Fold the paper in half and crease it (red line), then bring the blue lines together and crease again. You now have creases dividing the sheet into four equal parts.
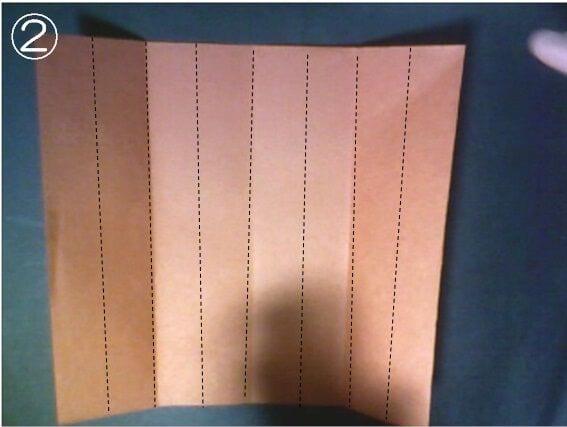
STEP 2. Keep adding creases until the paper is divided into eight equal parts.
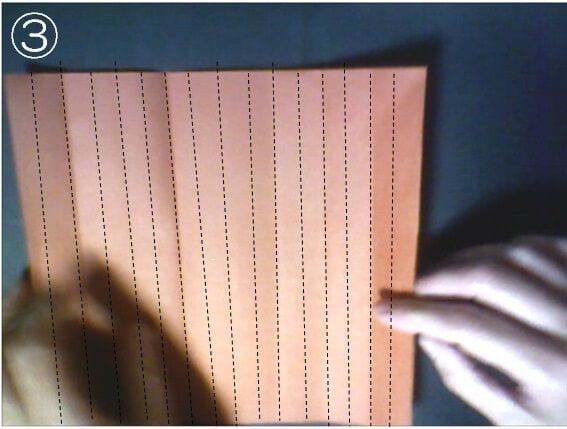
STEP 3. Add more creases to divide it into 16 equal parts.
STEP 4. Make the same 16-part creases along the horizontal direction as well.
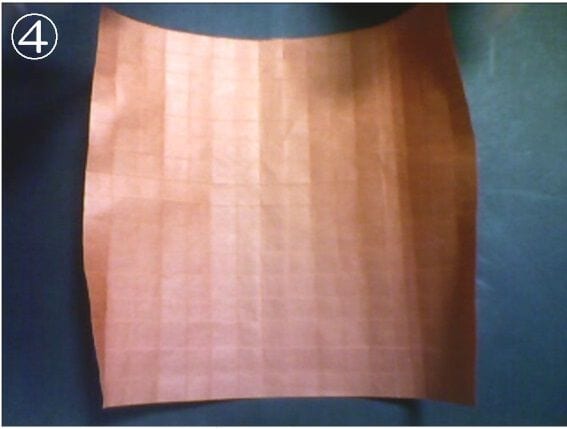
STEP 5. Now use the vertical creases. From the left, the 1st line is a valley fold, the 3rd is a mountain fold, the 4th is a valley fold, the 6th is a mountain fold, and the 7th is a valley fold. Let me repeat that pattern once more.
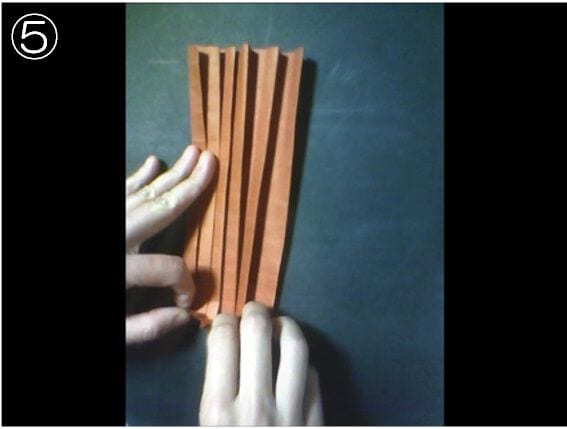
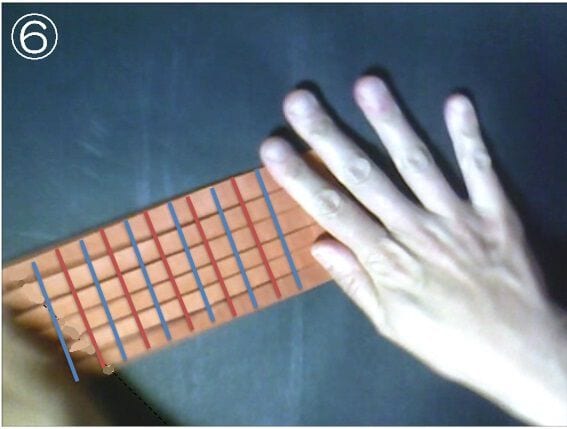
STEP 6. Next, following the horizontal creases, fold the blue lines as mountain folds and the red lines as valley folds.
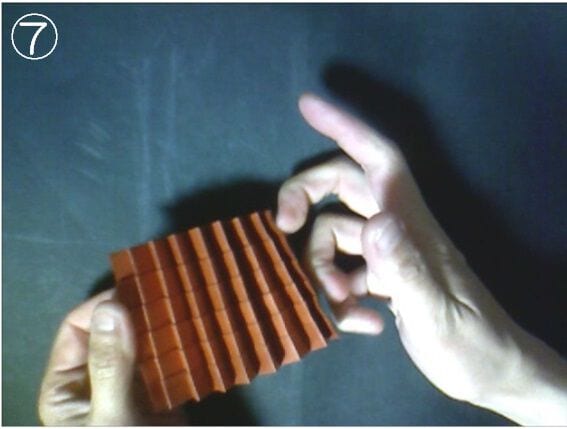
STEP 7. The paper becomes an accordion (bellows) base.
STEP 1. Roll the base into a loop and tuck the end into the opening.
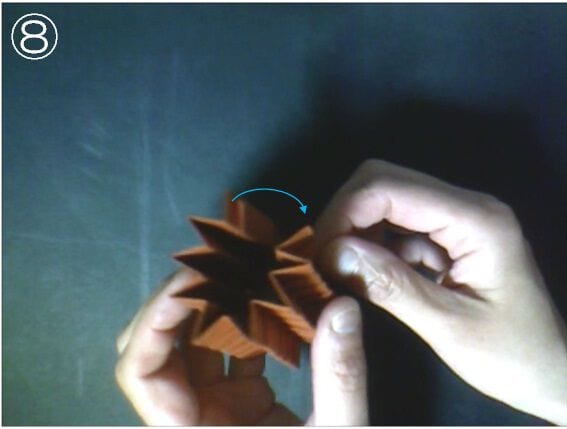
STEP 2. Open one level at the left end. From the next section, stand the paper up in a jagged (zigzag) pattern like the red circle shown.
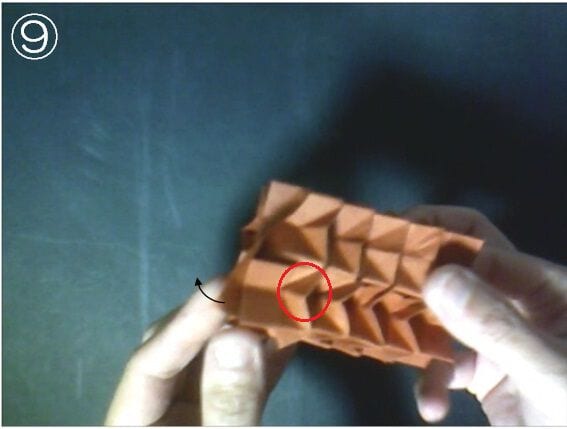
STEP 3. At the right end, fold it into a triangle along the dotted line. Repeat the same fold all the way around.
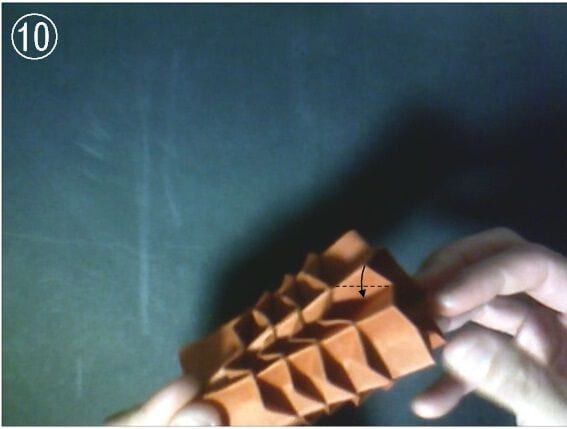
STEP 4. It should look like this.
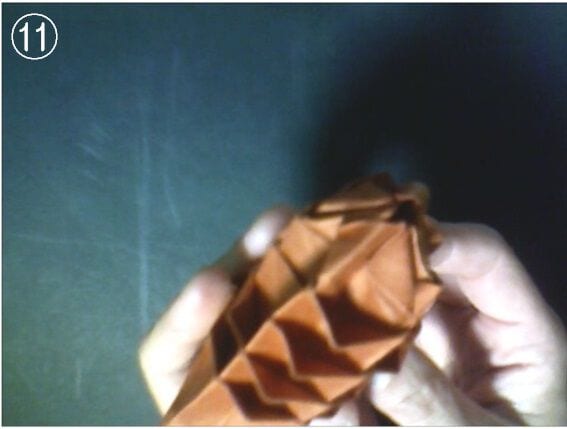
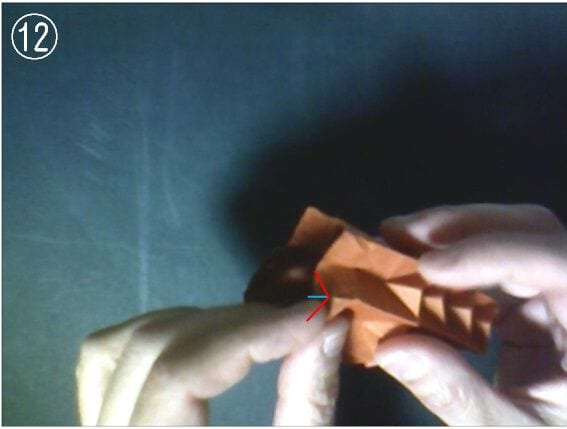
STEP 5. At the left end, fold the red line as a mountain fold and the blue line as a valley fold. Repeat all the way around to close the opening.
STEP 6. Your pinecone is complete!
Points when folding
When making the zigzag, it helps to open it up with the tip of a mechanical pencil.
When your child finishes, be sure to praise them — “You did great!”
They’ll be motivated to do their best next time too!




