
Origami Penguins (Complete Tutorial)
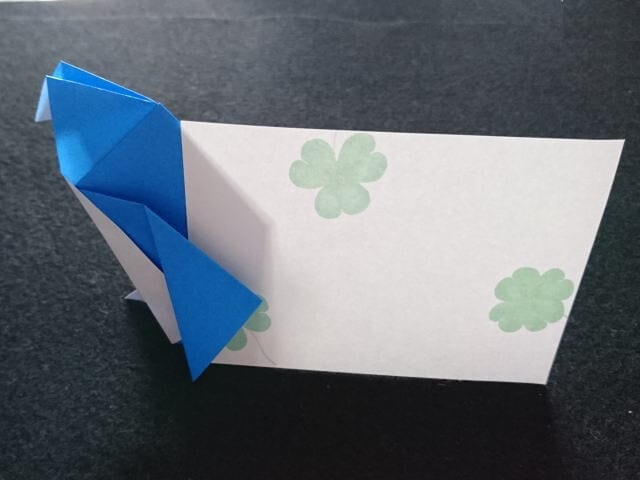
There's a special kind of joy in an origami figure that isn't just decorative but actually does something — and this little penguin is a perfect example. Fold one up and it happily holds a photo, a note, or a trading card between its wings, like a tiny paper usher at your desk.
Don't let the 14 steps intimidate you; each one is a small, repeatable fold, and the rhythm of front-and-back symmetry is almost meditative. By the end you'll have a penguin that stands on its own and shows off whatever you tuck into it. Make a few and you've got an instant penguin shelf.
Folding Instructions
Step 1: Place the paper white-side up and make a vertical triangular crease, then unfold.
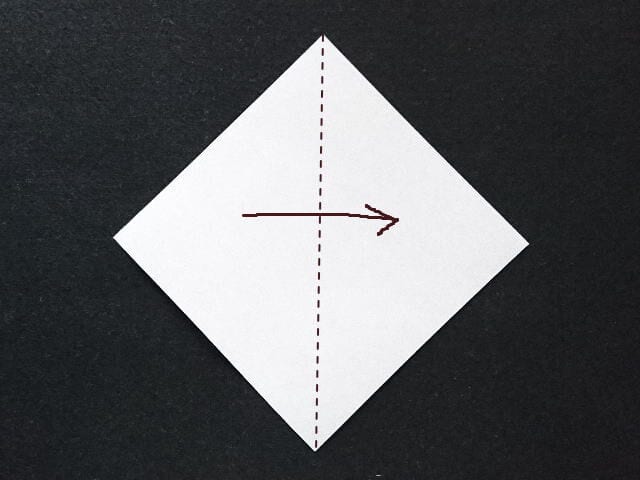
Step 2: Fold it in half from top to bottom.
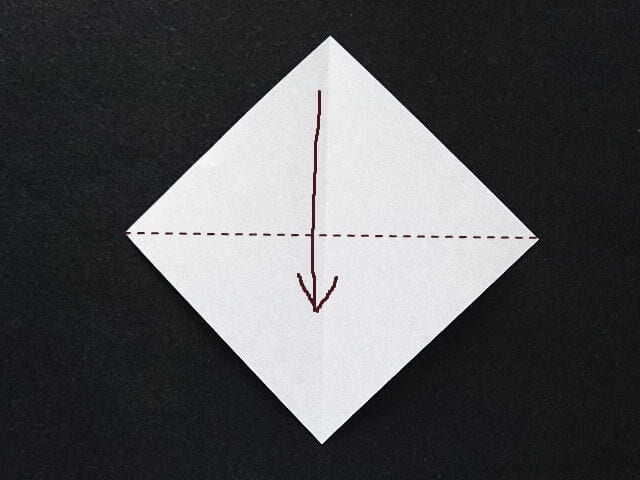
Step 3: Fold it up along the dotted line.
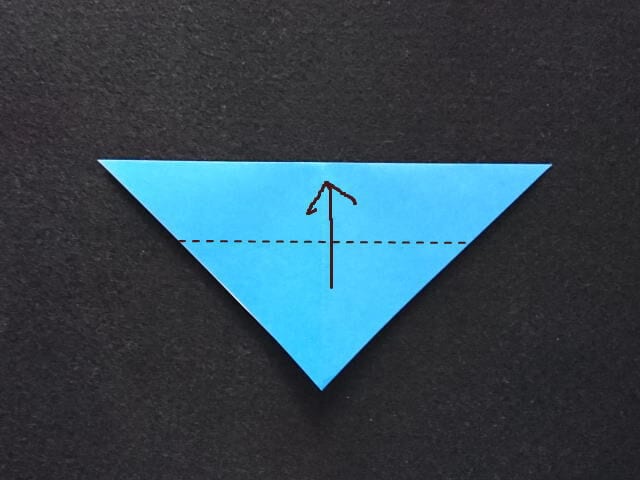
Step 4: Fold it in half vertically.
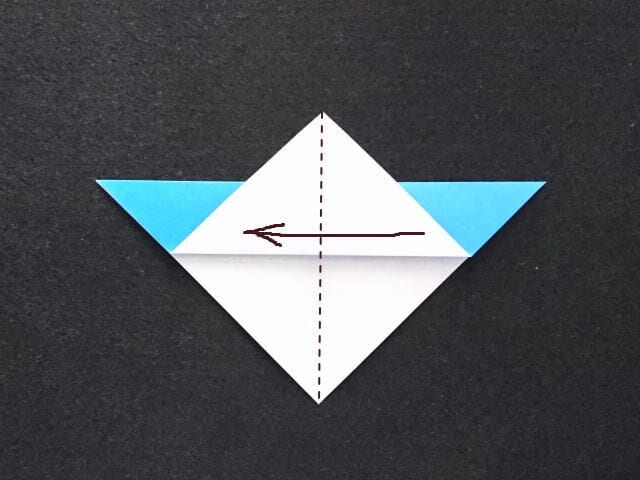
Step 5: Fold it along the dotted line.
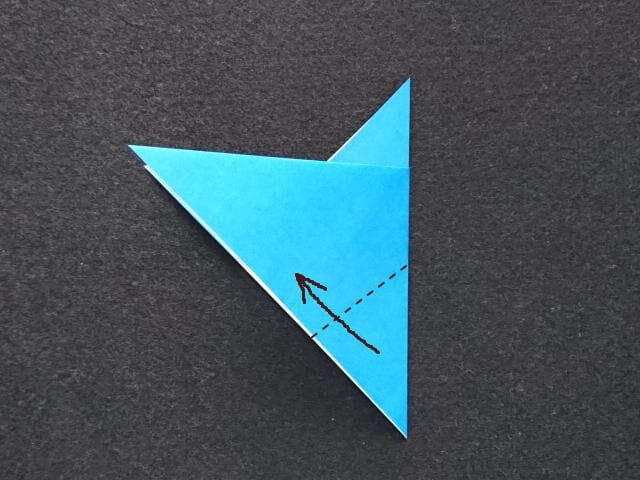
Step 6: Since it will be folded in half, crease it and then unfold.
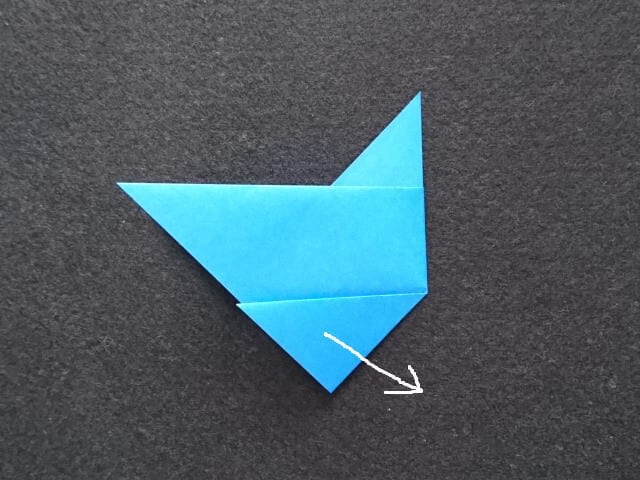
Step 7: Now fold it in half along that crease.
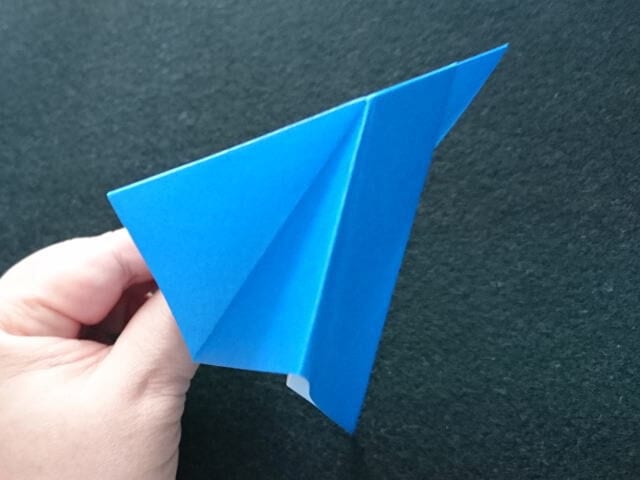
Step 8: Fold the head section in the same way.
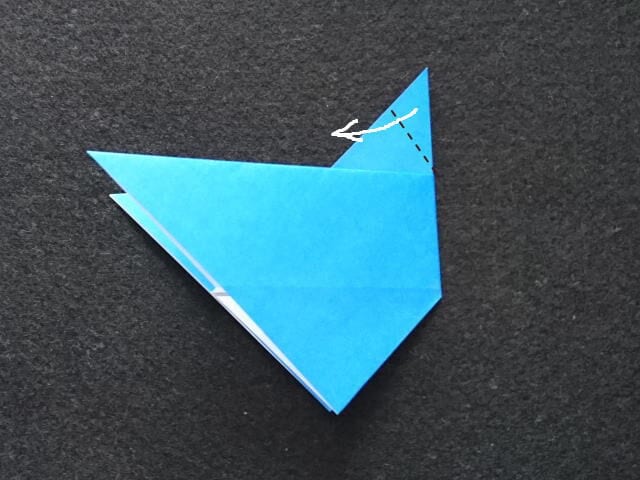
Step 9: Fold the top flap down along the dotted line.
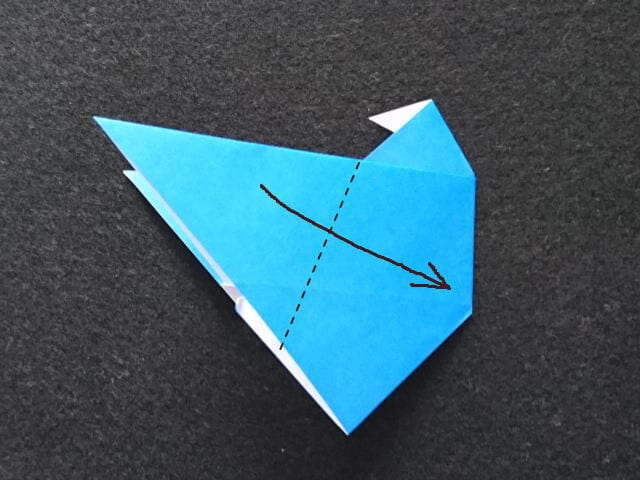
Step 10: Fold it again along the dotted line.
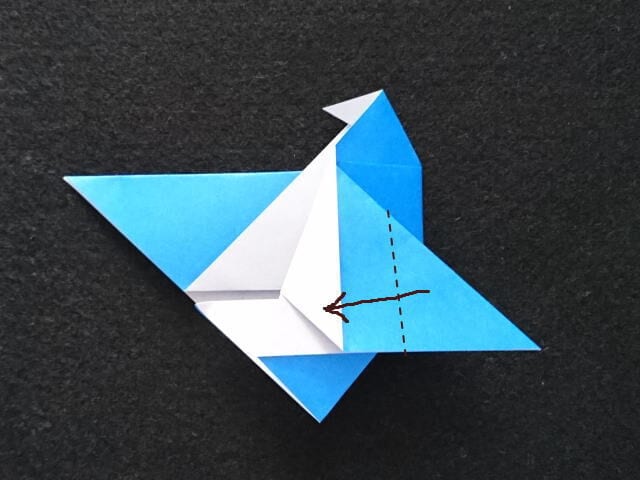
Step 11: If you folded the front, fold the back side the same way.
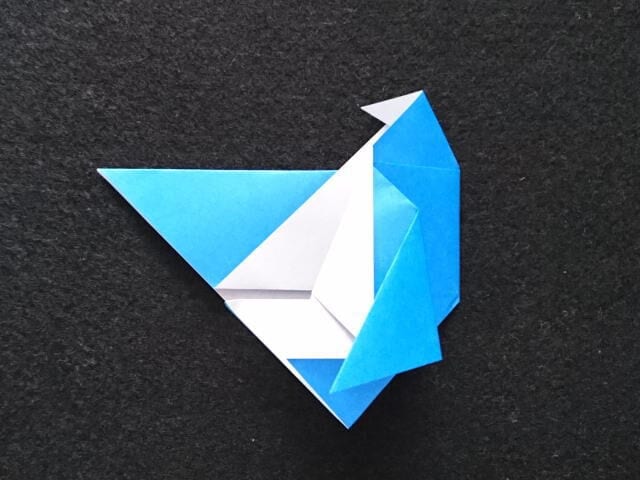
Step 12: It now takes the shape of a penguin.
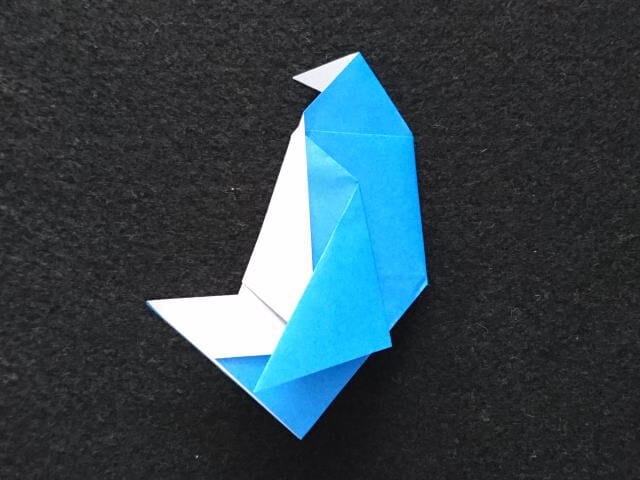
Step 13: Open the bottom slightly so it can stand up.
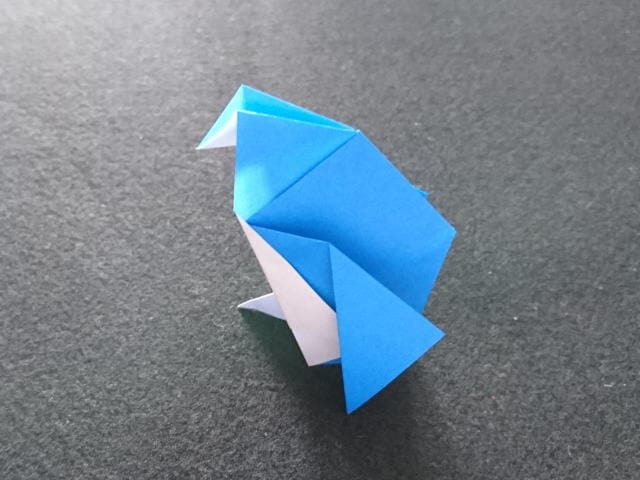
Step 14: Tuck a card or photo between the wings. You can even flip it around.
Tips for folding
Fold the front and back symmetrically. With a little help on the center creases, even children can make one.
Making two and standing them side by side keeps them more stable. Try folding a whole flock of colorful penguins to decorate your favorite cards and photos.




