
How to Fold a Cute Origami Swan
The traditional paper swan is lovely, but it has one small problem: it lies there flat, like it has given up on life. This version stands up. It has a real neck, a perky tail, and enough attitude to sit on a shelf and look like it owns the place — and it only takes one square of paper to get there.
What makes this model worth your time, though, is what you pick up along the way. Two classic techniques live inside these eighteen steps: the rabbit ear fold, which is how you grow a neck and a tail out of a flat point, and the outside reverse fold, which is the trick that turns a straight spike into a curved head. Learn those two and a whole library of birds, dragons and flowers suddenly becomes reachable. Bring a 15cm square of paper with a different colour on each side — it makes following the layers far easier than plain white, and honestly a black swan just looks cooler.
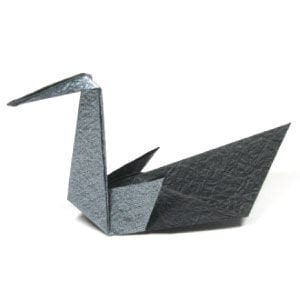
This page is for those who want the instruction to fold a cute origami swan.
This origami swan is a modified version of the traditional origami swan. There are two special folding techniques you need to learn from this model: the rabbit ear fold and the outside reverse fold.
If you are ready, then let us get started.
You may use any kind of paper to fold the origami swan. It is a little easier if the front and the back side of the paper are slightly different, whether it be in texture or color.
Make sure the paper you use is a square (all sides are equal and all the angles equal 90 degrees). The paper I am using here is a 15cm x 15cm square.
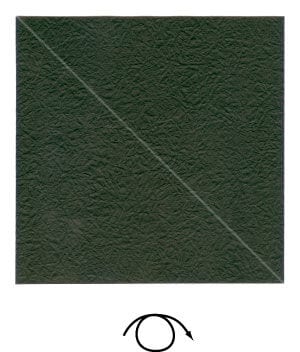
This is the front side of the paper. It would be nice to have a white one, but it is extremely difficult to see the paper against a white background. So I am using black paper instead, to make a black swan.
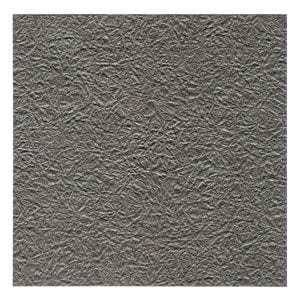
This is the back side of the paper. Keep in mind that the front side is the shinier one.
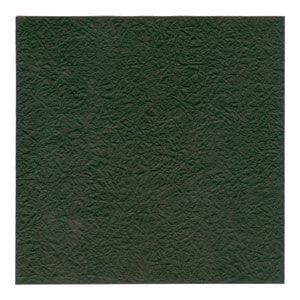
Step 1: Let us start with the back side of the paper facing up. Prepare to apply a diagonal valley fold and then unfold.
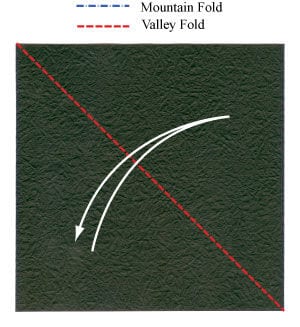
Step 2: Apply the diagonal valley fold of step 1 and then unfold. The diagonal gray line indicates the crease line made by the valley fold. Prepare to turn the paper over.
Step 3: Turn the paper over. Prepare to apply two valley folds.
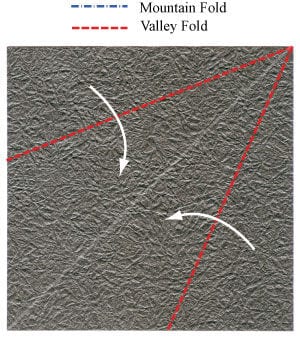
Step 4: Apply the two valley folds of step 3. This is called the “kite base” and its shape resembles a kite. Prepare to turn the model over.
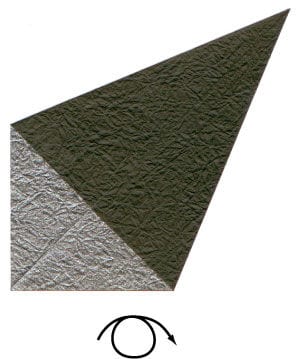
Step 5: Turn the model over. Prepare to apply two valley folds on the front-most layer only.
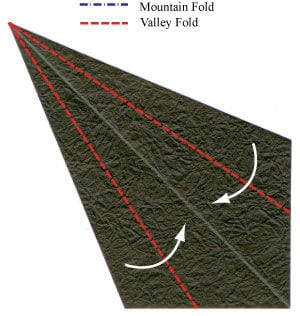
Step 6: Apply the two valley folds of step 5 on the front-most layer only. Prepare to apply two more valley folds.
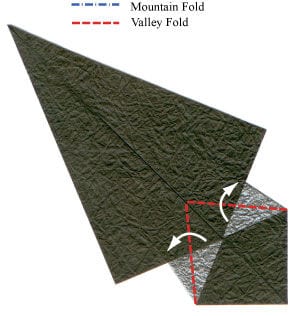
Step 7: Apply the two valley folds of step 6. Prepare to unfold the two valley folds you have just applied.
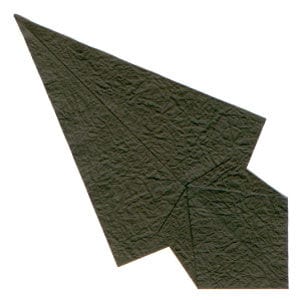
Step 8: Unfold the two valley folds of step 7. Prepare to apply two mountain folds and then unfold them.
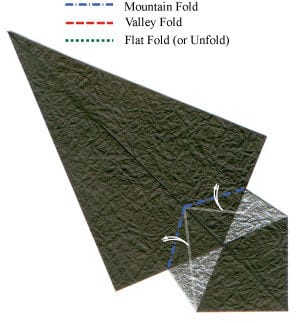
Step 9: Apply the two mountain folds of step 8 and then unfold. Prepare to apply the crease pattern (CP) shown on the left.
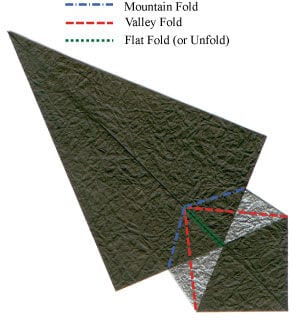
Step 10: Apply the crease pattern of step 9. Prepare to apply two “rabbit ear folds”.
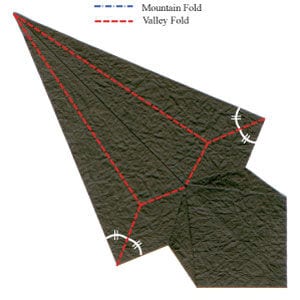
Step 11: Apply the two rabbit ear folds of step 10. Prepare to apply two valley folds.
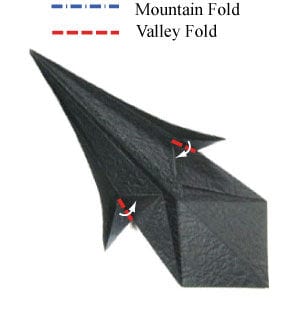
Step 12: Apply the two valley folds of step 11. Prepare to turn the origami swan model over.
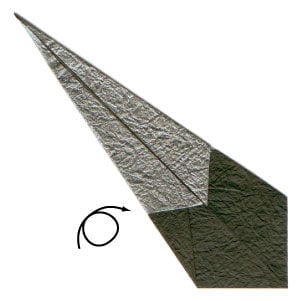
Step 13: Turn the origami swan model over. Prepare to apply a valley fold.
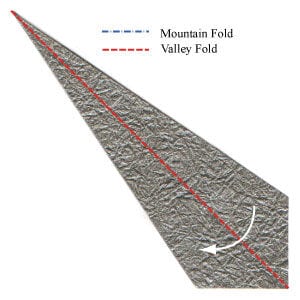
Step 14: Apply the valley fold of step 13. Prepare to apply an “outside reverse fold”.
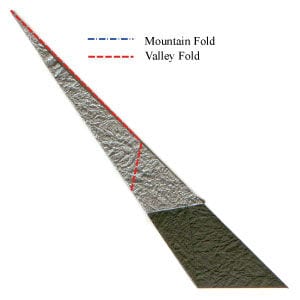
Step 15: Apply the outside reverse fold of step 14. Prepare to rotate the origami swan model by about 50 degrees.
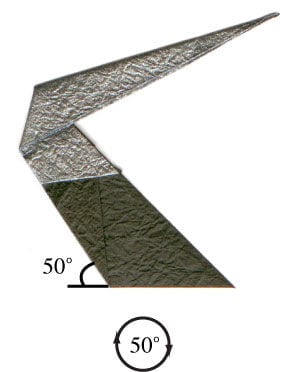
Step 16: Rotate the origami swan model by about 50 degrees. Prepare to apply an “outside reverse fold”.
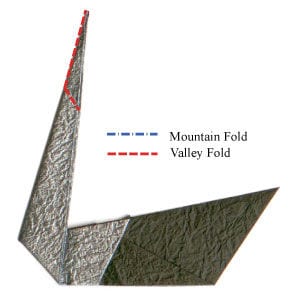
Step 17: Apply the outside reverse fold of step 16. Prepare to let the origami swan model stand by itself.
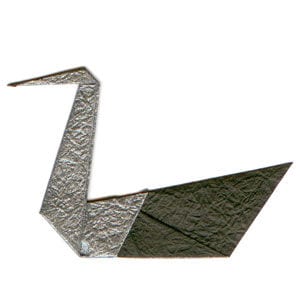
Step 18: Let it stand on the ground by itself. Congratulations! You have completed making a cute origami swan.




