
Squash Fold
The squash fold is exactly what it sounds like - you take a flap of paper and squash it flat. It is one of the most satisfying basic moves in origami, because a single press can turn a plain flap into a whole new shape. You will meet it again and again: birds, frogs, flowers, boxes - most models use it somewhere.
This tutorial shows the fold on a Preliminary Base, the classic starting point. There are just three steps: lift a flap, push the crease down, and flatten it out. Grab a square of paper and let's go.
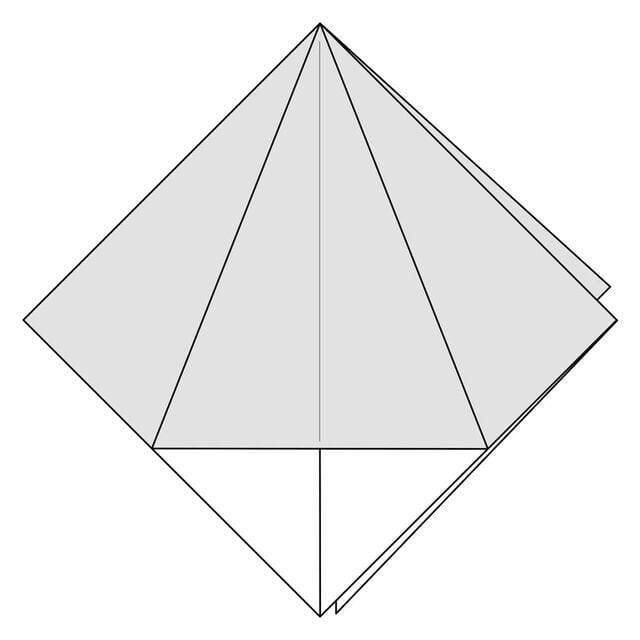
With this fold you essentially take a flap of paper and squash it flat. It is one of the most useful basic techniques in origami, and it appears in dozens of models once you know how to do it.
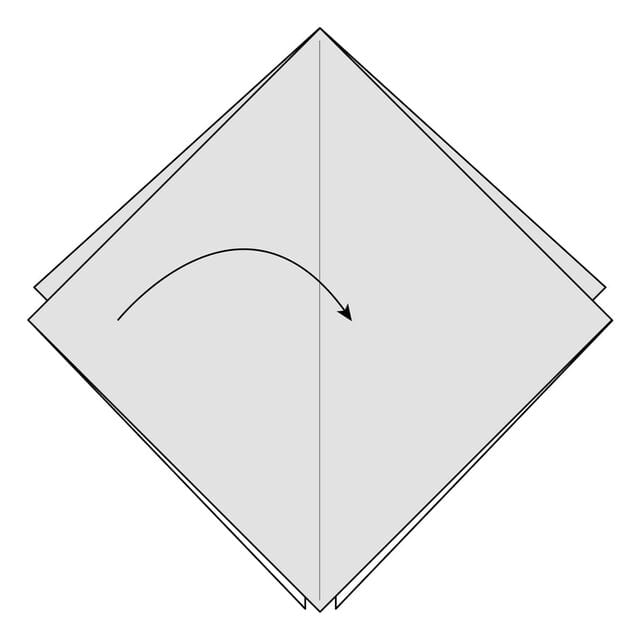
Step 1
This example starts with a Preliminary Base (the instructions for this base are further in this guide). Squash folds can be performed on a variety of different shapes, not just this base.
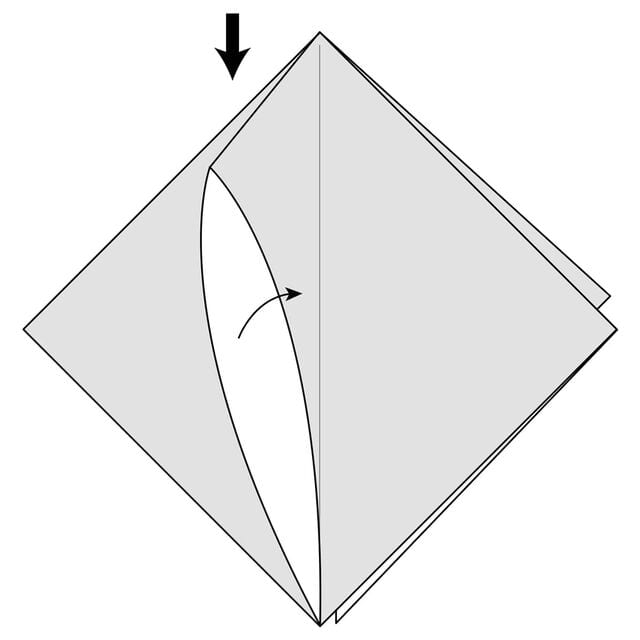
Step 2
There are four flaps of paper on this base. Lift one of them up - you will make a squash fold on this flap.
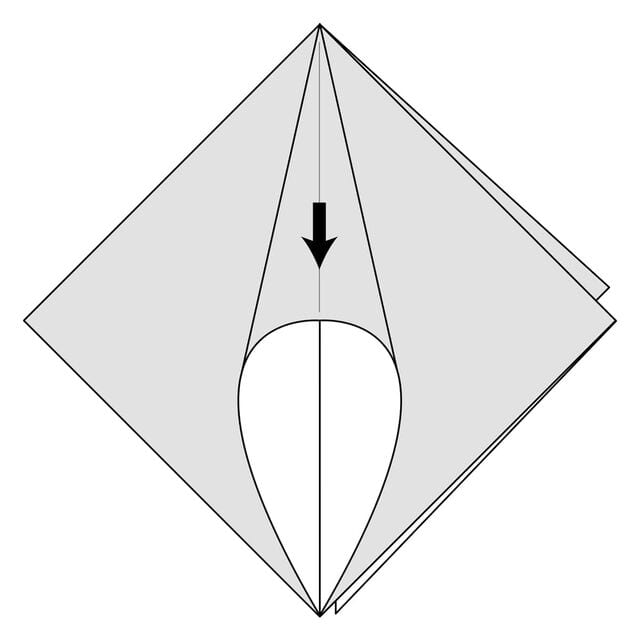
Step 3
Push down on the crease so you completely flatten the flap. Make sure both sides are symmetrical.




