
Outside Reverse Fold
The inside reverse fold pushes paper in; the outside reverse fold pulls it out — and together they are the two sides of one of origami's most important families of moves. If the inside reverse fold gives a crane its tucked-in head, the outside reverse fold is what shapes a wing that flares outward or a tail that curves boldly away from the body.
The best news? Once you have mastered one, you have almost mastered the other. The same three creases meet at the same point; you simply fold the paper the other way. In the nine steps below we build it slowly from a plain square, so you can see exactly where each crease falls and why the paper behaves the way it does.
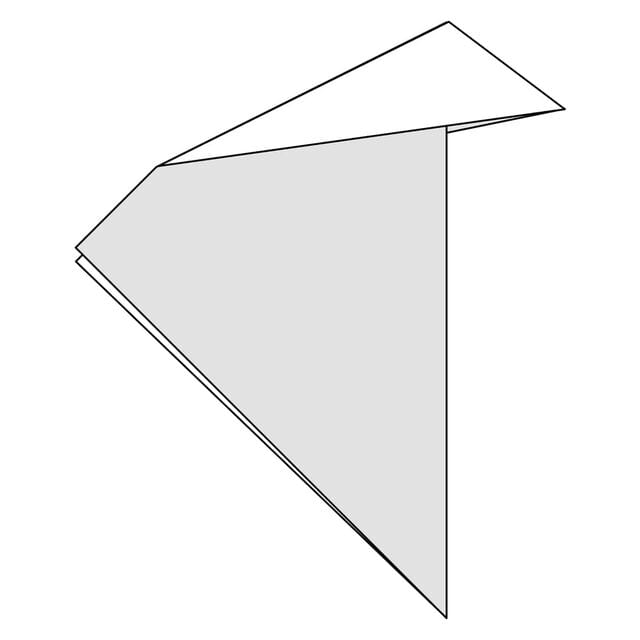
The outside reverse fold is the mirror image of the inside reverse fold: this time, the paper is folded to the outside of the model.
Step 1
Start with a square of paper, white side up, and fold it in half diagonally. This is not part of the outside reverse fold itself, but it gives us a shape we can use to demonstrate the fold.
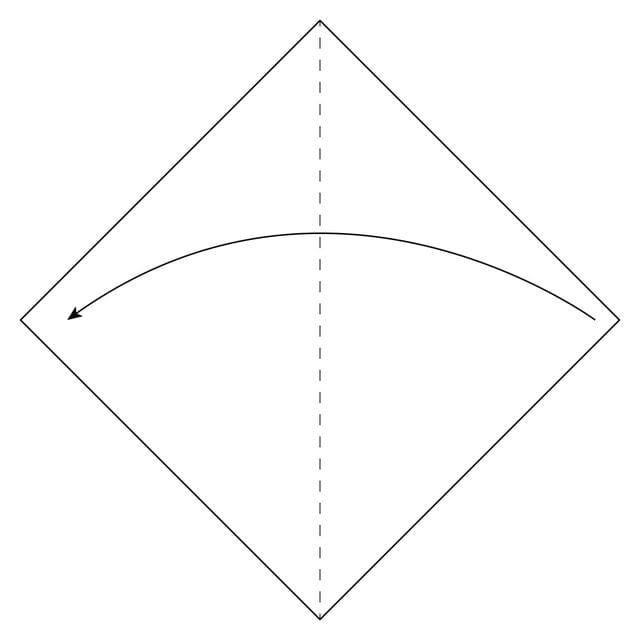
Step 2
Fold the paper along the dotted line. This is where the outside reverse fold will be made. Your fold does not have to line up exactly with the line, so do not worry about making it perfect.
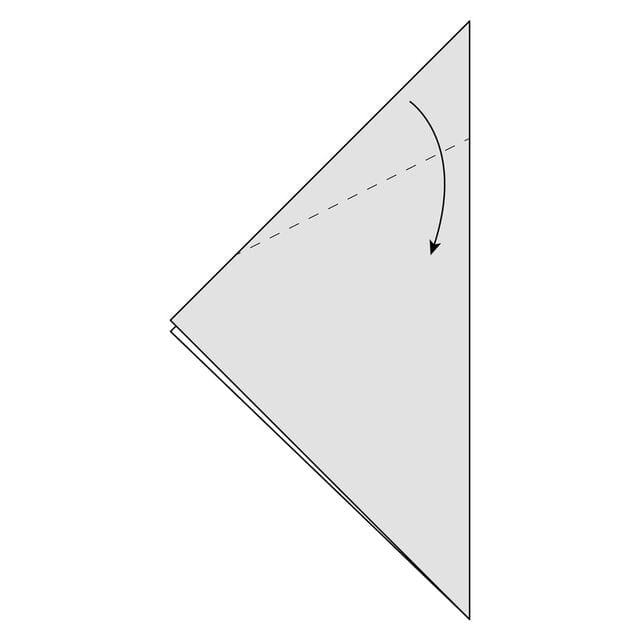
Step 3
Crease this fold well, then unfold it.
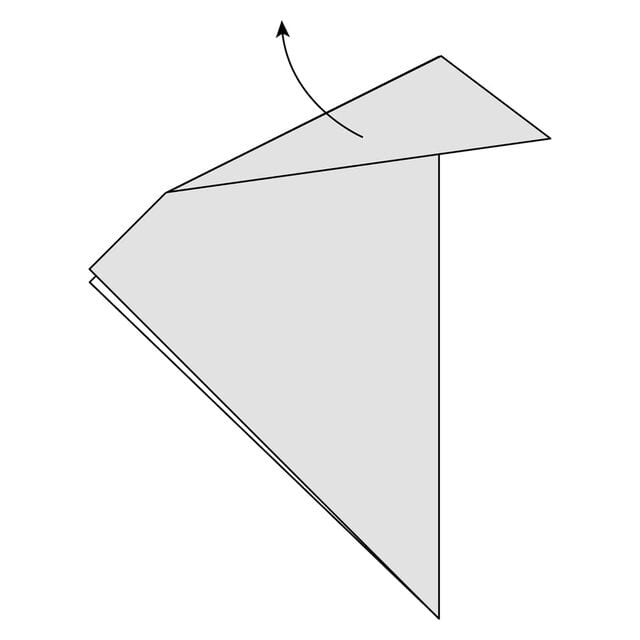
Step 4
Turn the paper over.
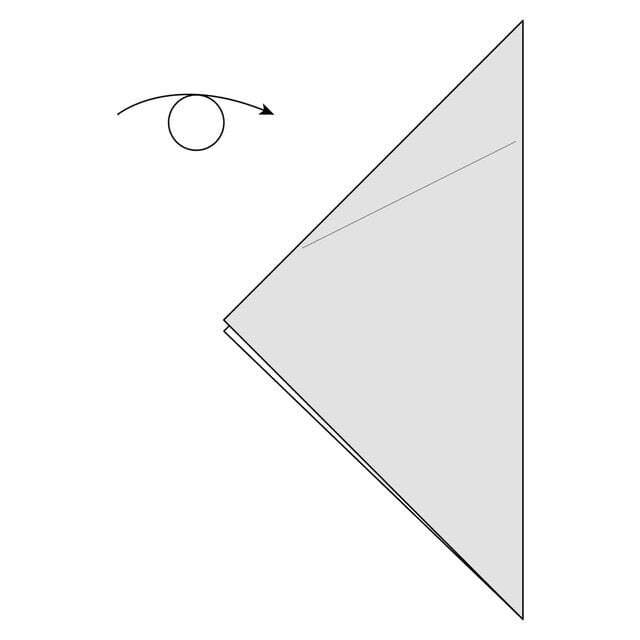
Step 5
Fold the paper along the dotted line. This will be the opposite side of the crease you made earlier.
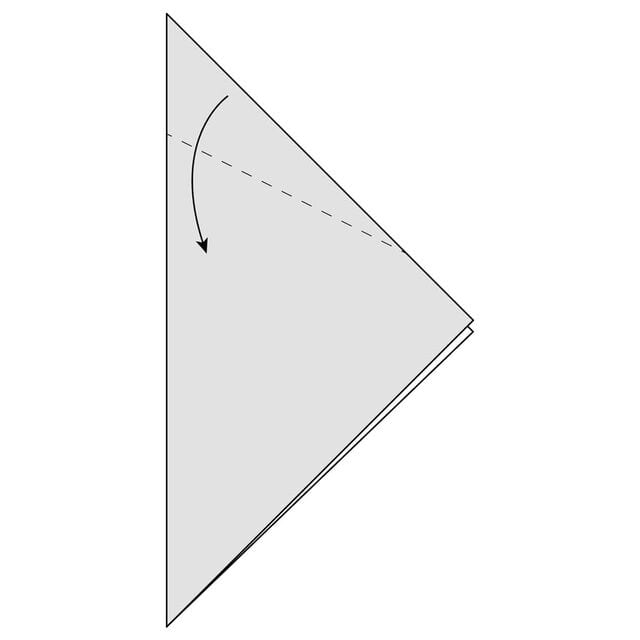
Step 6
Crease this well, then unfold it.
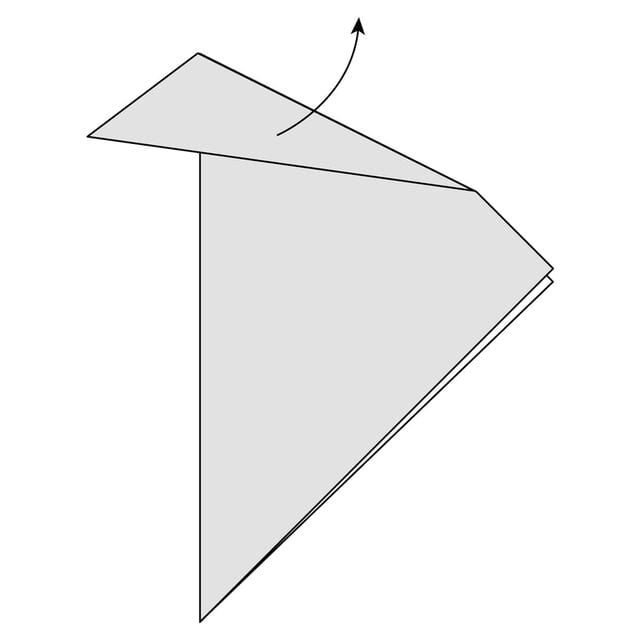
Step 7
Fold the paper to the outside of the model along the creases you already made. To make it a bit easier, you can open the model up.
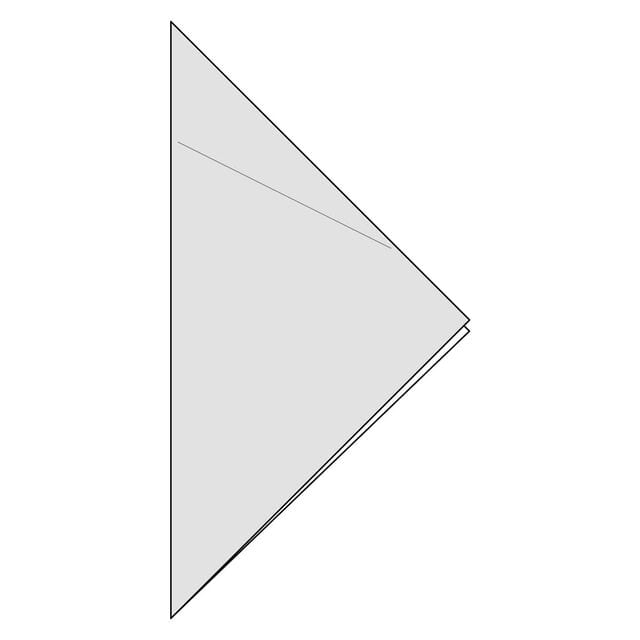
Step 8
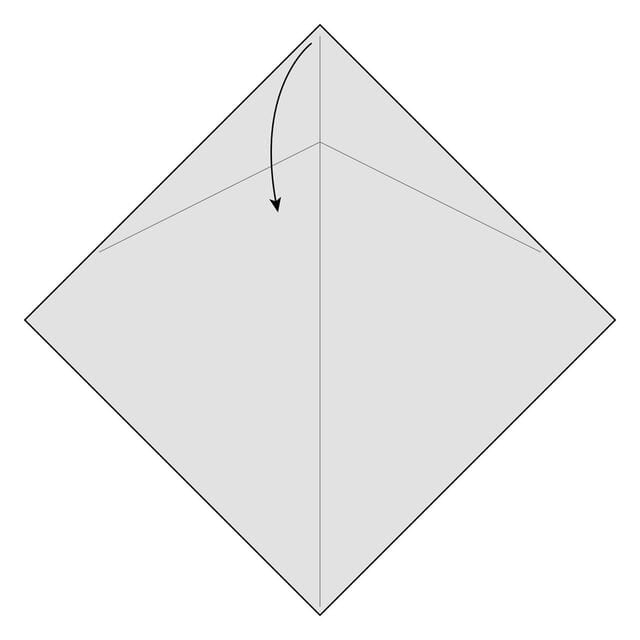
Fold the paper down along the creases you already made.
Step 9
As you fold the paper down, close the model up again along the crease you made in step 1. The paper you folded down should lie flat on the outside of the model.
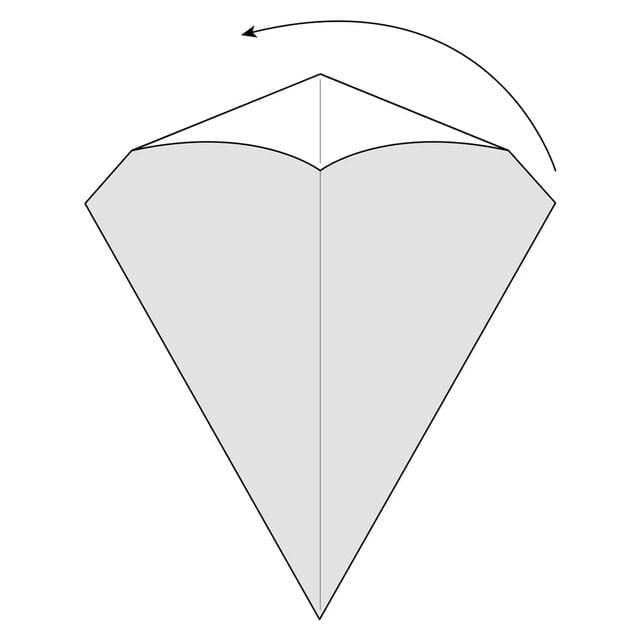
The completed outside reverse fold. It is the opposite of the inside reverse fold: the shape is essentially the same, just folded the other way and on the outside of the model.




