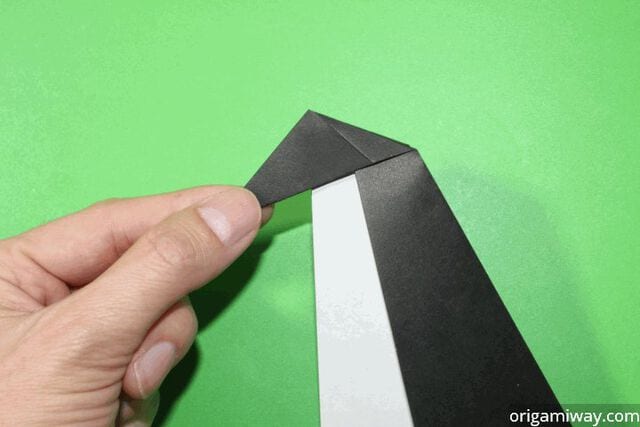
Easy Origami Penguin
Penguins are one of those shapes that just work in origami—compact, upright, and full of personality. This little guy is about as beginner-friendly as it gets: one square of paper, eight easy steps, and the toughest move is a single mountain fold. It's the kind of model you can fold in a couple of minutes and then make a whole colony of, in every color you've got. If you have kids around, this is a perfect one to teach. Grab a square and let's fold a penguin.

These easy origami penguin instructions will show you how to fold one using very simple, clear step-by-step photos. It's so easy that even very young children can make it.
STEP 1. Start with a square piece of origami paper. If you only have a regular 8.5x11 sheet, trim it into a square first. Colorful printed origami paper works nicely too.
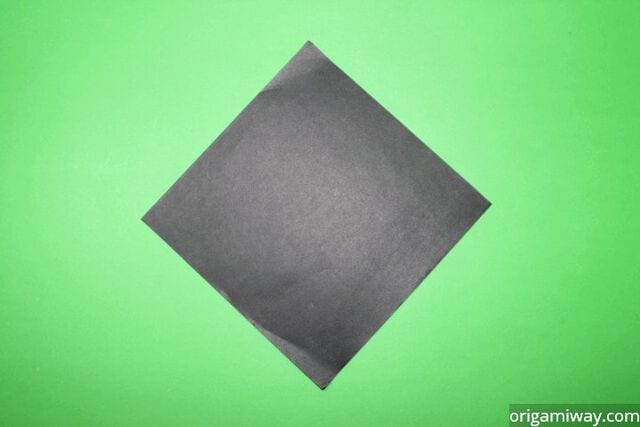
STEP 2. Let's create a crease in the center to use as a guideline. Fold the paper in half, then unfold.
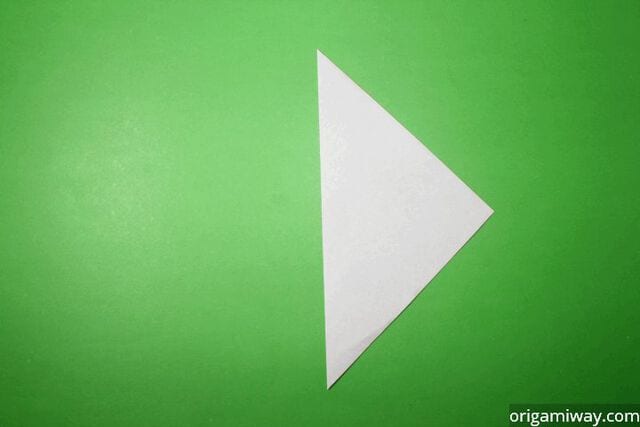
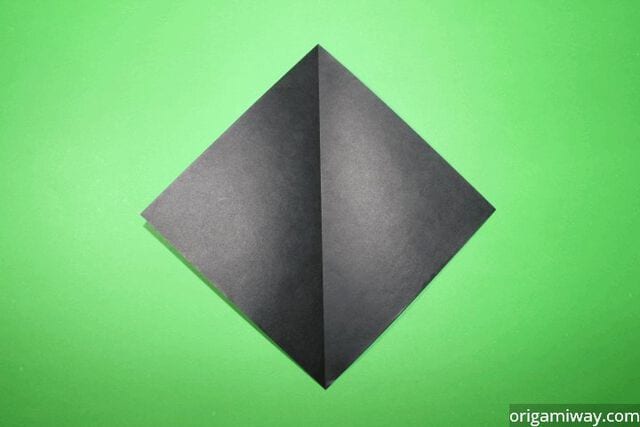
STEP 3. Fold the bottom corner up like this.
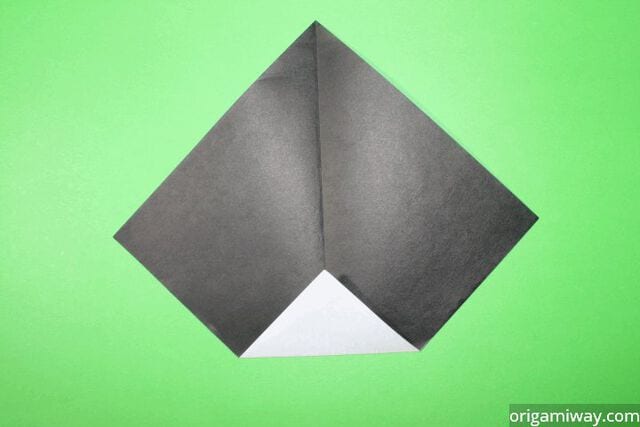
STEP 4. Turn the paper over.
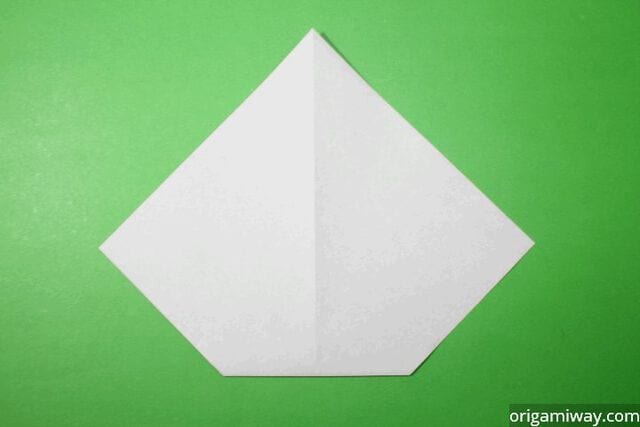
STEP 5. Fold in the left and right sides like this.
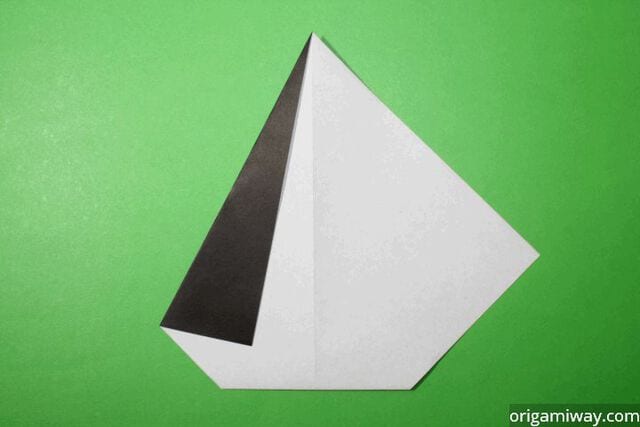
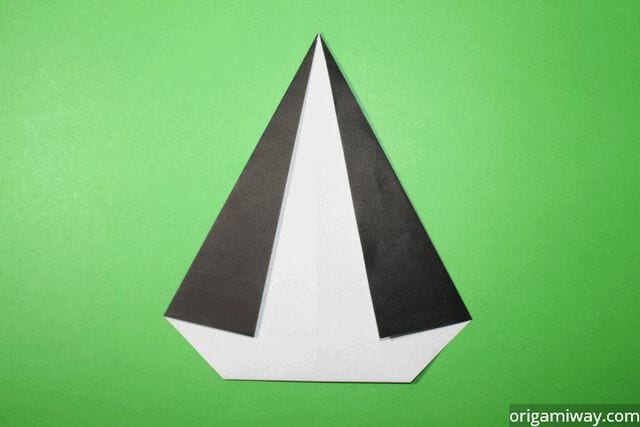
STEP 6. Fold the top point down like this. This will be the head.
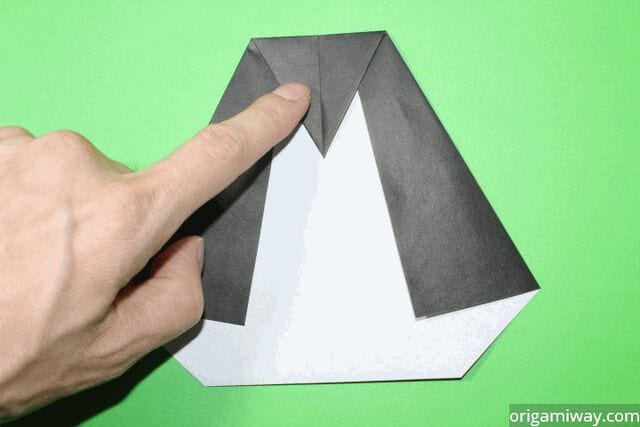
STEP 7. Fold the penguin in half by raising the center crease up and folding the sides back. This is called a mountain fold.
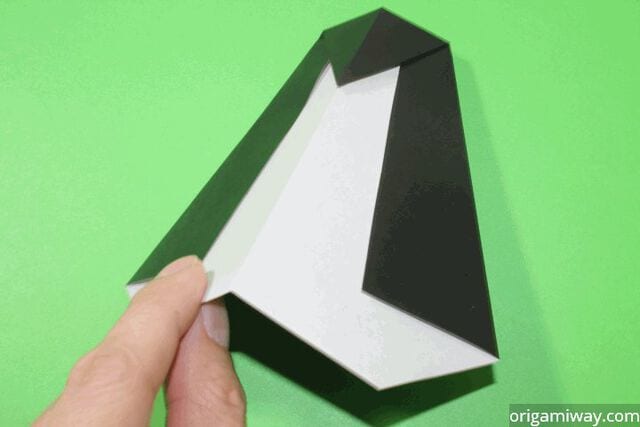
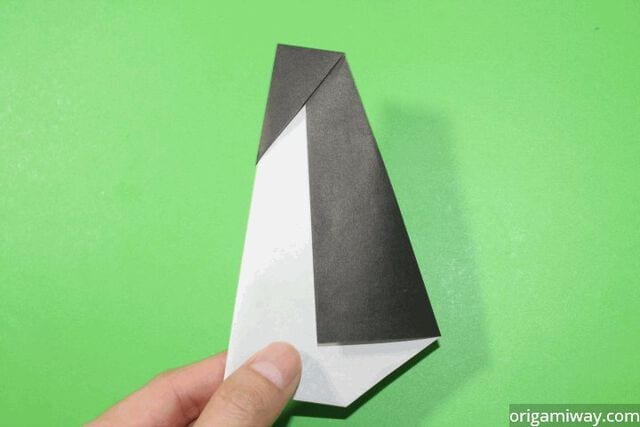
STEP 8. Pull the beak out and flatten the back of the head like this. Your little penguin is done!