
Origami box with lid (Version 2)
There's a reason origami boxes are a rite of passage: they're useful the moment they're finished. This one goes a step further with a sliding lid, so your little container actually closes.
Built from two squares and nothing but simple valley and mountain folds, it's a perfect beginner project — every crease follows a clear arrow. Fold one for rings, for a tiny gift, or just because. Let's make it.
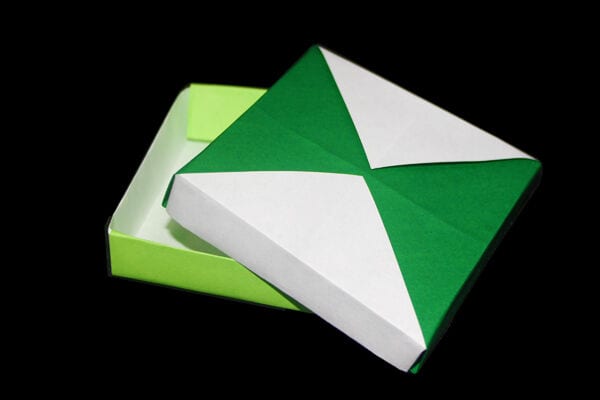
A standard Origami flat box with sliding lid attachment.
Origami boxes are popular with everyone, from kids to adults. They’re a popular project at nurseries and kindergartens. It’s a great activity that kids enjoy and keeps them busy for hours. And once they remember how to fold them, they can do it whenever, wherever.
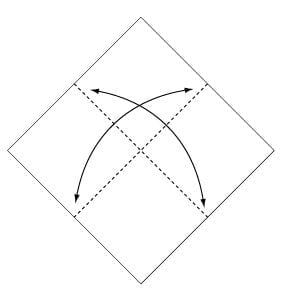
Step 1
Fold and crease in the direction of the arrow.

Step 2
Fold the paper along the dotted line in the direction of the arrow.
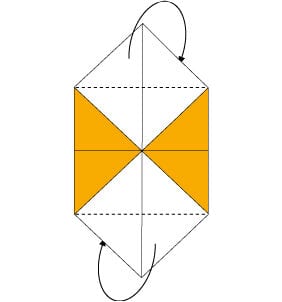
Step 3
Fold backwards along the dotted line.
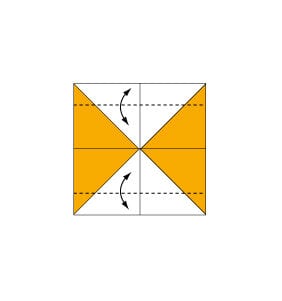
Step 4
Fold and crease in the direction of the arrow.
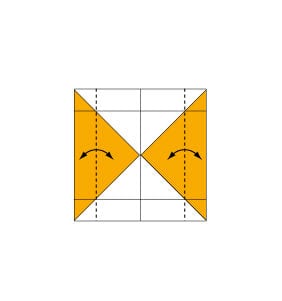
Step 5
Fold and crease in the direction of the arrow.

Step 6
Open the paper in the direction of the arrow.
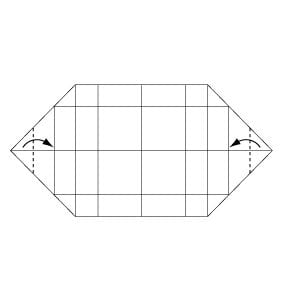
Step 7
Fold the paper along the dotted line in the direction of the arrow.
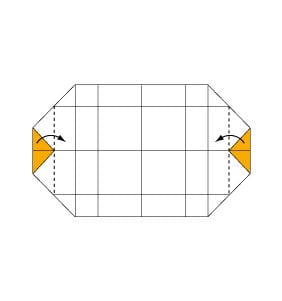
Step 8
Fold the paper along the dotted line in the direction of the arrow.
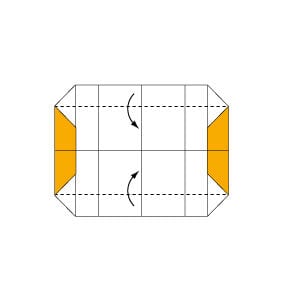
Step 9
Fold the paper along the dotted line in the direction of the arrow.
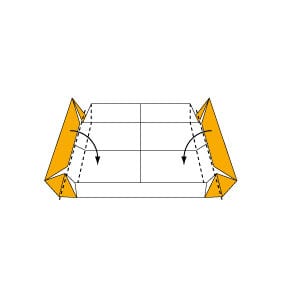
Step 10
Assemble.
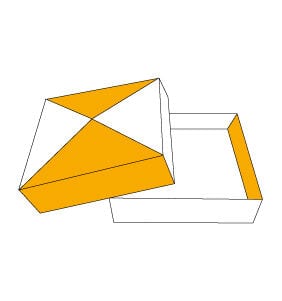
Step 11
Complete.




