
Giraffe
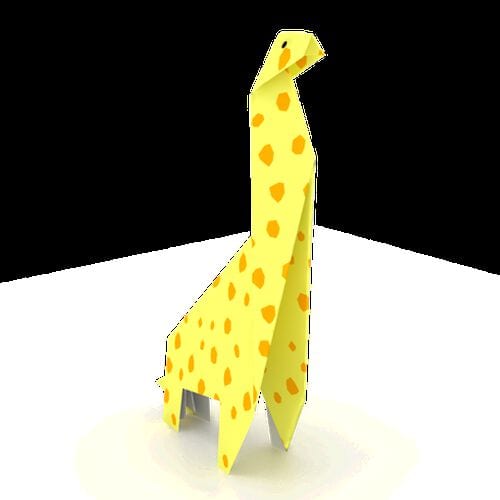
Few paper animals are as instantly recognisable as a giraffe. That long neck does half the work for you, because even a rough fold still reads as a giraffe from across the room. This model builds the neck the clever way: fold the paper narrow first, then run a few creases through it, so the finished animal has real character without a long, fiddly sequence.
It is a lovely project when you want something a little more ambitious than a crane but still quick enough for an afternoon. The last step is the best part: give your giraffe two eyes and a scattering of spots and it suddenly comes to life. Use patterned paper for the spots, or plain yellow, and let the kids draw the faces.
STEP 1.
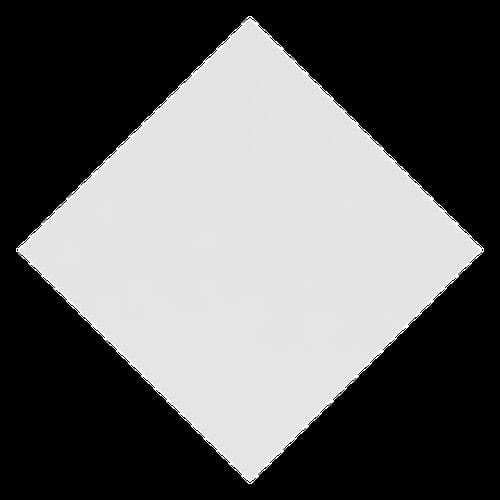
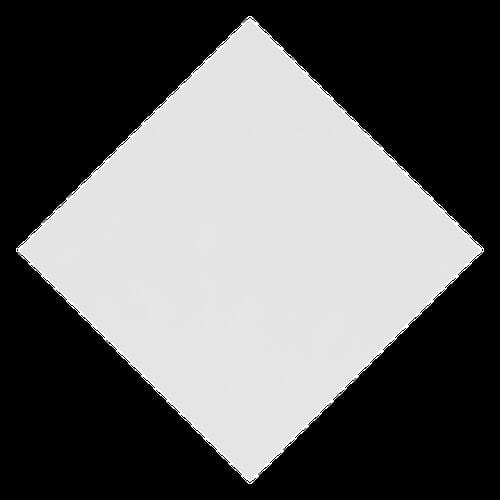
Take a square sheet of paper, fold in half sideways to make a crease and unfold.
STEP 2.
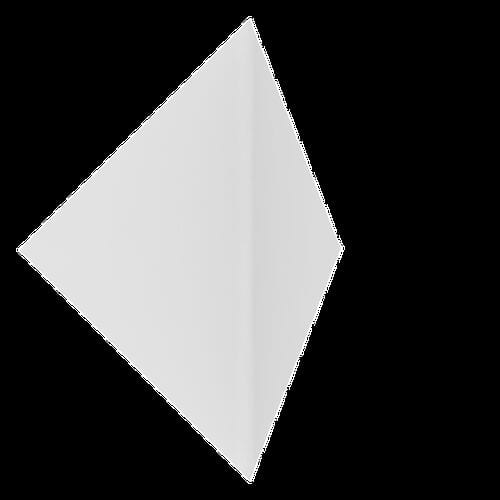
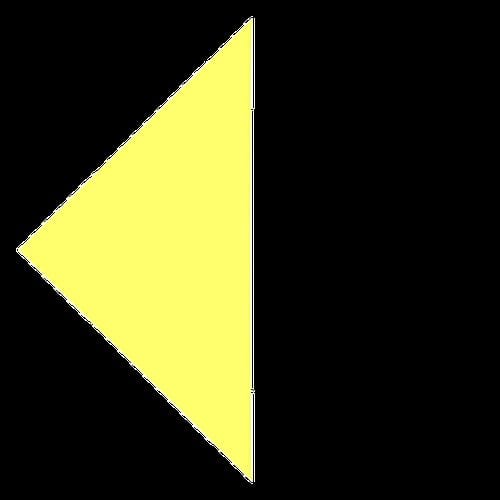
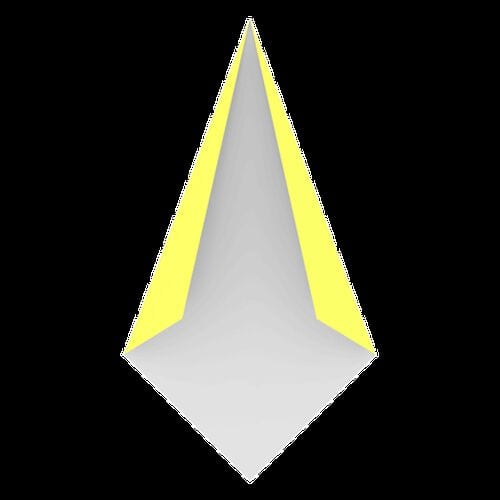
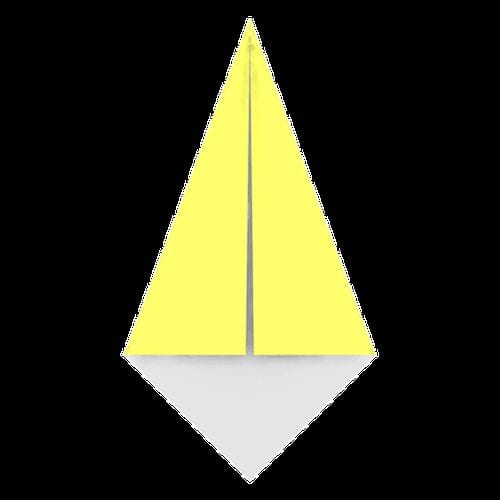
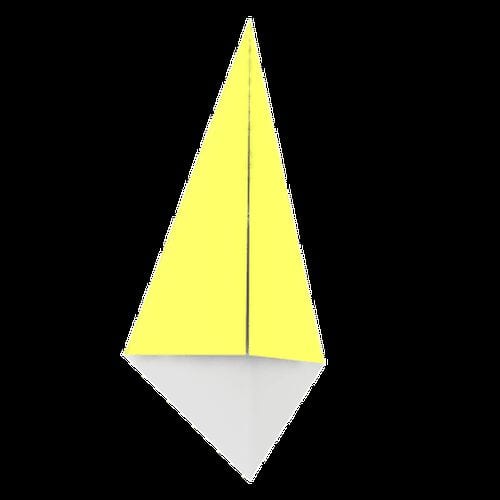
Fold the side corners to meet the center line.

STEP 3.
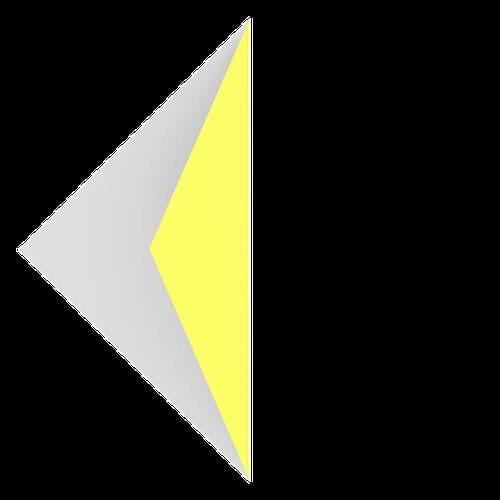
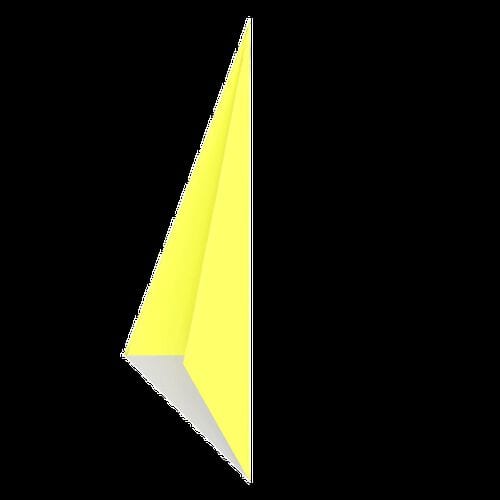
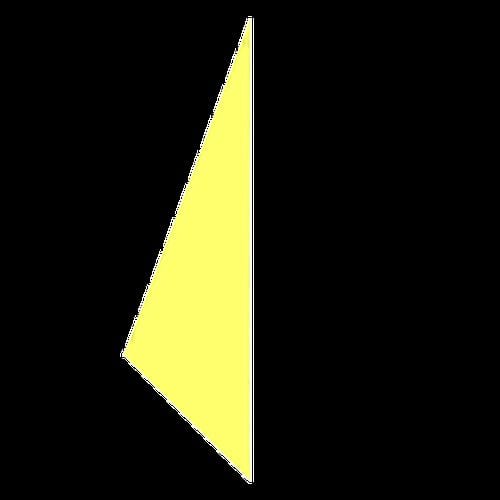
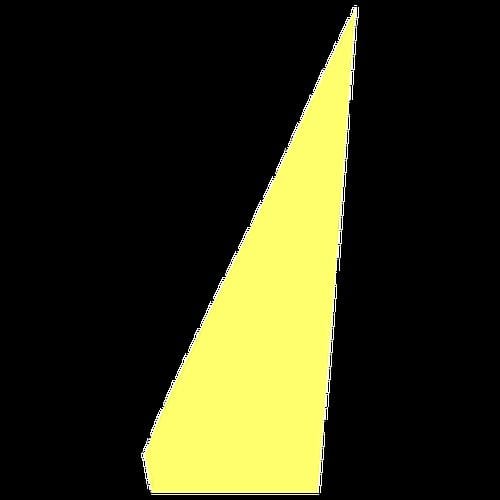
Fold the model in half to the left and rotate it.
STEP 4.
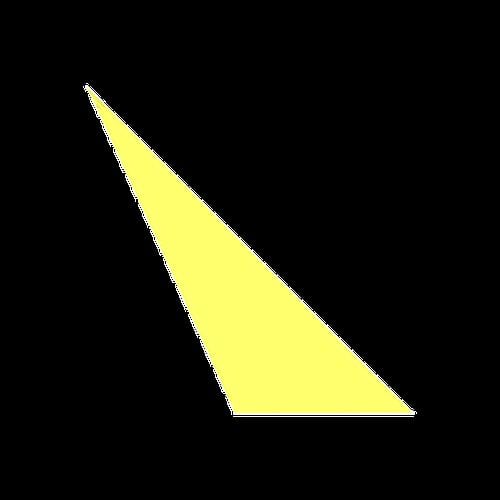
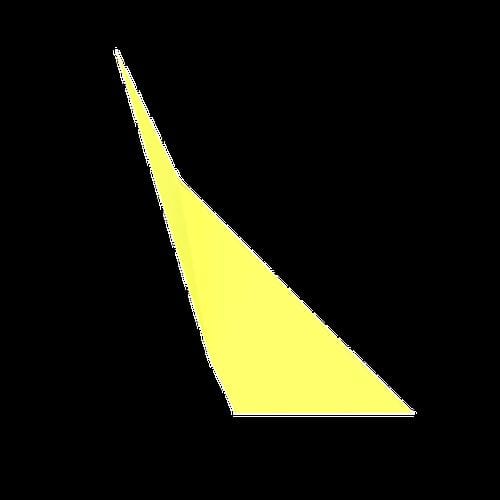
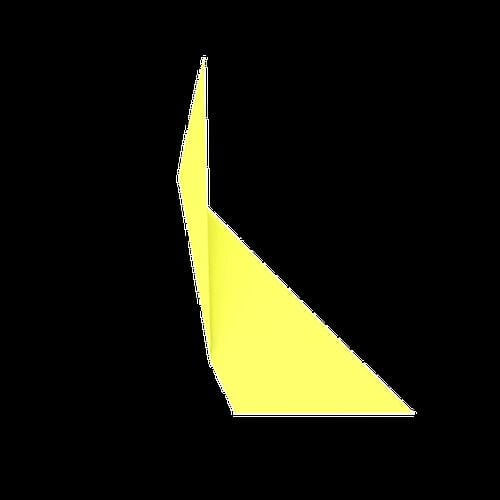
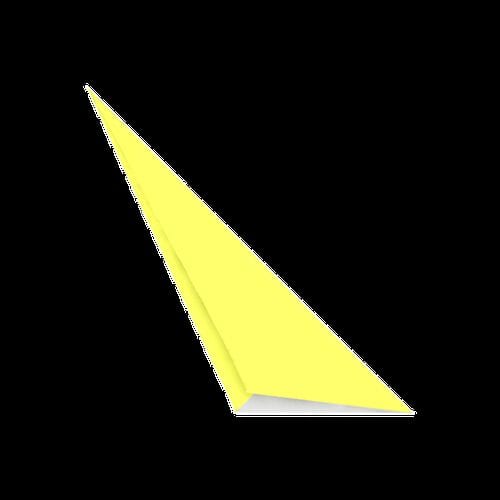
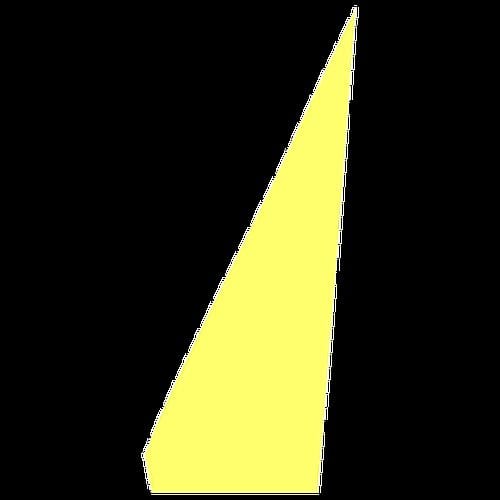
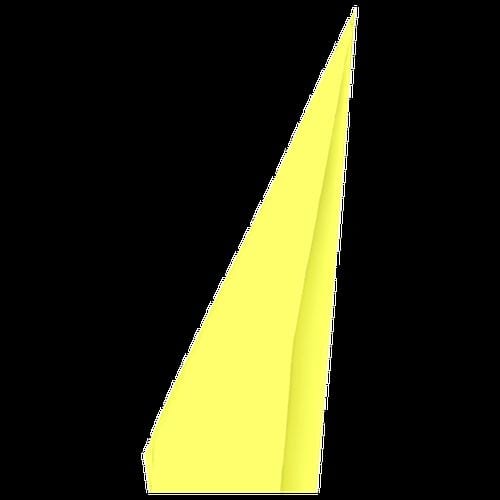
Fold the top part to the right, creasing almost vertically, then unfold.
STEP 5.
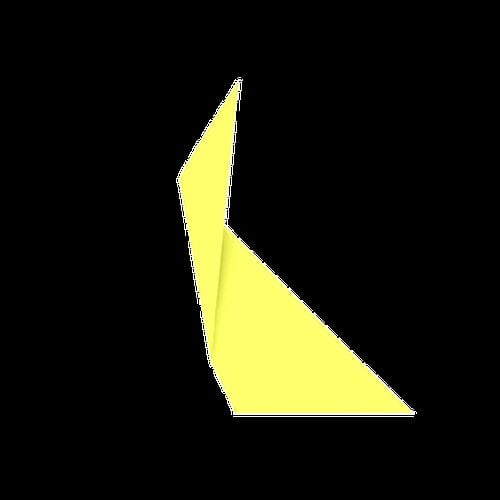
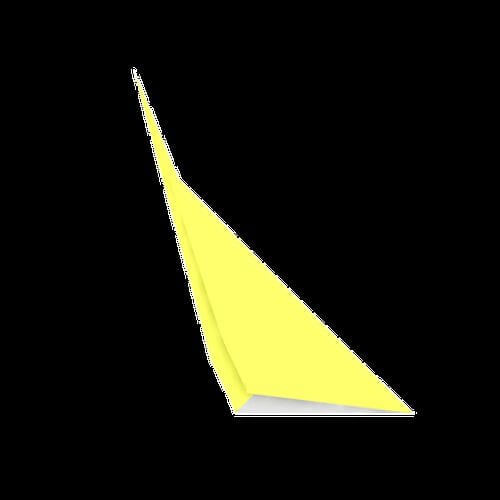
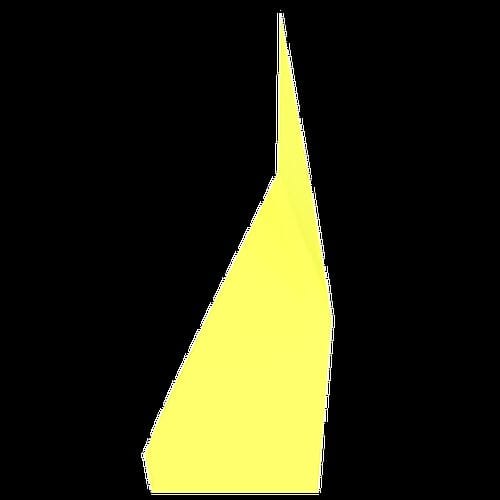
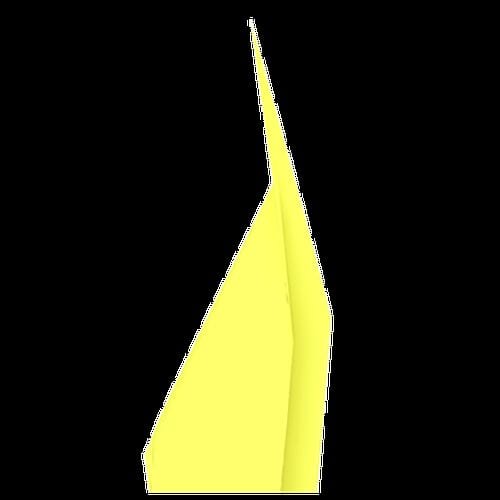
Turn the top corner inside out like a hood and flatten it.
STEP 6.
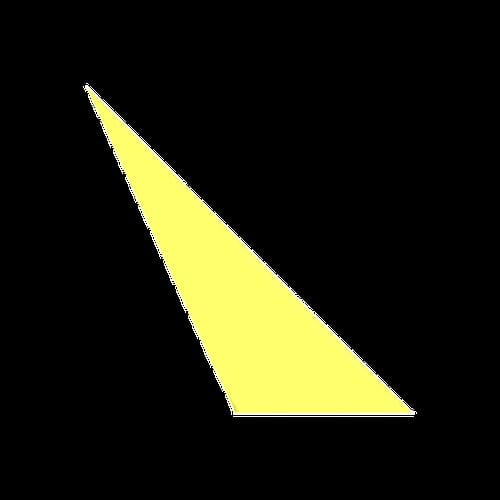
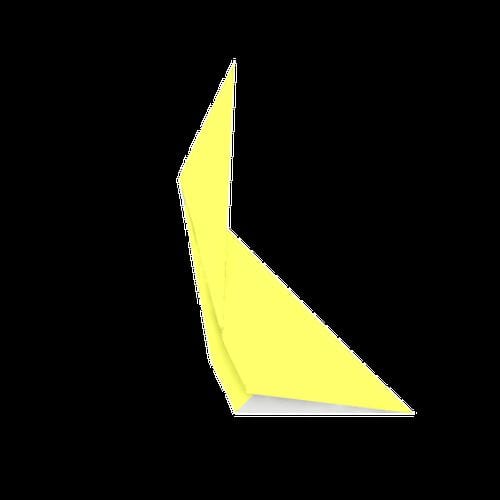
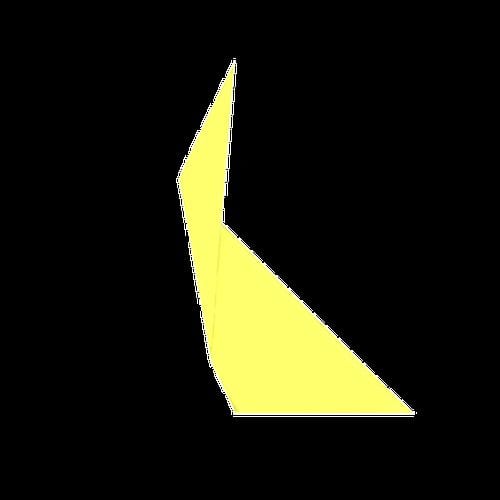
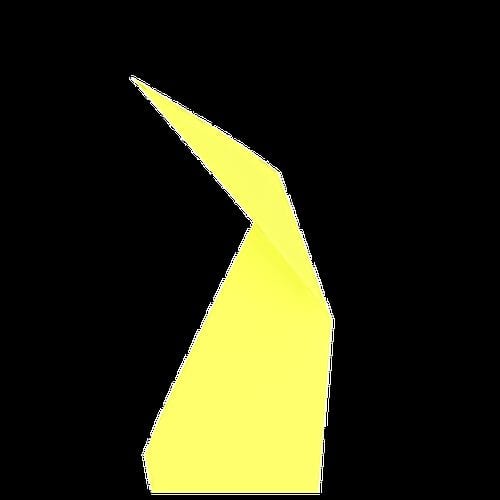
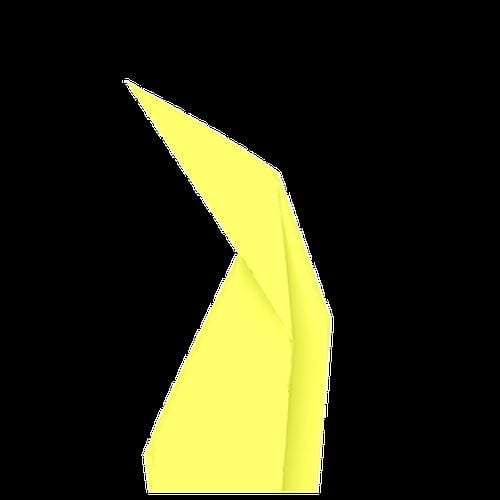
Fold the top part to the left and unfold.
STEP 7.
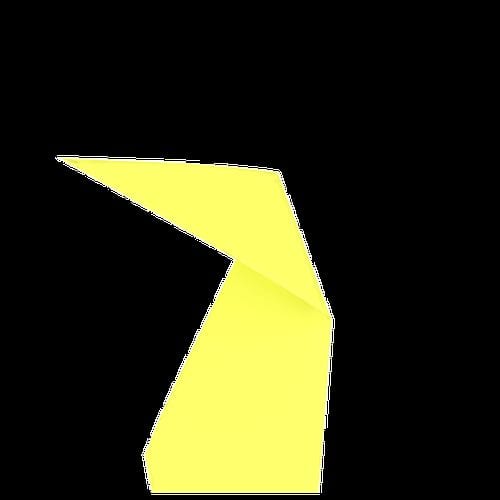
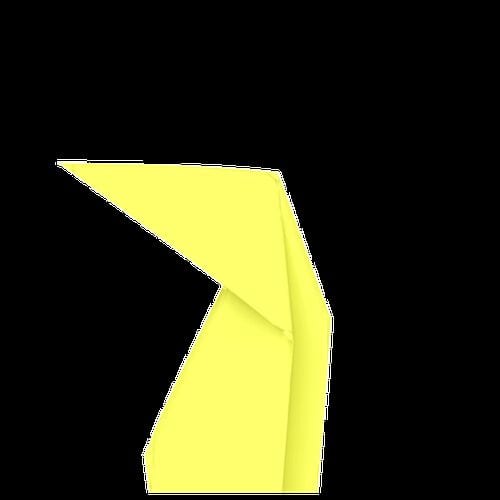
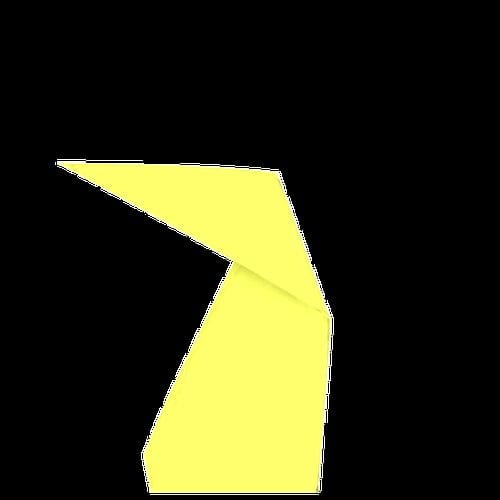
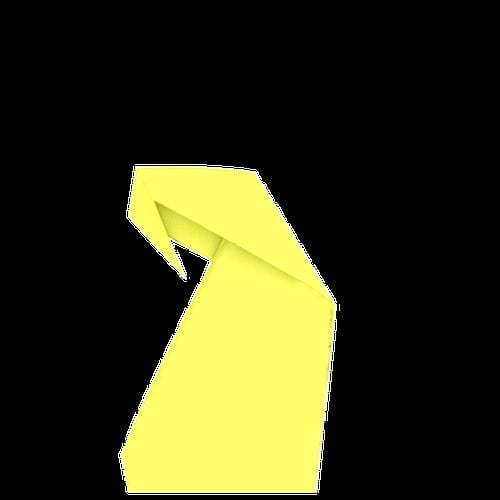
Turn the top part inside out like a hood and flatten it to form the head.
STEP 8.
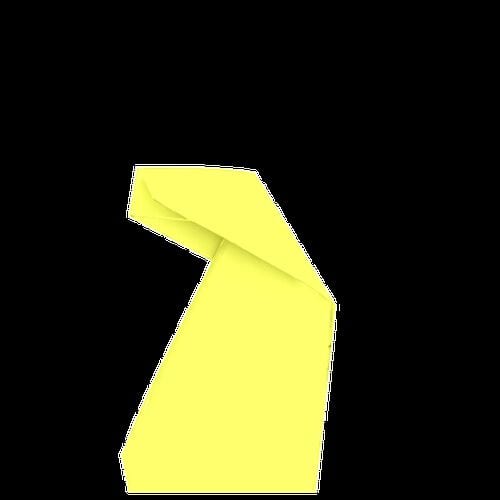
Fold the tip to the right and unfold.
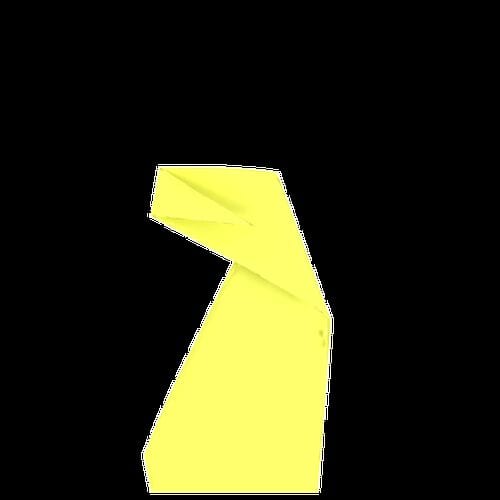
STEP 9.
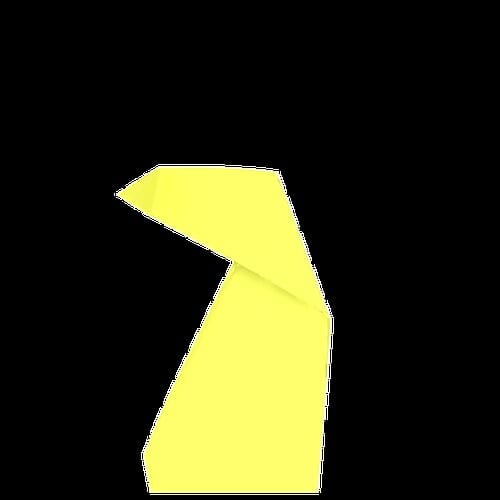
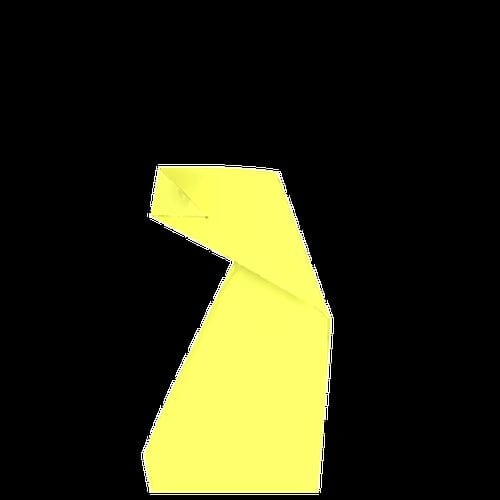
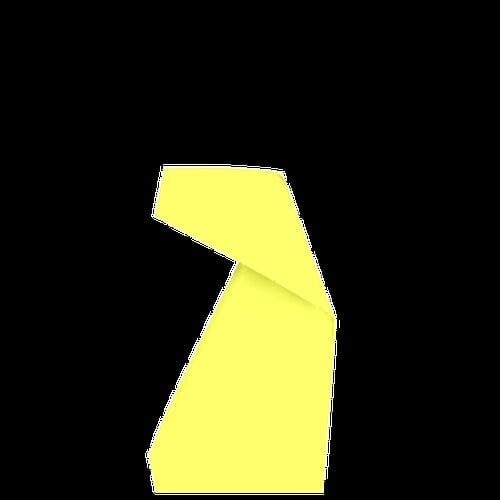
Fold the tip inward to make the muzzle.
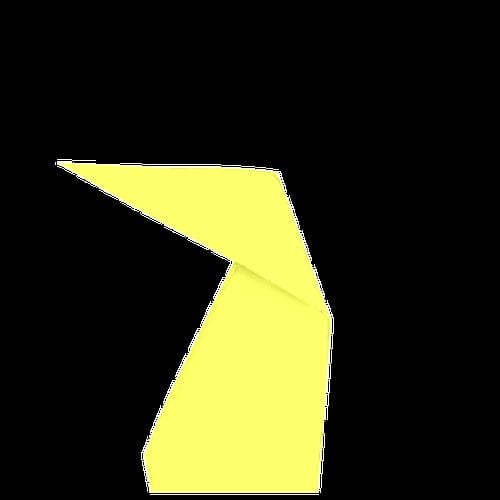
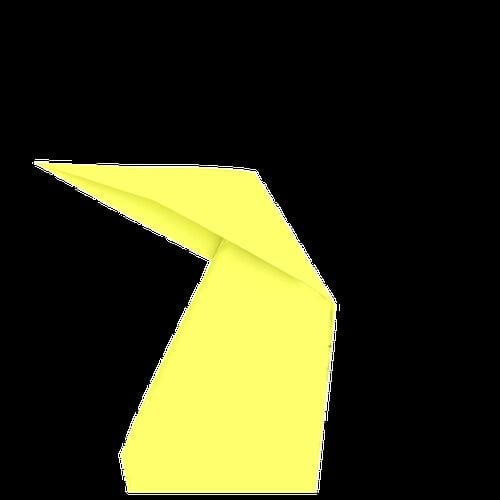
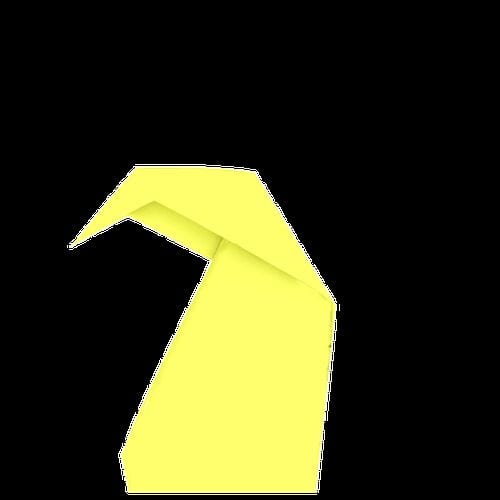
STEP 10.
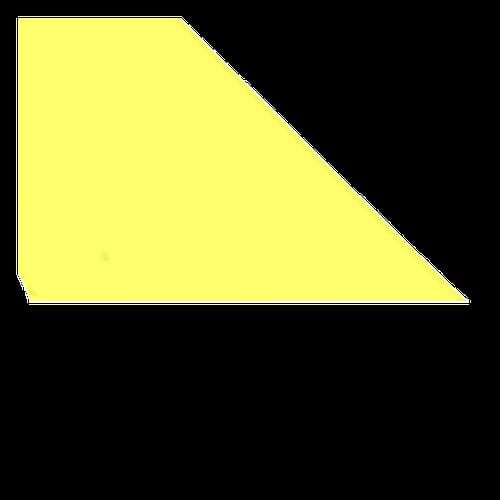
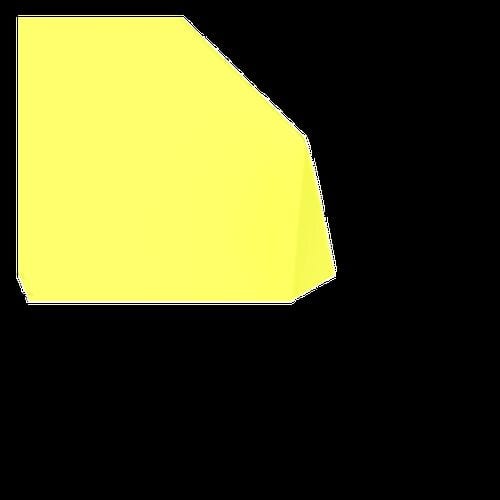
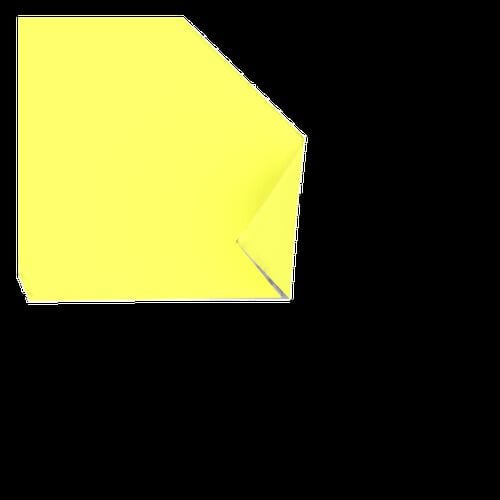
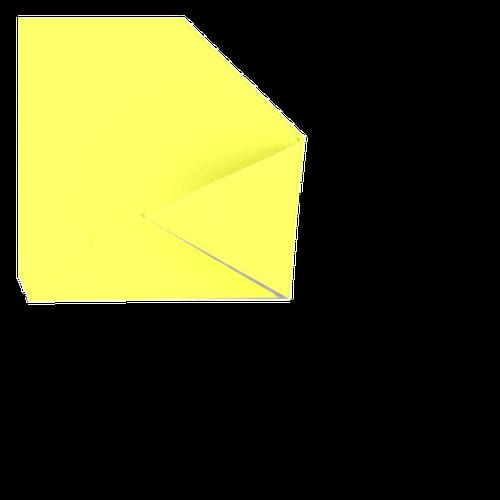
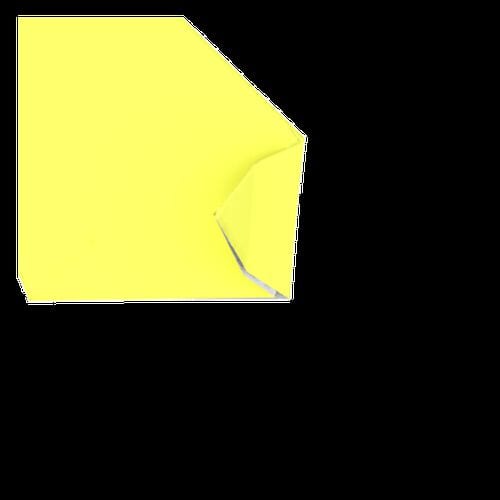
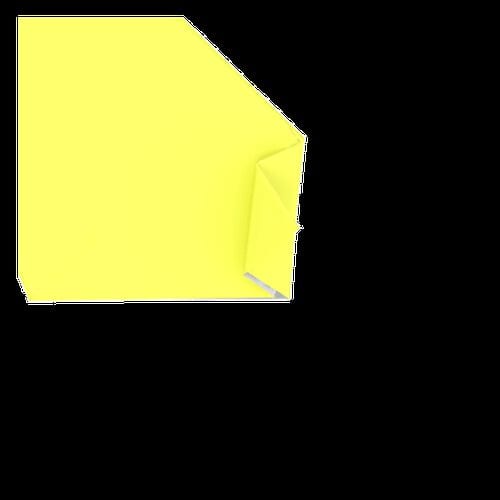
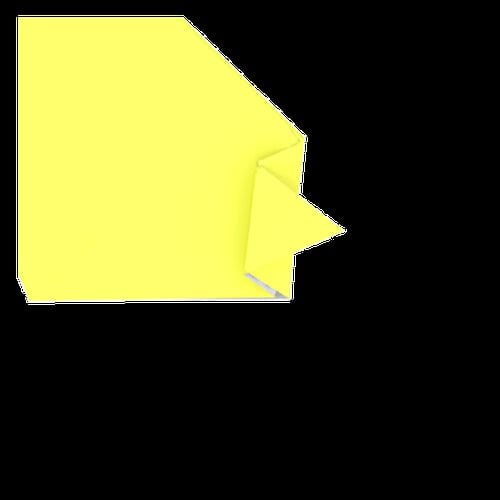
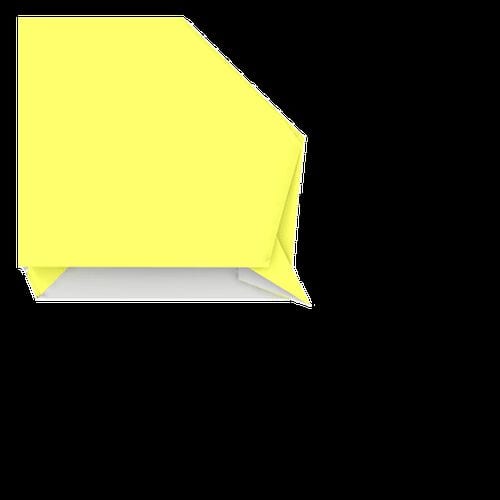
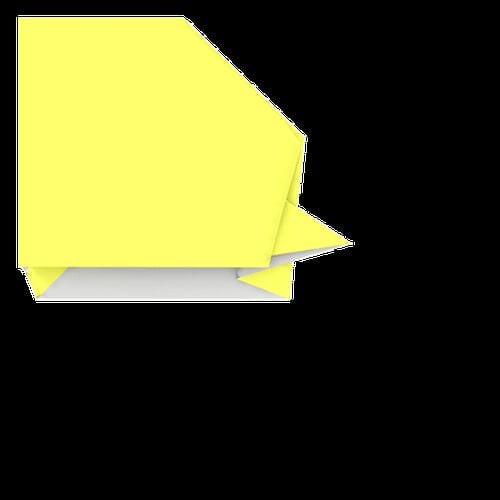
Fold the right corner to the left and then its tip to the right and unfold.
STEP 11.
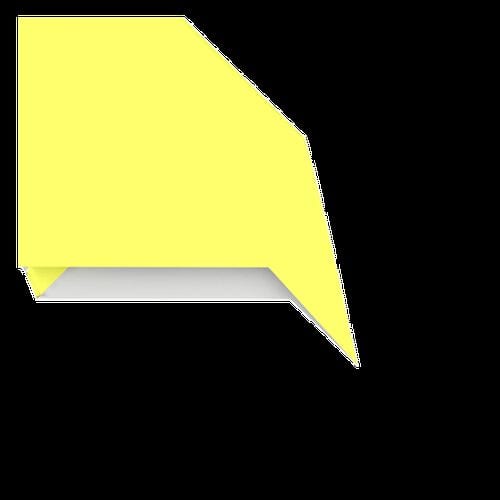
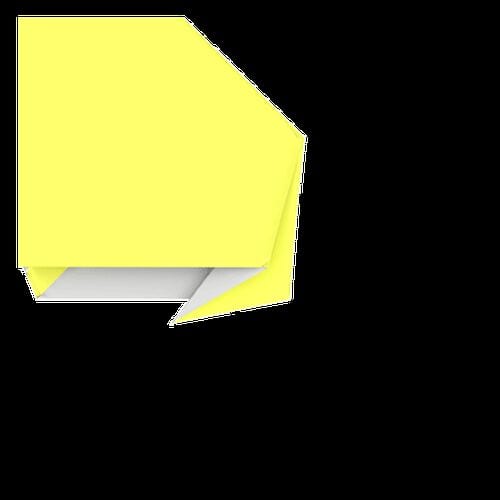
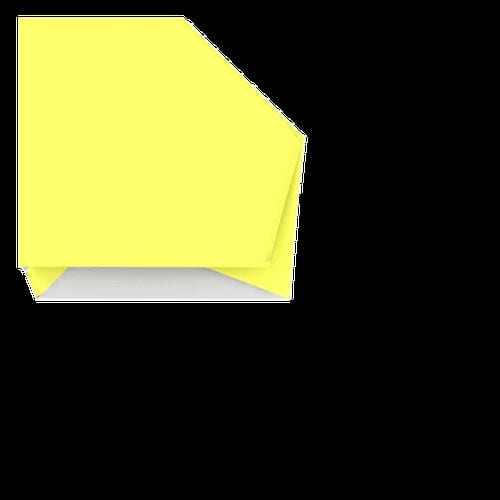
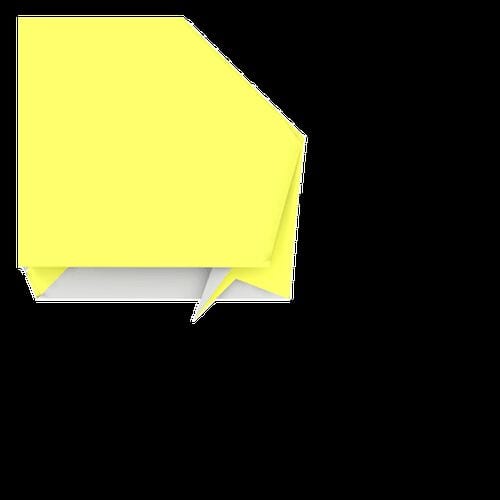
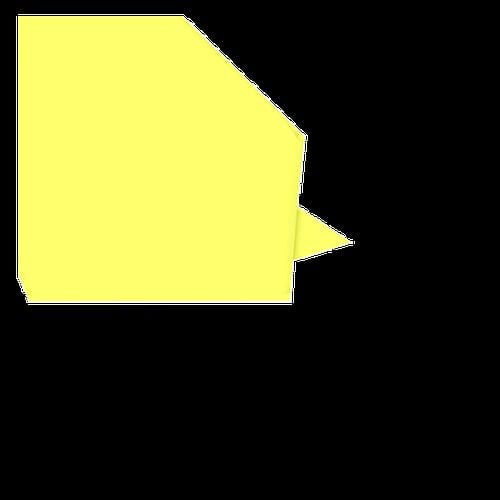
Fold the corner inward and pull out the tip to make the tail.
STEP 12.
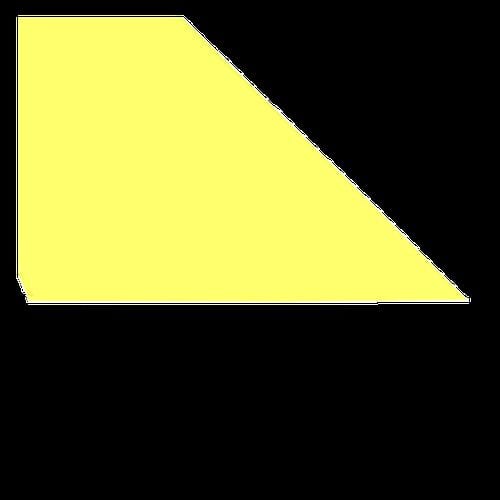
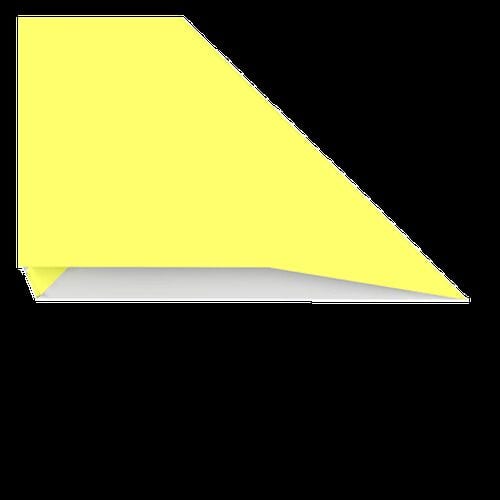
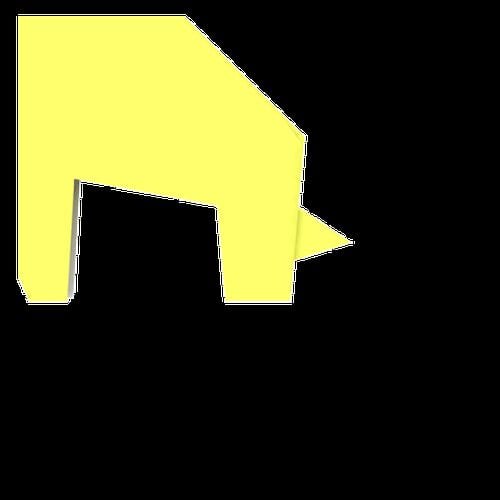
Cut out a piece to form the legs.
STEP 13.
Draw some eyes and spots.
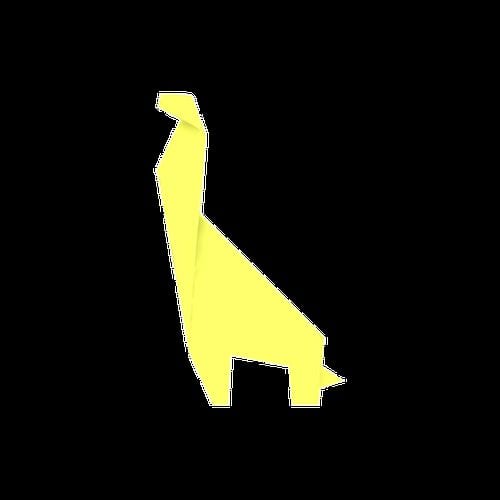
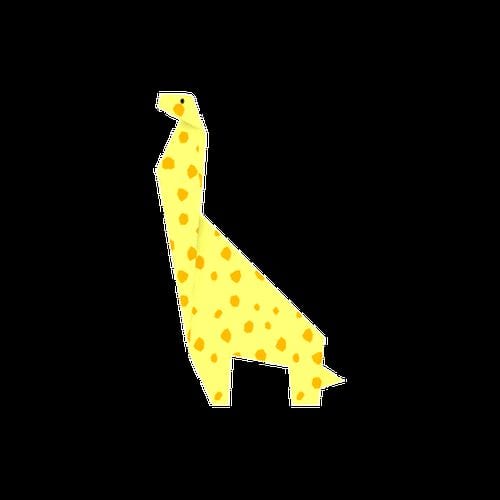
STEP 14.
Your origami giraffe is complete!




