
Origami Rabbit (Standing)
A rabbit is really all about the ears, and this one earns its ears the fun way - with a single cut. Fold the body first, make one small snip, and the two ears swing forward and stand up on their own. It is the rare origami model that finishes standing upright, balancing on a little spread base instead of lying flat.
Do not be put off by the scissors. The cut is one straight line in step 9, nothing more, and everything after that is ordinary folding. If an adult handles the snip, the rest is gentle enough for children. Round the tips of the ears with a second tiny cut and the rabbit turns soft and fluffy, ready for an Easter basket or a windowsill.
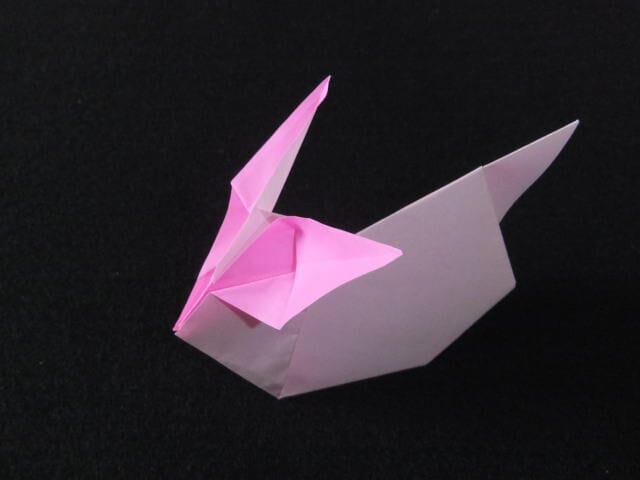
How to Fold
STEP 1. Fold it in half in a triangle with the colored side up.
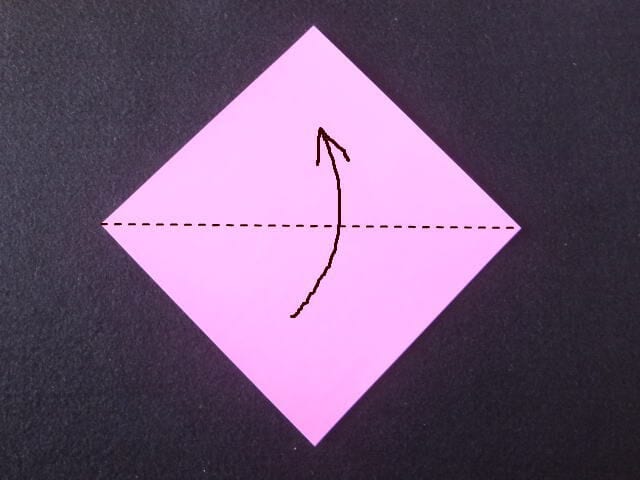
STEP 2. When you have a crease, open it.
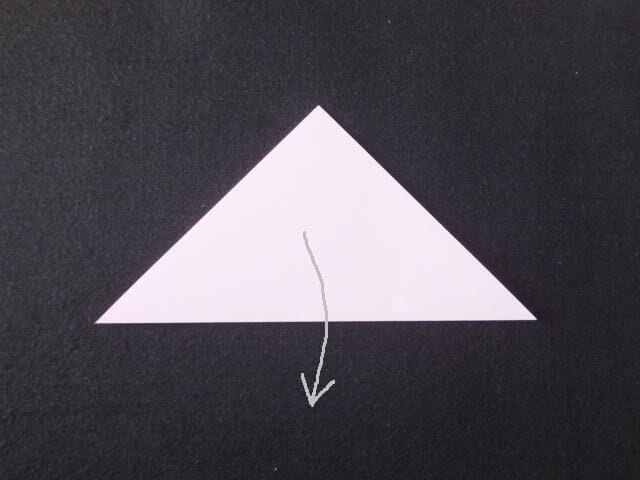
STEP 3. Fold the top and bottom corners toward the center line.
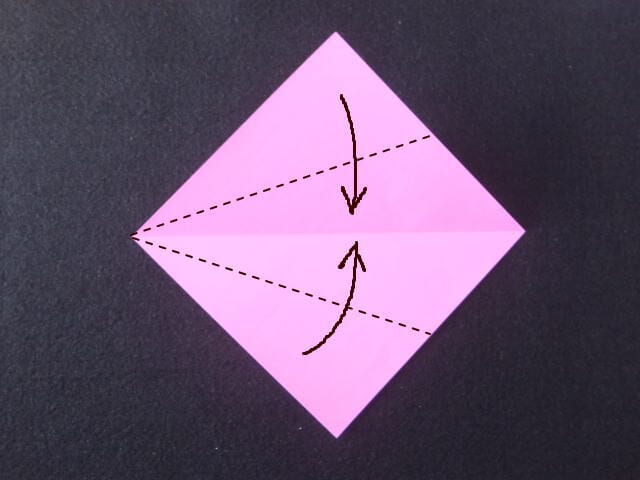
STEP 4. Fold the right side from the dotted line to the left.
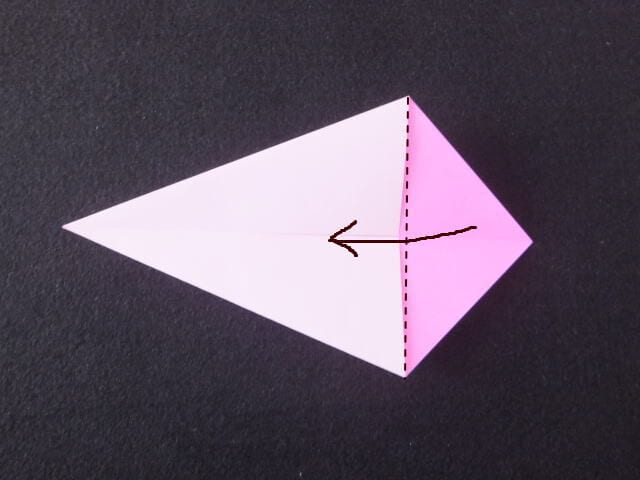
STEP 5. Leaving a gap of about 7-8 mm, fold the right side over.
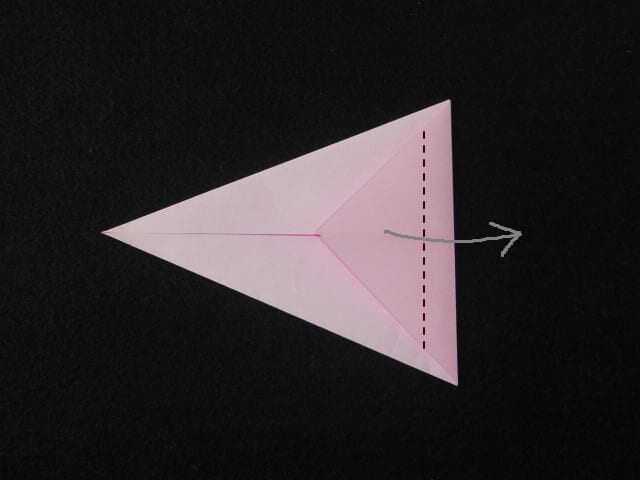
STEP 6. Fold the top and bottom corners inside. Once folded, turn the paper over.
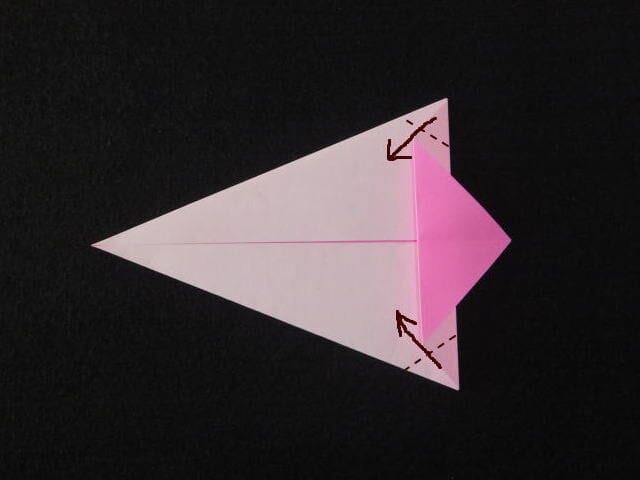
STEP 7. Fold the left tip to the straight line on the right.
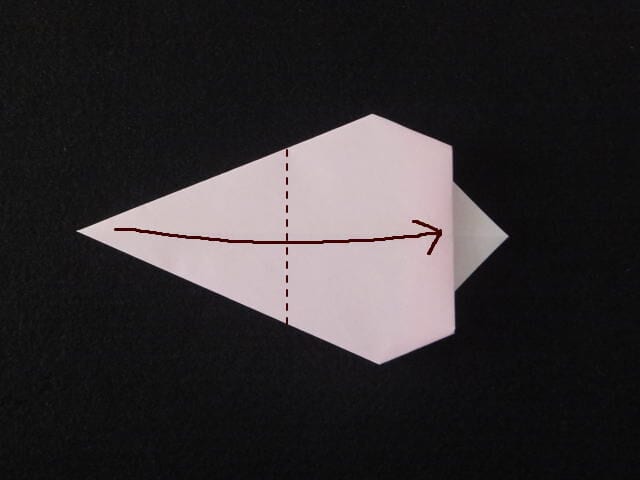
STEP 8. Fold it from the center.
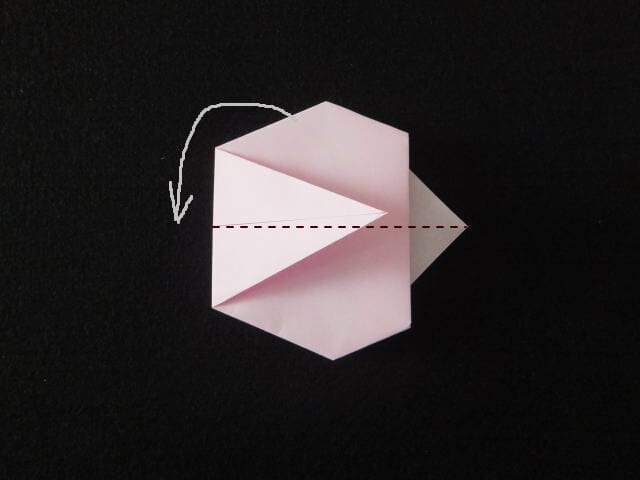
STEP 9. Make a cut in the centre of the triangular part, leaving about 1 cm from the left. After cutting, pull the paper up along the grey dotted line.
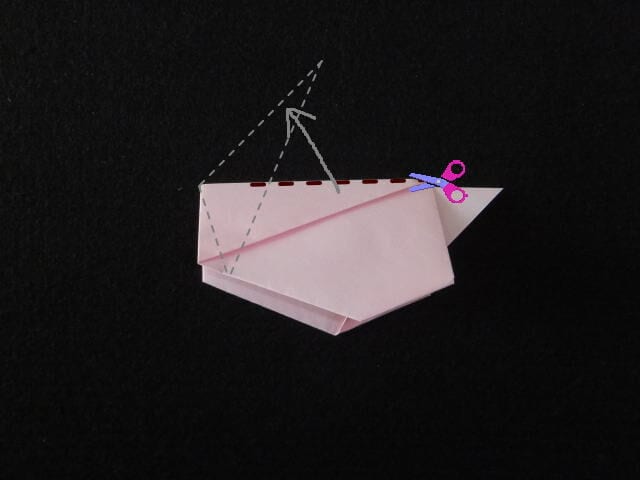
STEP 10. Fold the front ear from the cut along the dotted line.
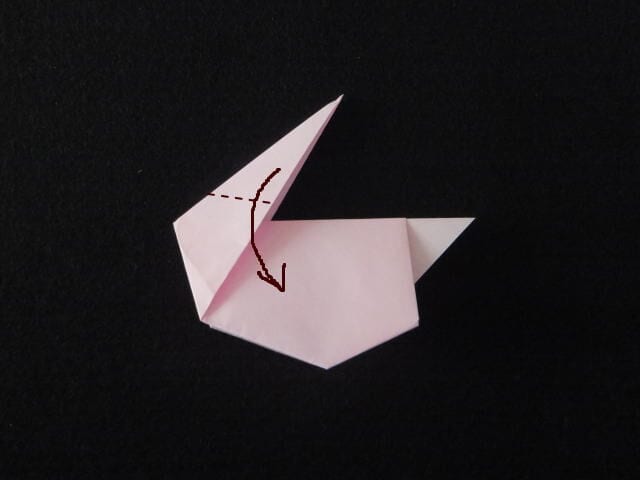
STEP 11. Open the bag part.
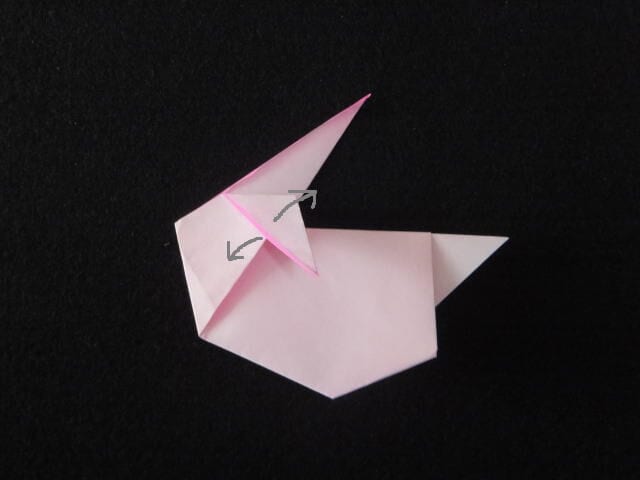
STEP 12. Hold the open part and fold it with the apex facing forward.
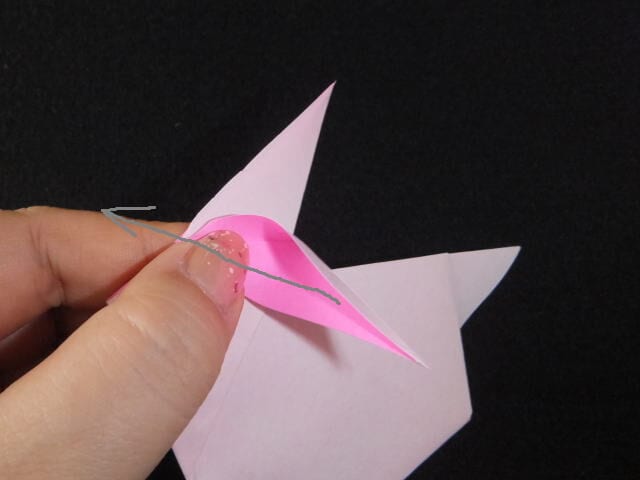
STEP 13. One ear is done. Open and fold the other side in the same way.
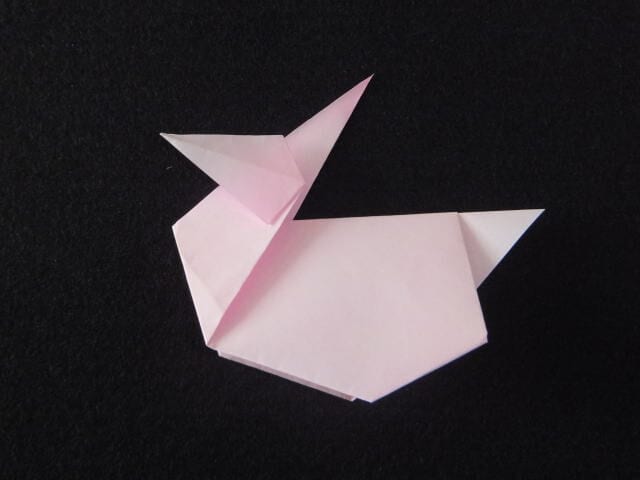
STEP 14. Fold it toward you from the dotted line. Don't make a crease and press it lightly.
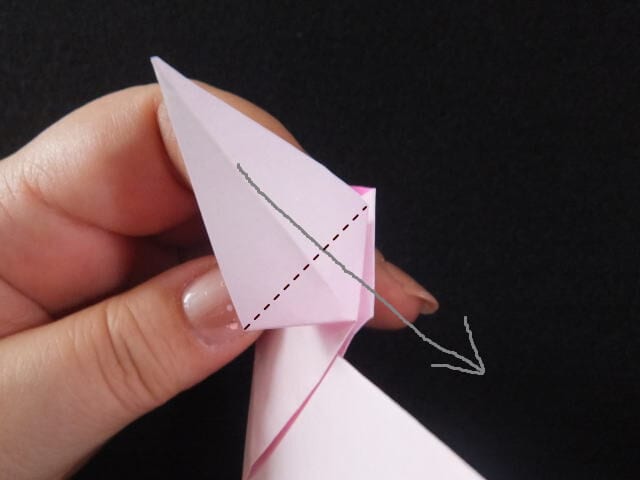
STEP 15. Your ears are ready. Fold the other one in the same way.
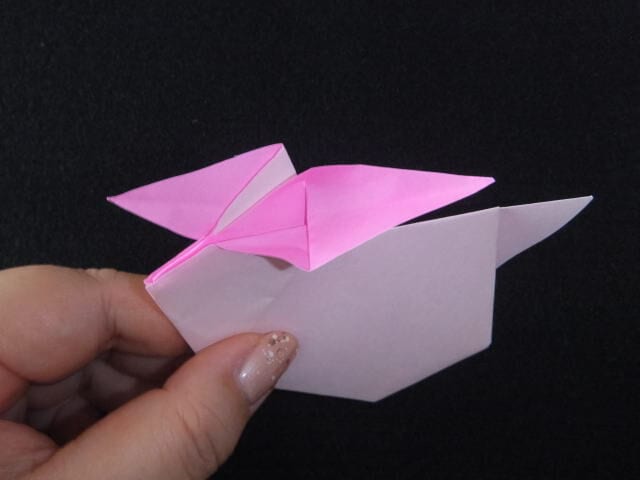
STEP 16. The rabbit is ready. Spread the bottom a little and let it stand.
Folding Tips
It looks difficult, but with a little help on the ears, even children can fold it.
Round the tips of the ears with a small cut and you will get a fluffy rabbit.




