How to Fold an Origami Crow
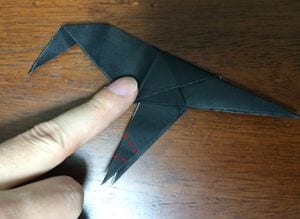
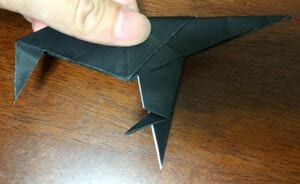
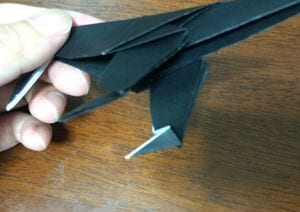
There is a moment near the end where you twist the model 90 degrees and crease the corner, and the head suddenly has a beak. Up to that point it is only a folded diamond, and it is hard to believe it is going to become a bird. After that point it is hard to believe it could be anything else.
The folding is gentle and the time on the original cover is honest — about three minutes, once you have done it once. The first couple of attempts take longer, mostly because thin paper is unforgiving at the sharp points: crease firmly, but not hard enough to tear.
Use a dark sheet. This crow reads best in black or near black, and a small scrap of white paper for the eyes is the only decoration it really needs.
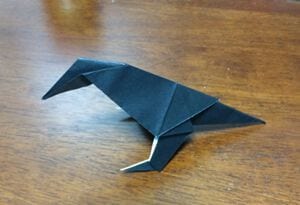
This tutorial shows how to fold a paper crow, with every step illustrated.
The model is delicate, so crease firmly but gently — thin paper tears easily at the sharp points.
How to fold a crow
STEP 1. Mountain-fold along the diagonal black line and valley-fold along the red line.
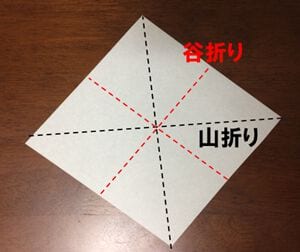
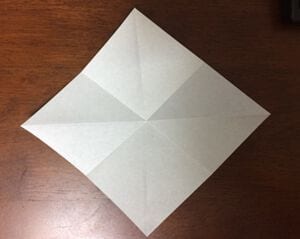
STEP 2. Fold along the creases to collapse the paper into a diamond shape.
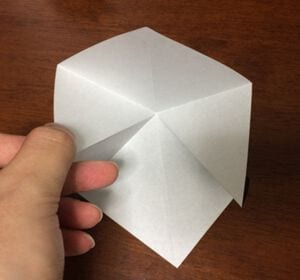
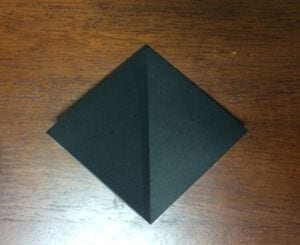
STEP 3. Fold the paper as shown and make a crease.
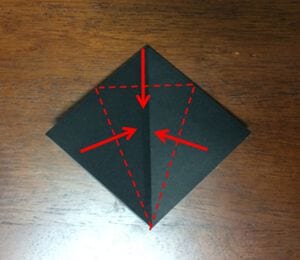
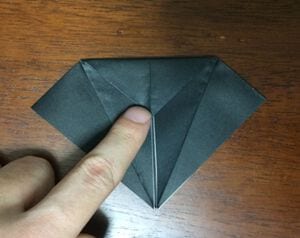
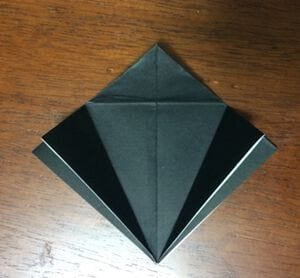
STEP 4. Open the paper up and fold the corners upward along the creases.
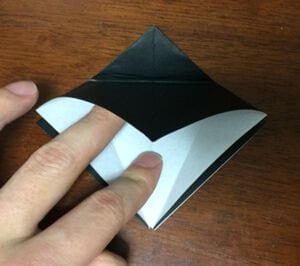
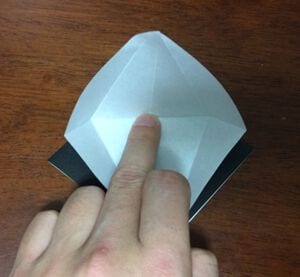
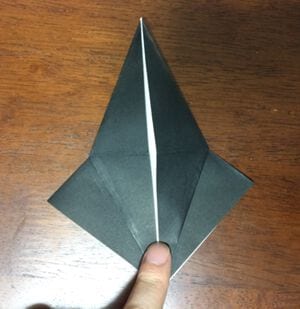
STEP 5. Turn the model over and fold the other side the same way.
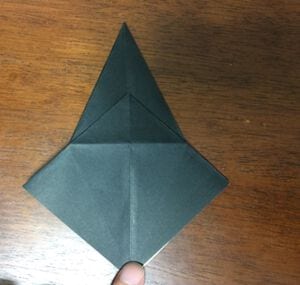
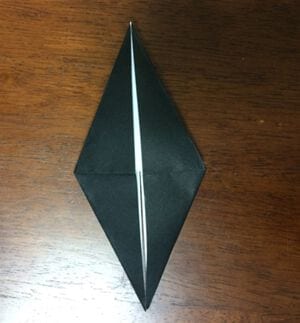
STEP 6. Fold one flap over as shown. Repeat on the back.
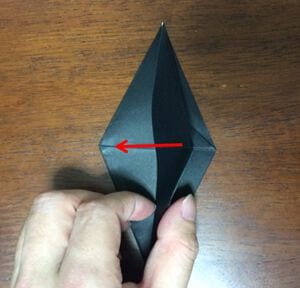
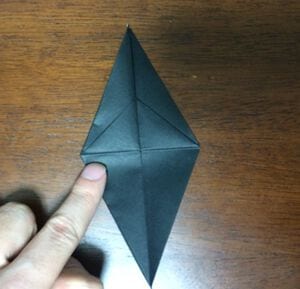
STEP 7. Turn the model over and fold as shown.
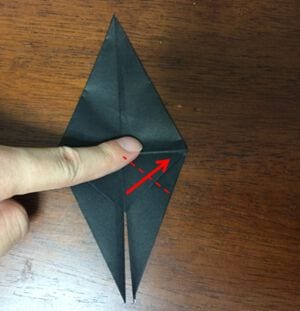
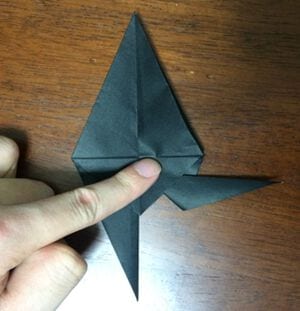
STEP 8. Fold the paper inward along the crease.
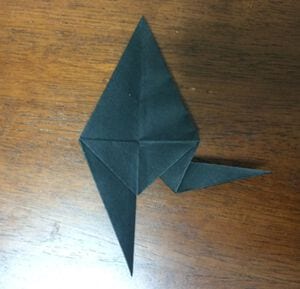
STEP 9. Repeat the same fold on the left side.
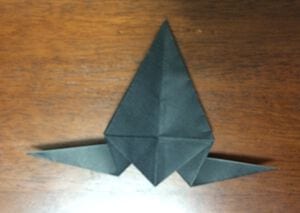
STEP 10. Fold the top corner down, one layer only.
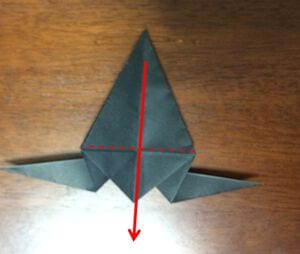
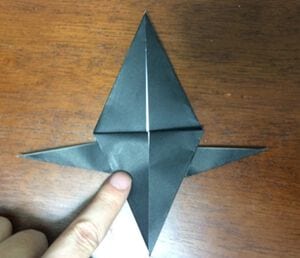
STEP 11. Fold the model in half.
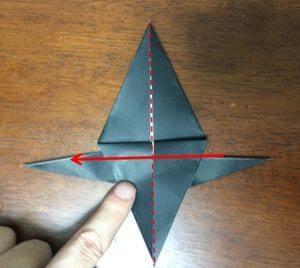
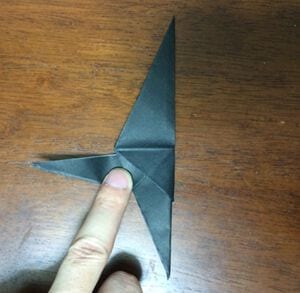
STEP 12. Turn the model 90 degrees and crease the corner as shown.
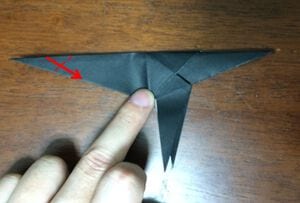
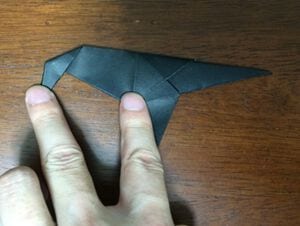
STEP 13. Fold the paper back inward along that crease.
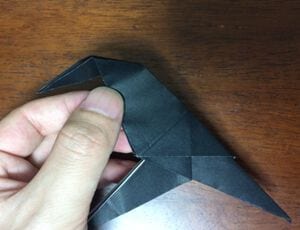
STEP 14. Fold the legs as shown. The crow is finished.