
Origami Chick Face
Few origami projects are as instantly cheerful as a little chick face. This one is about as friendly as folding gets: just a square of paper, a handful of simple folds, and a couple of dots for eyes at the very end. It is a perfect first project for kids or anyone new to paper folding, and because it uses only basic creases you can make a whole flock in one sitting. Once you have one chick, you will probably want a few more in different colors — they look lovely lined up along a windowsill or glued onto a handmade card.
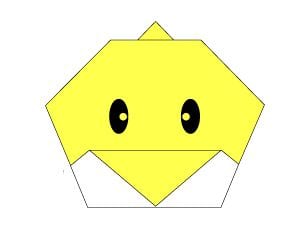
Learn how to fold an origami chick face. This is an easy origami project that is great for beginners, and the chick face instructions are very detailed. Let’s get started.
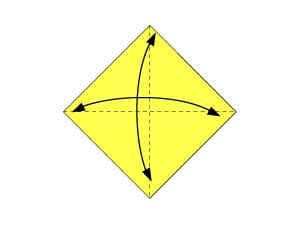
Step 1
Start with the colored side of the paper facing up. Fold in half, and open, then fold in half once again, in the other direction.
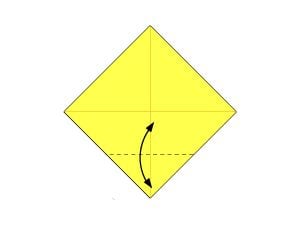
Step 2
Fold the bottom corner up to the center point, then unfold.
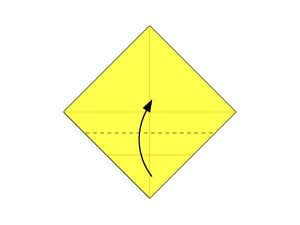
Step 3
Fold the bottom corner up again along the dotted line.
Step 4
Fold the top corner of upper layer to the bottom edge.
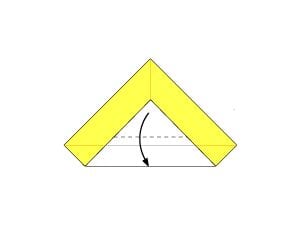
Step 5
Turn over.
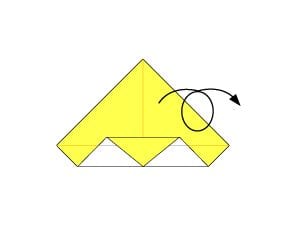
Step 6
Fold the top corner down along the dotted line.
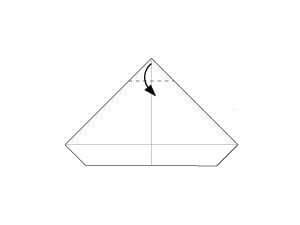
Step 7
Fold the corner of the upper layer up to make the chick’s bill.
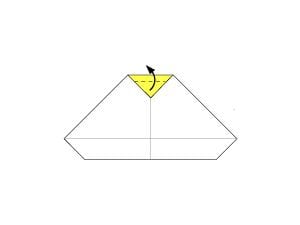
Step 8
Fold the bottom two corners along the dotted line to a position near the center line.
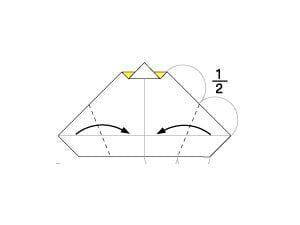
Step 9
Turn over.
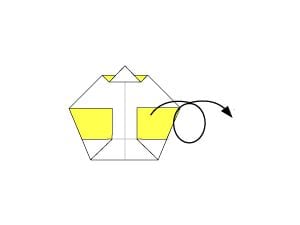
Step 10
Draw the eyes and you are finished.




