
Chick (Short Tutorial)
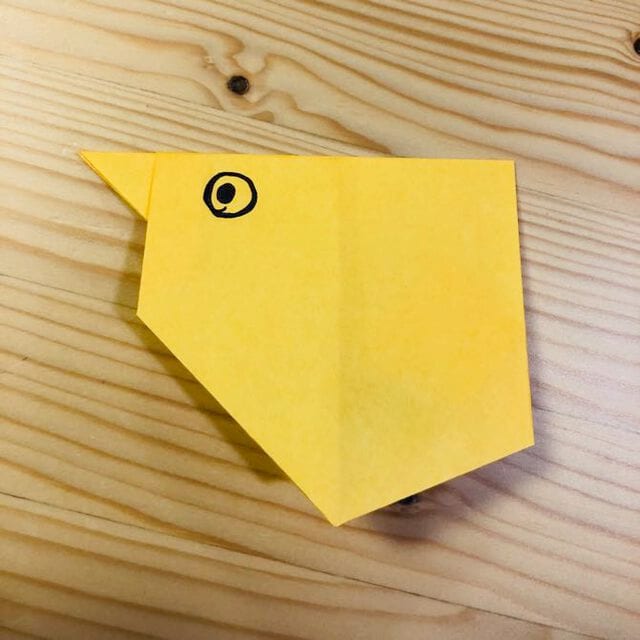
Few folds feel as instantly springlike as a tiny paper chick, and this little one is about as quick as they come. Ten easy steps, one square of paper, and suddenly you've got a plump baby bird with a cheerful beak — ready to nest on an Easter card or peek out of a gift basket.
It's the perfect short project: nothing fiddly, just clean valley folds that build a rounded body in minutes. Once you've made one you'll want a whole clutch in every shade of yellow and pastel you can find. Grab a square and let's hatch a few.
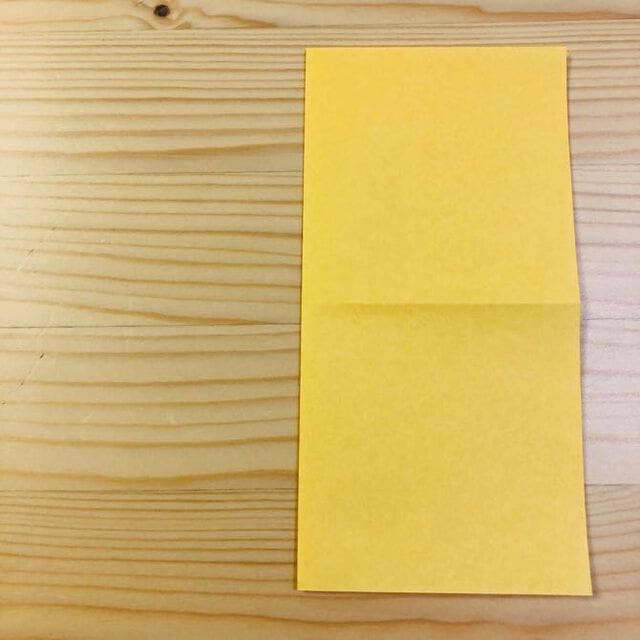
STEP 1
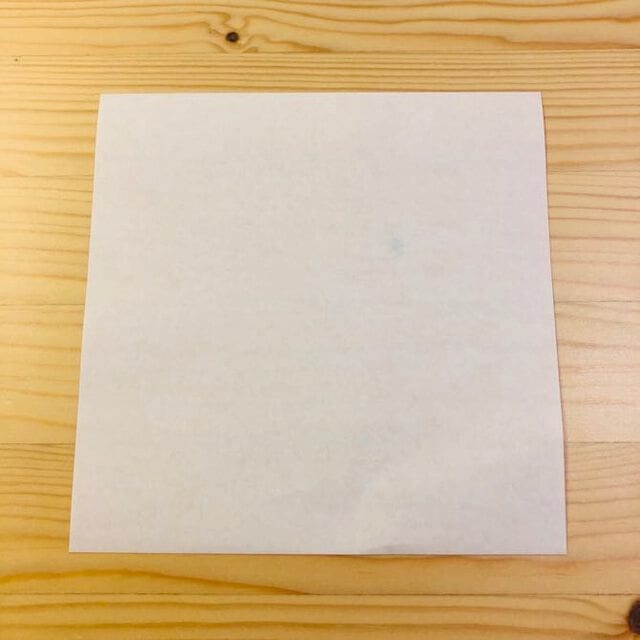
Fold it in half and make a crease.
STEP 2
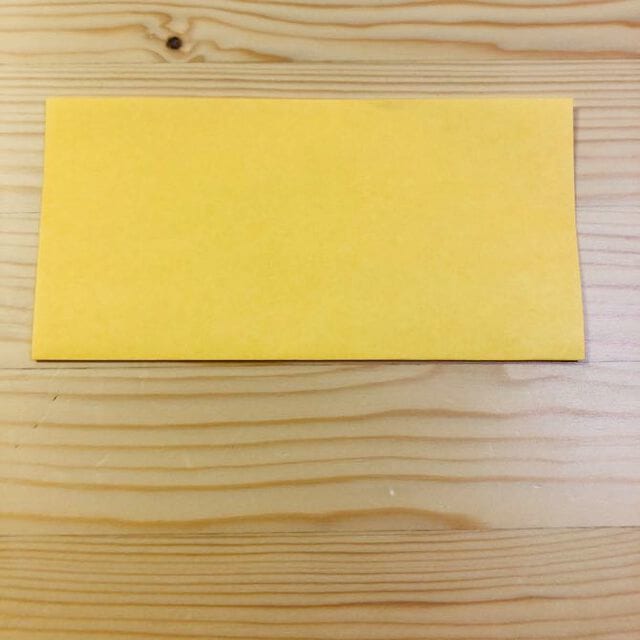
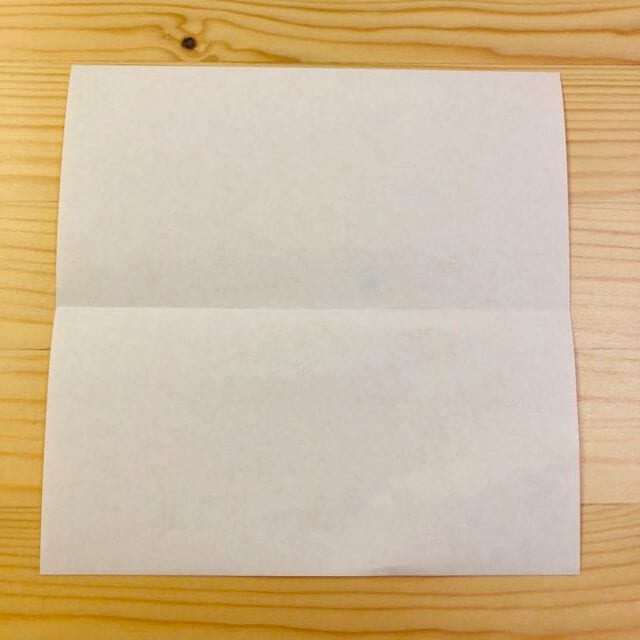
Fold it in half and make a crease.
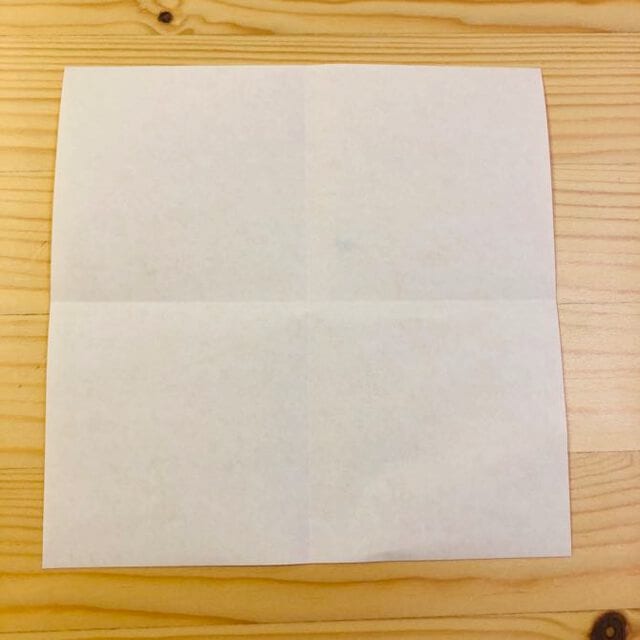
STEP 3
Fold it down at the position shown in the photo.
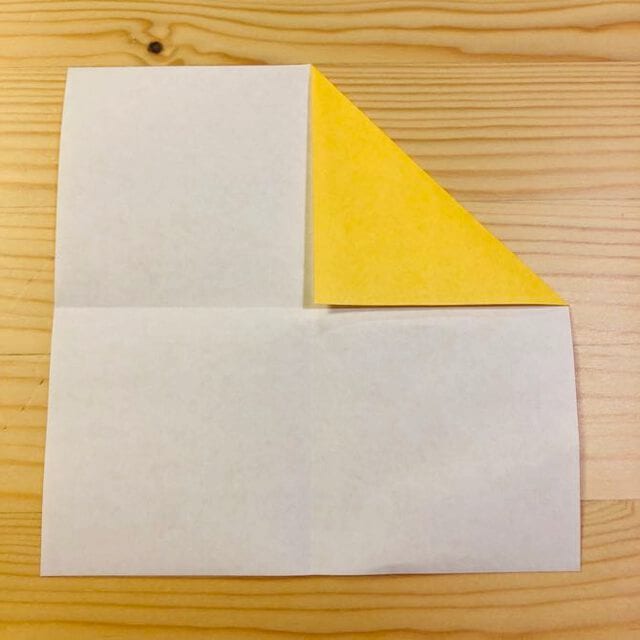
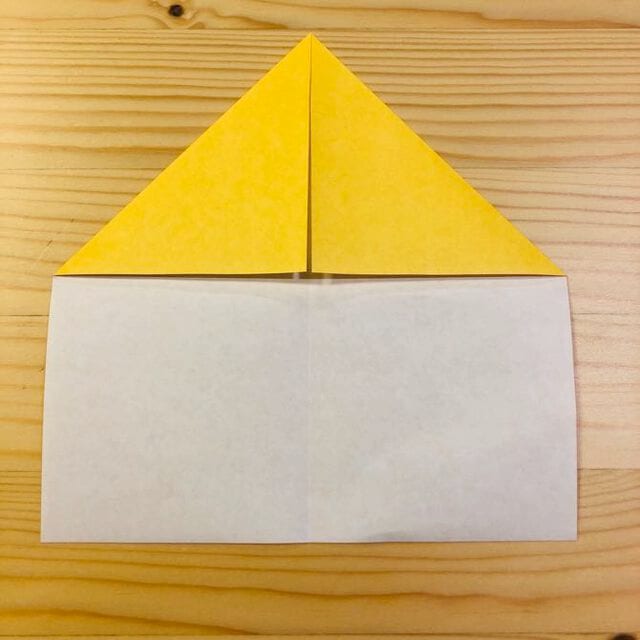
STEP 4
Make a crease at the position shown in the photo.
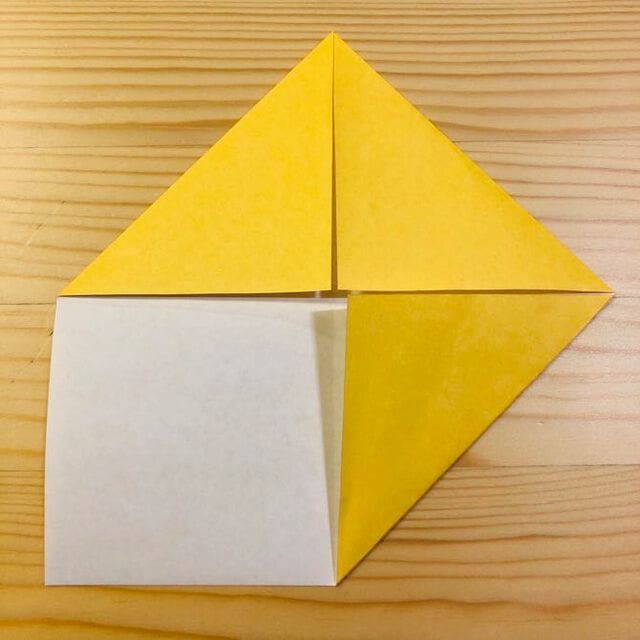
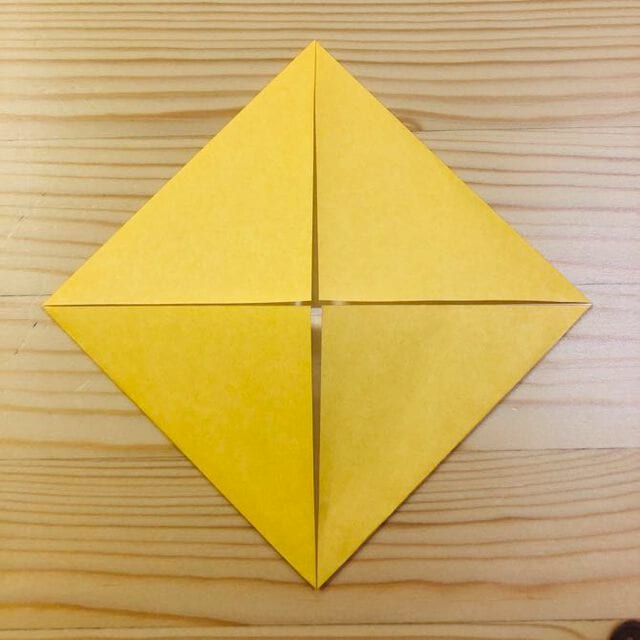
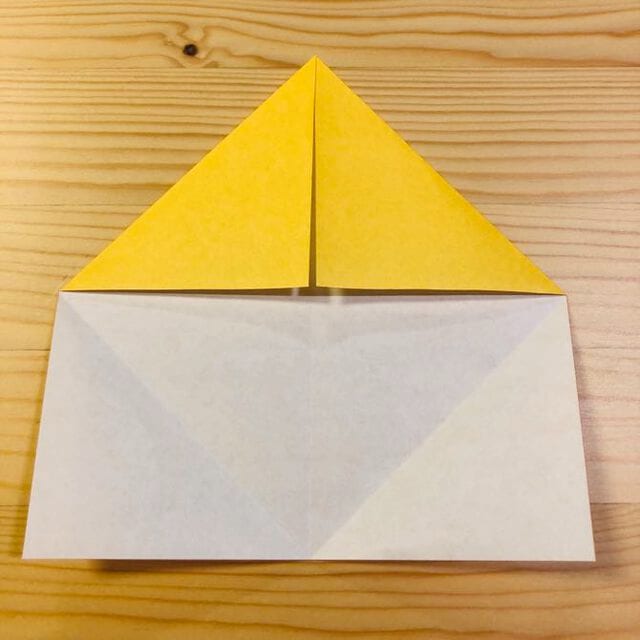
STEP 5
Fold it at the position shown in the photo.
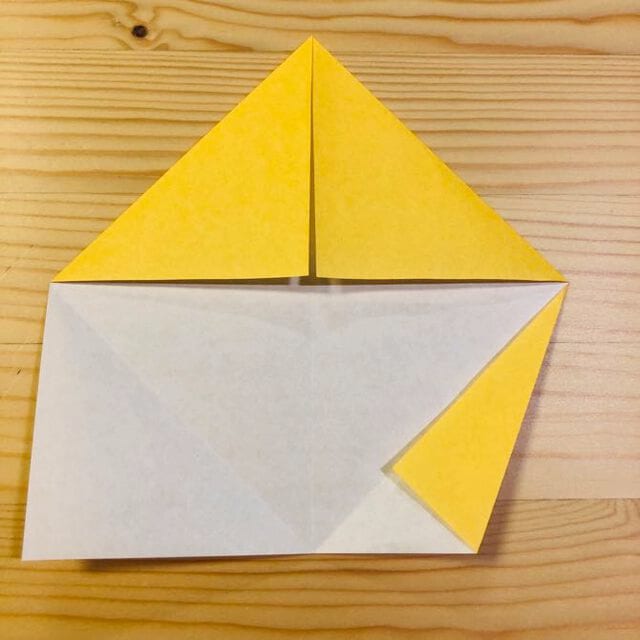
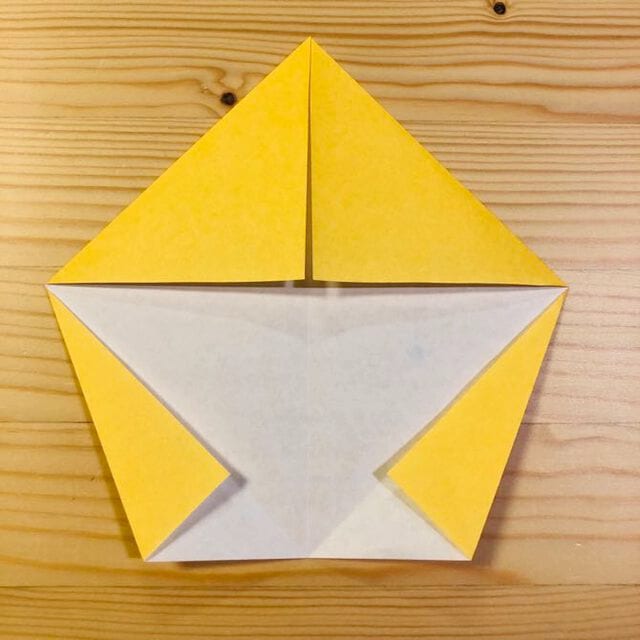
STEP 6
Fold it up at the position shown in the photo.
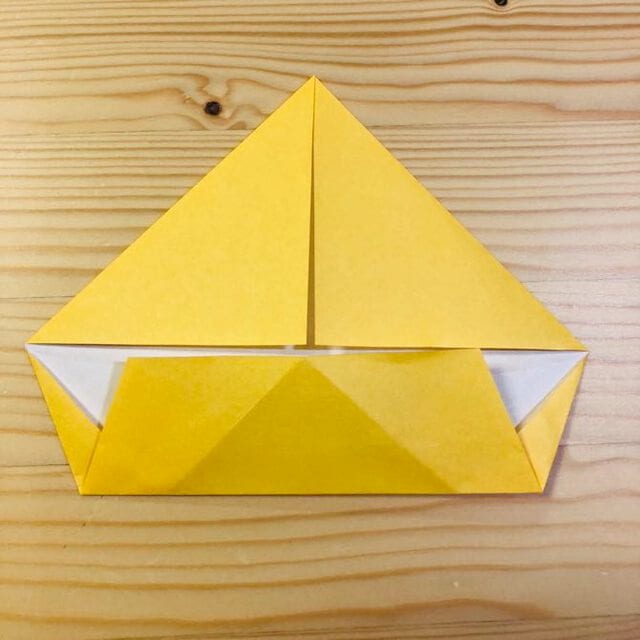
STEP 7
Fold it down at the position shown in the photo.
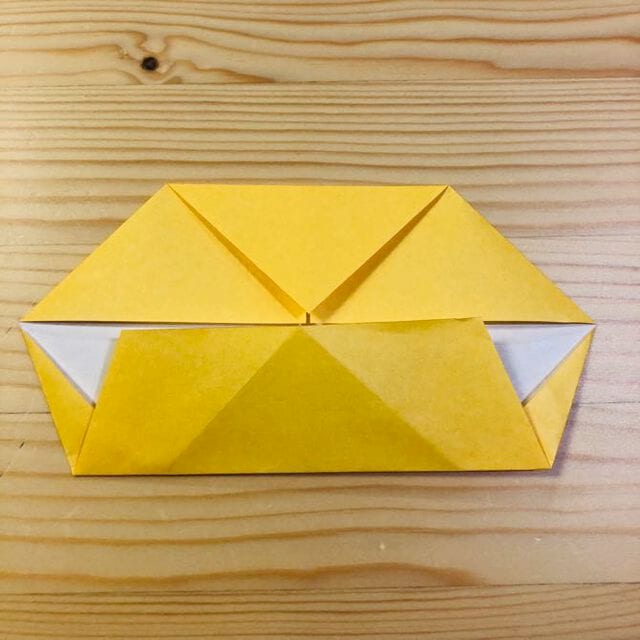
STEP 8
Fold it up at the position shown in the photo.
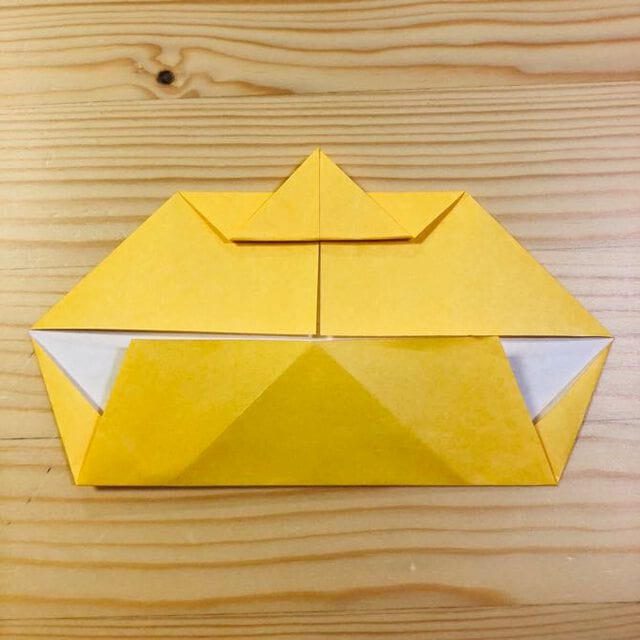
STEP 9
Fold it in half.
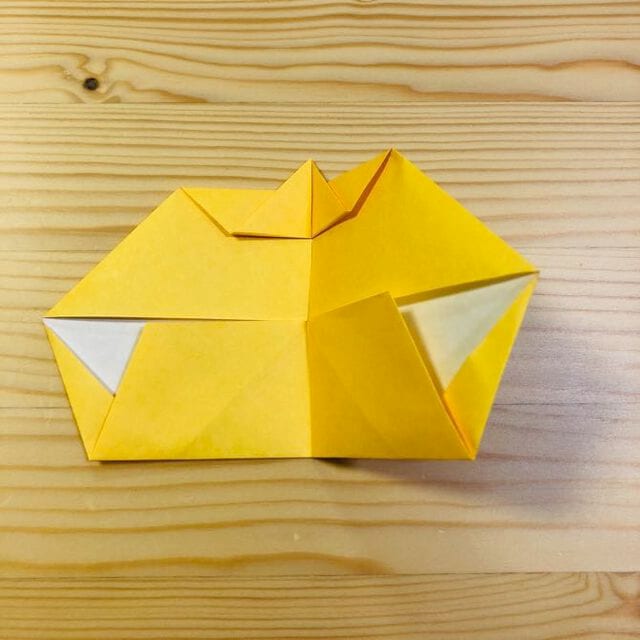
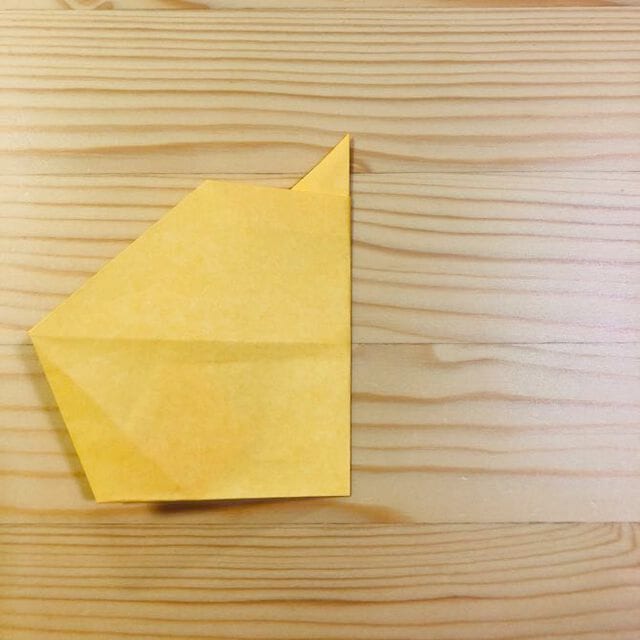
STEP 1.
Turn around.
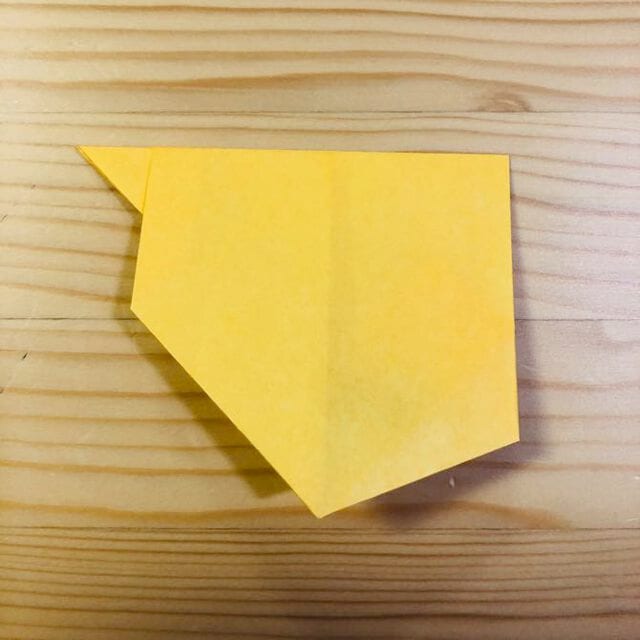
Completion !!
After writing the face, the chick is complete.




