
Piano
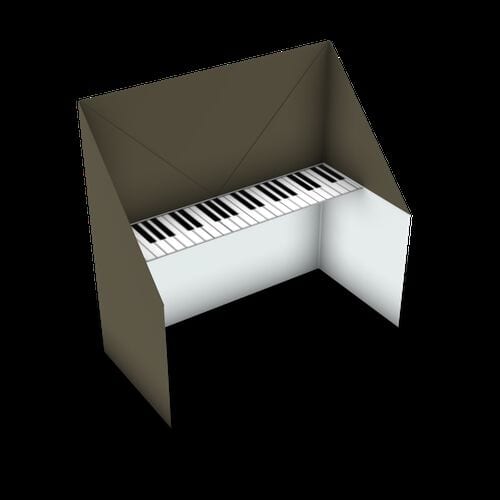
Every origami collection needs at least one musical instrument, and the paper piano is the perfect place to start. It is a compact little model that somehow reads as instantly recognizable — the raised keyboard, the tall open lid, the two walls standing at the sides — even though it is made from nothing but a single flat square. Folders love it because it is quick, satisfying, and looks great sitting on a desk or shelf next to a tiny paper bench.
A beginner can finish it in under ten minutes, and the only "tool" you need besides paper is a pen for drawing the keys. If you have ever folded a basic box or a simple house, these nine steps will feel very familiar: symmetrical folds, a few crease-and-unfold moves, and one moment where the model suddenly stands up in 3D. It is also a lovely project to do with kids — they always want to draw the keys themselves. Grab a square of paper and let's make some music!
STEP 1.
Start with a square sheet of paper, colored side up. Fold it in half sideways to make a crease, then unfold.




STEP 2.
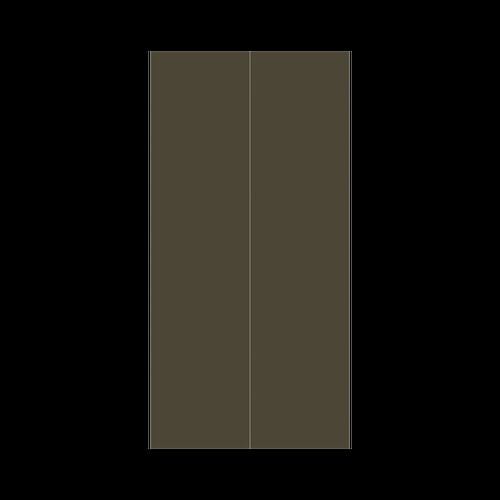
Fold the left and right sides in to meet the center line, then unfold.

STEP 3.
Fold the paper in half downward, then unfold.


STEP 4.
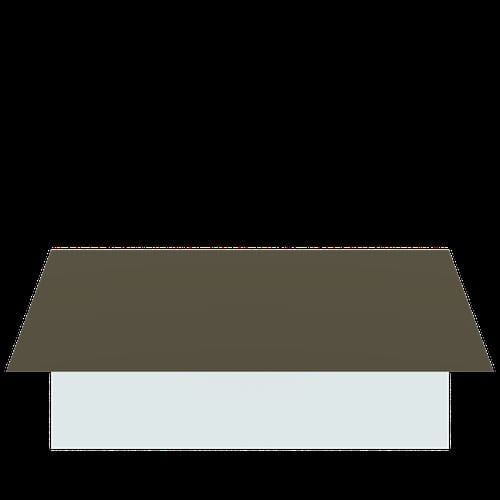
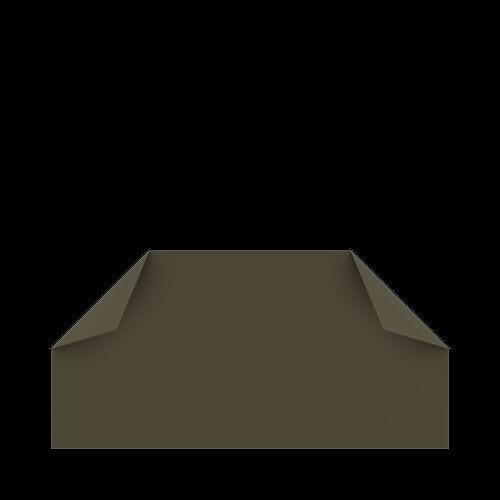
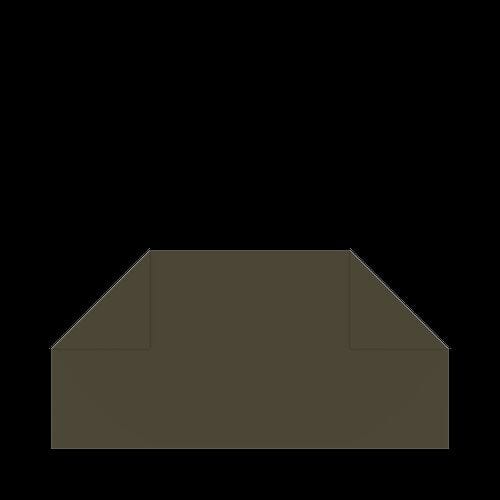
Fold the top corners down along the lines of the creases you just made, then unfold.

STEP 5.
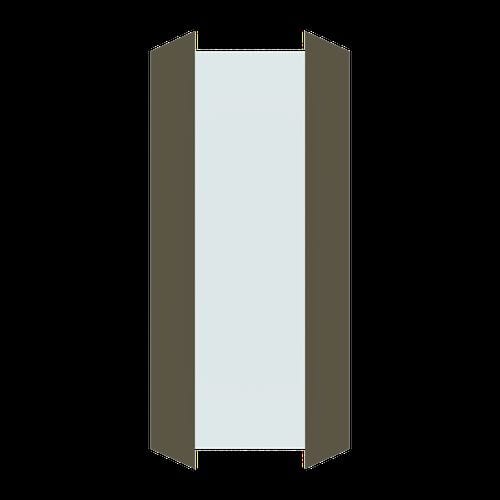
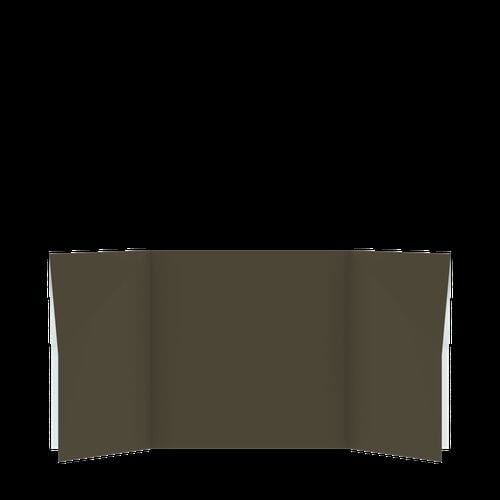
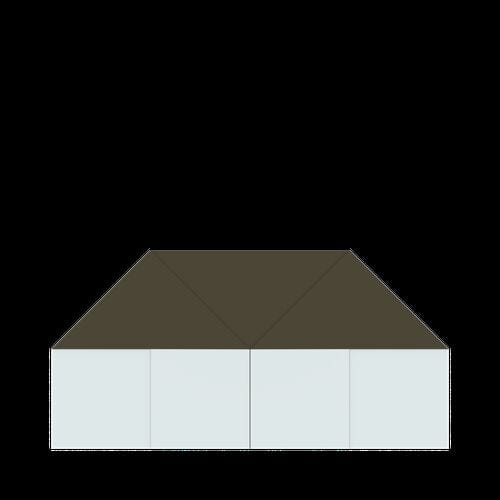
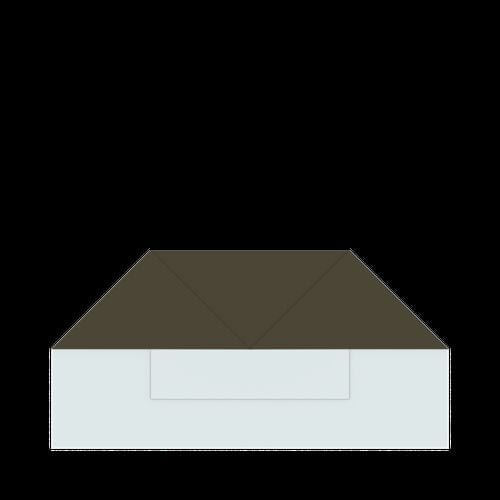
Open out the side parts so their edges meet the center line.



STEP 6.
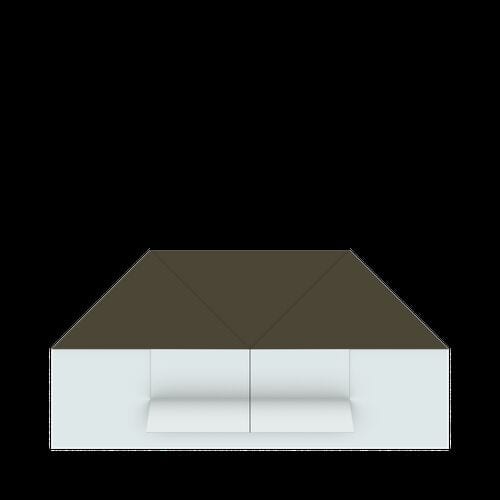
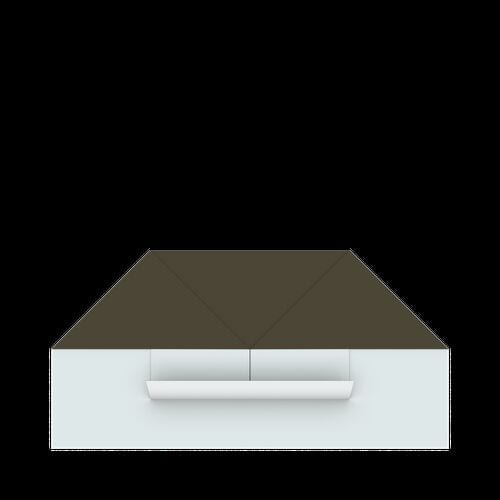
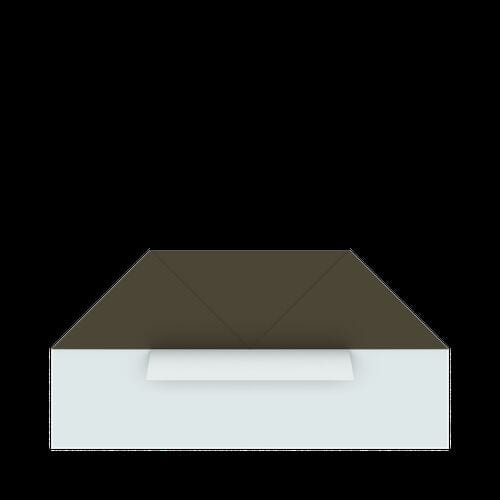
Fold the central section up in half, then fold it up again to shape the keyboard.
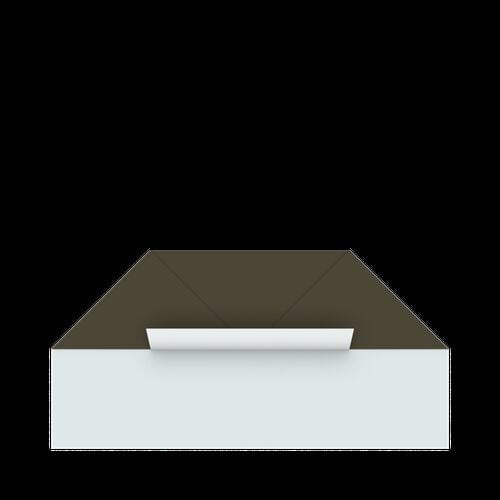
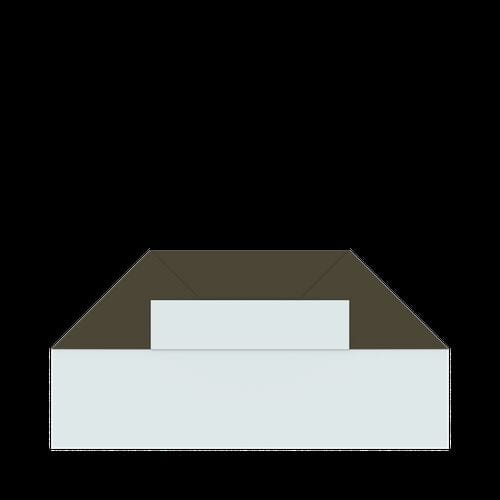
STEP 7.
Fold the side parts toward each other to form the walls of the piano.
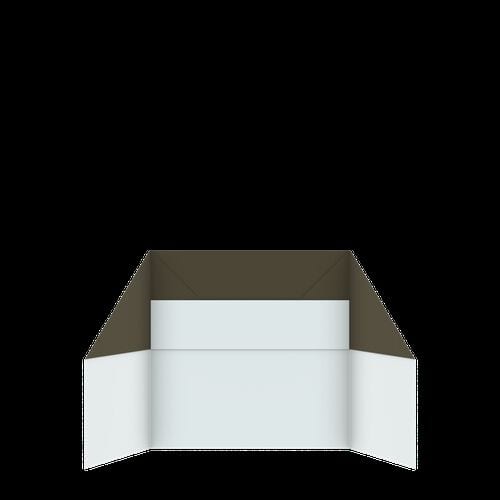




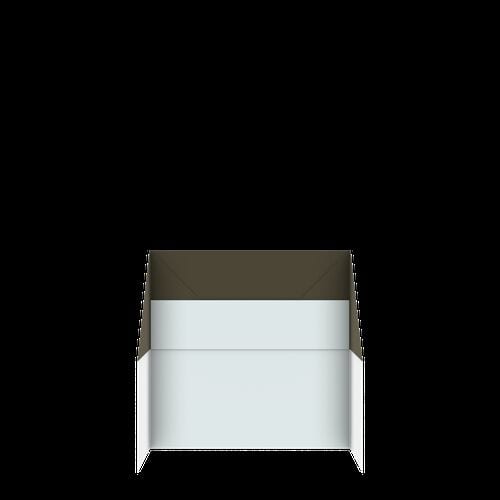
STEP 8.
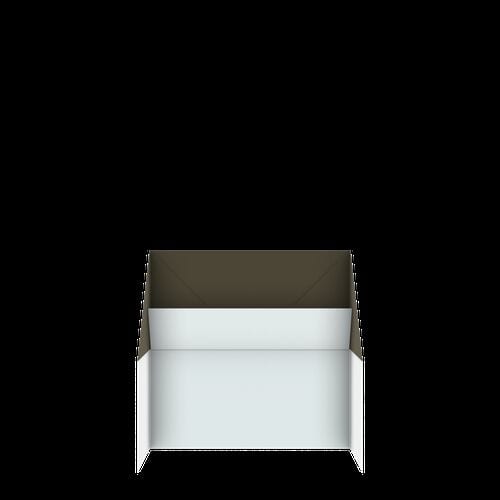
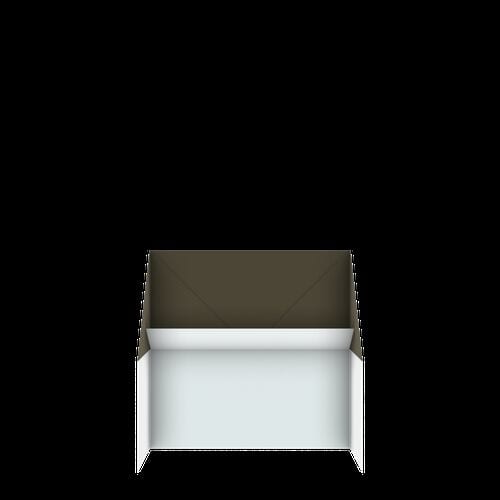
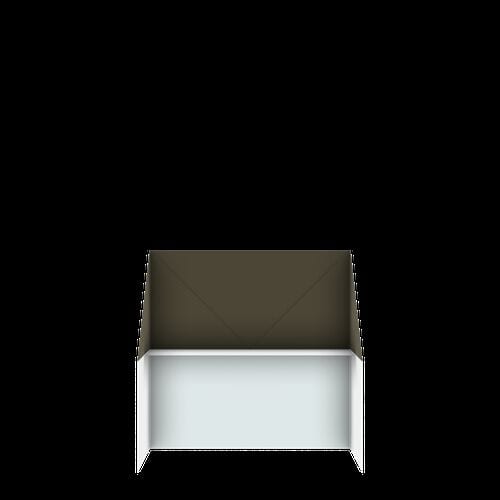
Unfold the keyboard.
STEP 9.
Draw the keys, and your paper piano is complete!




