
Traditional Origami Menko
Have you ever folded two separate pieces of paper and wondered how they magically become one? That is the charm of a traditional origami menko. It is a small, clever modular model where two independently folded units click together through nothing more than a triangular flap sliding into a pocket. No glue, no tape—just paper and a satisfying lock.
If you have already met the valley fold and the mountain fold, you are more than ready. Let's fold one and feel that snap for yourself.
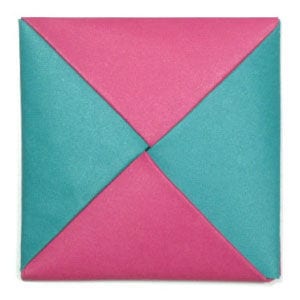
This page is for anyone looking for instructions to fold a traditional origami menko.
The traditional origami menko is a modular model that uses two square sheets of paper. You will fold two identical modules—one from each sheet. The clever trick you will learn here is how the two modules join: a triangular flap is tucked into a pocket to lock them together.
Before you start, you should know what a valley fold and a mountain fold are. If you are comfortable with those two basic moves, you will have no trouble making the origami menko.
If you are ready, then let's get started.
You can use any kind of paper for the origami menko. It helps a little if the front and back of the paper differ slightly—in texture or color.
Make sure your paper is a perfect square (all four sides equal, all four corners 90 degrees). The paper I am using here is the usual two 15 cm × 15 cm origami sheets in different colors.
This is the front side of the paper.
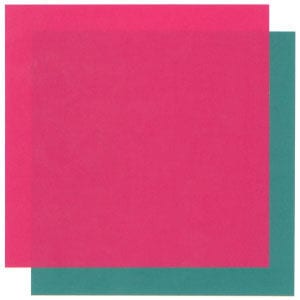
This is the back side of the paper.
STEP 1.
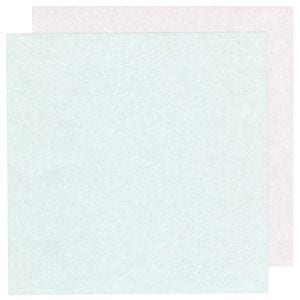
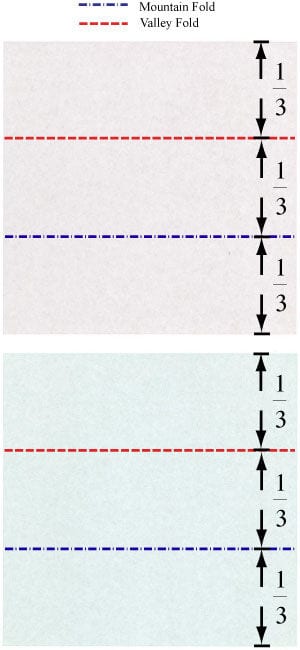
Let us start with the back side of the square paper facing up. Prepare to apply a horizontal “Z-fold” and then unfold.
STEP 2.
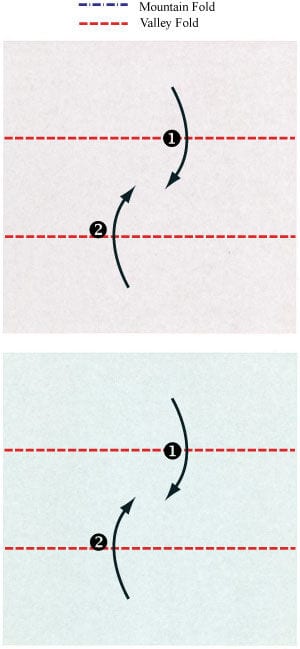
Apply the horizontal “Z-fold” of the step #1 and then unfold. Prepare to apply two horizontal valley-folds on each paper.
STEP 3.
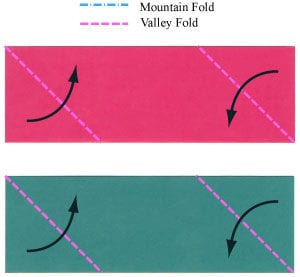
Apply two horizontal valley-folds of the step #2 on each paper. Prepare to apply two valley-folds on each paper.
STEP 4.
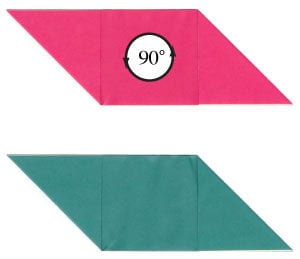
Apply two valley-folds of the step #3 on each paper. Prepare to rotate the upper model by 90 degrees.
STEP 5.
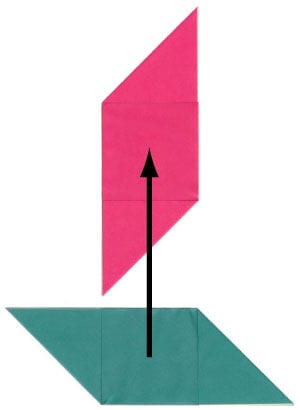
Rotate the upper model by 90 degrees. Prepare to move the lower model on the top of the upper model.
STEP 6.
Move the lower model on the top of the upper model. Prepare to apply a horizontal valley-fold.
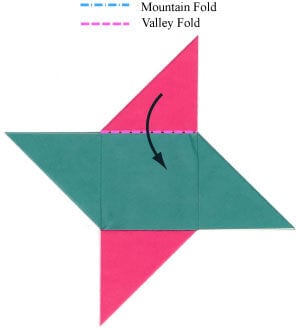
STEP 7.
Apply the horizontal valley-fold of the step #6. Prepare to apply a vertical valley-fold.
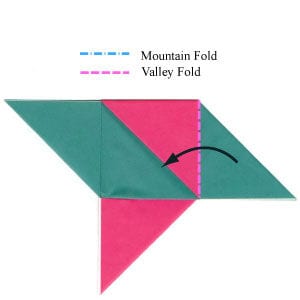
STEP 8.
Apply the vertical valley-fold of the step #7. Prepare to apply a horizontal valley-fold.
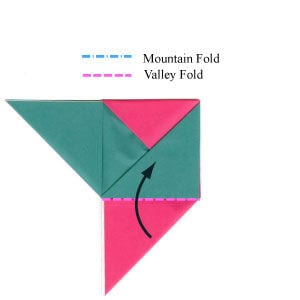
STEP 9.
Apply the horizontal valley-fold of the step #8. Prepare to apply a vertical valley-fold.
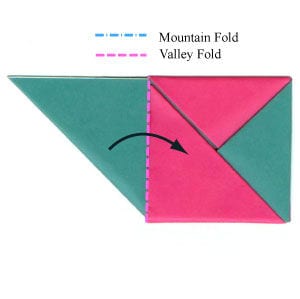
STEP 10.
Apply the vertical valley-fold of the step #9. Prepare to unfold the valley-fold that you have just applied.
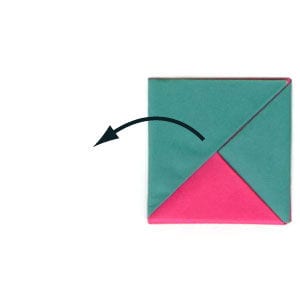
STEP 11.
Unfold the valley-fold of the step #10. Prepare to insert the triangle flap into a pocket.
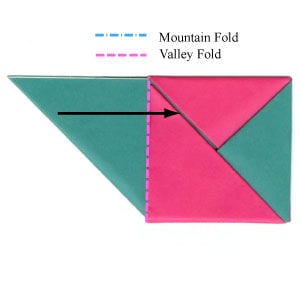
STEP 12.
Start inserting the triangle flap into the pocket.
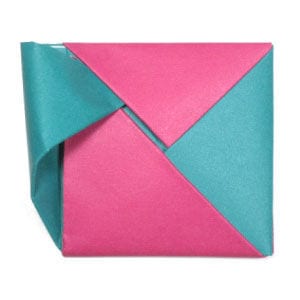
STEP 13.
Continue inserting the triangle flap into the pocket.
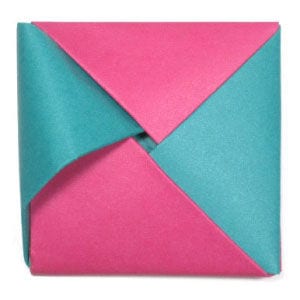
STEP 14.
Complete inserting the triangle flap into the pocket. Congratulations! You have just finished your traditional origami menko.




